
How To Use Layers In Affinity Photo
Layers are a crucial aspect of digital image editing. They allow you to organize and manipulate different elements of your image independently. In Affinity Photo, layers give you greater control over your designs, allowing you to easily move, edit, and adjust different elements of your composition without affecting other parts of your image. Using layers in Affinity Photo is similar to other image editing software. However, Affinity Photo offers several advanced features, making it a powerful tool for professional designers and photographers, whether a beginner or an experienced users. Understanding how to use layers in Affinity Photo is essential for creating high-quality images and designs.
Understanding Layers in Affinity Photo:
In Affinity Photo, layers are an essential component of the editing process. Layers separate different elements of your image and work on them individually without affecting other parts of your image. Understanding how layers work in Affinity Photo is crucial for creating high-quality images and designs.
Affinity Photo automatically places images on a new layer when opened. You can add additional layers to your image by clicking on the Layers panel and selecting “New Layer” from the drop-down menu. Each layer can contain different elements of your image, such as text, images, shapes, or adjustment layers.
The Layers panel in Affinity Photo allows you to manage your layers easily. You can rearrange layers by clicking and dragging them to a new position, rename them to make them easier to identify and group them to keep your design organized.
The key benefit of working with layers in Affinity Photo is that you can adjust individual layers without affecting the rest of your image. For example, you can adjust the opacity of a layer to make it more transparent, or you can add a mask to hide certain parts of a layer.
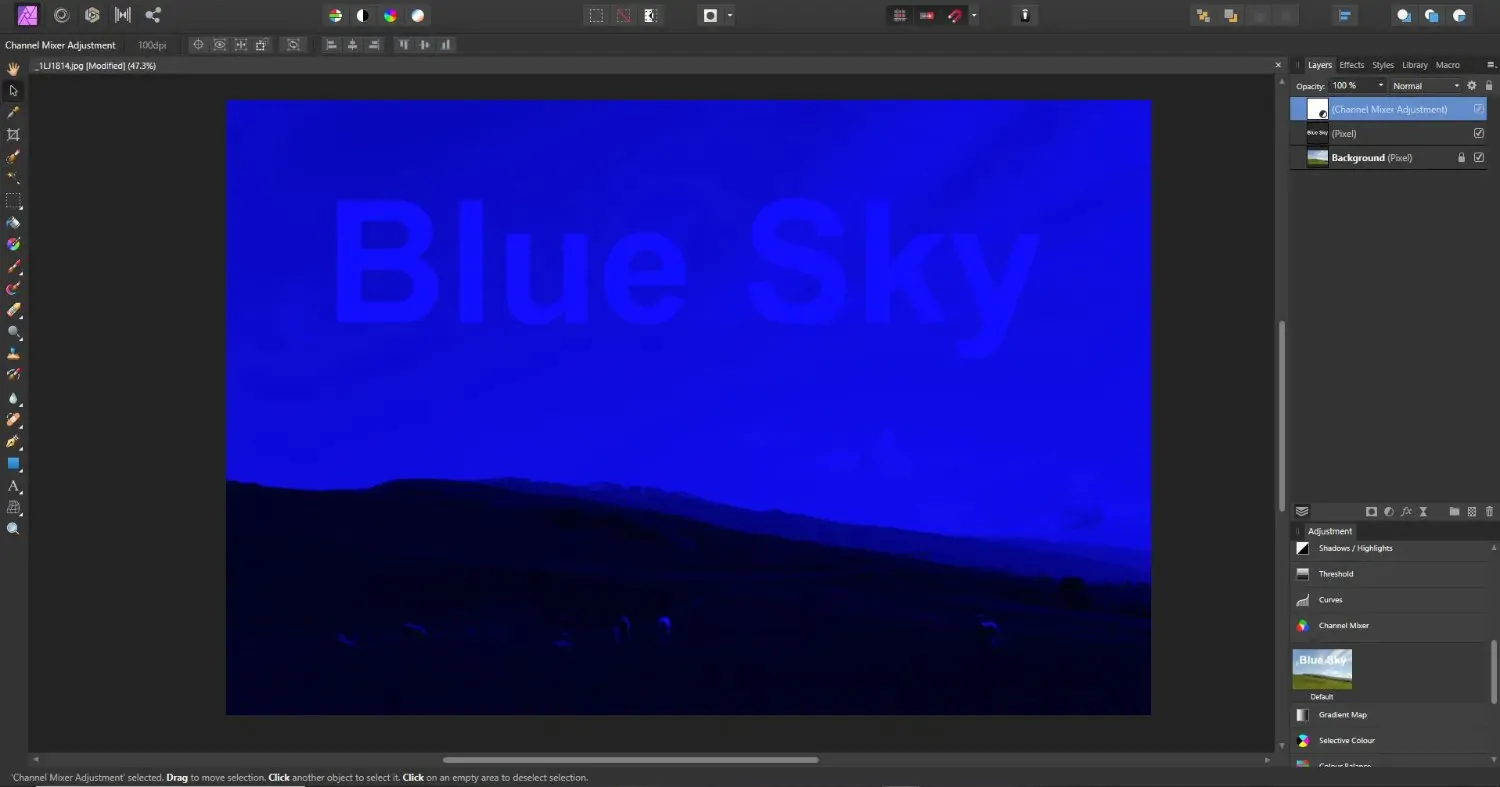
Adjustment layers are another powerful tool in Affinity Photo. Adjustment layers allow you to change your image without permanently altering the original pixels. For example, you can add a Brightness/Contrast adjustment layer to your image to adjust the overall brightness and contrast. Adjustment layers make non-destructive edits to your image and easily adjust or remove them later.
In addition to the standard layer types, Affinity Photo includes several special layers, such as Live Filter and Layer Effects. Live Filter layers allow you to filter your image and adjust its properties in real time. Layer Effects allow you to add special effects to your layer, such as a drop shadow or a bevel and emboss effect.
Creating Layers in Affinity Photo:
Creating layers in Affinity Photo is a straightforward process that allows you to separate different elements of your image and work on them individually. Here are some simple steps to create layers in Affinity Photo:
Step 1: Open your image in Affinity Photo.
Step 2: Go to the Layers panel on the right-hand side of the workspace.
Step 3: Click on the “Create a New Layer” option, or use the keyboard shortcut “Ctrl + Shift + N” (Windows) or “Cmd + Shift + N” (Mac).
Step 4: Name your new layer in the Layers panel (optional but can help keep your layers organized).
Step 5: Add content to your new layer using any tools available in Affinity Photo, such as the Brush Tool, Pen Tool, or Text Tool.
Step 6: Duplicate an existing layer by selecting it in the Layers panel and then clicking the “Duplicate” button at the bottom, if needed.
Step 7: Copy and paste content from another image or document by selecting the content to copy, then press the keyboard shortcut “Ctrl + C” (Windows) or “Cmd + C” (Mac) to copy it. Next, go to your Affinity Photo document, create a new layer as described above, and then press the keyboard shortcut “Ctrl + V” (Windows) or “Cmd + V” (Mac) to paste the copied content onto the new layer.
Creating layers in Affinity Photo is a simple process that can help you organize your image and work more efficiently. By using layers, you can adjust individual elements of your image without affecting the rest of your design, saving you time and effort.
Types of Layers in Affinity Photo:
In Affinity Photo, there are several types of layers that you can use to create and edit your images. Understanding the different types of layers in Affinity Photo can help you create more complex designs and achieve your desired results. Here are some of the most commonly used layer types in Affinity Photo:
Pixel Layers: Pixel layers are the most basic layer type in Affinity Photo. They contain a flat image of pixels and can be edited using any of the painting or selection tools in the program. You can add multiple pixel layers to your document and stack them on top of each other to create complex designs.
Adjustment Layers: Adjustment layers make non-destructive edits to your image. Rather than directly modifying the pixels in your image, adjustment layers apply an effect to the entire image below the layer. For example, you can add a Brightness/Contrast adjustment layer to your image to adjust the overall brightness and contrast without affecting the original pixels.
Mask Layers: Mask layers can hide or expose parts of a layer without permanently changing the pixels. You can add a mask layer to any layer by clicking the “Add Mask” button in the Layers panel. Then, use the painting or selection tools to paint black or white on the mask layer to hide or expose parts of the layer below.
Group Layers: Group layers organize your layers into sets. You can add multiple layers to a group layer and then move, duplicate, or edit the group as a whole. That can be useful for keeping your layers organized and making it easier to work on specific parts of your image.
Live Filter Layers: Live filter layers allow you to apply a filter to your image and adjust its properties in real time. That differs from a regular filter, which applies the effect to the pixels in the layer and cannot be easily modified. By using a live filter layer, you can experiment with different filter settings and easily adjust or remove the effect later if necessary.
Text Layers: Text layers allow you to add text to your image and edit it using the Text Tool. Create a new text layer by selecting the Text Tool and clicking on the workspace to add the text. Then, type your text and use the options in the Text panel to format it.
By using the right layer type for each design element, you can achieve your desired results and work more efficiently.
Working with Layers in Affinity Photo:
Once you have created your layers, you can start working with them in Affinity Photo. Here are some additional leads for working with layers:
Reorder Layers: To change the order of your layers, click and drag the layer to a new position in the Layers panel. That can be useful for moving a layer above or below another layer to change its appearance.
Blend Modes: Blend modes allow you to blend the pixels in one layer with the pixels below. To access the blend modes, select the layer you want to change and click the Blend Mode dropdown in the Layers panel. Experiment with different blend modes to achieve your desired effect.
Opacity: The opacity setting controls the transparency of the layer. To change the opacity of a layer, select the layer and adjust the opacity slider in the Layers panel. Lowering the opacity can make the layer more transparent and allow the layer below to show through.
Layer Effects: Layer effects are additional effects you can apply to a layer. Select the layer and click the “FX” button in the Layers panel to access the layer effects. You can add effects such as shadows, glows, and bevels to enhance the appearance of your layer.
Layer Mask: Layer masks hide or reveal parts of a layer without permanently altering the pixels. Select the layer and click the “Add Mask” option to add a layer mask in the Layers panel. Then, use the painting or selection tools to paint black or white on the mask layer to hide or expose parts of the layer below.
Lock Layers: Locking a layer can prevent you from accidentally editing it. To lock a layer, click the Lock icon in the Layers panel. You can lock the entire layer or properties such as position, transparency, or blending.
Group Layers: Grouping layers can help you organize your layers and work more efficiently. To group layers, select the layers you want to group and click on the “Group” button in the Layers panel. You can then move, duplicate, or edit the group.
Conclusion
Layers are an essential part of photo editing and design in Affinity Photo. By understanding the different types of layers and how to work with them, you can easily create complex designs and images. Whether you’re a beginner or an experienced user, mastering layers in Affinity Photo is essential for creating high-quality images and designs. Experiment with the different layer types and techniques to find the best for your workflow and design style.
