How To Use Interpolating Techniques In Image Editing
With the advances in graphical user interfaces, digital image processing has become considerably vital. One of the fundamental image enhancement that is frequently employed in numerous applications is image interpolating. The image interpolation techniques have the potential to turn an image of low resolution into a high-resolution image, resulting in a kind of magnification. By predicting the pixel intensities of the interpolated points, the image interpolation operation entails scaling images from one pixel grid to another. The Nearest Neighbor, Bilinear, and Bicubic interpolation algorithms are common examples of interpolating techniques that can be highly effective and simple to use. Likewise, the Lanczos and AI-based interpolation work well for professional usage where clarity and ideal outcomes are critical. Having the basic and even advanced knowledge of using interpolating techniques is necessary to get high-quality, spotless images. You can edit and modify various kinds of images as per your needs and the intended platform to exhibit your final images. This blog will deal with the use of different interpolating techniques to enhance the finishing and clearness of your edited images.
Step 1: Setting Up Your Workspace
Install your preferred program, whether it is Photoshop, GIMP, or some other editing application. Each program has special alternatives to import and customize the workspace, so comprehending your tool and its funnctions can be helpful.
Proceed to the File menu, choose Open, and select the image file. On the other hand, you can haul and drop the picture instantly into the workspace, depending on your software.
Alter preferences such as color space, grid visibility, or tool layouts. That can help you keep up consistency in case you are performing on numerous pictures or have specific editing benchmarks.
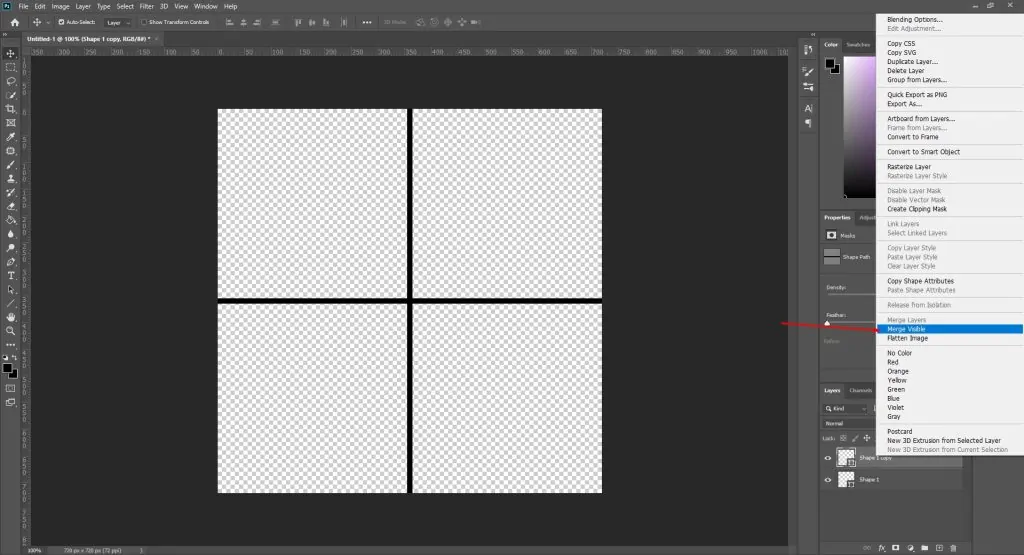
Create layers or replicate the initial layer for non-destructive altering. Layers permit you to apply changes without affecting the initial photograph.
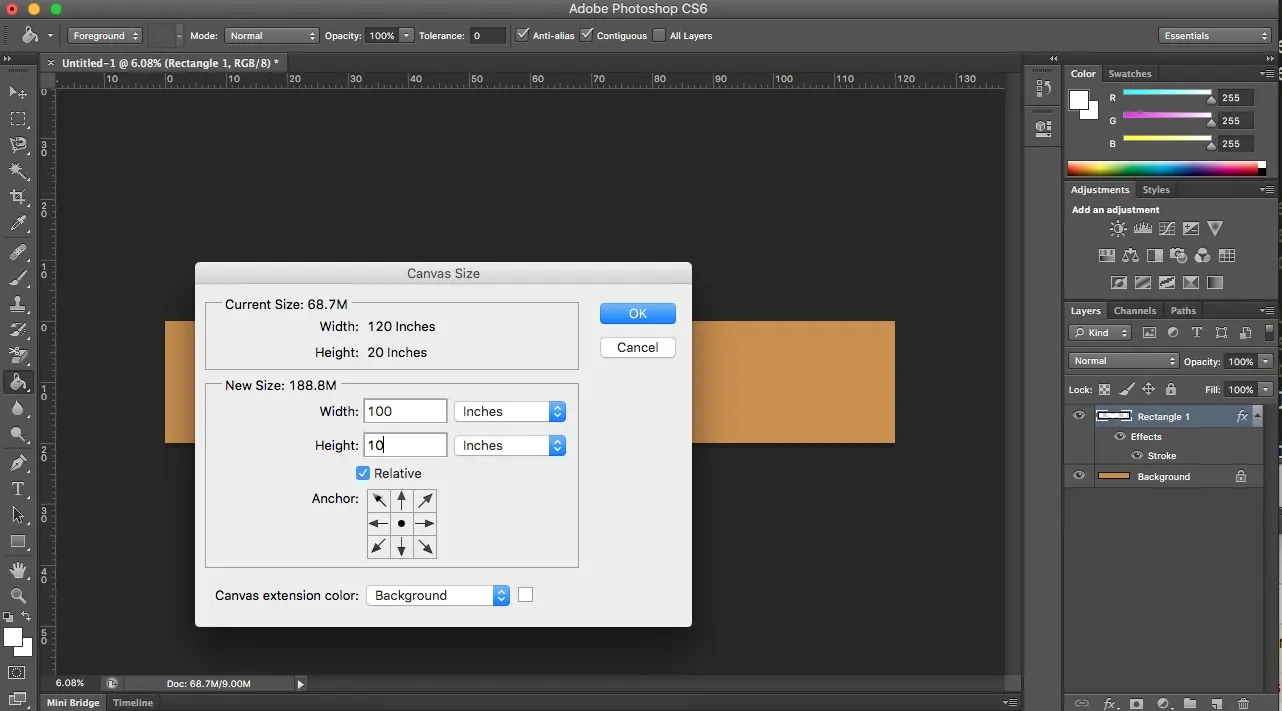
Resize the canvas in case required to suit planned alters. Setting up the proper dimensions presently can simplify the editing process.
Use the Zoom in feature to distinguish details, potential flaws, or zones requiring additional attention before moving to detailed alters.
Step 2: Using Resizing Tools
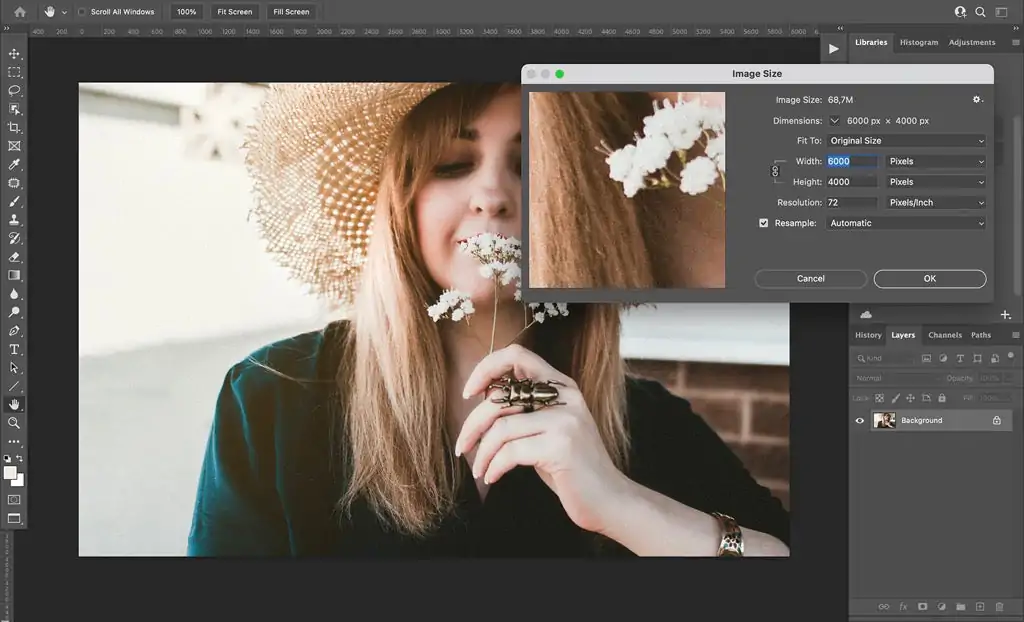
In your apps, find the resizing tool beneath the Image menu, frequently labeled as Image Size or Resize. It unlocks a dialog box with choices for adapting dimensions.
Input the required width and height in pixels, inches, or centimeters per the expected yield. Be sure to preserve the aspect ratio to evade picture mutilation.
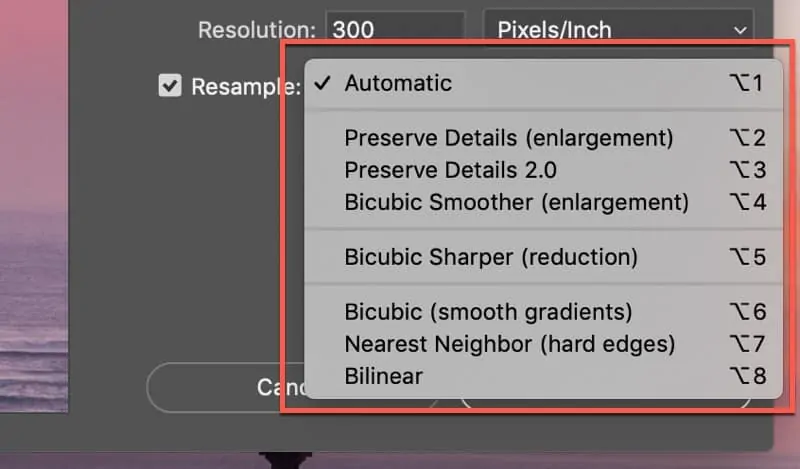
Decide on an interpolation technique for resizing quality. You can consider Nearest Neighbor for quick, low-quality modifications, Bilinear for smoother, average quality, Bicubic for high-quality effects, and Lanczos for even finer detail, in case accessible in your program.
Utilize the preview to evaluate the quality and adjust settings as required.
Press Ok to apply the resizing or go for distinctive dimensions in the event that the starting result is not adequate.
Use Zoom in to check if edges, surfaces, or small details appear too sharp, and re-try if fundamental to guarantee quality is kept up after resizing.
Step 3: Using Cropping Techniques
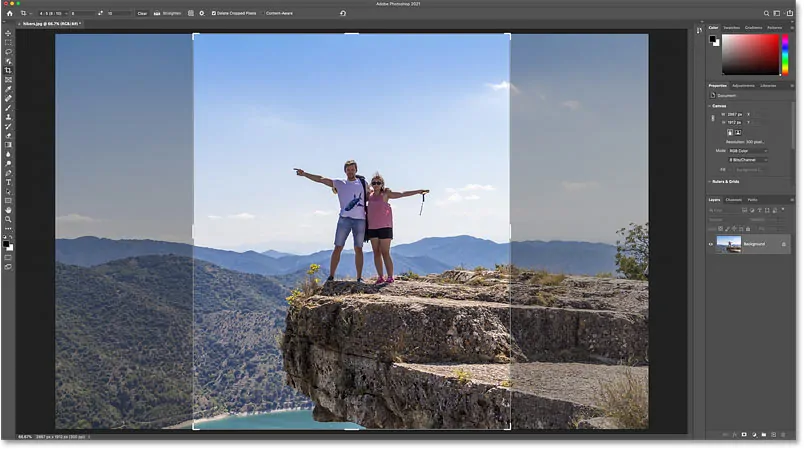
Get to the crop feature from the toolbar, which is typically depicted by a square or rectangle symbol. This feature permits you to frame and isolate the critical zones of your picture.
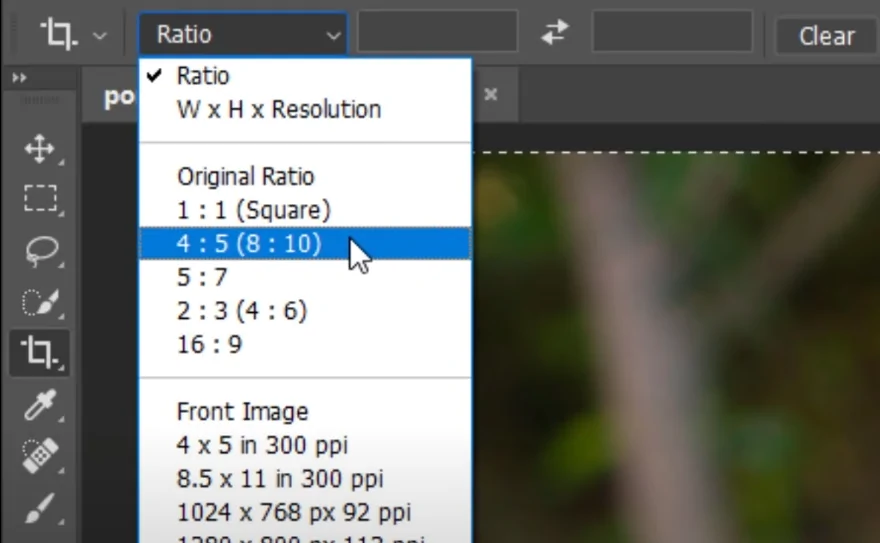
Within the tool’s settings, select a predefined aspect ratio, such as 1:1 for a square or 16:9 for a widescreen. You can also set custom dimensions. Locking the aspect ratio guarantees uniform framing, which is particularly helpful for social media or print.
Tap and drag the crop handles to outline the primary focus zone, guaranteeing you capture fundamental details and adapt the composition. Utilize the rule of thirds or golden ratio guides in case accessible to improve visual agreement.
Move the crop frame inside the image as required to highlight central focuses, upgrade symmetry, or remove distracting components.
Audit the composition within the preview, make final alterations, and apply the crop by tapping Enter or clicking Apply.
Use Zoom in and observe edges to guarantee no critical subtle elements are cut off, maintaining a uniform and proportional composition.
Step 4: Enhacing Color Balance
Start by assessing the image’s overall color balance. Search for any zones that show up too warm or too cool, and specify any regions that are too dull or too light.
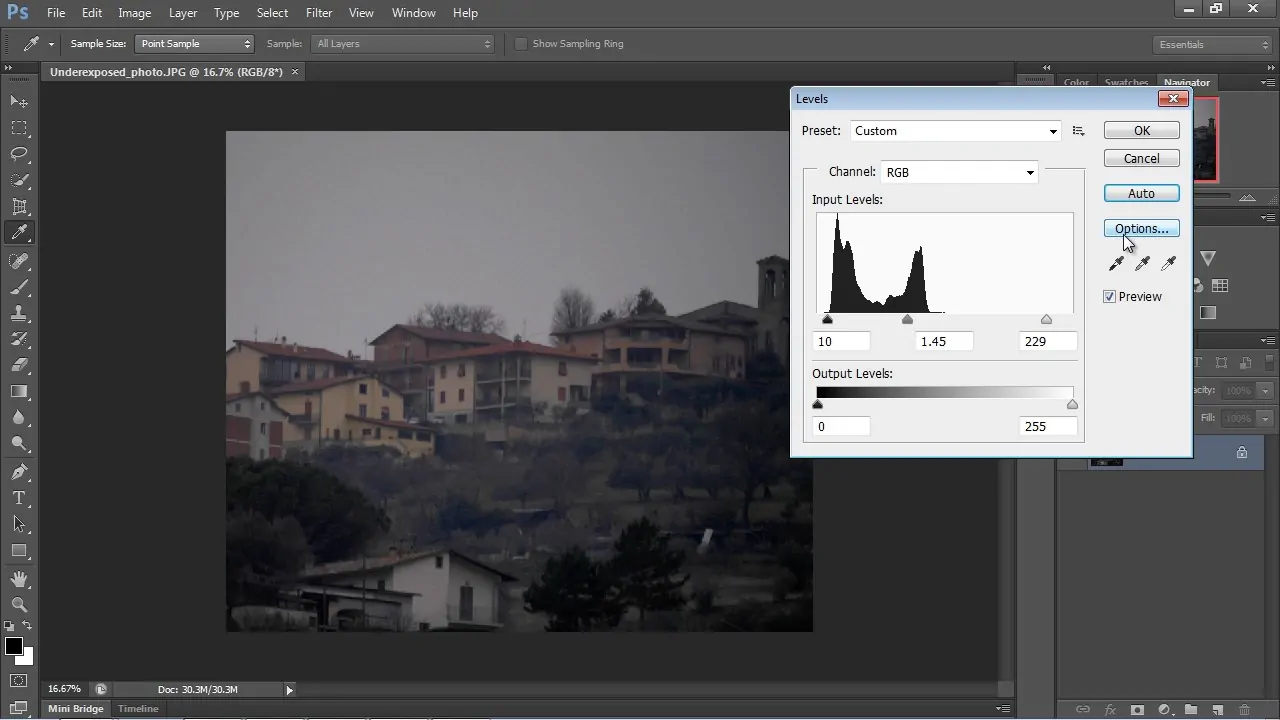
Utilize the Brightness/Contrast or Levels tool to improve the image’s light and dim zones. Expanding contrast can make the picture more energetic, whereas altering brightness guarantees details are obvious in both highlights and shadows.
In case the image’s colors seem unnatural, alter the White Balance or utilize the Hue/Saturation tool to redirect the colors to their proper tones. It helps dismiss any color casts like too much blue or green.
Increase or decrease the Saturation to make colors more distinctive or nuanced. Be careful not to over-saturate, which can result in artificial colors.
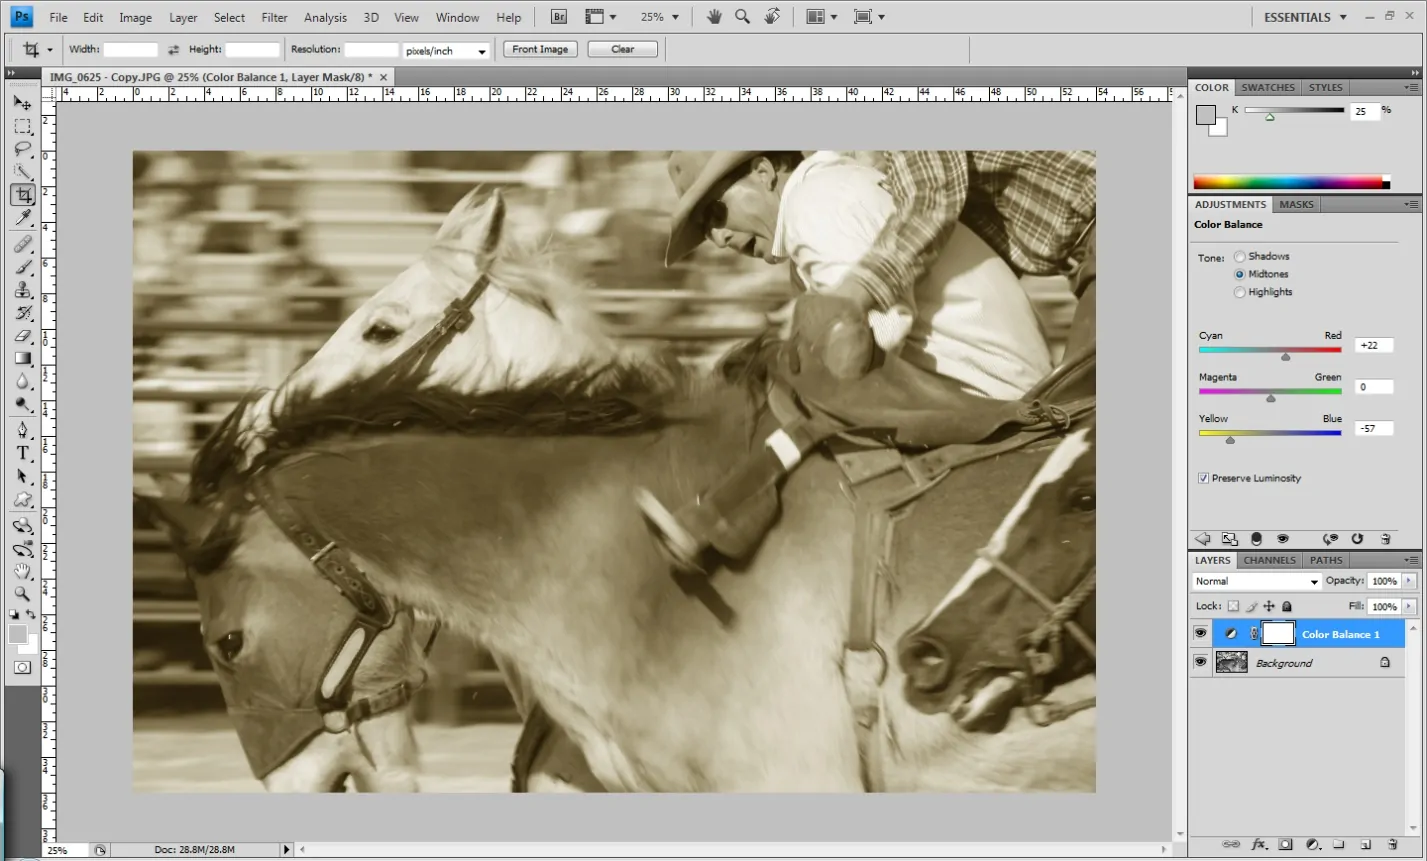
Utilize tools such as Selective Color or Color Balance to polish particular regions like skin tones and sky for more accuracy.
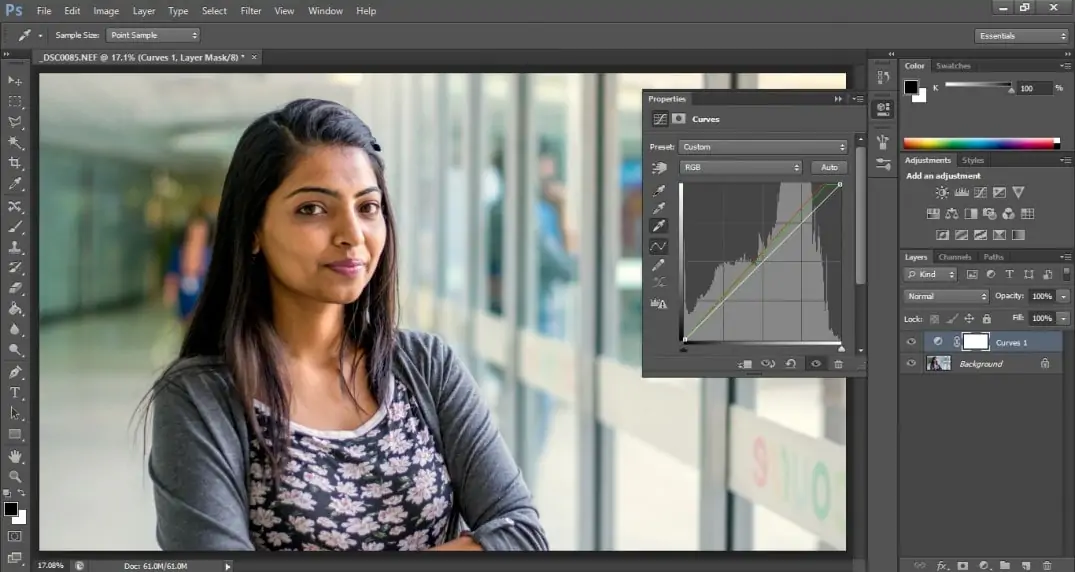
To attain more advanced enhancements, utilize the Curves tool to tune highlights, midtones, and shadows, improving in general tonal range and contrast.
Step 5: Utilizing Sharpening Options
Utilize the Zoom in option on zones of the photograph that ought to show up sharp, like eyes, edges, or surfaces. It will help distinguish zones requiring sharpening or smoothing.
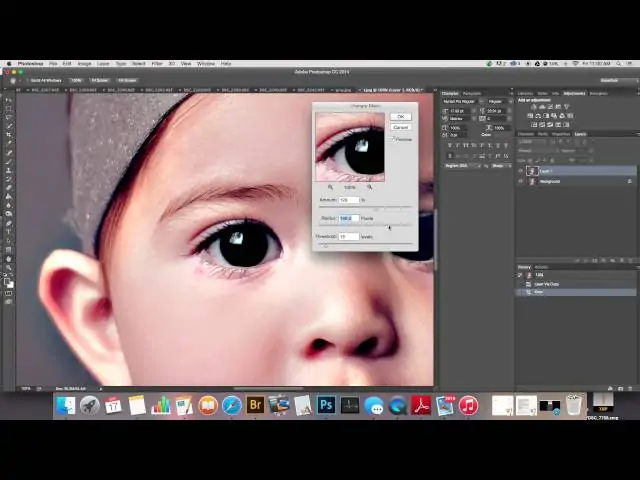
Utilize the Sharpen tool or Unsharp Mask to upgrade the details. Begin with a small amount and slowly expand to avoid presenting clamor. Sharpening is normally applied to the whole picture or particular details that require more clarity.
When utilizing sharpening tools, alter the Amount and Radius settings to handle how much sharpening is applied and how broad the impact should be. A better radius works sufficiently for delicate details, whereas a lower amount keeps the sharpening nuanced.
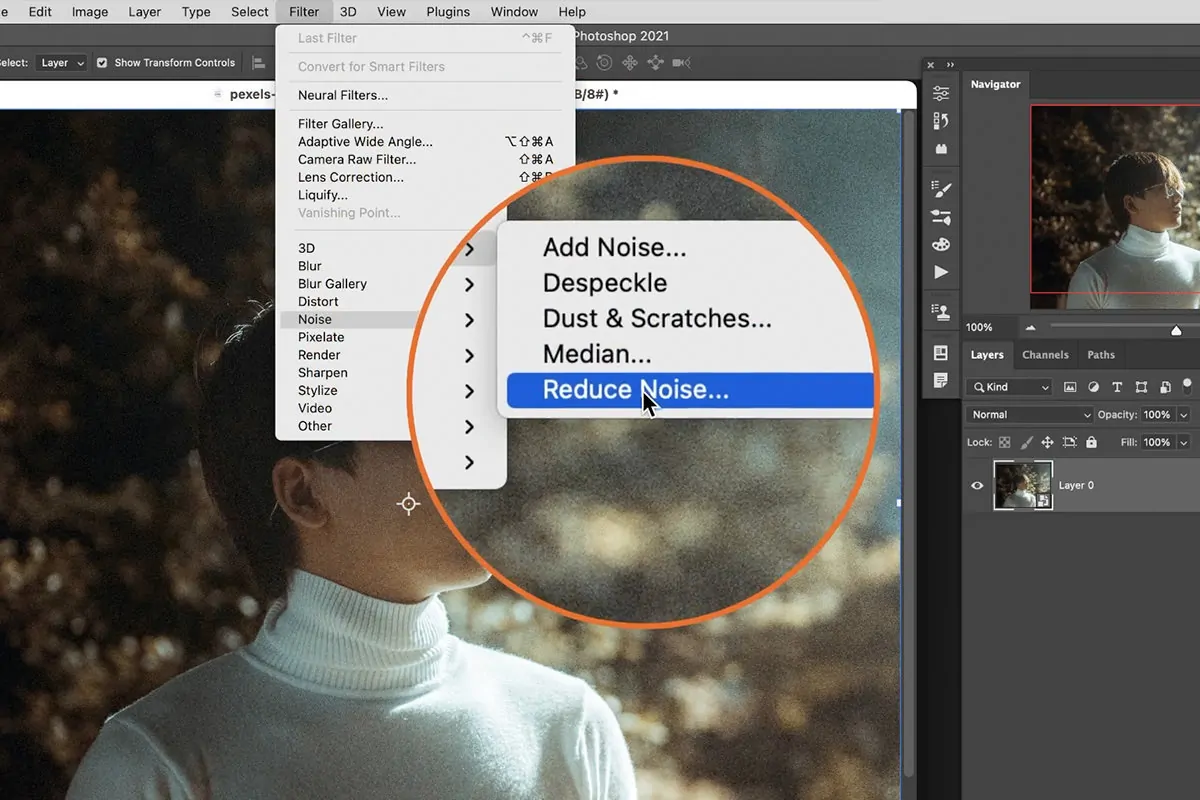
In case sharpening presents commotion or graininess, utilize the Noise Reduction tool to smooth out undesirable pixels, particularly in constant regions, including skies or dividers.
For smooth, blemish-free surfaces such as skin, use a delicate Gaussian Blur or smoothing filter. Utilize a mask to focus only on particular zones to preserve sharpness where required.
Add sharpening and smoothing on isolated layers with layer masks, permitting for focused on alterations and way better control over the impact.
Step 6: Applying Aesthetic Effects
Choose the sort of effect you need to include. Effects may range from creative filters like sepia vintage to aesthetic touches, like the use of surface, blur, or vignettes.
Get to the Filter menu to apply different preset impacts like Gaussian Blur for a delicate focus, Motion Blur for energetic development, or aesthetic impacts such as Oil Paint to imitate painting surfaces. Alter the intensity to fit the image style.
To provide the image more profundity, overlay textures such as paper, fabric, or grunge impacts. Utilize blending modes such as Overlay or Soft Light to immaculately blend surfaces with the first picture. Alter opacity for nuance.
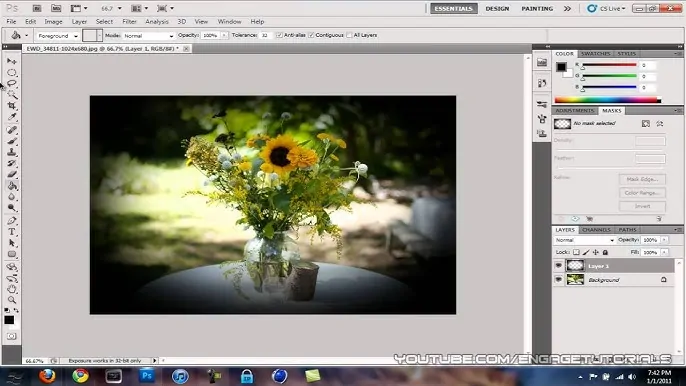
Include a vignette effect to shade the edges of the picture, bringing focus to the center. This will be done employing a radial gradient mask or a reliable vignette tool.
Utilize lighting impacts like Lens Flare or Lighting Filter to upgrade or dramatize lighting. Add these impacts keenly to dodge overwhelming the picture.
Once done with applying effects, return to the picture to regulate the intensity, opacity, or blending to guarantee the impact harmonizes with the general composition.
Step 7: Performing Final Tweaks
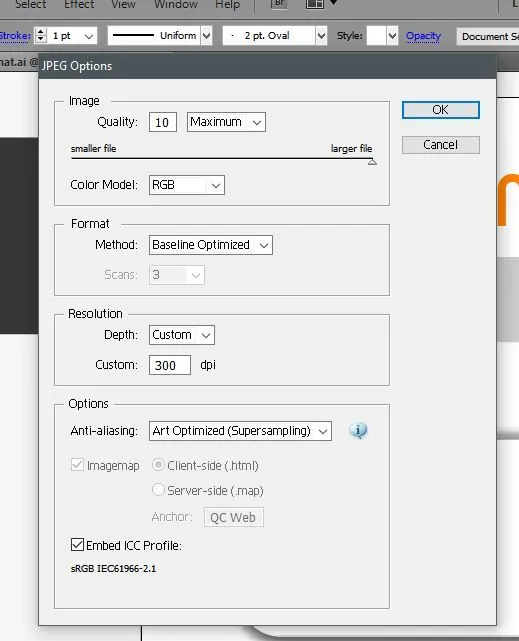
Choose the file format for the ultimate image. Common designs incorporate JPEG for photographs, PNG for transparent foundations, and TIFF for high-quality prints. Select the format according to the aiming utilize of the picture.
In the case of print purposes, put the resolution to 300 DPI, and for web utilization, a 72 DPI is commonly adequate. Altering resolution influences file size as well as quality.
If you are saving in formats such as JPEG, you can alter the quality slider to adjust between picture quality and file size. Point for a high enough quality that the picture looks clear but not too huge to be unreasonable for uses like web or email.
If you opt for web use, confirm that the picture is optimized for fast loading times without compromising as well much on visual quality. Options, like Save for Web in Photoshop, permit you to discover the proper balance.
Guarantee the file size is fitting for its aiming use. More extensive pictures may require compression or resizing.
Remember to save the initial project file in PSD or XCF to protect layers and adjust flexibility for future adjustments.
Conclusion
In summary, the use of interpolation techniques for image editing provides editors with ease of resizing, enhancement, and image transformation with minimum loss of detail or clarity. Different image interpolating alternatives present distinctive options to modify shots based on the project specifications. Specially Bicubic or Lanczos interpolating techniques are much worthy for more professional levels as they offer a smooth transition and prevent pixelation, thus highlighting clarity and detail. An essential point to be noted is that interpolating techniques do not only stick to image resizing, but they play a role in image retouching and polishing, preparing your images for exhibiting on multiple platforms.


