How To Use Fusion 360 For Surface Modeling
Fusion 360 is a powerful and versatile 3D modelling software that offers a range of tools for creating complex designs and prototypes. One of the critical features of Fusion 360 is its surface modelling capabilities, which allow users to create smooth, curved surfaces that can be used for various applications, including product design, architecture, and engineering. This guide will cover the basics of creating surfaces in Fusion 360, including creating curves, lofting surfaces, and modifying surfaces using tools such as fillets and chamfers. We will also provide tips and tricks for creating complex surfaces and working with challenging geometries. Whether creating products for your business, prototyping new designs, or exploring your creativity, Fusion 360’s surface modelling capabilities can help you bring your ideas to life. So, let’s put on and learn how to use Fusion 360 for surface modelling!
Getting Started with Fusion 360 Surface Modeling
Fusion 360 is a powerful 3D modelling tool allowing users to create complex, organic shapes. One of the most critical techniques in Fusion 360 is surface modelling, which enables us to create smooth, flowing surfaces essential for making many types of products. Here are the basics of surface modelling in Fusion 360, including the tools and techniques used to create curves, lofting surfaces, patch surfaces, sweep surfaces, and revolve surfaces.
Creating Curves
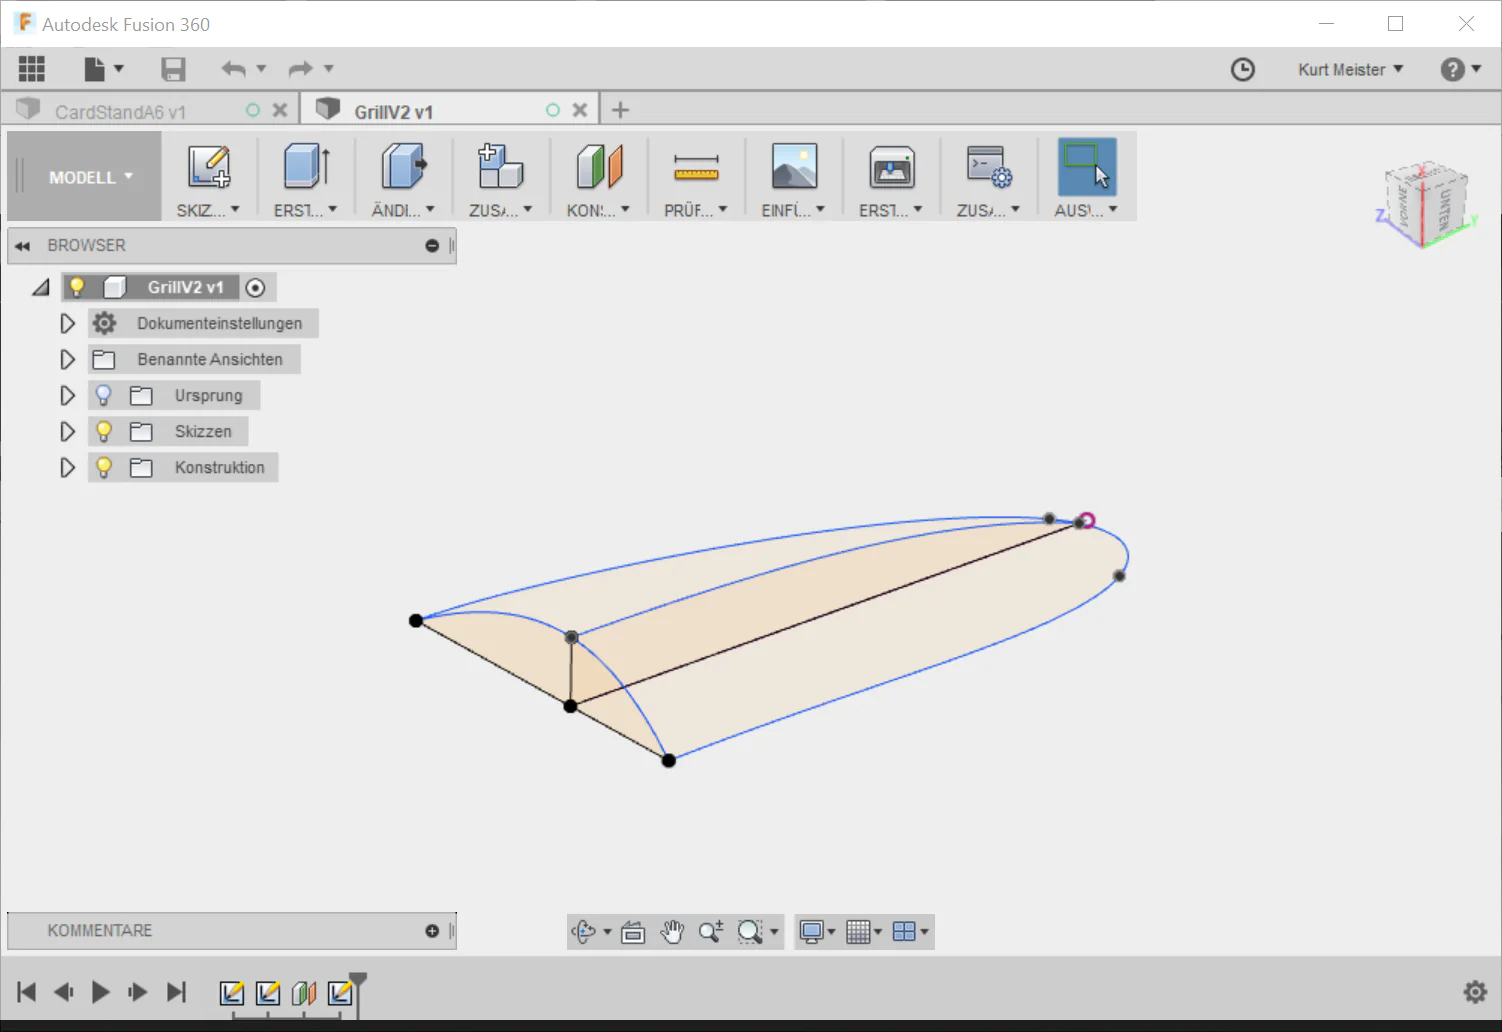
Curves are the building blocks of surface modelling in Fusion 360. Before creating surfaces, we need to create curves that define the shape and form of the object we are modelling. In Fusion 360, we can create curves using various tools, including sketch, spline, and curve tools. These tools allow us to make precise and accurate curves, ensuring our surfaces are of the highest quality.
Working with Lofting Surfaces
Lofting surfaces are created by blending multiple profiles. This technique can be used to create surfaces that smoothly transition from one shape to another.
Creating Lofting Surfaces
To create a lofting surface, we first need to create two or more profiles that we want to blend. We can make the profiles using the sketch tools that we covered earlier. We can then select the “Loft” tool from the toolbar or by pressing the “L” key. We can then select the profiles that we want to blend.
Modifying Lofting Surfaces
After creating the lofting surface, we can modify it using various tools such as fillets and chamfers. We can also adjust the curvature and shape of the surface by adding control points and adjusting the tangency.
Working with Patch Surfaces
Patch surfaces are created by defining the boundary of the surface and allowing Fusion 360 to fill in the area between the curves.
Creating Patch Surfaces
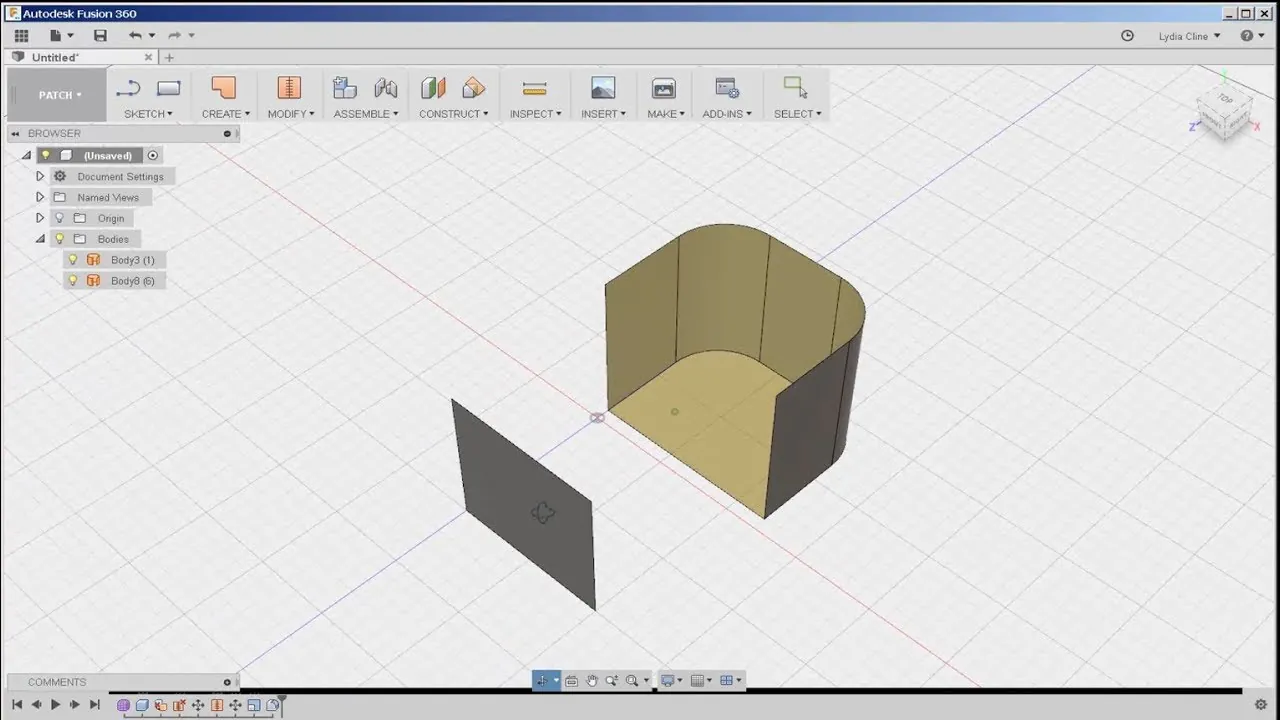
We first need to create the boundary curves to create a patch surface. We can make the curves using the sketch tools that we covered earlier. We can then select the “Patch” tool from the toolbar or by pressing the “P” key. We can then select the edges or curves that define the boundary of the surface, and Fusion 360 will automatically create the patch surface.
Modifying Patch Surfaces
After creating the patch surface, we can modify it using various tools such as fillets and chamfers. We can also adjust the curvature and shape of the surface by adding control points and adjusting the tangency.
Working with Sweep Surfaces

Sweep surfaces are created by sweeping a profile along a path. This technique can be used to create surfaces that have a consistent cross-section.
Creating Sweep Surfaces
To create a sweep surface, we first need to create a profile that will be swept along a path. We can make the profile using the sketch tools that we covered earlier. We can then select the “Sweep” tool from the toolbar or by pressing the “S” key. We can then select the profile and path we want to sweep it along.
Modifying Sweep Surfaces
After creating the sweep surface, we can modify it using various tools such as fillets and chamfers. We can also adjust the curvature and shape of the surface by adding control points and adjusting the tangency.
Working with Revolve Surfaces
Revolve surfaces are created by revolving a profile around an axis. This technique can be used to create surfaces that have rotational symmetry.
Creating Revolve Surfaces
To create a revolve surface, we first need to create a profile that will be revolved around an axis. We can make the profile using the sketch tools that we covered earlier. We can then select the “Revolve” tool from the toolbar or by pressing the “R” key. We can then select the profile and the axis we want to revolve it around.
Modifying Revolve Surfaces
After creating the revolve surface, we can modify it using various tools such as fillets and chamfers. We can also adjust the curvature and shape of the surface by adding control points and adjusting the tangency.
Combining Surface Modeling Techniques
In many cases, we will need to use a combination of surface modelling techniques to create the desired shape. For example, we may need to create a surface that blends smoothly from one shape to another but also has a consistent cross-section. In this case, we could use a combination of lofting surfaces and sweep surfaces.
Creating Complex Shapes
By combining multiple surface modelling techniques, we can create complex and organic shapes that would be difficult or impossible to start using other modelling methods. It’s essential to experiment with different techniques and explore the many possibilities that Fusion 360 offers.
Now that you have a basic knowledge of the surface modelling tools and methods in Fusion 360 let’s go through a step-by-step procedure for producing surfaces.
Step 1: Plan Your Approach
Before you start creating surfaces, take the time to plan out your approach. Think about the end goal and the surfaces you need to complete to achieve that goal. Consider the complexity of the design and the techniques you’ll need to use to achieve the desired shape. This planning stage will help you work more efficiently and produce better results.
Step 2: Create a Sketch
Begin by creating a sketch on the plane where you want to make the surface. Sketch out the desired shape using the sketch tools. Be sure to use the dimensions and constraints to ensure accuracy and consistency.
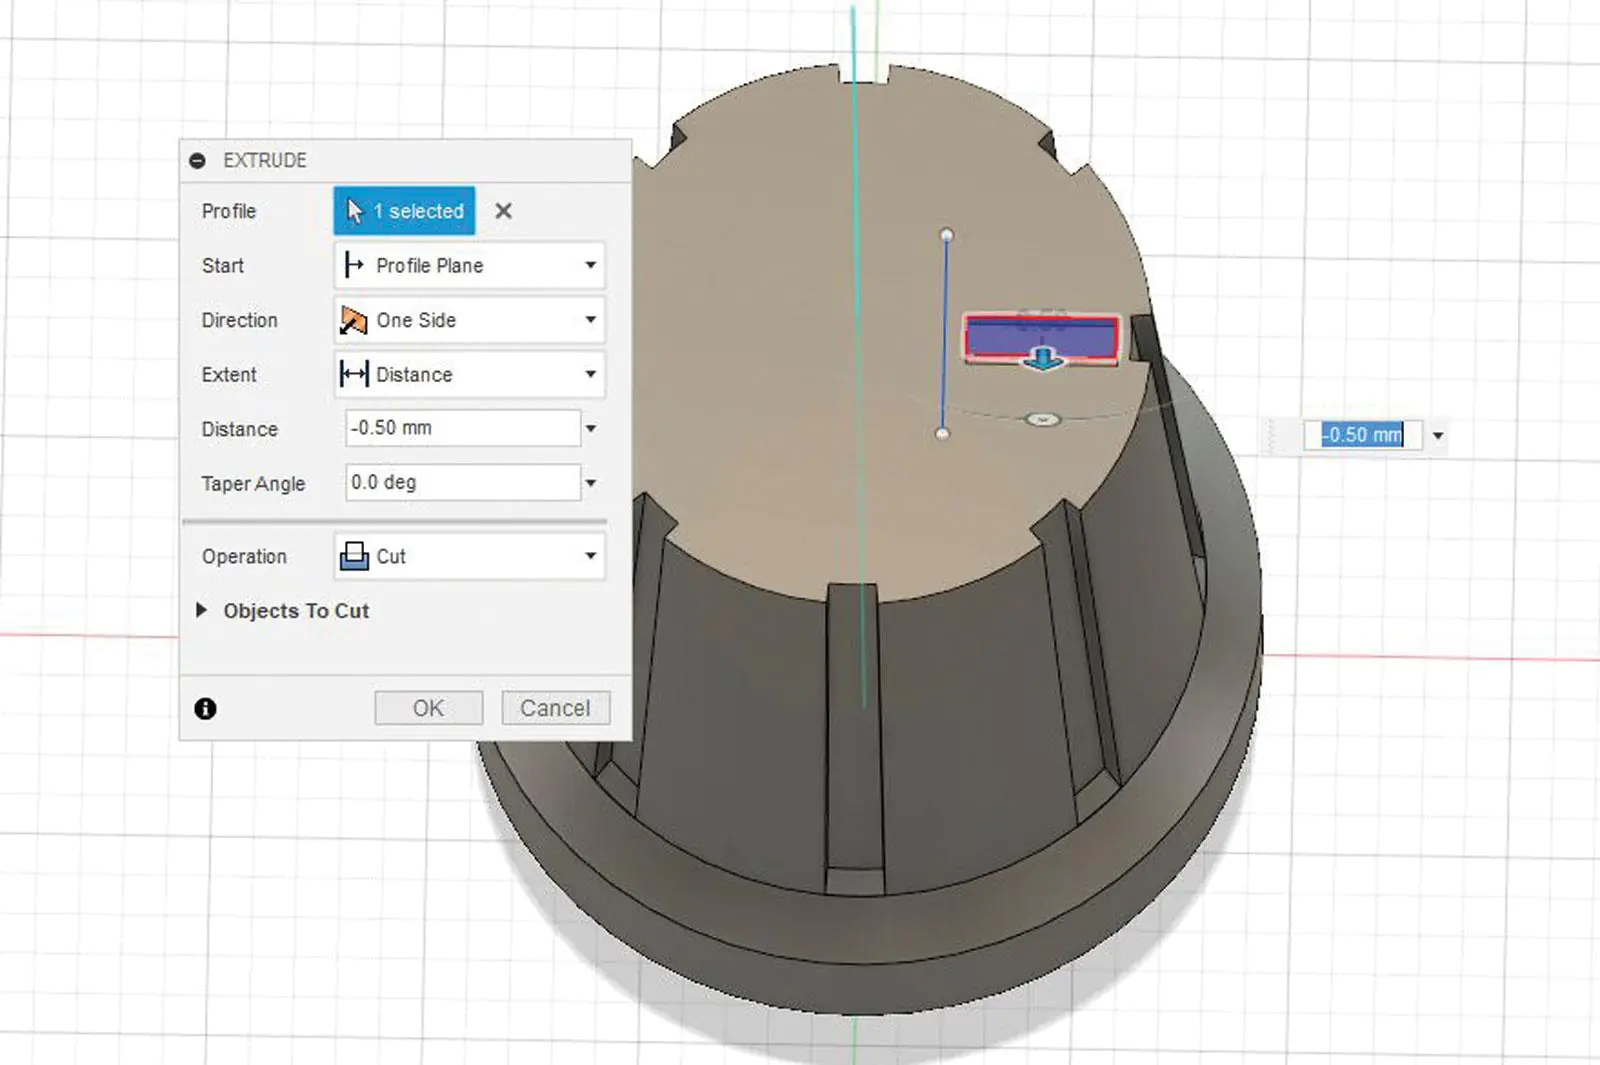
Step 3: Create a Surface
Select the “Surface” tool from the toolbar or press “S” on the keyboard. Choose the surface type you want to create, such as plane, extruded, or revolved. Follow the prompts to create the surface. Use the sketch as a guide to making the surface.
Step 4: Edit the Surface
Once you have created a surface, use the editing tools to refine and modify the surface. You can add or remove control points to adjust the shape of the surface. You can also change the tangency to ensure that the surface flows smoothly. You can create fillets or chamfers to soften the edges of the surface.
Step 5: Combine Surfaces
In many cases, you may need to combine multiple surfaces to create the desired shape. Use the “Combine” tool to merge surfaces. You can also use the “Trim” tool to remove parts of a surface that you don’t need.
Step 6: Evaluate the Surface
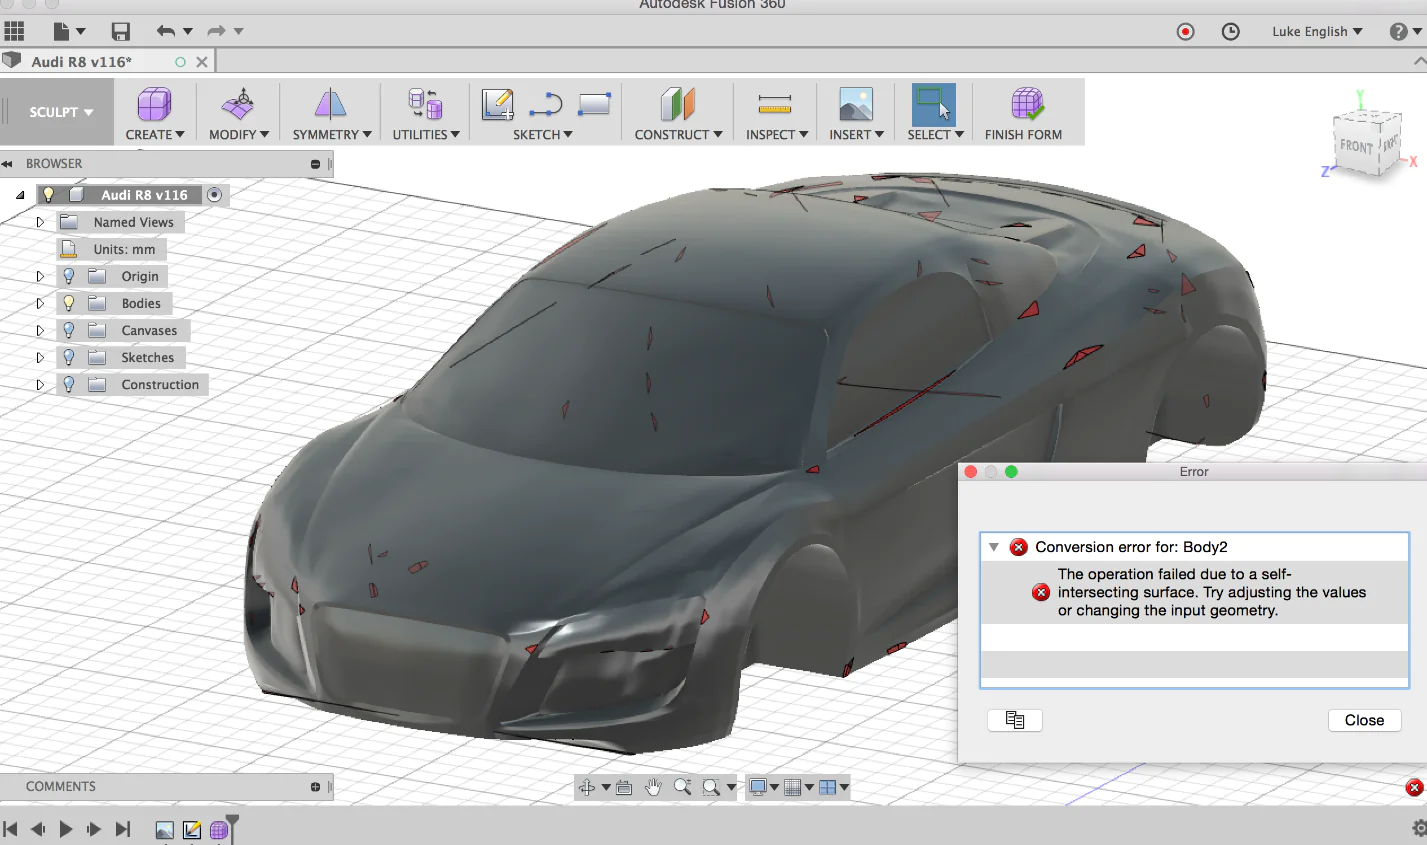
Once you’ve created the surface, evaluate it carefully. Check for any gaps, bumps, or irregularities in the surface. Use the “Analysis” tools to inspect the surface for curvature continuity, zebra stripes, and other features that affect the surface’s appearance and performance.
Step 7: Export the Model
Finally, export the surface model as an STL file or other compatible format for use in 3D printing, CNC milling, or other manufacturing processes.
Following are some tips to help you achieve success with surface modelling in Fusion 360:
Start with simple shapes and build to more complex ones as you become more proficient.
Take advantage of the various surface types available in Fusion 360, such as extruded, revolved, and sweep surfaces.
Be patient and persistent – surface modelling can be challenging, but with practice, you can master it.
Use the “History” feature in Fusion 360 to keep track of your steps and make changes as needed.
Learn to use the “Offset” tool to create surfaces that are parallel to existing surfaces.
Use the “Patch” tool to fill in gaps or holes in your surface model.
Use the “Thicken” tool to give your surface model thickness and volume.
Continually evaluate your surface model for accuracy and smoothness.
Feel free to experiment and try new things. Surface modelling is a highly creative process, and innovation is vital.
Conclusion
In conclusion, mastering surface modelling in Fusion 360 requires a solid understanding of the basics, a step-by-step process, and adherence to best practices. Following these guidelines, you can create complex and impressive shapes that bring your ideas to life in incredible detail. Remember to plan your approach, make sketches, and use editing tools to refine and modify your surfaces. Additionally, combining multiple surfaces, evaluating your work, and exporting your model are crucial steps to creating a high-quality final product. With rehearsal and persistence, you can become a master of surface modelling in Fusion 360.
