
How to Edit Bokeh Photos for Maximum Impact
Bokeh photographs exhibit a smooth, creamy, round, out-of-focus background with the help of a wide aperture lens. These photos distinguish the subject from the backdrop by emphasizing the main focus point. Post-processing techniques such as selective blur, bokeh shape alteration, and colour augmentation increase the bokeh effect, providing an interesting and beautiful impression. This blog discusses the steps and strategies for modifying bokeh photos to create more professional and appealing effects.
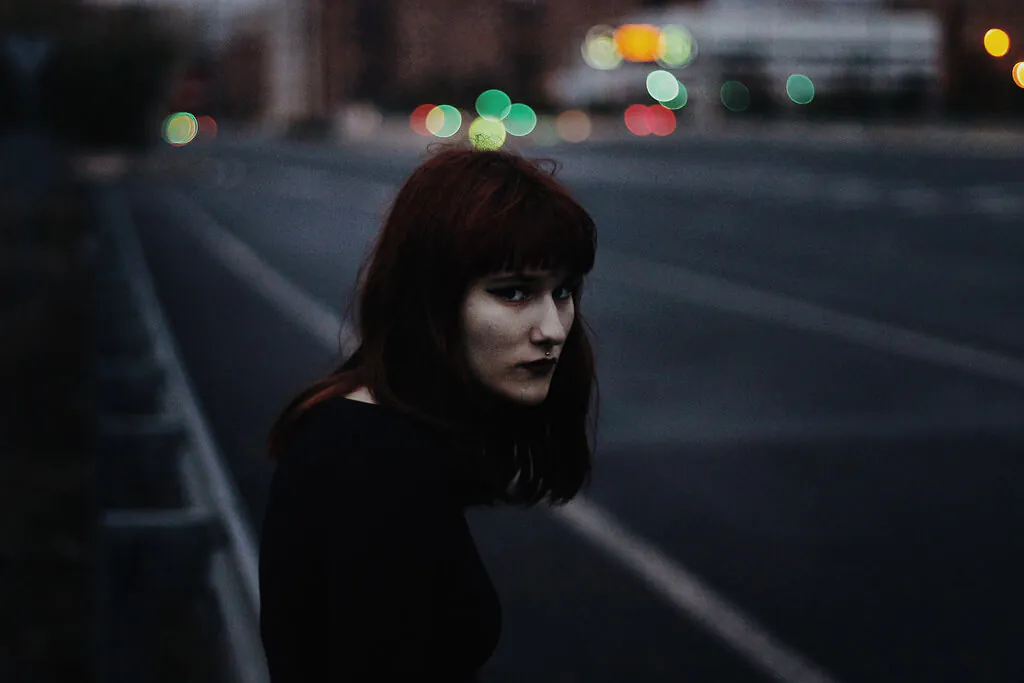
Step 1: Select the Right Bokeh Photo
The first step in maximizing the impact of your bokeh photos is carefully choosing the most suitable image. Look for a photograph that showcases a distinct bokeh effect, with a sharp subject against a beautifully blurred background. Opt for images captured with a wide aperture lens, indicated by lower f-numbers, as they tend to produce more pronounced bokeh. Select subjects that are visually captivating and stand out against the blurred background, as this will enhance the overall impact of the photo. Pay attention to elements such as lights, textures, or captivating foreground objects that can create stunning bokeh highlights. Starting with the right photo sets the foundation for creating visually compelling bokeh images that capture attention and evoke emotions.
Step 2: Import the Image into a Photo Editing Software
Once you have chosen the ideal bokeh photo, import it into a professional-grade photo editing software like Adobe Photoshop, Lightroom, or GIMP. These tools provide an extensive array of advanced features and tools that can help you to achieve stunning results. Importing the image into the software gives you complete control over the editing process, allowing you to make precise adjustments and enhancements to the bokeh effect. Take the time to familiarize yourself with the software’s interface and tools to maximize your editing capabilities.
Step 3: Adjust Basic Parameters
Before moving towards more advanced techniques, start by adjusting the basic parameters of your bokeh photo. Fine-tune the exposure, contrast, and white balance to ensure a well-balanced and visually appealing image. This step lays a solid foundation for subsequent enhancements. Be mindful not to overdo these adjustments; the goal is to enhance the photo while preserving its natural feel and original intent. Use histogram tools and adjustment sliders to achieve the desired look without sacrificing the overall aesthetic.
Step 4: Create a Duplicate Layer
To secure the integrity of the original image and maintain flexibility during the editing process, create a duplicate layer. That can be easily done within your chosen photo editing software. Working on a duplicate layer allows you to make changes and experiment with different effects while hanging on to the option to revert to the original image if needed. Doing so allows you to freely explore editing techniques without fearing irreversible alterations. A duplicate layer also provides a reference point to contrast the edited version with the original, ensuring that your modifications enhance the photo.
Step 5: Apply Bokeh Enhancement Techniques
Selective Blur: Utilize the masking tools available in your photo editing software to apply selective blur to the background. By isolating the subject and blurring the surrounding areas, you can intensify the bokeh effect and draw attention to the focal point. Experiment with different levels of blur to achieve the desired visual impact. Use gradient masks or adjustment brushes to control the areas where the blur is applied precisely. Consider using a combination of blur techniques, such as lens blur or motion blur, to add depth and realism to the bokeh effect.
Bokeh Shape Manipulation: Take advantage of advanced features in your software that allow you to manipulate the shape of the bokeh highlights. Some software provides specific tools for bokeh shape manipulation, allowing you to choose from a variety of predefined shapes or create custom shapes. Experiment with different shapes, such as hearts, stars, or even abstract forms, to add a unique and creative touch to your bokeh photos. This technique helps make your images visually distinctive and can add an extra layer of artistic expression.
Colour Enhancement: Enhancing the colours of the bokeh highlights can significantly enhance the overall impact of the photo. Utilize tools like selective colour adjustments, gradient maps, or colour overlays to modify and intensify the colours of the bokeh. Consider harmonizing the colour scheme with the mood and theme of the image. Work with different colour palettes to create a visually captivating composition. Pay attention to colour theory principles, such as complementary or analogous colours, to achieve a harmonious and aesthetically pleasing result.
Step 6: Fine-tune and Refine
In this step, give careful attention to detail as you fine-tune and refine your bokeh photo to achieve a polished result. Utilize advanced tools and techniques to elevate the visual impact of your image. Experiment with dodge and burn techniques to selectively lighten or darken specific areas, adding depth and dimension. That allows you to emphasize key elements and guide the viewer’s attention. Apply vignetting to darken the edges, directing focus towards the subject and creating a more immersive experience. Adjust local contrast using tools like curves or adjustment brushes to make certain elements pop and draw attention to important details. Refining these aspects enhances the overall composition and creates a more captivating bokeh photo. Remember to strike a balance between enhancing the image and maintaining a natural and cohesive appearance.
Step 7: Finalize and Save
Once you are satisfied with the edits, finalizing your bokeh photo is time. Take a moment to evaluate the final result and ensure it aligns with your artistic vision. If the image meets your expectations, save it in a high-quality format such as TIFF or PNG. These formats preserve visual integrity and allow for optimal reproduction of your work. Consider creating a separate folder to organize your edited bokeh photos, making them easily accessible for future reference or sharing.
Take pride in your artistic creation and confidently share it with the world. Showcase your work on social media platforms and art websites, or even consider entering photography competitions. Embrace feedback from others and use it to refine your skills further. Remember, editing is a subjective process, and each artist has their unique style. Stay true to your vision and continue exploring new techniques to push the boundaries of your bokeh photography.
Some Additional Information For Editing Bokeh Photos:
While understanding the technical aspects and techniques for editing bokeh photos is crucial, finding inspiration and capturing the right moments are equally important. This section addresses various sources of inspiration and provides tips to help you discover unique and captivating bokeh photo opportunities. You can create bokeh images that truly stand out and evoke emotions by seeking inspiration and honing your observation skills.
Embrace Natural Light: Natural light plays a significant role in creating stunning bokeh photos. Pay attention to the interplay between light and shadows and how it interacts with your subject. Seek out a golden hour or blue hour moments when the light is soft and diffused, adding a magical quality to your bokeh images. Experiment with backlighting, where the light source is positioned behind the subject, to create a beautiful halo effect and enhance the bokeh. Embrace the unique qualities of each lighting condition and let it guide your composition.
Explore Different Locations: Expand your bokeh photography by exploring various locations. Look beyond the typical urban or natural landscapes and consider unconventional settings. Urban environments with vibrant city lights, bustling streets, and reflective surfaces can offer unique bokeh opportunities. Natural settings like parks, gardens, or forests can provide a beautiful backdrop for bokeh photos, with elements such as foliage, flowers, or bodies of water adding depth and interest. Experiment with different environments to discover unexpected bokeh moments and create visually captivating compositions.
Incorporate Creative Elements: To add an extra layer of creativity to your bokeh photos, incorporate unique elements into your compositions. Look for objects or subjects that can create interesting bokeh shapes or reflections. Experiment with incorporating props or accessories that complement the mood or theme of your photo. For example, using glass prisms or transparent objects can add mesmerizing bokeh effects. Incorporating textures, patterns, or colour contrasts can also elevate the visual impact of your bokeh images. Allow your imagination to roam free, and don’t be afraid to try unconventional ideas.
Tell a Story: Bokeh photos have the power to evoke emotions and tell stories. Consider the narrative or message you want to convey through your images. Think about the subject, the background, and the overall mood. Are you capturing a moment of joy, solitude, or romance? Pay attention to details and compose your shots to create a compelling story within the frame. By infusing your bokeh photos with meaning, you can create a deeper bond with your viewers and make your images truly memorable.
Conclusion
Finally, bokeh images provide a one-of-a-kind technique to showcase the subject by producing a dreamy and ambient background. Bokeh effects offer a mysterious fascination to photographs, making this technique popular among artists, photographers, and even ordinary people. On the other hand, a fine balance between bokeh retouching and the original substance of the image should be considered.
