How To Do Metamorphosis Edit
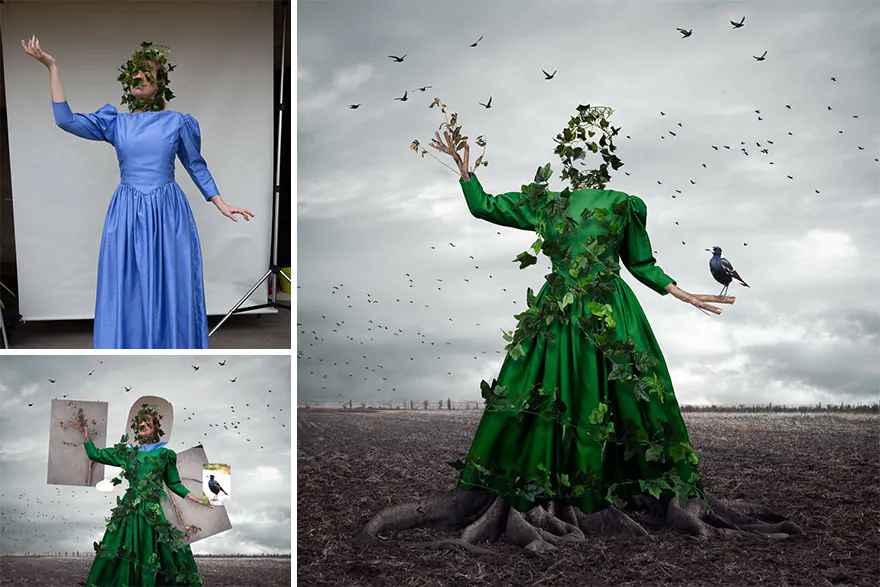
Metamorphosis Edit is a representation of surreal modification that dramatically reshapes the reality of the main image into an entirely different setting. This technique dexterously morphs mundane objects or the atmosphere of our photos into otherworldly ones. The metamorphosis of commonplace items into spectacular ones stands upon the employment of different tools and approaches that alter the depiction of a human, an animal, an object, and even natural elements like clouds. A person could evolve into an ethereal being, and a building might develop wings, or a landscape could acquire extraterrestrial characteristics. Layering and blending are the main ingredients of the metamorphosis approach; each layer contains different levels of progress before the final composition. These layers are blended terrifically to create a rhythmic and convincing transmutation. Spot-on masking and selection tools further control the parts of the image that are supposed to be affected by specific edits. Colour manipulation is addressed by adjusting the colour palette to procure a dreamy, surreal, or dystopian nimbus. You can also control colours by reinforcing or blacking out specific colours, introducing gradients, or creating a unique colour scheme that suits the innovatory vision. the detailed procedure for doing metamorphosis edits to your images is as follows:
Step 1: Image Selection and Editing Goals
Define your editing objectives, select the image for metamorphosis, and edit accordingly. Ponder about your desired effect, whether it’s a surreal and dreamy one or any other abstract concept.
Keep the photo with quality and resolution high if you want an ideal, successful final edit.
Look for your chosen image composition to see if it contains a focusable subject so that your editing efforts can be worthy.
The existing lighting and contrast are also note-worthy, which can guide you in the artificial addition of these two aspects.
Measure the compatibility between your photograph and the software you plan to adopt for your metamorphosis edit.
Choose the elements to transform after mind picturing the final version of your edited image. Identify crucial components for a compelling metamorphosis—edit by balancing your creative vision with pragmatic considerations.
Lastly, the least essential yet significant point is the consideration of your attachment to the chosen photo and its subject for an inspiring and devoted work.
Step 2: Tools and Techniques Know-how
Initialize your editing process by getting familiar with the selected application, exploring its tool menu and features, or considering watching tutorial videos for a better grasp.
Practice with essential tools like brushes, selection tools, and blending modes, as practising is the best way to learn. The details of these tools and techniques include:
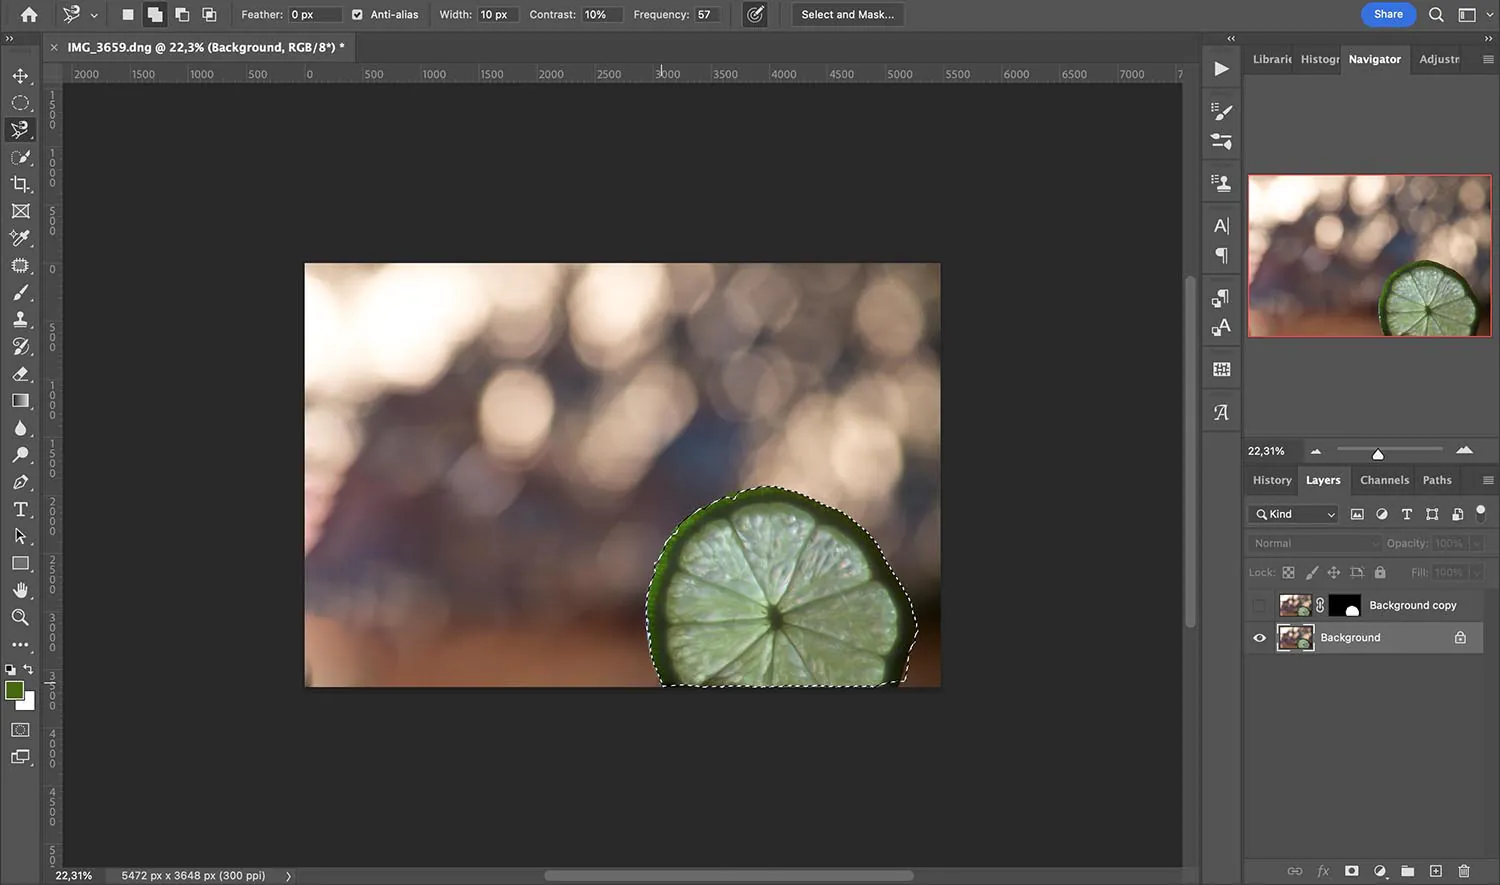
Selection Tools: To isolate and edit particular portions of your image, you need to know the selection tools. Understanding when and how to utilize each tool will give you exact control over your edits, whether using the magic wand, lasso, or pen tool.
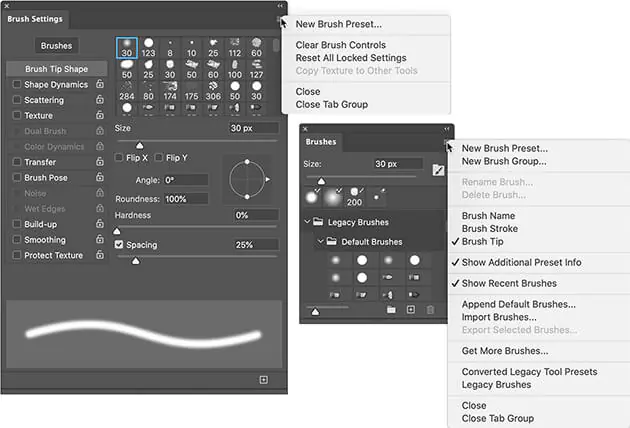
Brushes: Using brushes, you can add, remove, or improve details in your image. Play around with the brush’s size, hardness, and opacity to get the desired results.
Layers: Layers make modifications while maintaining the original by letting you work independently on various aspects of your image. For a neat workflow, learn how to structure and name your layers.
Blending Modes: Blending modes function For combining layers accurately. Identify the effects of each blending mode, from strengthening contrast to softening transitions.
Step 3: Deciding What to Transform
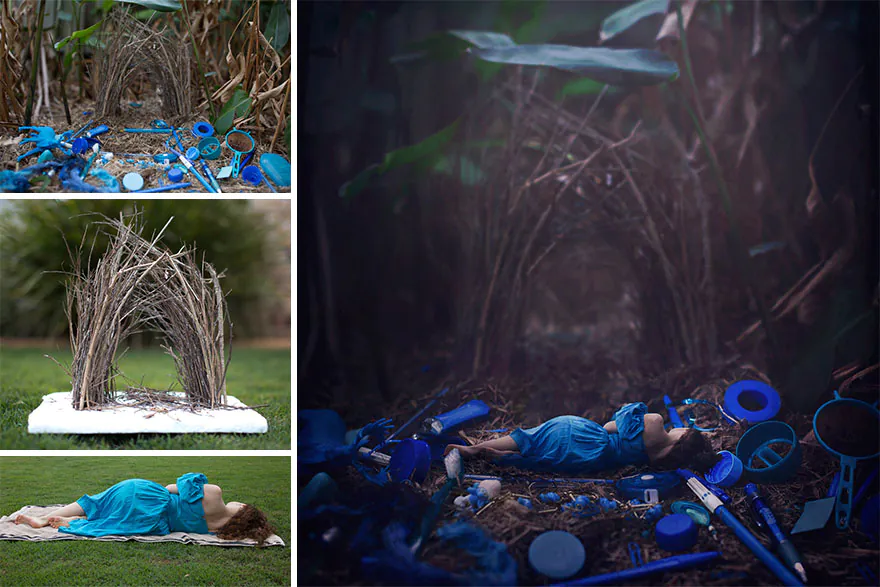
Choose the central figures in your image to turn them into something surreal. You can go for an object, a person, or an animal. Backgrounds can also be the target of your metamorphosis edit.
Instead of an abrupt transformation, you should be considerate of the slightest touch of realism so that the new adjustments and effects you will add to the image coincide immaculately with the original image.
Spend a moment planning and picturing the adjustments you want to make prior to editing. Contemplate the dimensions, appearance, and placement of the elements you update. During the editing process, a preparatory drawing or mental mapping assists you in staying on task.
If your edit involves several changes, keep the style and level of detail the same throughout. This evenness will refine your final composition’s overall plausibility.
Even though you have a plan, don’t hesitate to test various concepts and modifications. At times, experimenting with unorthodox creative decisions yields the most captivating results.
Narrative relevance is significant for a metamorphosis edit aiming to tell a story or convey a message. Each transformation should align meaningfully with the overall level.
Step 4: Applying the Idealized Transformations
Start by extracting the elements you’ve decided to manipulate using selection tools. Adjust selection parameters like feathering or anti-aliasing for optimal results. To capture particular regions, make sure your selections are precise and adjust as necessary.
Use brushes to carry out your process. You can add, delete, or accentuate features by setting the proper brush size, hardness, and opacities parameters. Try brush types like shatter, soft, and hard.
Make a separate layer for each element you modify for easy adjustments and a tidy editing process. You can find the Layer option in the main menu of your editing software. For clarity and simple adjustment, name the layers and adequately order them.
Apply blending modes to regulate the communication between your modified components and the underlying image, typically located in the layer attributes or blending settings menu. To get the desired results, play around with the “Overlay,” “Multiply,” or “Screen” modes.
Close up the image using the zoom tool or shortcut. For finer details, change the brush size and opacity. You can use additional tools like dodge, burn, or smudge for complex modifications.
For safety measures or trying different settings, you can use the undo and redo options or simply the shortcut key Ctrl+Z, and at last, click the ”Save as” option to preserve your adjustments.
Step 5: Improving Colour Fineness and Clarity
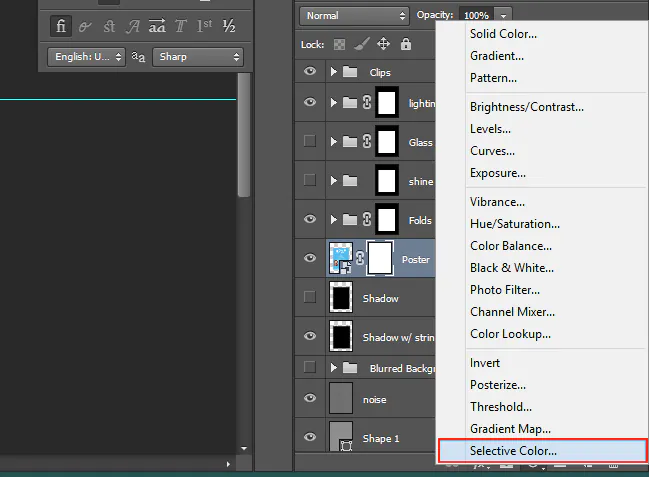
Take a closer look at the variable areas of your edited image to confirm precision. Now began using colour adjustment tools, hue saturation settings, selective colouring, and colour balance settings.
Try colour gradients to add profoundness in the background, foreground, and lighting effects.
Use colour overlays to add colour-specific adjustments to selected image parts for dreamy effects.
Consider the spirit that you would like your composition to communicate. Colour changes can have an eloquent impact on your audience’s psychological reaction.
Check for the compatibility of newly added colours and changes with your composition’s general subject and style.
Evaluate your edit while adding any called-for colour changes. Little modifications pose a significant impact.
Alternate colour schemes should be saved for edit versions. That lets you compare and choose the finest solution for your creative idea.
Step 6: Composition Techniques for Visual Impression
For a flawless layout, apply the rule of third by dividing the image into a grid of 3×3 and positioning all the picture components within the gridlines.
For a uniform visual gravity, settle the size and position of each piece inside the composition if you’ve altered many elements.
To increase the impact of focal points or transformations, use lines such as paths or object edges to guide the viewer’s gaze toward them.
Try out natural or architectural frames around crucial subjects or changes to provide visual focus.
Create negative space around subjects or transformations using the crop tool or readjusting empty areas around the image’s subject to highlight essential aspects and strategically arrange modified elements in the foreground, midground, and background.
Tinker with alignment and symmetry to create an organized and conspicuous composition. Create a visual framework by stressing essential altered fragments using contrast, colour, or size to direct the viewer’s attention.
Review and make further tiny tweaks to better the whole aesthetic of your photograph.
Step 7: Finalizing Your Metamorphosis Edit
In this step, focus on the finishing touches to make your metamorphosis edit genuinely remarkable. These practical details will elevate your composition to its fullest potential:
Reassess colour and tone alterations so that they are both harmonious and striking. Make little adjustments to obtain the appropriate mood and setting.
Revamp your image’s all-inclusive clarity and sharpness. Sharpening tools help highlight details, resulting in a clean end product.
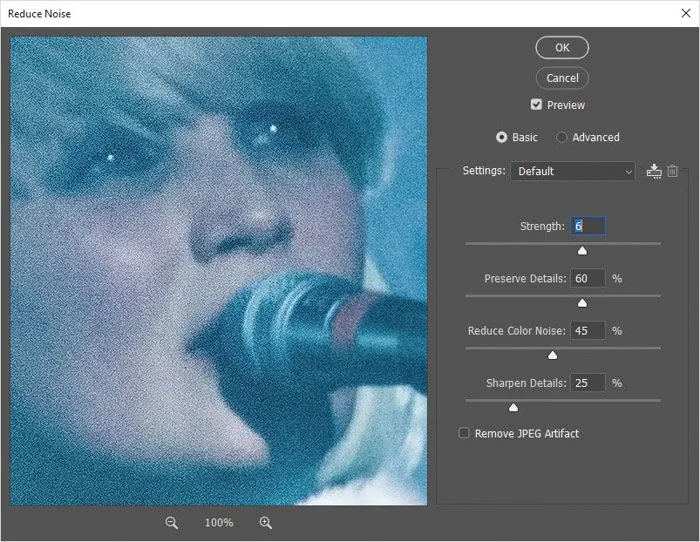
Clear any noise or graininess from your photograph. Use noise reduction techniques to give your image a clean and polished look.
Afresh for cropping or alignment modifications and ensure everything is set up correctly and aligned.
If you have to insert text or captions, do so now. Make sure they endorse the visual aspects without dominating the composition.
Consider adding a subtle watermark or signature to safeguard your work. Be it simple so it doesn’t detract from the editing.
Look at your photograph at full resolution for any flaws or distortions that might be missed throughout the editing process.
Make a high-resolution copy of your modification for displaying or printing. Make sure you have a clean copy for various needs.
Remember to make backups of your changed file to safeguard your hard work and Seek input from peers or fellow editors to validate the quality of your edit.
Conclusion
To conclude, metamorphosis editing epitomizes the fusion of art and fancifulness with technology and reality. The surreal ways presented in this image manipulation approach are pictorial aviation to human imagination, stretching the frontiers of visual language and revealing vast inventive ideas. Whether alchemizing a simple landscape into a paranormal dreamscape or bringing inanimate objects to life, human imaginativeness is the cap. It invites us to hover over endless discoveries of unexpected charms and wonders, making our images wear a beguiling cloak of appreciative metamorphosis.
