How to Design A 3D Model Using 3D Maya
In the contemporary digital age, anyone working in animation, visual effects, or gaming needs to be proficient in 3D modelling. A specialized piece of software with a broad selection of tools and features is required if you want to design 3D models. One such program is 3D Maya, which is an amazing 3D modelling software employed in the production of games, animation, and visual effects. Professionals in the gaming and film industries frequently use it to create lifelike characters, settings, and items. Maya’s user-friendly interface makes it simple to create 3D models with a high degree of detail and precision, regardless of whether you are a professional 3D artist or a beginner. In this blog, we will cover the fundamental procedures for designing a 3D model in Maya, including starting a new project, making a foundation mesh, adding details and textures, and rendering the finished model.
The Interface
The Maya UI is created to offer a user-friendly and adaptable experience for 3D modelling and animation. The interface is made up of several components that can be arranged and changed to fit the user’s preferences and workflow. Panels, menus, and toolbars are all part of 3D Maya, which enables simultaneous manipulation of the 3D world. Additionally, Maya also offers users many other customization choices, including the capacity to design unique hotkeys, shelves, and interface layouts. Ultimately, Maya’s user interface is created to offer a strong and adaptable tool for 3D modelling and animation. The following are the key components of the Maya interface:
Menu Bar: This bar has a number of menus that give users access to Maya’s numerous tools and features.
Shelf: The shelf holds a selection of commonly used tools and commands.
Viewports: Maya offers four viewports that let users see their 3D models from various vantage points.
Time Slider: This enables users to manage the animation sequence and playback of their 3D model.
Attribute Editor: It shows the characteristics and properties of the currently selected item in the scene.
Outliner: This shows a list of the scene’s objects in a hierarchical order that can be sorted and grouped for simple administration.
Status Line: This gives details about Maya’s present state, such as the tool or command that is currently selected.
Creating a New Model
You must first create a new project before you can begin creating your 3D model. This will assist you in structuring the organization of your files and assets, making it simple to handle and work with others. Select “New Project” from the “File” option in Maya to start a new project. Give your project a name and choose a location to save it in the New Project window. After starting a new project, you can begin making 3D models.
Steps to Designing a 3D Model in Maya 3D
Sketch your concept: Having a clear idea of what you want to create is crucial before beginning to create your 3D model. Make sketches of your idea and list the various components you want to use.
Create a new project: Launch Maya 3D and start a new project. Select the proper units, frames per second, and resolution for your project.
Model the basic shape: Using the polygon or NURBS tools, start modelling the fundamental form of your item.
To begin, add details and adjust the shape until it fits your design.
Add textures and materials: Apply textures and materials to your model to give it a more lifelike appearance. You can use preexisting textures from the Maya collection or make your own.
Apply patterns and materials: It can give your model a realistic appearance. You can use pre-existing textures from the Maya collection or make your own.
Set up lighting for your scene: You can light and render your scene to improve the look of your model. To accomplish the desired effect, experiment with various lighting options and modify their characteristics. Render your scenario after that to produce a finished image or animation.
Refine and Edit: Once you are happy with the findings, refine and edit your model. To improve the design’s overall appearance, make any required adjustments. You can produce a 3D model in Maya 3D that satisfies your requirements and matches your idea by following these steps.
Techniques And Tools used in 3D Maya Modeling
There are several techniques you can use to create your 3D model when it comes to 3D modelling. This part will discuss the most widely used techniques for 3D modelling.
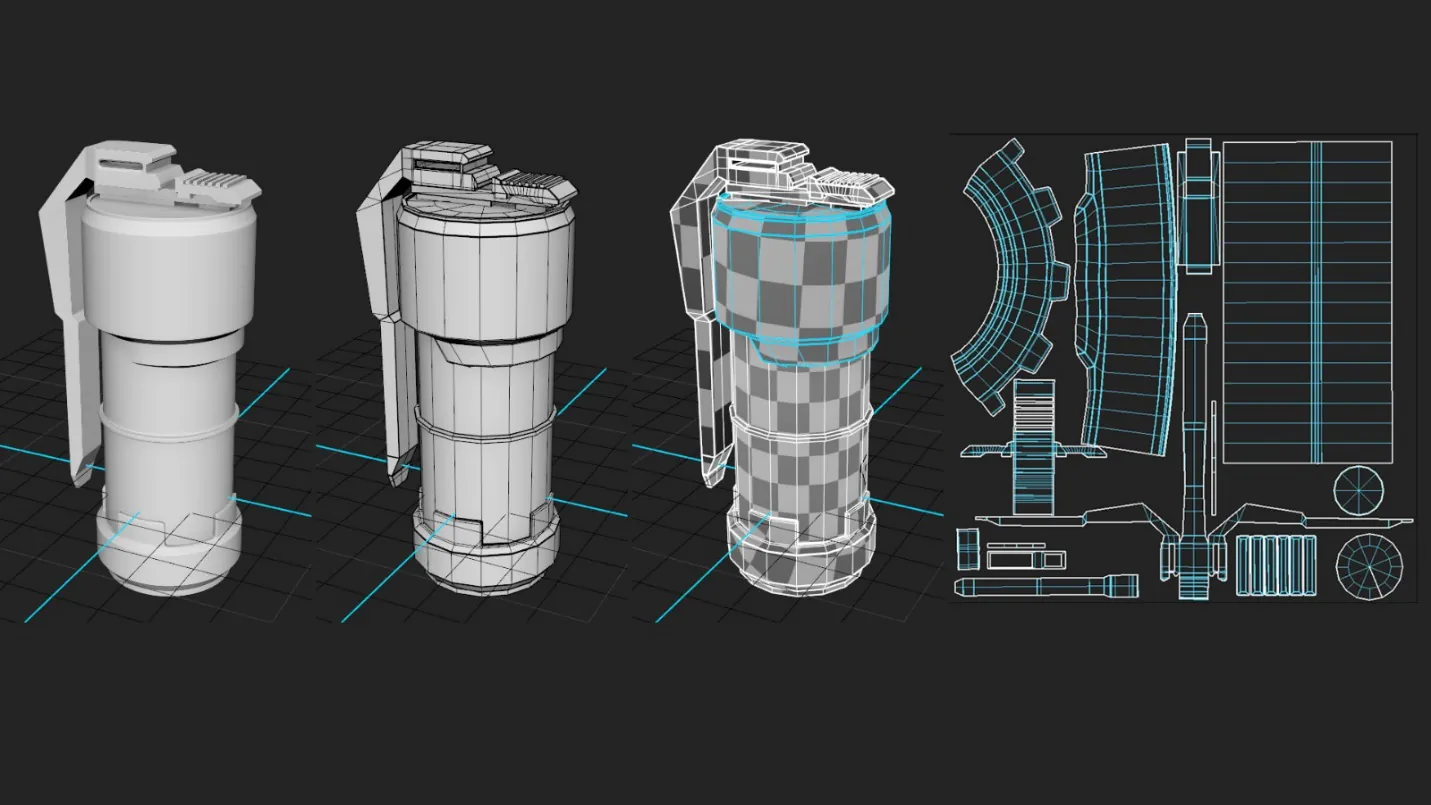
Polygon modelling is the most widely used technique for 3D modelling. A 3D picture is created by joining numerous polygons. To create complex 3D shapes, these polygons can be adjusted. While creating a polygon in Maya, go to the “Create” menu and select “Polygon Primitives.” The type of polygon you want to make can then be chosen, and its size and shape can be modified.
Another method used in 3D modelling is NURBS modelling. NURBS (Non-Uniform Rational B-Splines) curves and surfaces are used to create 3D models. Smooth, organic forms can be easily created using NURBS modelling. Select “NURBS Curve” from the “Create” menu in Maya to build a NURBS curve. The curve tool can then be used to create a curve in the viewport.
Texturing is the process of giving your 3D object a surface. This surface can be anything, from a straightforward hue to an intricate pattern. Your 3D model will appear and feel more lifelike thanks to texturing. UV mapping is used in Maya to create texturing. Select your 3D model and select the “UV” menu to generate a UV map. The texture can then be adjusted under the UV mapping style you have chosen.
Lighting is a crucial component of 3D rendering. It aids in establishing the tone and ambience of your 3D model. Point lights, spotlights, and directional lights are just a handful of the illumination options available in Maya. Select “Lights” from the “Create” option to add a light to your 3D model. The type of light you want to add can then be chosen, and its attributes, including intensity and colour, can be changed.
Rendering is a technique used to create a final image or animation of a 3D model. This technique involves using a renderer to process the 3D data and create a final output. Rendering features in Maya 3D allow you to manage camera angles, add realistic textures, and apply lighting and shading effects to the model. In Maya, you can use the “Render View” to preview the rendering and then use the “Render Settings” to adjust the output.
The sculpting technique is used to make organic and detailed models. Using sculpting instruments, this method entails pushing, pulling, and smoothing a model’s surface. The “Sculpt Geometry” tool in Maya can be used to shape the model, and the “Smooth” and “Flatten” tools can be used to refine the model.
Using subdivision modelling, smooth and organic forms are produced. Making a base mesh and then subdividing it to add more detail is the process used in this method. The “Smooth” tool in Maya can be used to split the mesh into smaller sections, and the “Sculpt” and “Smooth” brushes can be used to shape and refine the model.
A 3D model’s skeletal framework is built using the rigging method. This method entails building a collection of bones that can be moved around to pose the model. The “Joint” tool in Maya can be used to make the bones, and the “Skin” tool can be used to attach the model to the bones.
Animation techniques can create 3D model movement. To give the appearance of motion, a number of poses are created and then played sequentially. In Maya, you can establish the poses with the “Keyframe” tool and then fine-tune the animation with the “Graph Editor” tool.
Maya Fluid Effects is another impressive technique for stimulating and rendering fluid motion. Fluid Effects allows you to create a broad range of 2D and 3D atmospheric, pyrotechnic, space, and liquid effects. Using the Fluid Effects system in Maya 3D, fluid stimulation entails simulating realistic fluids like smoke, fire, and water. You must first build a container for your fluid simulation before adding an emitter to it to generate fluid particles. The fluid’s appearance and behaviour, such as its turbulence and gravity, can then be altered by applying different parameters. The flowing simulation can then be rendered using Maya’s built-in rendering tools.
Conclusion
Overall, Maya offers a comprehensive set of tools for 3D modelling and animation, making it a popular choice among professionals in the industry. To design a 3D model in 3D Maya, you usually start with a concept or reference image and then build the geometry of the object using Maya’s modelling tools. To give the model a realistic appearance and feel, you can then apply textures, materials, and lighting. Additionally, 3D Maya supports animation and rigging, which are necessary for making animated characters and other entities that can move and engage with their surroundings. Anyone with practice and dedication can learn to use Maya to produce stunning 3D models for personal or professional projects, including work in the film, video game, and building industries.
