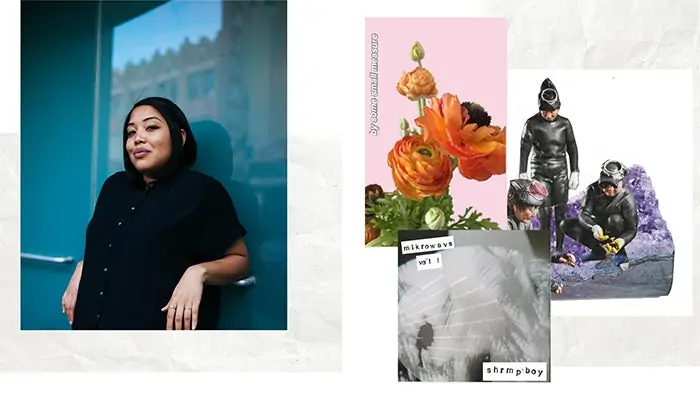
How To Create Zine Art
Zine art possesses the visual and graphic elements that function in an innovative sequence. The zine works often include hand-drawn images, collages, mixed media, and quirky layouts. Such compositions are generally exemplified by their raw, savage style, reflecting the DIY and countercultural spirit of vibrant art projects. Zine themes are miscellaneous, exploratory, and highly personal, which are in contradiction to the established aesthetics and accommodate a more authentic, emotive approach. Making a zine can be an incredible art project since it allows us to describe ourselves creatively and in a special, intimate way. Because zines don’t require painting and can be made with a range of mediums, such as text, photos, and graphics, they are an inclusive art form that lets artists express their visionary abilities in a variety of ways. This blog will go through the steps and tools and their application in creating zine artworks with contrasting complexity and styles as you like.
Step 1: Creating Initial Layout
Drawing is the foundational stage in making zine art utilizing software like Photoshop. In this step, you start by roughing out your thoughts and compositions utilizing digital drawing tools.
Launch your chosen software and make a new canvas with the required dimensions. Then, select a digital brush or pencil tool and alter its size and opacity to suit your sketching style.
Start by freely outlining the basic components of your composition, concentrating on capturing the general layout and arrangement of objects or characters. Utilize light, gestural strokes to preserve flexibility and ease up simple adjustments later on.
As you outline, do not worry too much about details or accuracy at this phase; the objective is to set up the fundamental structure and stream of your artwork. Be bold to experiment with different compositions and repeat until you’re satisfied with the general layout.
Once you’re upbeat with the initial outline, you can move on to the following step of refining and enumerating your zine art.
Step 2: Arranging Component In Layers
Layering is pivotal in the creation of zine art because it facilitates organization and flexibility during the editing process.
To start, guarantee that your program workspace is set up to show the layers board. This panel empowers you to oversee and control individual components of your artwork independently.
Begin by making a new layer for each distinct portion of your composition. For illustration, you might have separate layers for background components, characters, text, and effects.
As you include components in your composition, put each one on its own layer. So to effortlessly improve, resize, or alter them without influencing other parts of the work of art.
Modify layer blending modes and opacity alterations to form curious effects and interactions between distinctive components.
Frequently organize and name your layers to preserve clarity and proficiency, particularly as your composition develops more complex.
By successfully utilizing layers, you’ll keep control over your zine art and make exact adjustments all through the creation process.
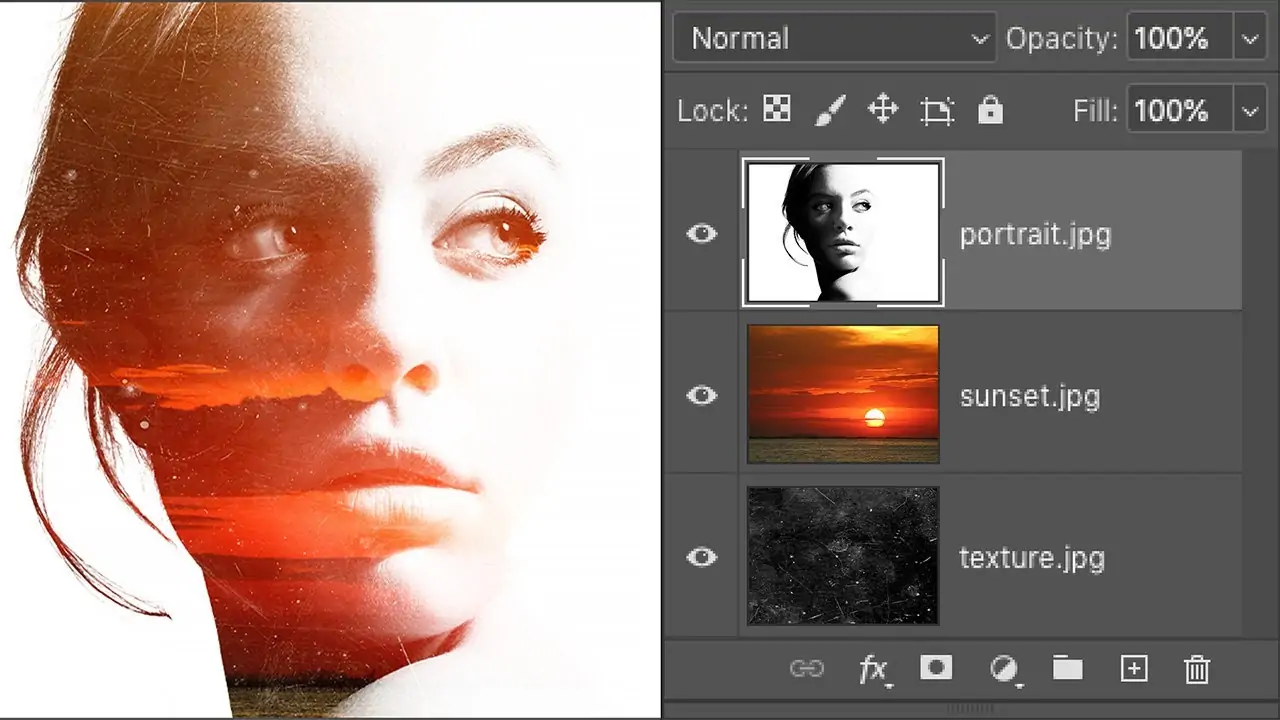
Step 3: Filling Colors And Blending

Coloring includes energy and visual appeal to your zine art, bringing your draws to life with profundity and dimension.
Start by selecting a suitable color palette for your artwork. Consider the temperament, subject, and overall aesthetic you need to communicate.
Use advanced painting tools such as brushes, gradients, and fills, and begin including color in your outlines. Fill base colors with different components of your composition, centering on setting up a cohesive color plot.
Test with shading, highlights, and blending modes to form profundity and authenticity in your artwork. Consider light sources and shadows to include dimensionality in your outlines.
Utilize layer and clipping masks to control where colors are added, aiding for exact alterations and blendings.
Refine your color choices as you go, paying consideration to balance and agreement inside your composition.
Regularly step back and assess your coloring choices within the setting of your general work of art, making alterations as needed to get the desired appearance and feel.
By carefully considering color, you’ll lift your zine art and make it more engaging and visually compelling.
Step 4: Including Textures For Depth
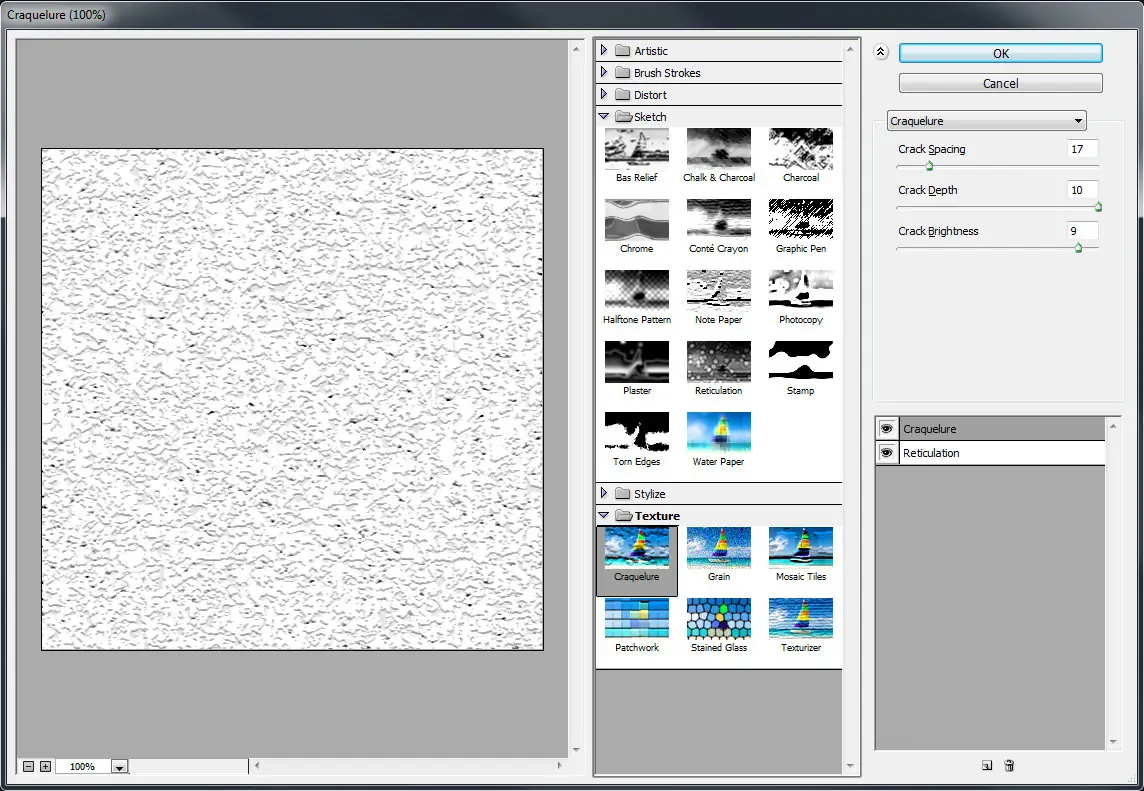
Texturing includes depth and visual interest in your zine art, providing it with a tactile and natural feel.
Begin by selecting or making surfaces that complement the subject and fashion of your artwork. These can incorporate natural textures like paper, fabric, or stone, as well as digital surfaces like grunge or noise designs.
Put in surfaces to distinctive components of your composition utilizing blending modes and opacity alterations. Try layering multiple surfaces to form special effects and varieties.
Think about the scale and arrangement of textures inside your artwork, guaranteeing they enhance instead of overwhelm the general composition.
Utilize layer masks and clipping masks to control where textures are connected, permitting precise alterations and blending with fundamental components.
Set the color and tone of surfaces to harmonize with the rest of your work of art, guaranteeing they integrate consistently into the general plan.
Frequently step back and assess the impact of textures on your zine art, making alterations as needed to attain the required visual harmony and surface lavishness.
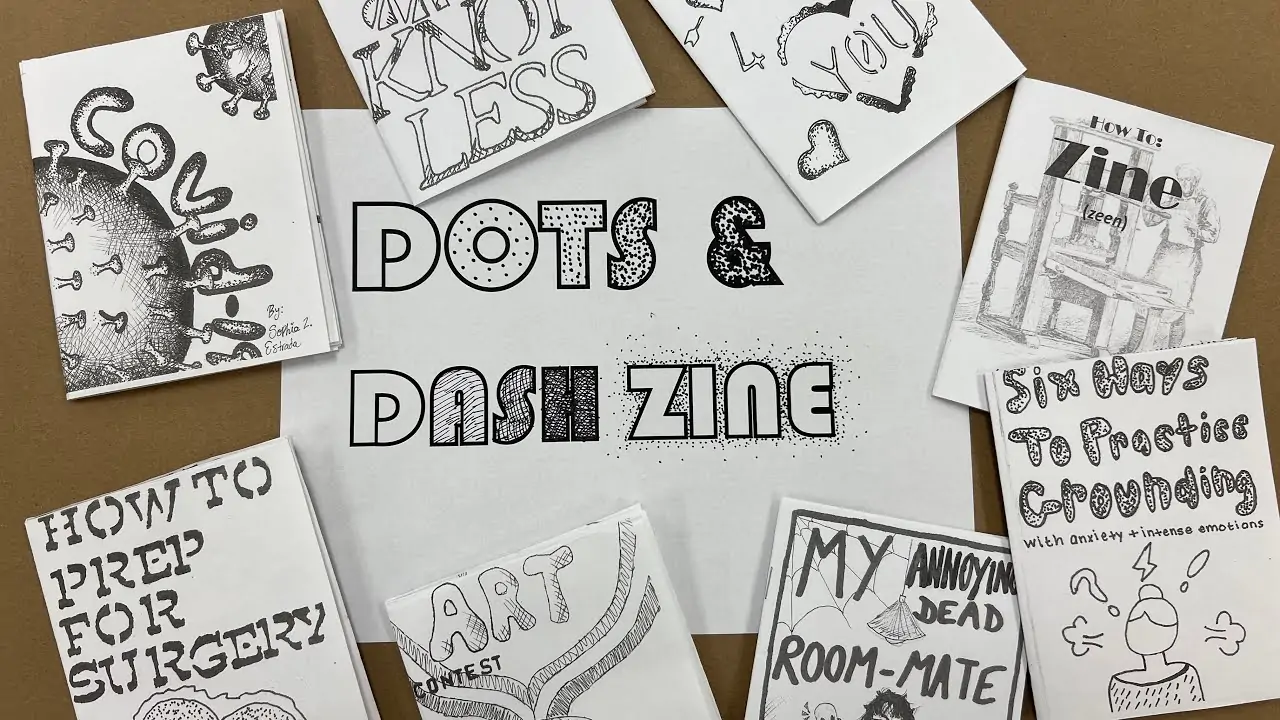
Step 5: Creating Collage To Integrate Elements

Collaging includes fusing different visual components such as photos, outlines, and found pictures to make a cohesive composition in your zine art.
Assemble a collection of images that suit the subject and flavor of your zine. These can be sourced from your claim photos, online picture storehouses, or checked from magazines and books.
Using choice tools just like the lasso or magic wand, extricate the specified components from your source images and transfer them onto your zine art canvas.
Test with different arrangements and compositions, layering the collaged components to form visual intrigue and story flow.
Blend the collaged components consistently into your artwork by altering their opacity, blending modes, and applying layer masks for exact integration.
Contemplate including hand-drawn components or textures to encourage binding together the collage and include an individual touch to your zine art.
Frequently step back and assess the general composition of your collage, making alterations as required to preserve balance and coherence inside your zine art.
Step 6: Applying Filters And Effects
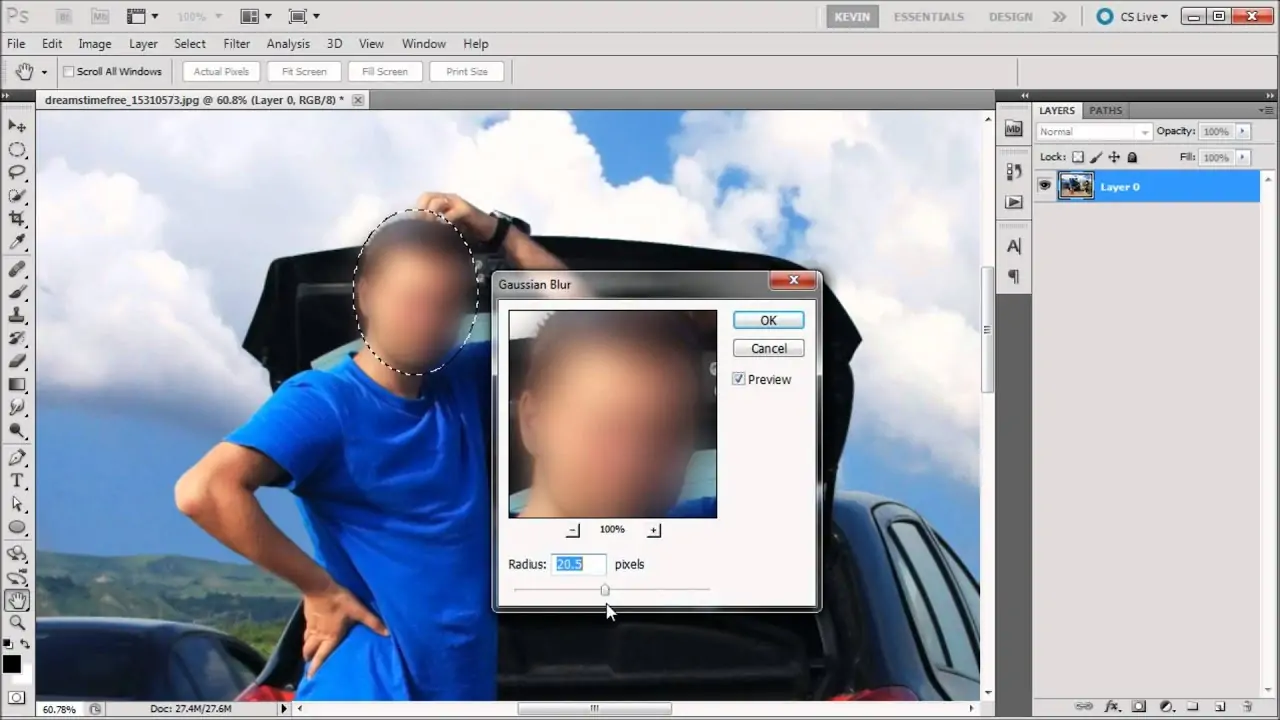
Impacts can improve the disposition, style, and general effect of your zine art, including visual interest and profundity to your composition.
Test with filters, adjustments, and uncommon effects to attain the specified see and feel for your artwork. This will incorporate methods such as blurring, sharpening, and distortion to make interesting visual effects.
Evaluate the theme and tone of your zine art when selecting and applying effects. For example, vintage effects can be utilized for a retro vibe, and glitch effects can be utilized for a futuristic style.
Test with layer blending modes and opacity alterations to form subtle or dramatic impacts that complement your composition.
Explore aesthetic filters and plugins to include texture, grain, or stylization in your artwork, giving it a particular and expressive quality.
Frequently see your artwork with and without effects to assess its effects and make adjustments as required to attain the required visual balance and coherence inside your zine art.
Step 7: Performing Final Adjustments
Concluding is the final step in making your zine art, where you plan your artwork for printing or digital distribution.
Audit your whole composition, paying consideration to details, adjusting, and overall coherence. Make any vital alterations to guarantee that your artwork meets your vision.
Check the resolution and dimensions of your artwork to guarantee it’s appropriate for its expected utilization. For print, guarantee the resolution is adequate for high-quality reproduction. For digital distribution, consider file size and compatibility with various devices and stages.
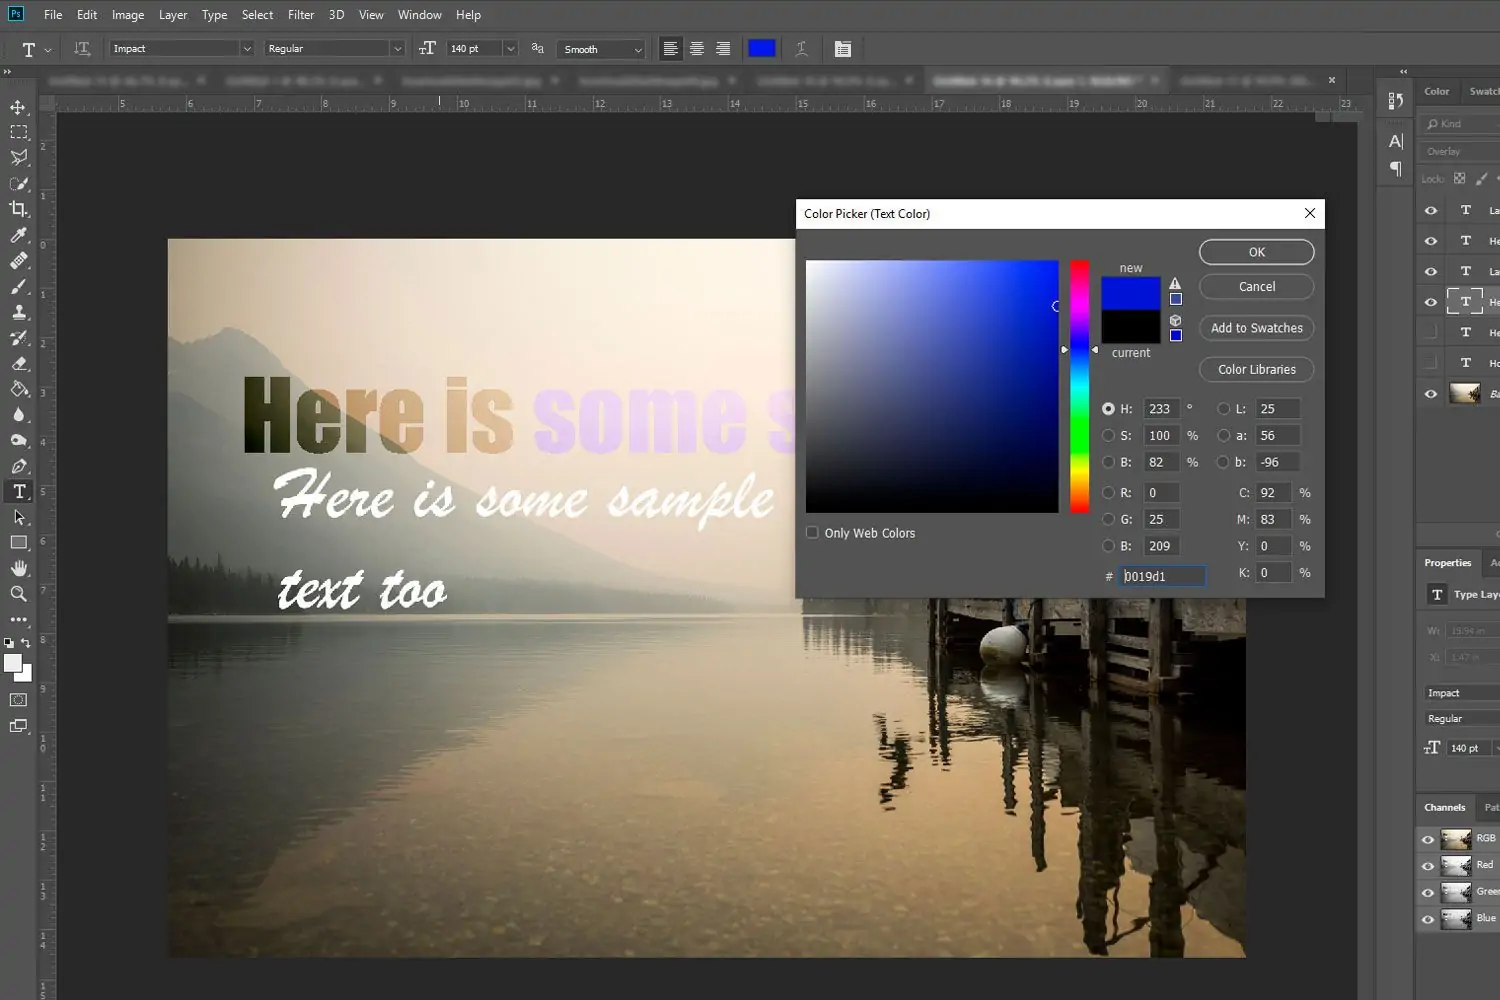
Edit any text components in your zine art, checking for spelling, grammar, and coherence.
Flatten or blend layers as required to rearrange your artwork and diminish the file size while holding flexibility for future edits if essential.
Save your artwork within the appropriate file format for your intended use, such as JPEG or PNG for digital distribution or TIFF or PDF for print.
Check out including metadata or annotations to your file to supply context or credits for your zine art.
Review you’re fulfilled with the ultimate version of your zine art; it’s ready to be shared with your audience or printed and dispersed as a portion of your zine publication.
Conclusion
In conclusion, zine rat is a lively art approach that invites us to experiment with liberal and raw ideas, bringing them to visual forms. Zine art creation, from initial sketching to detailed layering and texture inclusions, is all about a profoundly personal and exploratory process. Each of the phases adds a unique and precise touch to the final composition that mirrors the creator’s concept and creativity. Whether you make it for digital or print purposes, the final zine artwork is always charming and bedazzles the viewers. Zines are also a great tool for education to learn about issues-based work and can be used to investigate a particular subject or theme concerning assorted projects.
