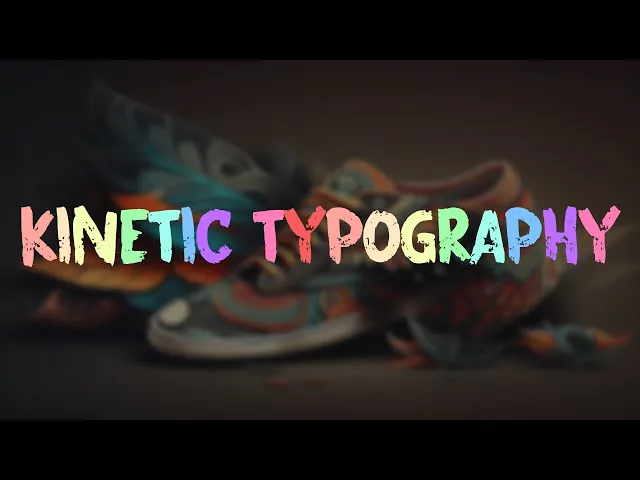
How To Create Kinetic Typography On Your Images
The fascinating design technique of kinetic typography ingeniously mixes the animated texts into visuals to convey the intended messages more effectively and absorbingly. Unlike static text, the dynamic quality of kinetic typography highlights how motion and animation transform words into interactive pictographic adventures that mingle congruously with the imagery. In the process, an image acts as the background or canvas for embossing the animated text. The text can be moved, scaled, rotated, or changed in different colours, creating a visually appealing fusion with the image. The animation is carefully aligned with the image’s content, perfecting its fabrication significance. This technique requires a blend of design sensibility, typography expertise, and animation skills. The users have to conscientiously select fonts, colours, and animations that align with the image’s mood and the purposive message. The motion of the text refines the image’s narrative by stressing core points, thus creating a beguiling experience for the beholders.
Step 1: Choosing the Right Image for Kinetic Typography in Photoshop
Message Alignment: Begin by clarifying the message you want to convey through your kinetic typography. That will guide your image selection.
Image Exploration: Browse through your image library and choose an image that aligns with your message’s mood and tone.
Open Photoshop: Launch Adobe Photoshop and create a new project with the chosen image as the background.
Canvas Evaluation: Assess the image’s composition and identify suitable areas where text can be added without overpowering the image.
Resizing and Scaling: Resize the image if necessary to match the dimensions of your intended output platform, ensuring clarity and consistency.
Canvas Setup: Establish a workspace for comfortable text placement and adjustment. Consider leaving negative space around the text.
Text Accessibility: Anticipate the text’s legibility by choosing an area with appropriate contrast against the background.
Project Vision: Visualize how the kinetic typography will interact with the image, enhancing its visual impact and narrative.
Step 2: Designing Typography Style for Kinetic Typography in Photoshop
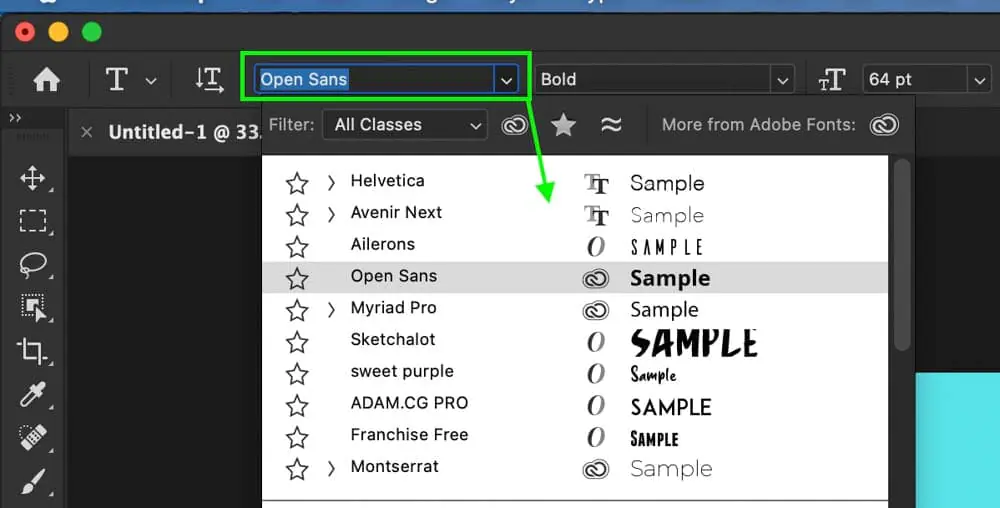
Font Selection: Begin by selecting a font that matches the image’s mood and the message you want to convey. Experiment with various font styles to find the best fit.
Font Pairing: Consider pairing fonts for headings and body text. Choose complementary fonts that create a cohesive visual experience.
Size and Hierarchy: Determine the font size for each text element. Establish a hierarchy that guides viewers through the message with clear emphasis.
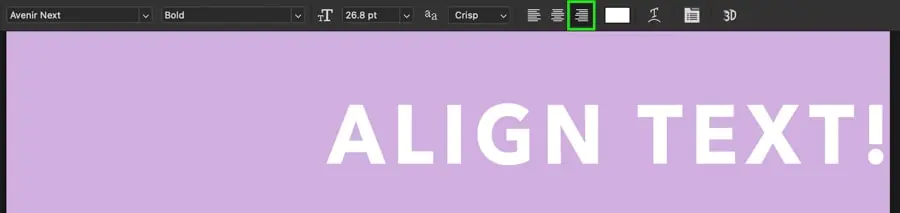
Spacing and Alignment: Adjust letter spacing and alignment to enhance readability and create a balanced visual appearance.
Colour Palette: Choose text colours harmonizing with the image’s colour palette. Ensure good contrast for legibility.
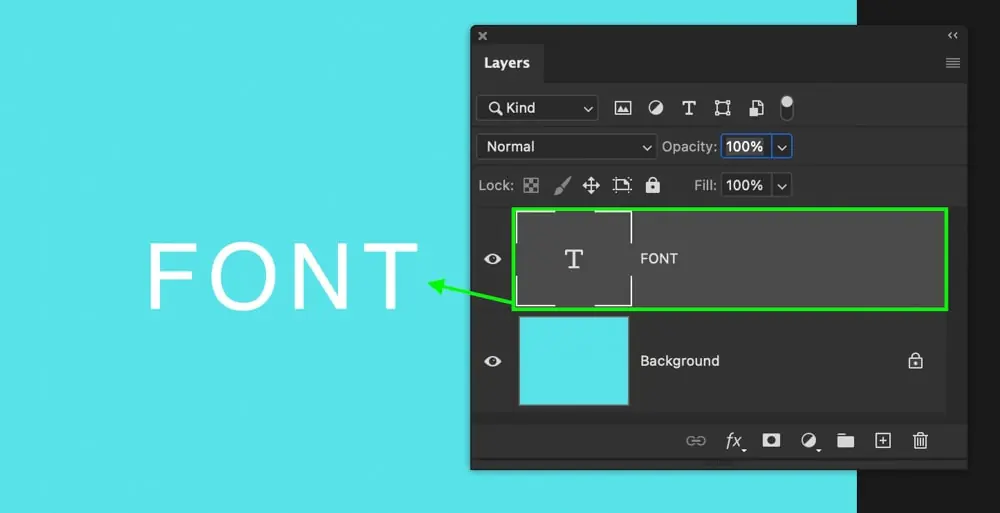
Layer Organization: Create separate text layers for each text element. That makes editing and animating easier in later steps.
Font Consistency: Maintain consistent font choices and styles throughout the composition for a polished look.
Preview Text: Review the typography’s visual impact within the image before proceeding to the animation phase.
Step 3: Preparing Text Elements for Kinetic Typography in Photoshop
Text Drafting: Begin by writing or selecting the text you intend to animate. That could be a quote, message, or any content that complements the image.
Segmentation: If your text is lengthy, break it down into smaller segments. That aids in smoother animation and maintains viewer engagement.
Hierarchy Planning: Determine the hierarchy of your text segments. Decide which parts of the message should stand out and which can be more subtle.
Text Editing: Edit the text for accuracy and clarity. Ensure that each segment effectively conveys its intended meaning.
Font Adjustment: Adjust font size and style as needed for optimal readability, considering the available space on the image.
Layer Organization: Create separate text layers for each segment. That makes it easier to manage and animate individual elements.
Visual Preview: Arrange the text segments on the image to get a visual preview of how they’ll interact. Make any necessary adjustments for better composition.
Message Review: Step back and review how the prepared text elements align with the image’s aesthetics and the overall project vision.
Step 4: Integrating Animated Text onto the Image in Photoshop
Layer Selection: Open your chosen image in Photoshop and create a new text layer for each segment.
Text Placement: Position each text layer on the canvas where you want the animation to start. Align the text according to your design vision.
Layer Order: Organize the layer order to ensure text layers are above the image layer. That prevents text from being hidden beneath the image.
Opacity Adjustments: Adjust the opacity of text layers to see the text and the image simultaneously. That aids in precise placement.
Font Consistency: Ensure the font type, size, and style match the typography style you previously crafted.
Text Interaction: Experiment with different text placements to enhance the text’s interaction with the image’s visual elements.
Layer Styles: Apply layer styles like drop shadows or outlines to text layers for added visual impact and separation from the background.
Composition Review: Step back and evaluate how the animated text integrates with the image. Make adjustments as needed to achieve a balanced composition.
Step 5: Animating Text for Kinetic Typography in Photoshop
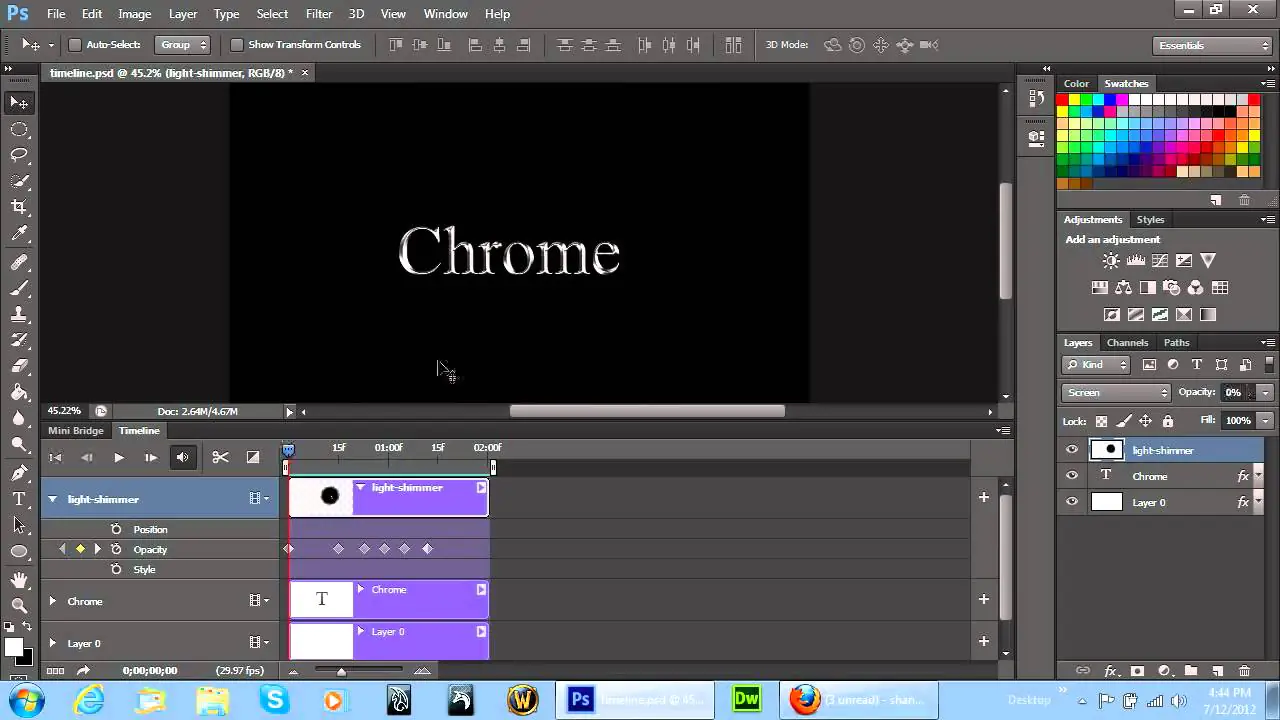
Timeline Activation: In Photoshop, access the Timeline panel by going to “Window” > “Timeline.” Convert your text layers into video frames by clicking the “Create Video Timeline” button.
Frame Duration: Adjust each frame’s duration to control the animation’s speed. Longer durations create slower motion, while shorter durations result in faster motion.
Frame Positioning: Set the initial position for each text layer on the canvas. That is where the animation will start.
Keyframes: Utilize keyframes to define animation points. Move forward in the timeline and adjust the text layers’ position to create movement.
Animation Effects: Experiment with effects like opacity changes, position shifts, or scaling to bring dynamic motion to your text.
Visual Continuity: Ensure that animation between frames is smooth and cohesive. Avoid abrupt changes in position or scale.
Animation Preview: Preview the animation within the Timeline panel to identify any adjustments needed for smoother motion.
Storyboard Consistency: Ensure that the animation style matches your project’s mood and the message you want to convey.
Step 6: Coordinating Motion with Image Elements in Photoshop
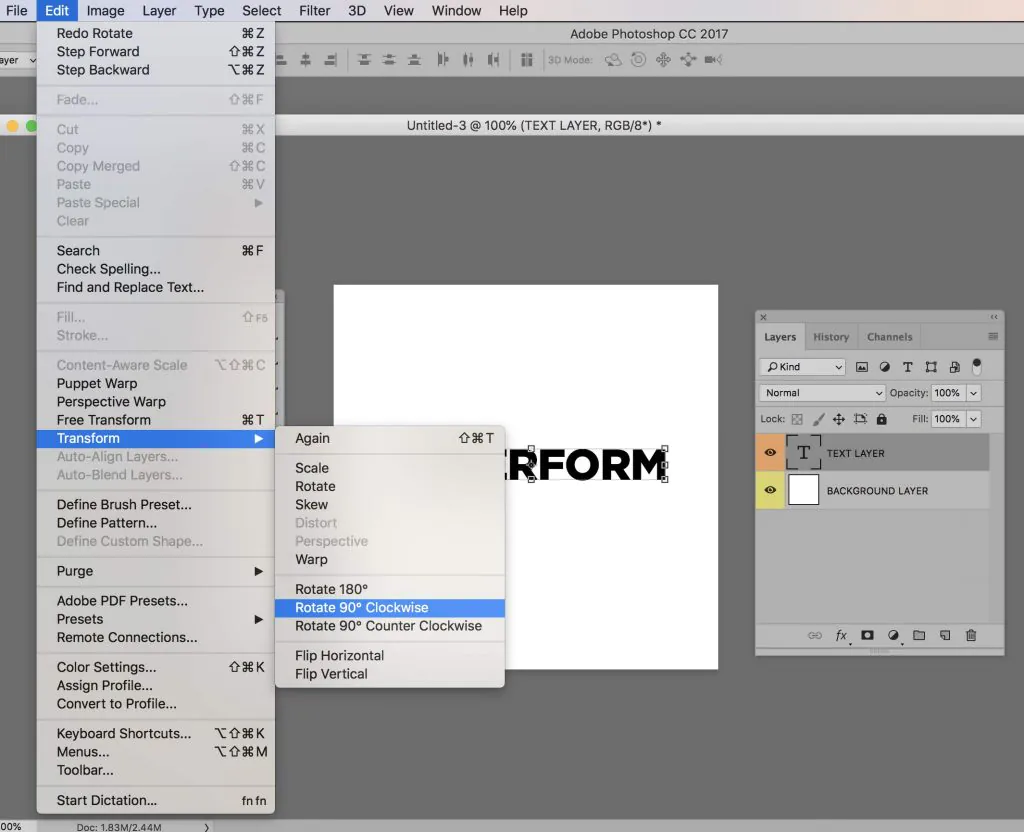
Image Analysis: Examine the image’s composition, focal points, and visual cues to determine where your animated text will best complement the scene.
Animation Direction: Align the direction of text animation with the movement within the image. That creates a cohesive and natural flow.
Visual Integration: Experiment with text animation that draws attention to significant areas of the image or follows the movement of objects or subjects.
Pacing Harmony: Match the animation timing with the image’s pacing. Smoothly integrate text movement with the rhythm of the image.
Storytelling Enhancement: Use animation to emphasize key narrative points in the image. That creates a stronger connection between text and image.
Preview Iteration: Preview and adjust the animation to ensure seamless coordination with the image’s visual elements.
Audience Engagement: Consider how the coordinated animation enhances the viewer’s engagement with the text and the image.
Dynamic Unity: Achieve a unified composition where text animation and image elements work harmoniously to deliver a compelling visual experience.
Step 7: Perfecting Timing and Transitions in Photoshop
Timeline Refinement: Fine-tune the timing of animation frames within the Timeline panel in Photoshop. Adjust the duration of each frame for optimal pacing.
Easing Effects: Apply easing effects to create smooth transitions between animation states. The gradual acceleration and deceleration enhance the animation’s natural flow.
Visual Cohesion: Ensure text movement and transitions feel coherent and seamless, enhancing the visual experience.
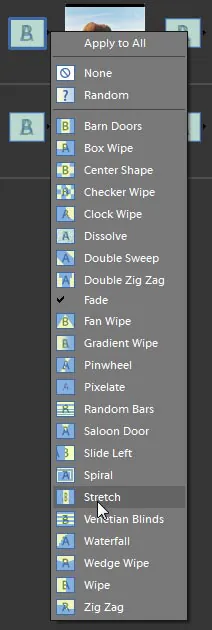
Transitional Effects: Experiment with fades, slides, or other transition effects to add elegance to text animations between frames.
Playback Review: Regularly repeat the animation within the Timeline panel to identify any jarring transitions or awkward moments.
Viewer Engagement: Consider how refined timing and smooth transitions contribute to viewer engagement and retention.
Dynamic Rhythm: Ensure that the animation’s pacing complements the image’s mood and message, creating a dynamic rhythm that resonates with viewers.
Polished Presentation: By perfecting timing and transitions in Adobe Photoshop, you elevate your kinetic typography to a level of professionalism that captivates and enthrals your audience.
Step 8: Saving Your Dynamic Typography Image in Photoshop
Composition Review: Review your kinetic typography composition within Photoshop before saving to ensure all elements blend seamlessly.
Layer Flattening: Flatten the layers to merge text and image if desired. However, keeping layers intact allows for future adjustments.
File Format: Choose an appropriate image format like PNG or JPEG to preserve image quality and text animations.
Resolution and Dimensions: Adjust the image resolution and dimensions to match your intended platform, ensuring optimal viewing.
Preview: Preview the saved image to confirm that text animations are intact and complement the image effectively.
Backup: Save a separate copy of your project file before finalizing the export, ensuring you have a version with editable layers.
Optimization: Optimize the file size while maintaining image quality to ensure smooth loading on digital platforms.
Showcase: Share your dynamic kinetic typography image confidently across blogs, social media, or any platform, showcasing your creative fusion of text and imagery.
Conclusion
At its core, kinetic typography on images is a beacon of creativity that conveys effective communication and expression. It modifies simple text into an eye-pleasing spectacle that draws masses in and leaves a lasting impact. Focusing on the cahoot of animated text and imagery, kinetic typography on images has the vigour to extort emotions or convey information in a novel and indelible way. You can communicate your views and flaunt your images simultaneously, fulfilling the twin objectives of delivering the wanted message and making a spectacular visual effect through images.
