How To Create A WordPress Plugin?
One of the most celebrated features of WordPress is its being open-source platform. WordPress community expands over 50,000 plugins created especially for this powerful Content Management System (CMS). If you do not know how to create a dedicated WordPress plugin, then no need to worry, as this blog is all about custom WordPress plugin development. Let’s get started with the method!
What Is A WordPress Plugin?
You can only imagine WordPress’s powers; it charges over one-third of all the sites present on the Internet today; this is estimated to be more than a billion different websites used by different users. The main reason for such huge popularity among users is its open-source nature. This platform, its source code, themes, and plugins are all available to the general public who wants to work with them according to their project. WordPress plugins are fact packets of code that increase the functionality of the user website. WP plugins can be designed by developers for various function-specific reasons. For instance, you can find plugins used to add social media share buttons, themes, popups, newsletter sign-up forms, and whatnot to make your WordPress site a flourishing eCommerce store.
The WordPress Plugin Ecosystem is suitable for beginners with little to no coding knowledge to customize their websites. Mention this platform offers countless opportunities for webmasters and developers to create extraordinary things on their own.
Create Your WordPress Plugin In 6 Easy Steps
The coding skill level requirement for each plugin nature is different. Still, they all have somewhat similar development processes. Let us learn how to create a WordPress plugin in 6 simple steps:
Step 1: Do Research and Planning
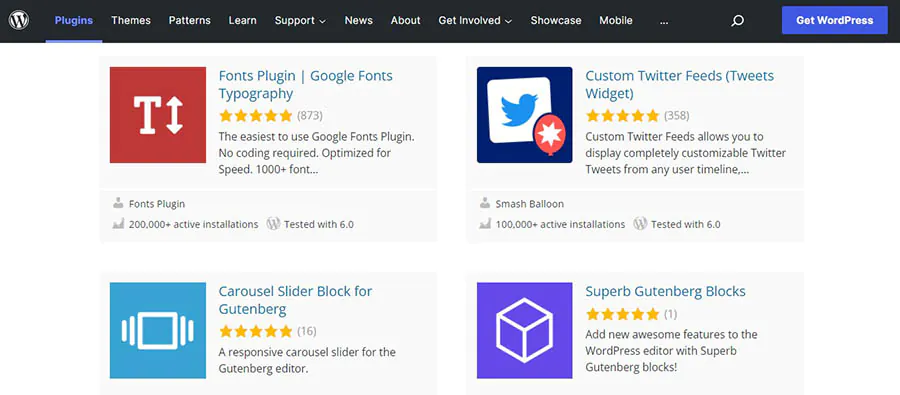
There is a limitless stock of tools present in the WordPress Plugin Directory waiting to be explored. The first best thing would be to carry out good research regarding your plugin idea to see if it already exists or not. However, if there is a plugin present with your idea, you can still go ahead with your plan. You can make adjustments according to your site requirements and taste. You can also check out the status of the existing plugin if it is compatible with the latest version of WordPress or not.
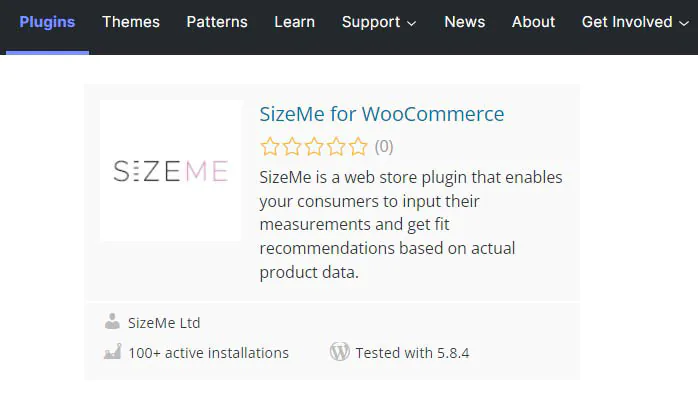
You can research the market by estimating the plugin number of active installations or even run tests on your website using that plugin to see if it complements your site in the long run. You can consider your business purposes to market your plugin; for example, developers create a website for their products, so if you plan to monetize your plugin, then think about subscription and pricing options.
Step 2: Create A Testing Environment
In this step, you will need to set up a plugin testing environment. If this is your first time learning about a plugin, then this step will help you in understanding how a plugin works on an active site. As a beginner, it is better to experiment on a local staging site as it will enable you to test the plugin privately. You can use Local to create a WordPress website on your PC.
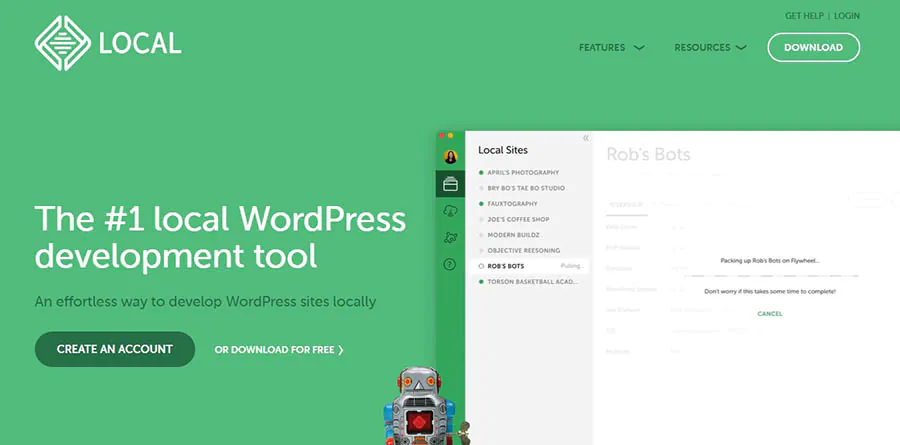
You can create your very own online staging environment using the DreamHost platform by making a copy of your present site. In this way, none of your visitors will be interrupted during plugin testing.
Step 3: Set Up The Plugin File
As soon as you have set your staging environment, you can now create your plugin and test it. Create a separate folder for this purpose in your WordPress site’s directory. To access your files and folder, you will require a Secure File Transfer Protocol (SFTP); we recommend using FileZilla for this job.
If it is your first time using FileZilla, all you have to do is enter your essential information like name and password etc. You can add this information directly from your hosting account. Once you connect this tool to your site’s directory, you can navigate your way to wp-content/plugins and successfully create a new folder for your plugin right away.
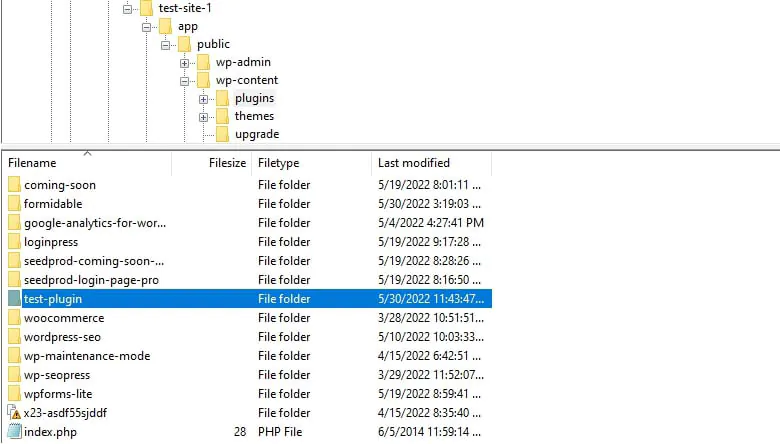
Now you will need to develop your PHP file to include in this folder. For this task, open your desired text editor and enter the below-mentioned code:
<?PHP
/**
* Plugin Name: test-plugin
* Plugin URI: https://www.your-site.com/
* Description: Test.
* Version: 0.1
* Author: your-name
* Author URI: https://www.your-site.com/
**/
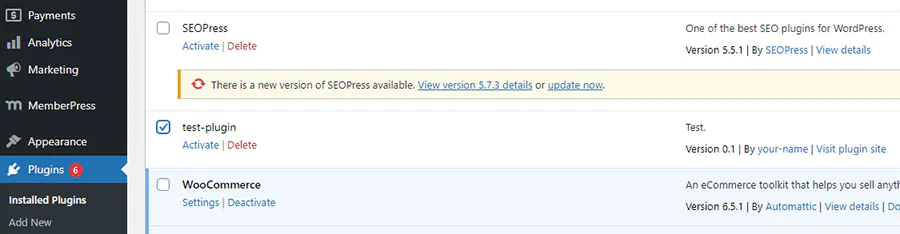
You can edit the aforementioned information to suit your details. You can save changes whenever you are ready to proceed further. It is important to remember to use file extension PHP e.g., my-first-plugin.php. It is a must to upload this file into the earlier created plugin folder. Once you have accomplished this step, you can easily navigate to test sites. Go to WordPress Dashboard and then go to the Plugins Page. Here you will be able to see your newly created plugin.
This plugin will not perform any action until you activate it. However, WordPress will identify this plugin as a functional add-on from the start of its creation.
Step 4: Add Code To Your Plugin
Every plugin is different from every other plugin; however, there exist a few common elements, like all plugins use hooks to connect with WordPress. The hook is a way in which a plugin connects to the WordPress code of the core’s programming. In simple words, it is an anchor point where the plugin is attached from where it changes or modifies the functionality of the site. Hooks are an essential part of WordPress development; you will be astonished to learn that there are hundreds of hooks that can be used as a starting point for a plugin and can be used to create new plugins as well. There are two kinds of hooks that you need to consider when creating your WordPress plugin:
Filters – These hooks are used to modify the functionality of actions of your site.
Actions – These hooks change or add to the functionality of WordPress and make up a major section of the hooks.
To code your plugin you will have to familiarize yourself with these hooks and how they function. To learn more, you can access the Plugin Developer Handbook. For this step-by-step guide, we will use the following code as our example:
function modify_read_more_link() {
return ‘<a class=”more-link” href=”‘ . get_permalink() . ‘”>Click to Read!</a>’;
}
add_filter( ‘the_content_more_link’, ‘modify_read_more_link’ );
This code uses a filter to modify the ‘Read More link by adding a different value i.e. ‘Click to Read’. Once you add this snippet to your PHP file and activate your site plugin then you will be able to see the following anchor on your post:

Step 5: Test Your Plugin
As you move forward in designing and developing your plugin, it is equally important to save changes and test them on your staging site. You can resolve security issues before you publish your plugin, or you can deal with them later. Once you are genuinely satisfied with your plugin, you can try it out on a live site after trial runs on a staging site. Again it is advised to conduct a thorough examination of your plugin for potential vulnerabilities and bugs. Creating a backup of your live site before carrying out plugin testing is indeed a smart move. In this way, you can easily restore all your content successfully.
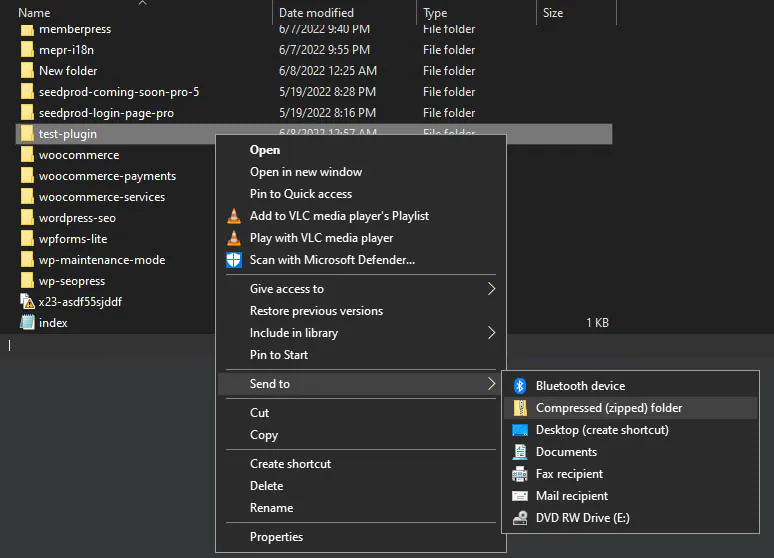
Once you are fully satisfied with your plugin performance, you can let other developers use and test it to offer you valuable feedback. You can also ask them to put the plugin through different situations to break it to improve its stability in the future. For this purpose, you will need to export your plugin to a zip file (for easy distribution and installation). You can also locate your plugin folder in the WordPress Directory and then click to select Send to > Compressed (zipped) folder.
You will have to select a destination, and all the files within your folder will be compiled in a zip file for easy sharing. In case you are creating a live site, then you will have to download the plugin folder from the SFTP client before compressing the file. For an easy plugin installed on your WordPress site, you can navigate your way to the Plugins Page on the WordPress Dashboard and select Add New option. Afterwards, click on the Upload Plugin option, and you will be asked to choose a .zip file to be uploaded on your live site, as shown below in the attached reference image:
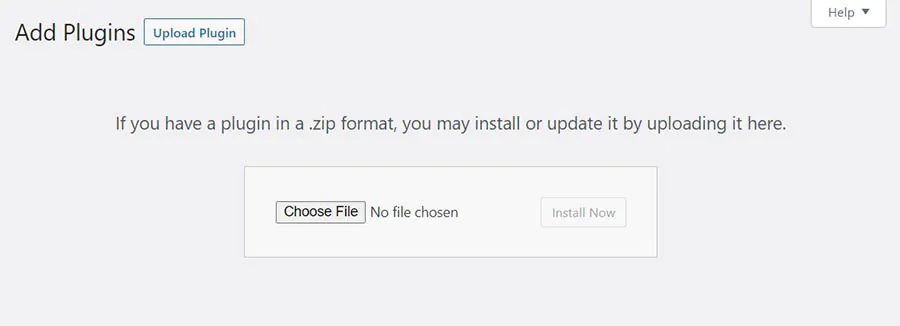
Simply choose the compressed file and select the ‘Install Now option. WordPress will then simply unpack and let you install the plugin on your site:
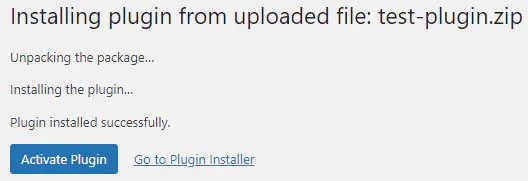
Once the installation process is completed you can now click on the ‘Activate Plugin’. This is it, your plugin is now live. You did it!
Step 6: Distribute Your Plugin
Once you have created, tested, and published your plugin, you are now down to the distribution phase. Let us look at the various ways to make this happen:
Publish Your Work on the WordPress Plugin Directory
You can publish your work with the WordPress community by submitting your work to the WordPress Plugin Directory. From here, your plugin can gain exposure, and you can earn the advantage of the enormous WordPress user base and attract new clients based on user reviews.
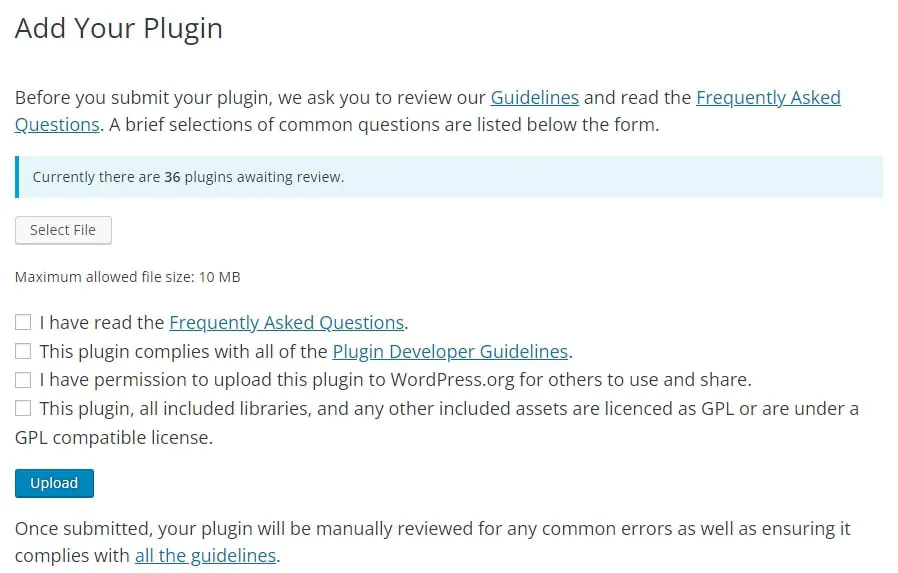
However, you will need to make sure that your plugin is secure with best practices as set standard in the detailed plugin guidelines before distributing it for user review. When your plugin is approved, you can add your files to the SVN Directory. After this, all WordPress users can easily download your plugin on your sites.
Share the Plugin on Your Website
If you do not wish to upload your plugin to the WordPress directory you can create a website for your plugin. You can dedicate this website to your plugin to add more details about your plugin. You can include tutorials, documentation, and other relevant marketing information. Developers can more often use websites to promote their premium plugin while providing a free version in the WordPress directory. In this way, users can learn and try out the free version before deciding to upgrade. You can offer an advanced multi-tiered membership model or lock features behind a paywall. At the end of the day, you can create a more premium version to give the user more options for the plugin.
