How To Create A Night Vision Effect
The night vision technique is a crucial facet of image enhancement and modification, especially for images with low light conditions; it amplifies the intensity of ambient light or manipulates infrared radiations. Traditionally, to encounter low-light situations, specially designed night vision cameras or goggles, which work on the available light and enhance the scene’s clarity and brightness, are used. Apart from correcting and amplifying aspects, the night vision technique is also employed as an image-adorning approach, referred to as the ” night vision” effect. In this approach, different alterations, including colour toning, contrast setting, noise inclusion, brightness, exposure, highlights and shadows, are manipulated simultaneously. With the involvement of all these image editing dimensions, editors can effectively implement the creative night vision effects on the images, leading to a hypnotic and enchanting nighttime atmosphere that has a never-ending appeal. This blog article will guide you through 8 essential steps for creating a night vision effect for your shots, even in bright daylight scenarios.
Step 1: Grayscale Conversion
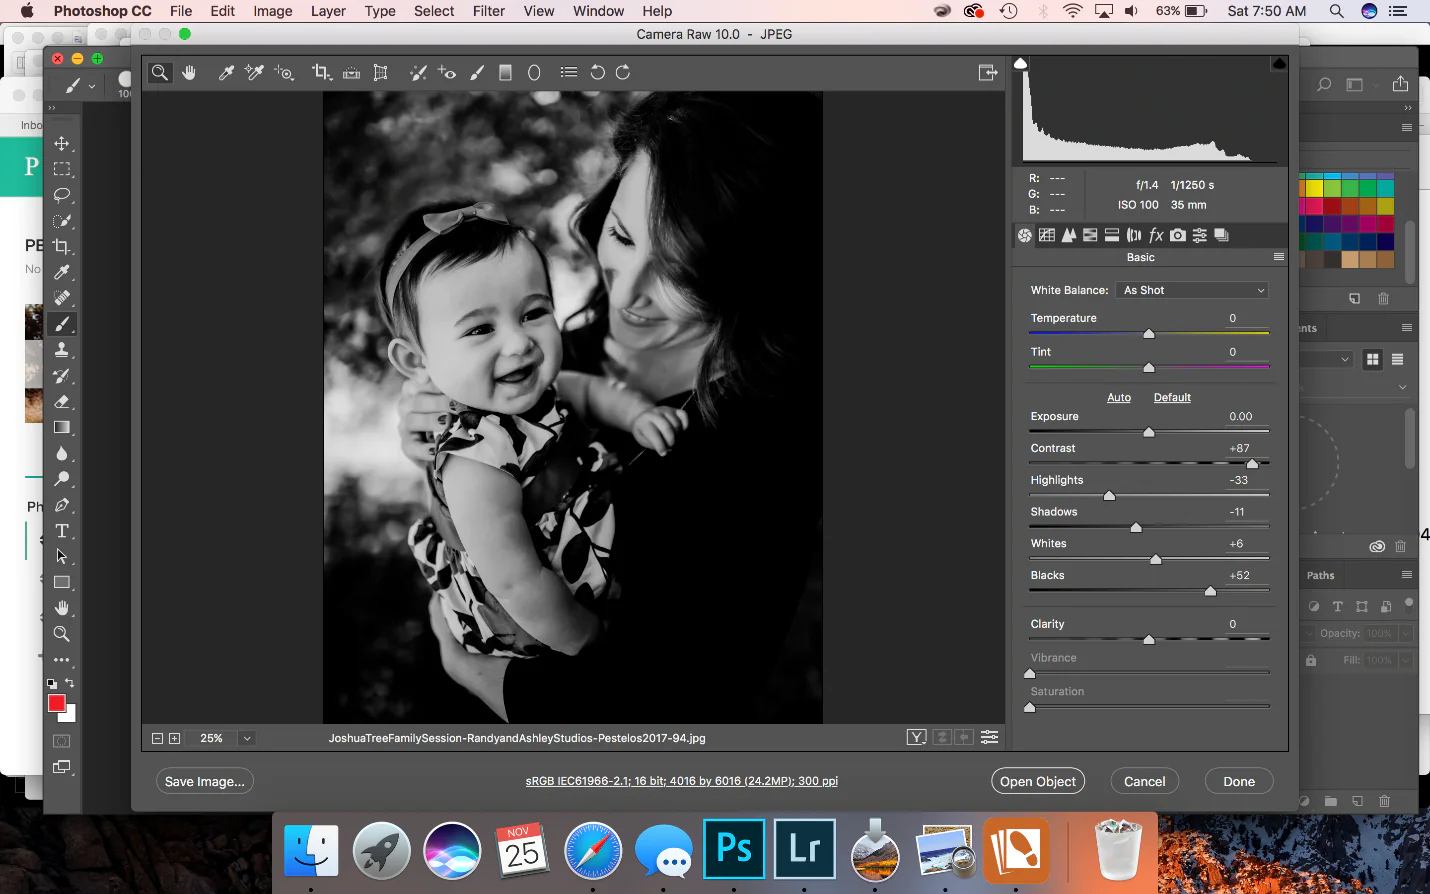
Begin by opening your picture editing program and bringing in the picture you need to apply the night vision effect. Go for the choice or tool to transform the image to grayscale.
In program applications like Photoshop, this could be done by selecting “Image” from the menu, choosing “Mode,” and, at last, selecting “Grayscale.”
After you’ve turned the picture to grayscale, take a minute to evaluate the visual effect. Grayscale expels colour data, leaving you with a black-and-white impression. This rearrangement is essential for the night vision effect because it sets the stage for consequent alterations.
Consider the scene’s points of interest and how they could be improved with changes in contrast and brightness. By beginning with a grayscale photo, you lay the basis for refining luminance values, which is pivotal for accomplishing an organic night vision simulation.
Step 2: Contrast Settings
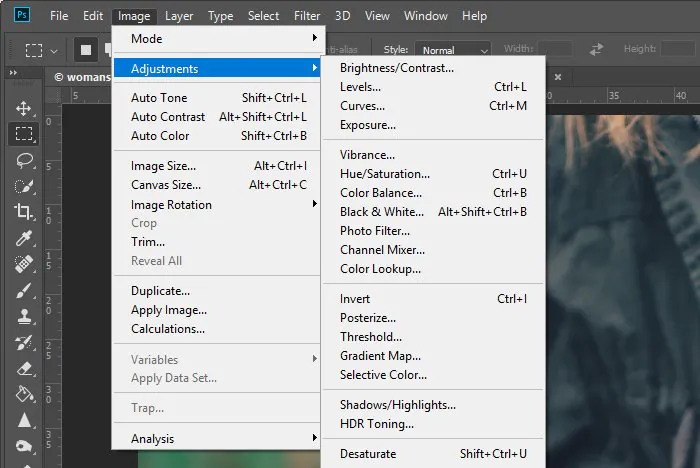
After changing the picture to grayscale, move your attention to contrast alterations. Find the contrast tool or settings in your image-altering program beneath the “Image” or “Adjustments” menu. Elevate the contrast to increase the difference between light and dim regions within the photograph.
Tune up the contrast continuously, evaluating the effect after each alteration. This step is pivotal for recreating the increased visibility related to night vision. By expanding contrast, you emphasize the distinctions between lit-up and shadowed zones, highlighting details that can be less discernible in typical lighting conditions.
Be sure that night vision frequently includes sharp contrasts, mirroring the intensified permeability in low-light scenarios. Try with varied contrast levels until you accomplish a balance that emphasizes details without compromising the general picture quality.
Step 3: Creating Green Tint
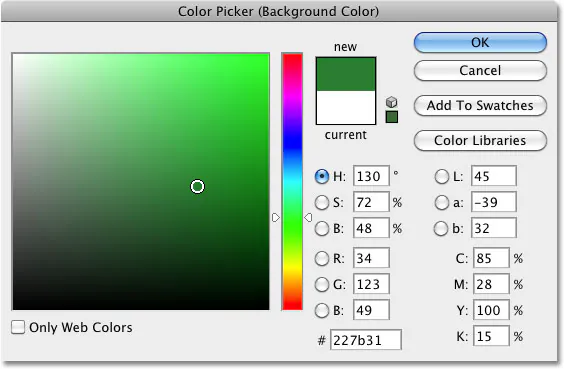
Next, after you’ve balanced the contrast, move on to presenting a green tint to reproduce the characteristic colour related to night vision scenes. Go for a colour setting or tinting tool in your software.
Pick the green colour channel and include a mild tint in the picture. Night vision gadgets usually utilize green phosphor screens; this tinting step helps recreate that sight.
Alter the level of the green tint to attain a natural and immersive effect without overwhelming the grayscale establishment set up previously.
While applying the green tint, occasionally compare the photo to reference night vision visuals for precision. This feasible approach guarantees that your reenactment adjusts to the expected colour tones while seamlessly integrating with the grayscale base.
Step 4: Creating Noise
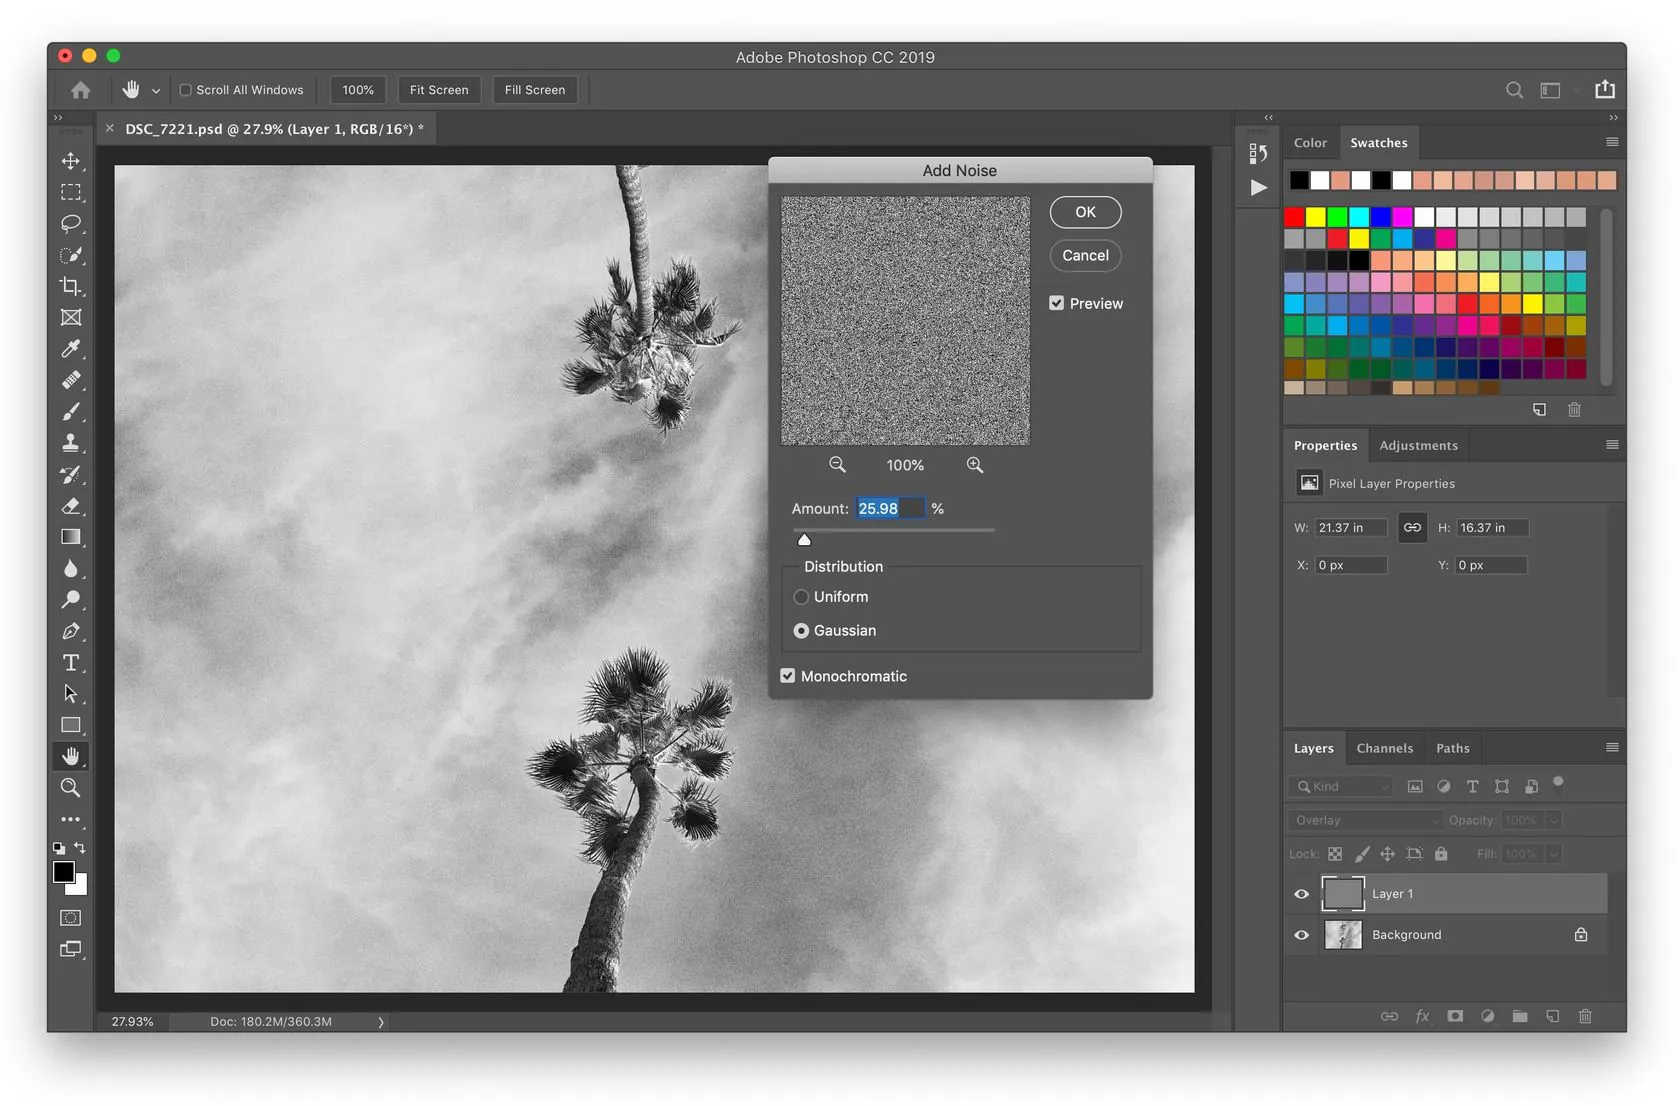
Present controlled noise to the composition to advance progress in the realism of your night vision effect. Find the noise or grain effect highlight in your software; this may usually be found within the “Filter” or “Effects” menu.
Include a moderate sum of noise, aiming for a grainy surface that mimics the visual flaws related to capturing pictures in low-light conditions. Night vision scenes can show a certain level of granularity, and this step contributes to a more bonafide depiction.
Alter the noise level carefully to complement the overall composition without diverting from crucial subtle elements. This phase lets you achieve harmony, including fair enough noise to inspire the specified environment while abstaining from an excessively distorted appearance.
Step 5: Brightness And Contrast Tweaks
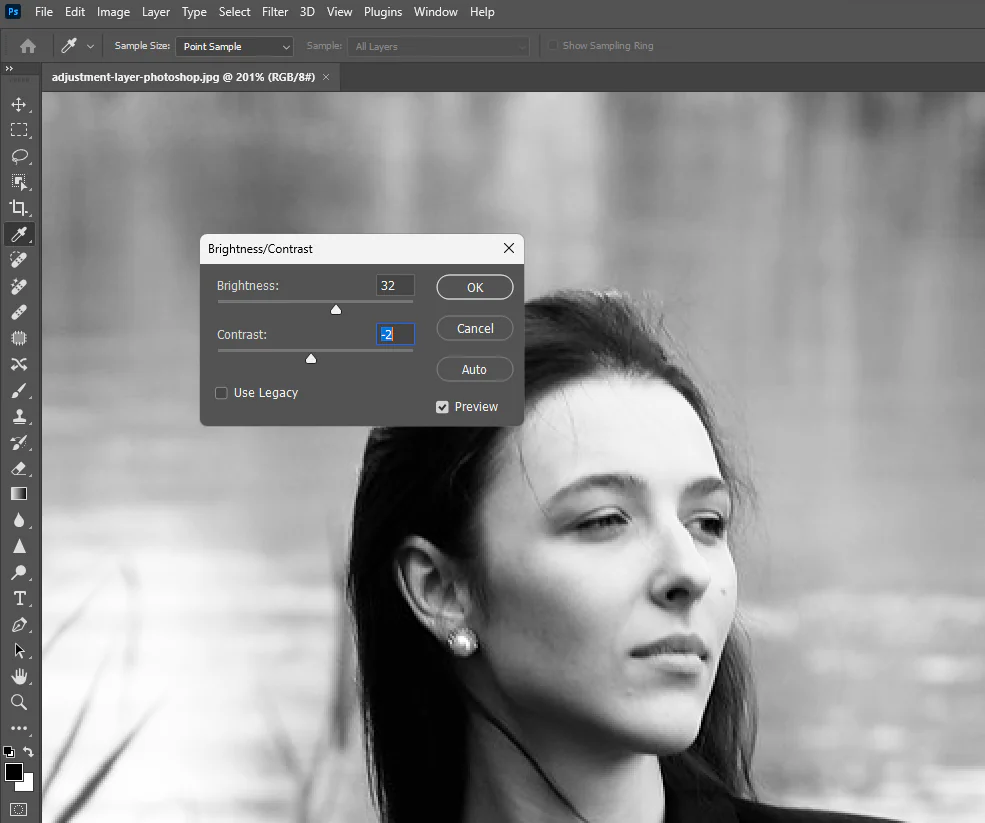
Having presented the green tint and controlled noise, move on to the overall brightness and exposure tunings. Find the brightness and exposure tools in your altering software within the “Image” or “Adjustments” menu.
Slowly lower the brightness to reproduce the dim lighting like in night vision scenes. At the same time, tweak the exposure settings to make a concordant yet mild illumination. This step is significant for setting the temperament of the picture, making it appear as if captured in low-light conditions.
On a visit basis, evaluate the image as you make alterations, guaranteeing that the decreased brightness keeps up visibility while contributing to the specified nighttime air.
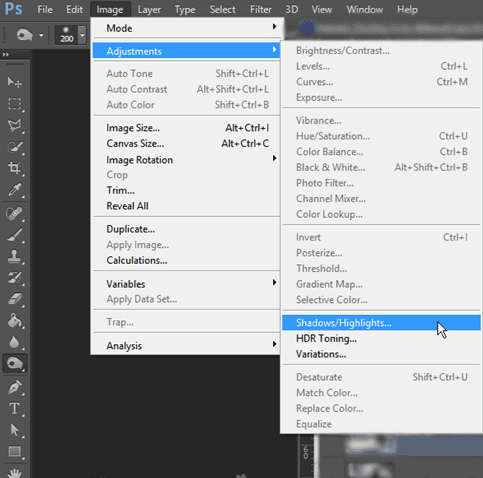
Step 6: Shadow Enhancements
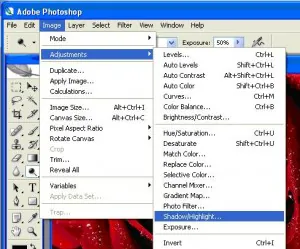
Begin improving the visibility of shadows inside the image. Find your software’s shadow improvement or alteration tool beneath the “Image” or “Adjustments” menu.
Slowly enhance the shadow intensity to accentuate more subtle elements within the darker zones. This step is fundamental for reenacting the shadows often observed in night vision scenes. By improving shadows, you contribute to the overall authenticity of the effect, making a nuanced interaction between lit-up and shadowed areas.
As you make these alterations, carefully assess the picture to check that the upgraded shadows adjust with the characteristic dispersion of light in a low-light environment. Try for an agreeable arrangement that includes profundity to the scene without relinquishing the general coherence of the photograph.
Step 7: Highlights Tuning
After improving shadows, consider regulating the highlights within the picture.
Find the highlight alteration tool in your editing software, frequently found within the “Image” or “Adjustments” menu.
Cautiously alter the highlight intensity to bring out illuminated zones. Night vision increases existing light sources, aiding the general recognition of improved visibility.
Endeavour for an adjustment that keeps up a realistic representation of light sources without creating overexposure.
Frequently audit the image as you make these alterations, ensuring the increased highlights complement the rest of the scene. This step permits you to refine the interplay between light and dim, adding to the general authenticity of the night vision effect.
Step 8: Blurring And Final Adjustments
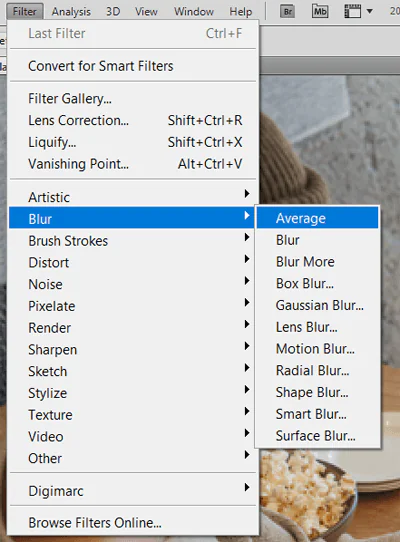
Think of applying a slight blur to the photo’s edges as the ultimate touch to your night vision effect. Find the blur or softening tool in your editing software, regularly found within the “Filter” or “Effects” menu.
Use a subtle blur to the edges, recreating the focus limitations sometimes related to specific night vision cameras. This discretionary step includes a touch of authenticity, duplicating the way objects at the edges might show up somewhat out of focus. Utilize this effect reasonably to improve the general air without compromising the clarity of essential points of interest.
Frequently see the picture to evaluate the effect of the edge obscure. Adjust the concentration of the blurring to hit the correct adjustment between authenticity and visual offer.
Feel free to audit the ultimate image and make any additional adjustments to attain the specified balance between authenticity and visual appeal.
If you have any particular preferences or extra refinements, you can fine-tune the settings based on your imaginative vision. Once satisfied, save your final composition in a suitable format per your expected application.
Conclusion:
In conclusion, the night vision effect is an exciting inclusion in the image editing domain, elevating the photographs’ visual dimension. Other than image enhancement, this recreated night vision can also be integrated into inventive projects, film production, or digital art to create suspense or further develop the visual themes linked with nighttime scenes. Using the steps, tools, and techniques highlighted in the above tutorial blog, you can easily recreate the natural-looking night vision effect and transform your images into enchanting and real-like nighttime shots.
