
How To Create A Geometric Art Effect
Modern designers and artists employ various editing techniques to enhance art compositions’ aesthetic vibrancy and persona. Geometric art is one of those influential approaches in which angular shapes, structures, and lines are included in the images to highlight the precisions and contours of almost all components. Geometric art effects are distinguished by their clean, organized appearance, emphasizing symmetry, repetition, and mathematical accuracy. Designers and architects utilize this practice to communicate a sense of arrangement, effortlessness, and advanced aesthetics in their visual manifestations. Transformation features and tools like overlapping, rotation, mirroring, layering, blending and scaling are vastly adopted to modify images with this approach in photograph editing. The resulting compositions flaunt a pristine level of symmetry and organization, and even irregular and random forms also become well-composed and structured. You can also include the creative geometric art effect in your photographs by following some easy techniques and steps highlighted in this article. Adobe Photoshop, one of the most versatile graphic software programs, becomes indispensable for creating this effect.
Step 1: Image Import and Workspace Familiarity
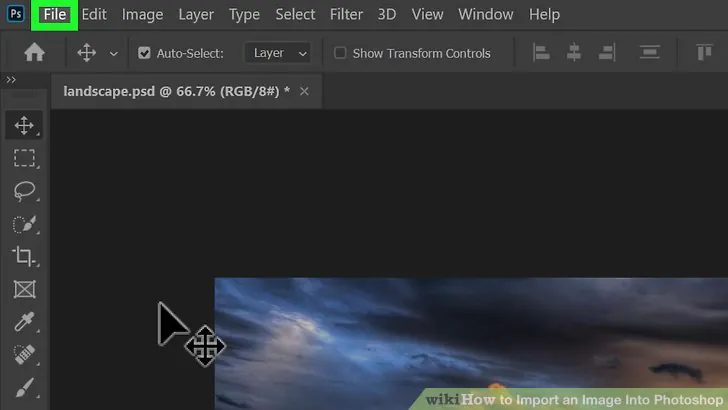
Open your Adobe Photoshop and head to “File” in the top menu.
Select “Open” and select the photograph you need to improve with a geometric art impact from your computer.
On the other hand, you can drag and drop the photograph specifically into the Photoshop canvas.
Check that your picture is in an appropriate format for editing; for instance, consider standard options like JPEG or PNG.
Introduce yourself to the Photoshop workspace, including the toolbar on the left and the layers highlights on the right.
This preparatory phase lays the groundwork for your project, making it easier for you to move on to the consequent stages of making geometric art.
Save your work often to avoid losing progress, and keep with different versions of your project if required.
Once your picture is set up in Photoshop Canvas, you’re prepared to continue making compelling geometric art.
Step 2: Creating the Image Duplicate
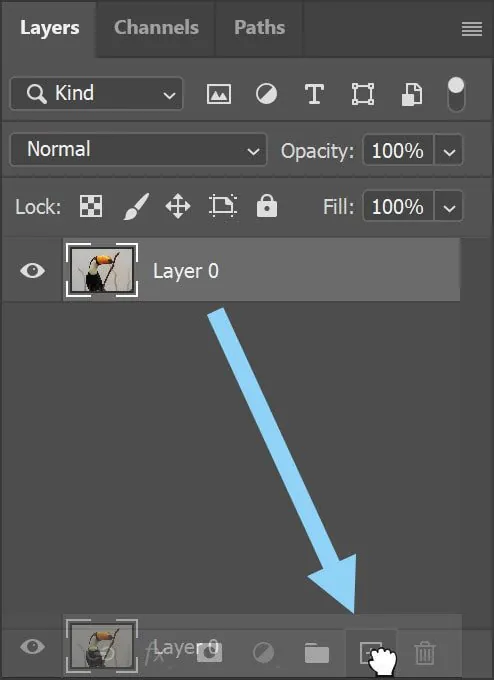
Move to the bottom of the Layers panel in Photoshop, where you’ll discover a tiny symbol like a sheet of paper.
Tap on this icon to form a fresh layer over your initial image. That confirms that your geometric elements won’t specifically modify the initial content.
Assign a title to the new layer, which is optional but can help you better organize your project, particularly if you plan to work with different layers.
Alter the layer properties as essential, such as choosing a particular blending mode or tweaking the layer opacity.
This new layer gives a clean canvas for building your geometric art impact while shielding the integrity of the first picture.
A separate layer also permits simple alterations and experimentation without influencing the foundation.
Your workspace is presently prepared for the next steps, permitting you to centre on making and refining the geometric components for your creative effect.
Continue to choose the shape tool from the toolbar to start joining geometric components into your project.
Step 3: The Shape Tool Selection
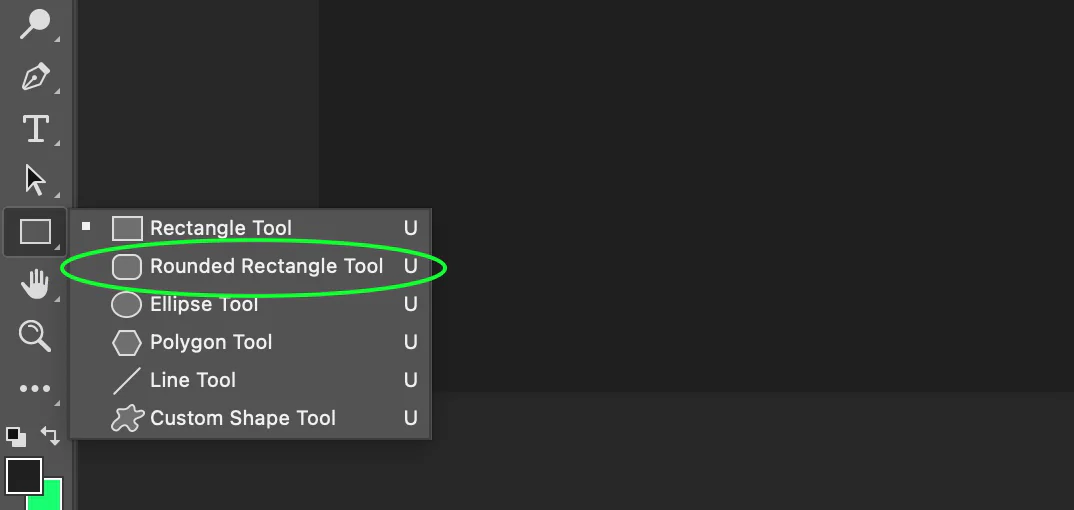
Get to the toolbar on the left side of Photoshop, where you’ll find an assortment of shape tools like rectangles, ellipses, polygons, and more.
Press the specified shape tool according to the geometric component you must include in your art.
Configure your tool alternatives at the top toolbar, changing parameters like fill colour, stroke colour, and shape fashion before drawing.
For accuracy, hold down the Move key while drawing to guarantee corresponding shapes.
The selected shape tool will be your virtual brush for presenting organized components in the composition.
Test with distinctive shapes and sizes to attain the required visual effect.
After your shape tool is chosen and customized, you’re prepared to move on to the following step of drawing the geometric components on your fresh layer.
Step 4: Drawing Initial Shapes
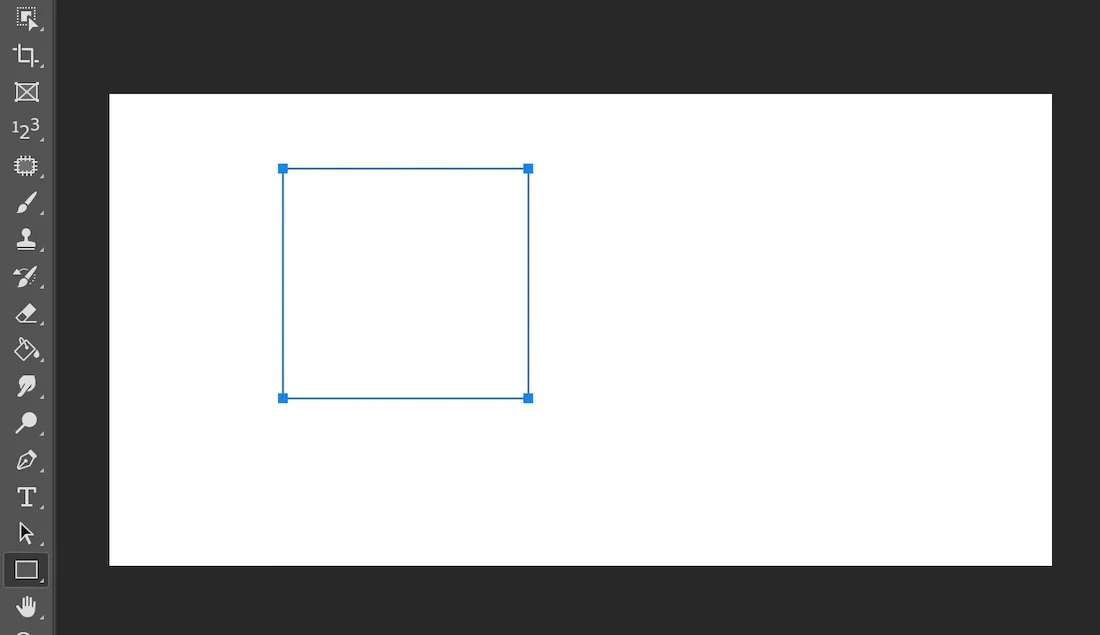
Next to your chosen and customized shape tool, place your cursor on the new layer within the Photoshop workspace.
Press and drag to take the chosen geometric shapes onto the canvas.
You can press the Shift key while drawing so that the shapes keep up their proportions, directing to a tidied and more visually adequate result.
Play with the situation and arrangement of the geometric components, focusing on the overall composition of your work of art.
Utilize the colour options accessible within the toolbar to decide on the fill colour of your shapes. This way, you’re bringing ordered components onto the canvas.
The drawn shapes will work as the constituents for the overall plan, contributing to your composition’s visual vibrancy and fashion.
Continue to draw and alter geometric components until you accomplish the required course of action and adjust your work of art.
Step 5: Regulating Shape Parameters
After drawing the geometric components, focus on processing their appearance by altering shape properties. Click on the particular geometric layer within the Layers panel to choose it for editing.
Check out options like stroke colour, fill colour, and stroke estimate within the toolbar or the Properties panel. Experiment with distinctive colour combinations to attain the specified visual impact.
Consider applying gradients or designs to improve the general aesthetic of the geometric elements. Perfect person shapes with transformation highlights like scaling, rotating, or skewing, using shortcuts Ctrl+T on Windows or Command+T on Mac.
This step is pivotal for customizing the look of each geometric component, permitting you to form a cohesive design.
Assure the adjusted shape properties match your creative vision for the geometric art effect. After the properties are satisfactory, continue to the other step for extra upgrades and layer styling.
Step 6: Layer Style Experimentation
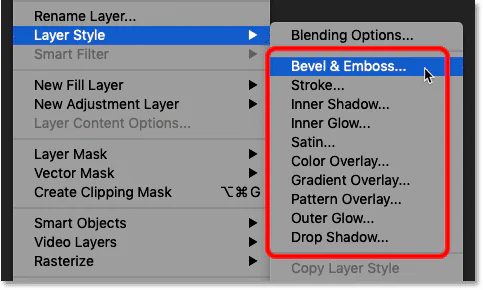
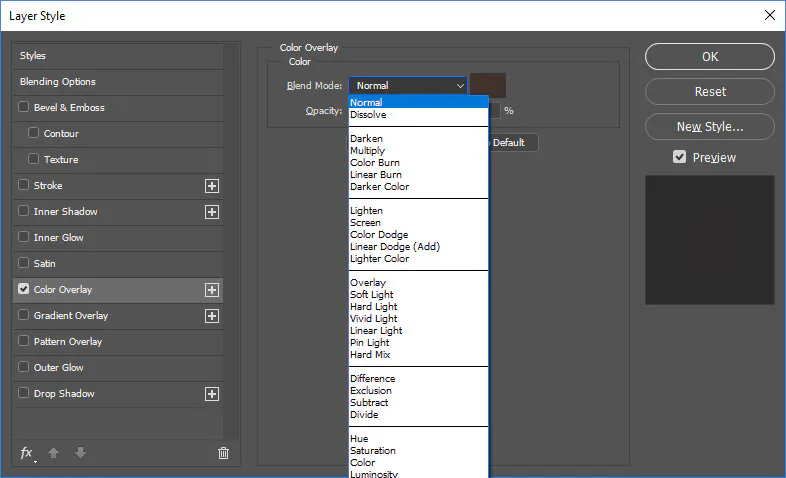
Click on the geometric layer within the Layers panel, then click on the blending options tab to get to layer styles.
Play with different layer styles, including the profundity and dimension of your geometric components.
Prevailing layer styles incorporate Drop Shadow, Inner Shadow, Outer Glow, Inner Glow, Bevel & Emboss, and Stroke.
Alter the settings inside each layer style to control components like opacity, distance, measure, and colour, depending on your wanted effect.
Layer styles add to the overall taste by making highlights, shadows, and extra dimensionality to your geometric work.
See the changes in real time so that you can fine-tune and customize the appearance of your shapes appropriately.
Layer styles maximize the visual effect of the geometric components, making them stand out and giving a clean, proficient look.
Once you’ve connected and balanced layer styles to your fulfilment, continue to step 7 to optimize your geometric art effect further.
Step 7: Using Transformation Tools
Create a copy of your geometric layer to form extra duplicates for inventive experimentations.
Right-click on the layer within the Layers panel and select “Copy Layer” or utilize the shortcut Ctrl+J on Windows and Command+J on Mac.
Once the copied layer is chosen, utilize transformation options (Ctrl+T on Windows and Command+T on Mac) to control the copied shapes’ size, rotation, and position.
Try distinctive arrangements and orientations to find outwardly engaging compositions.
Copying and transforming geometric components includes complexity and assortment in your work of art, resulting in a more energetic visual involvement.
Carry on this phase as required, making multiple iterations to investigate different aesthetic possibilities.
After you’re upbeat with how the components have been replicated and altered, move on to the final step, which includes blending and tuning the composition as an entire.
Step 8: The Final Blending and Tuning
Alter the broad composition by improving the situation and blending your geometric elements with the initial picture.
Get to the layer opacity slider within the Layers panel to blend the geometric layer with the foundation picture, finding the right balance.
Play with distinctive blending modes for the geometric layer to get unique and enigmatic visual effects.
Recheck that the geometric art impact amplifies the overall look without overpowering the initial picture.
Take a minute to audit the composition and make any essential alterations for a concordant and remarkable result.
Preserve your work and consider preserving different adaptations to compare variations or return to particular stages.
This last step aids you in stepping back and evaluating the overall effect of the geometric art effect, checking that it adjusts with your imaginative vision.
Once delighted with the composition, your geometric art effect in Photoshop is polished and prepared for sharing printing, or further inventive experiments.
Conclusion
To sum up, geometric art is best for accelerating the aptitude for visual content. The technique can be exceedingly credible for images with blurry or noisy depictions to sharpen the blurred zones. The well-considered formation of shapes and designs presents a level of advancement, making the compositions stand out while offering eyes a novel and thought-provoking visual encounter. Whether connected quietly or strikingly, geometric art influences put into the advancing scene of digital content aesthetics. Eventually, geometric art effects either integrated into a digital design or photographs always prominently intensify the sole purpose of visual content, which opts for expensive viewer recognition.
