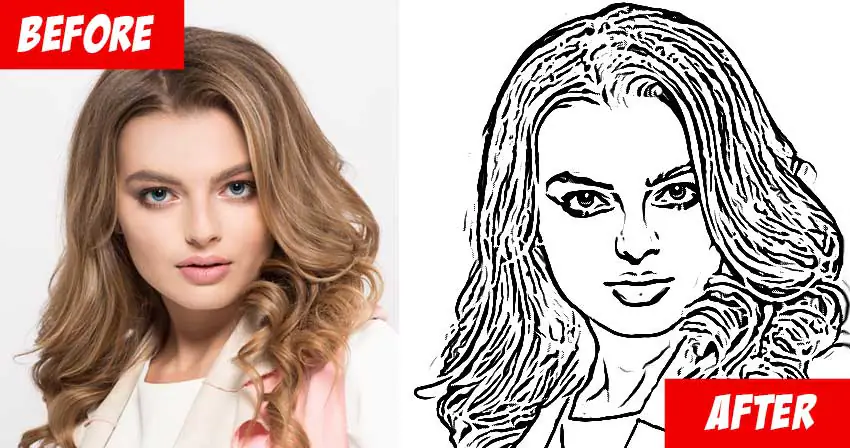
How To Create A Line Art Effect
Line art brings forth the artistic and abstract rendering of the components within an image or design. The freshly annexed lined compositions predominantly highlight their subjects and vital zones that require more attention. Those images represent a combo of reality and graphic elements, which enriches the overall visual impact to a large extent, making them suitable for numerous design projects. Especially in portraits, line art can emphasize contours, shapes, and elaborate patterns, making it easy to feature essential features or zones in photos and designs. For introducing this underlining approach, various advanced image manipulation software offers inclusive tools and options like inking and drawing tools, layering, brushes, selection tools, and vectors. When adopted precisely and persistently, all these functions can potently enhance your line art compositions, astounding your audience to appreciate your artwork at its maximum. The following sections of this article will continue with the steps and essential tools to create an impressive line art effect in your photos and reinforce the subject’s visual charm.
Step 1: Uploading the Base Image
Start by opening your chosen image-altering program on your computer.
After setting up the program, bring the photo you expected to upgrade with line art. Utilize the software’s file menu or drag-and-drop features to get the photo into the altering workspace.
Find and press on the “File” menu at the top of the software interface. This menu often contains alternatives for opening, saving, and trading files.
Select “Open” or “Import” from that menu, depending on the term utilized by your particular software. This activity prompts a dialogue box.
Within the dialogue box, explore the location where your photo is stored. Select the picture file and tap “Open” to import it into the program.
After import, your photo should show up inside the editing workspace of the software, prepared for further enhancements, including the expansion of line art.
Step 2: Generating A New Line Art Layer
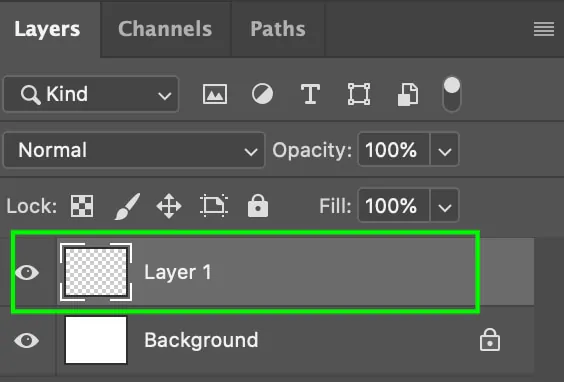
After bringing in your photo, continue to make a new layer committed to line art. Get to the “Layers” menu on the program interface and select “New Layer” or a comparable choice, depending on your software.
Tune the new layer’s properties, guaranteeing it is situated over the photo layer. This course of action allows for non-destructive editing, protecting the first image.
Relegate a clear and expressive title to the line art layer, encouraging organization and ease of identification amid the editing.
Consider altering the line art layer’s opacity to balance the included lines and the primary photo. This step can be precious for accomplishing a subtle integration.
Your program is presently designed with a devoted layer prepared for the expansion of line work.
Step 3: Picking Your Drawing Tools
Pick the suitable tools for making your desired lines. Depending on the software, tools they may incorporate:
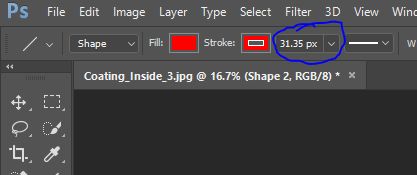
Select the brush tool for freehand drawing. Alter size, hardness, and opacity to agree with your imagined line fashion and thickness.
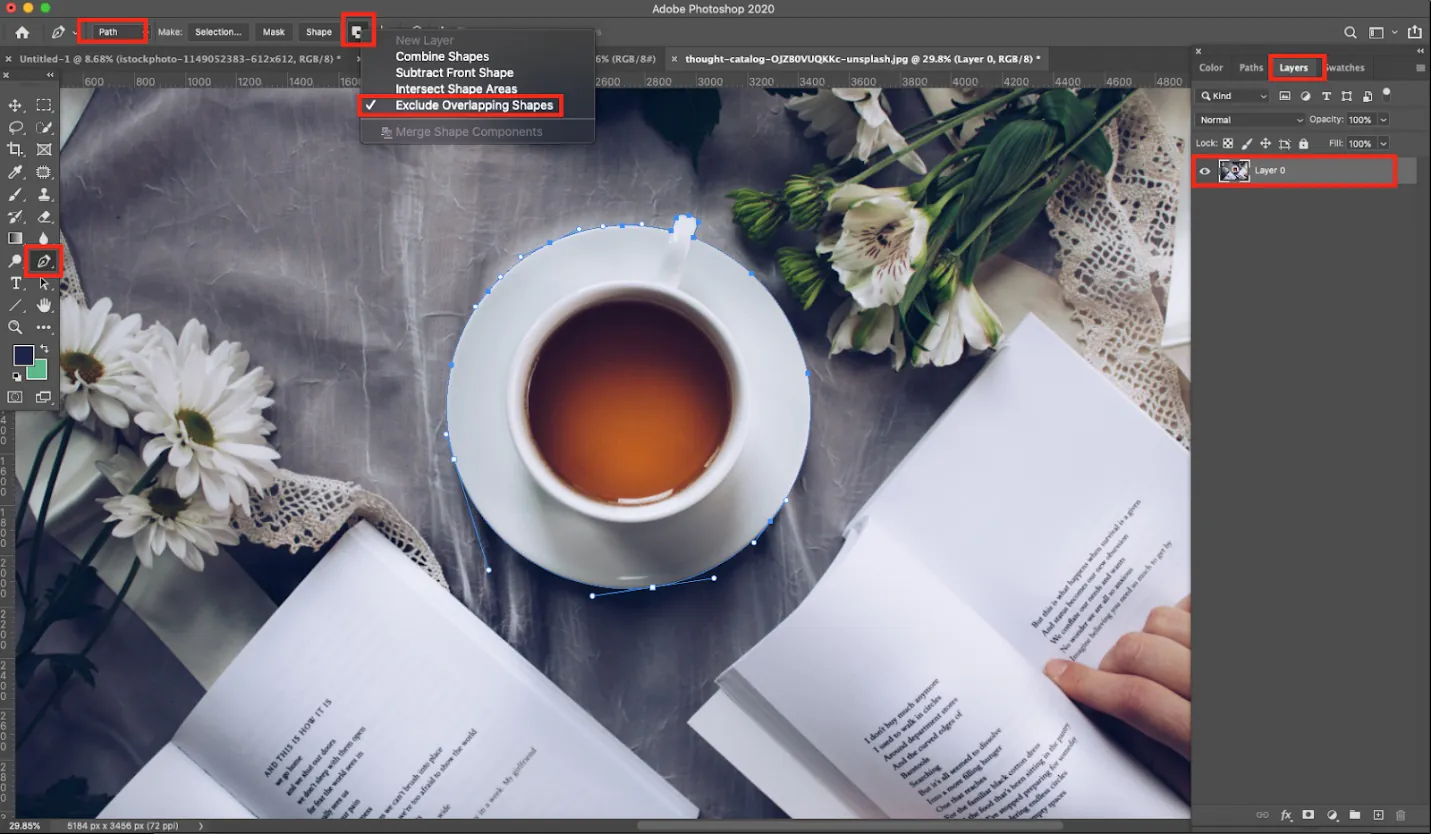
Choose the pen tool when accuracy is crucial. It permits you to make smooth and accurate lines, making it perfect for laying out particular components within the photo.
Using a vector-based program like Adobe Illustrator, find the vector drawing tools for exact and adaptable line art. These tools offer control over stay focuses and curves.
Utilize pressure-sensitive brushes, particularly in case you’re working with a graphics tablet. These brushes react to pressure, permitting dynamic and expressive line work.
Play with these tools to discover the most appropriate ones for your project. Consider the design and level of detail you desire to attain in your line art insertion.
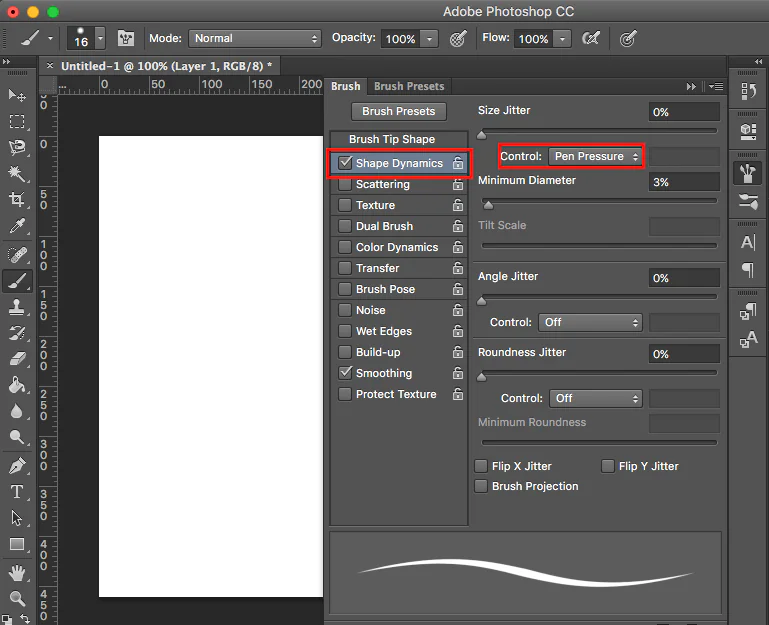
Step 4: Tuning Brush Settings
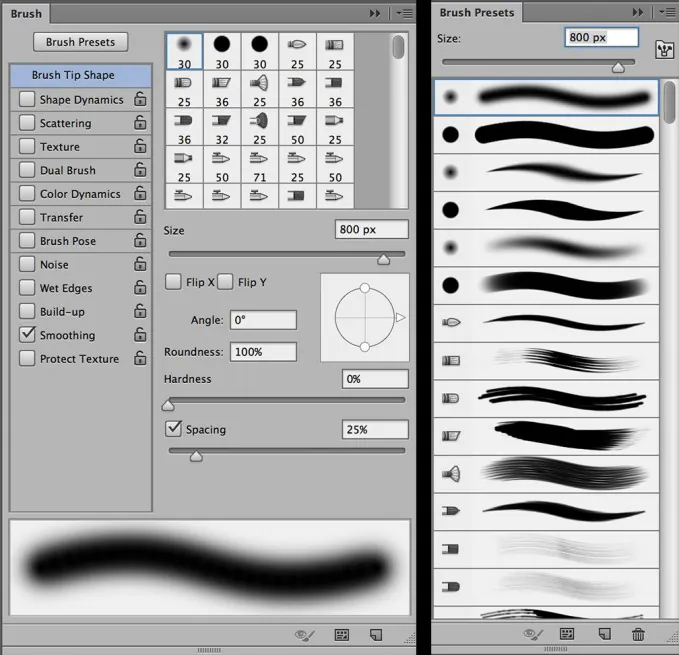
If you’ve chosen the brush tool for line art creation, set its settings to get the specified style and accuracy. This step guarantees that your lines complement the photo consistently. Here’s how to alter brush settings:
Tweak the brush size to the thickness you need for your lines. Larger sizes go well for striking strokes, whereas smaller sizes are appropriate for finer details.
Alter the hardness to steer the softness or sharpness of the brush edges. A harder brush makes well-defined lines, whereas a milder brush gives a more gradual move.
Modify the opacity to decide how transparent or opaque your lines show up. Altering this parameter permits you to form unpretentious or strong line art, depending on your liking.
Some computer programs incorporate a stream setting that impacts the progressive buildup of paint. Play with this setting for smoother or more finished lines.
Consider energetic settings, such as pressure sensitivity or tilt (for graphics tablet), to include variety in your lines, making a more natural and organic look.
Step 5: Adding the Initial Lines
Begin by outlining pivotal components within the photo, covering shapes, objects, or areas you need. Utilize the chosen tools to follow along edges.
Be careful of the general composition of the photo. Utilize lines deliberately to direct the viewer’s look, highlight central focuses, or include a sense of development.
Look into diverse line styles based on the temperament or subject you need to communicate. Try with solid lines, shading, or varying line weights to include visual interest.
Improve details and surfaces inside the photo by including lines specifically. This step can highlight subtleties and contribute to the overall profundity of the photograph.
Point for consistency in your line work, mainly if you arrange to coordinate line art over different components. That guarantees a cohesive and concordant outcome.
Spend some time in this step, refining and altering lines as required. The objective is to consistently add line art with the photo, improving its visual appeal and passing on your planned aesthetic expression.
Step 6: Editing the Composition
You must refine and alter your line art in this phase to attain a clean and cohesive result.
Utilize the eraser tool to clean up any undesirable or overlapping lines. Confirm that the integration of line art amplifies the photo without diverting from its fundamental components.
Tune the opacity of the line art layer if required. This alteration lets you discover the correct equilibrium between the included lines and the fundamental photo, accomplishing an agreeable blend.
Try adjusting the thickness of certain lines to add accentuation or make an energetic visual progression inside the composition.
Take into consideration including extra details or emphasizes where vital, such as refining particular regions to improve textures, shadows, or central focuses.
Take a break and assess the overall composition. Check that the line art adds to the photograph’s narration or visual effect while keeping up a cohesive and balanced appearance.
Cycle through the refinement process, making alterations as required. This step is significant for accomplishing the required aesthetic.
Step 7: Manipulating Layer Settings
Use the control of layers to improve organization, adaptability, and inventiveness in your line art integration.
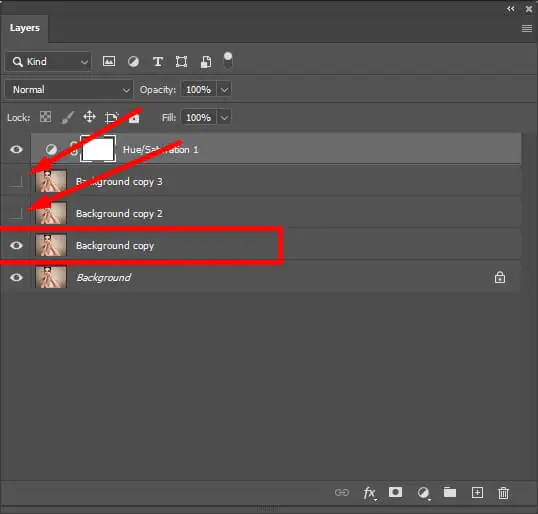
Based on the nature of your line art, consider making additional layers for diverse components or varieties. This approach can confine and alter particular parts without influencing the whole composition.
If you are working with numerous layers, organize them into groups. That helps keep up an organized workspace and makes finding and managing diverse components of your line art simpler.
Try diverse blend modes for your line art layers. These modes can impact how the lines are associated with the fundamental photo, giving special visual effects.
Direct the opacity of person layers to control the general intensity of particular line components. This step permits you to tune the visual effect of each layer.
Organize the layers within the desired symmetry. Layers higher within the stack will appear in front of those underneath.
Briefly switch the visibility of individual layers to evaluate their effect on the general composition. That aids you in making informed choices about which components to add or alter.
Step 8: Preserving the Ultimate Artwork
Save your project record within the format of the image editing software. That keeps all layers and settings, permitting you to create future alters without compromising quality.
Once you are done with the result, send out the ultimate image. Select a fitting file format, like JPEG or PNG, based on your expected usage. For instance, JPEG is appropriate for online sharing, whereas PNG is straightforward and is perfect for advanced and print applications.
If your venture includes print or high-resolution prerequisites, check that you export the picture with the essential resolution (DPI) for ideal quality.
Allot a significant name to your exported record, reflecting the content or subject. Select a folder on your computer or capacity gadget where you can find the image effectively.
After it is exported, the composition is set up for sharing on digital stages, incorporation in presentations, or printing. Share your work gladly, considering the setting and purpose of the line art-coordinated photo.
Conclusion
In brief, the novel approach of line art shows a graphic nature in highlighting the intended components in an image. It introduces clear and identifiable lines to layout shapes and imperative components without using usual shading or color. This improvement maximizes the central angles of photos through ease and precision, which outlines the control of lines to specify the focus on the main subject. Line art has broad applications, from fundamental traces to comics and progressed drawings, in indicating the shapes and structure of the objects delineated. Besides, you can also include your touch in line art compositions by combining lines with varying widths, lengths, surfaces, and thicknesses, which adds more charm and uniqueness to the ultimate artwork.
