How To Do Image Mirroring
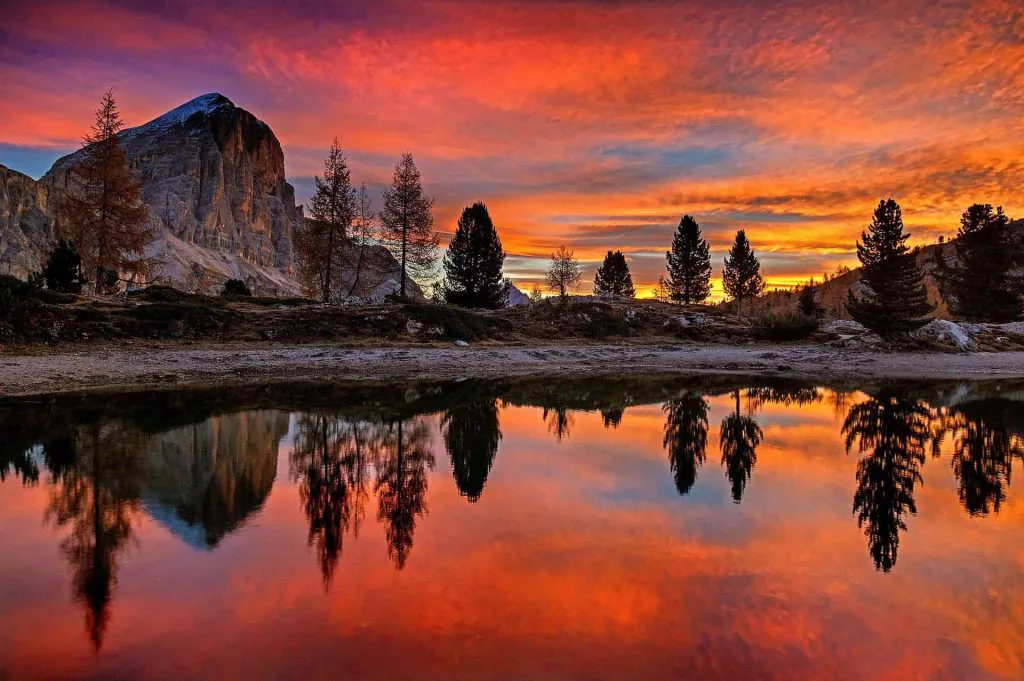
By creating image duplication in a single frame, image mirroring builds a symmetrical and appreciative comparison of every single element of the image. In contrast to usual object replication, this technique offers a detailed replacement of pixel data so that every segment fits its mirrored counterpart. The reflective transformation attained in an image also creates an organic appearance, corresponding to the genuine mirrored surfaces found in the scene. Image mirroring covers various editing techniques and options, including rotation to turn the image around a designated point, cropping to dismiss unwanted portions, flipping to reverse the arrangement of pixels, scaling to resize an image, transparency manipulation for novel visual effects, color manipulations for HSL, and other inventive adjustments. All these aspects equally play their role in producing the photographs’ comparison consonance and aesthetic dimensions, thus mesmerizing the gazes. The comprehensive step-by-step process to use image mirroring for image enhancement is as follows:
Step 1: Set up the editing software fitted to the mirroring effect
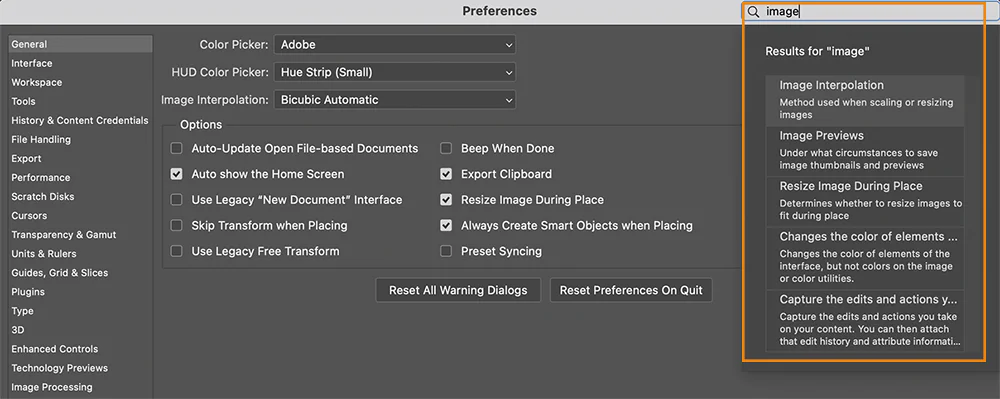
Set up your appropriate image-altering app. You can go for a comprehensive tool like Adobe Photoshop, a user-friendly stage like Canva, or any other application that includes advanced altering highlights.
Following, open the photo editor and investigate its user interface, which ordinarily incorporates menus, toolbars, and a canvas. Go through the interface to adjust yourself to the available highlights, guaranteeing you’ll effortlessly proceed with the image mirroring.
Look for choices to create a new venture or open an existing one. In case you’re starting a new venture, set the canvas estimations or select a preset format based on your slants.
A clean and user-friendly photo editor encourages a simple move to the next steps, making certain that you can beneficially reflect the photo and attain the specified reflection effect.
Step 2: Bring the source image into your software workspace
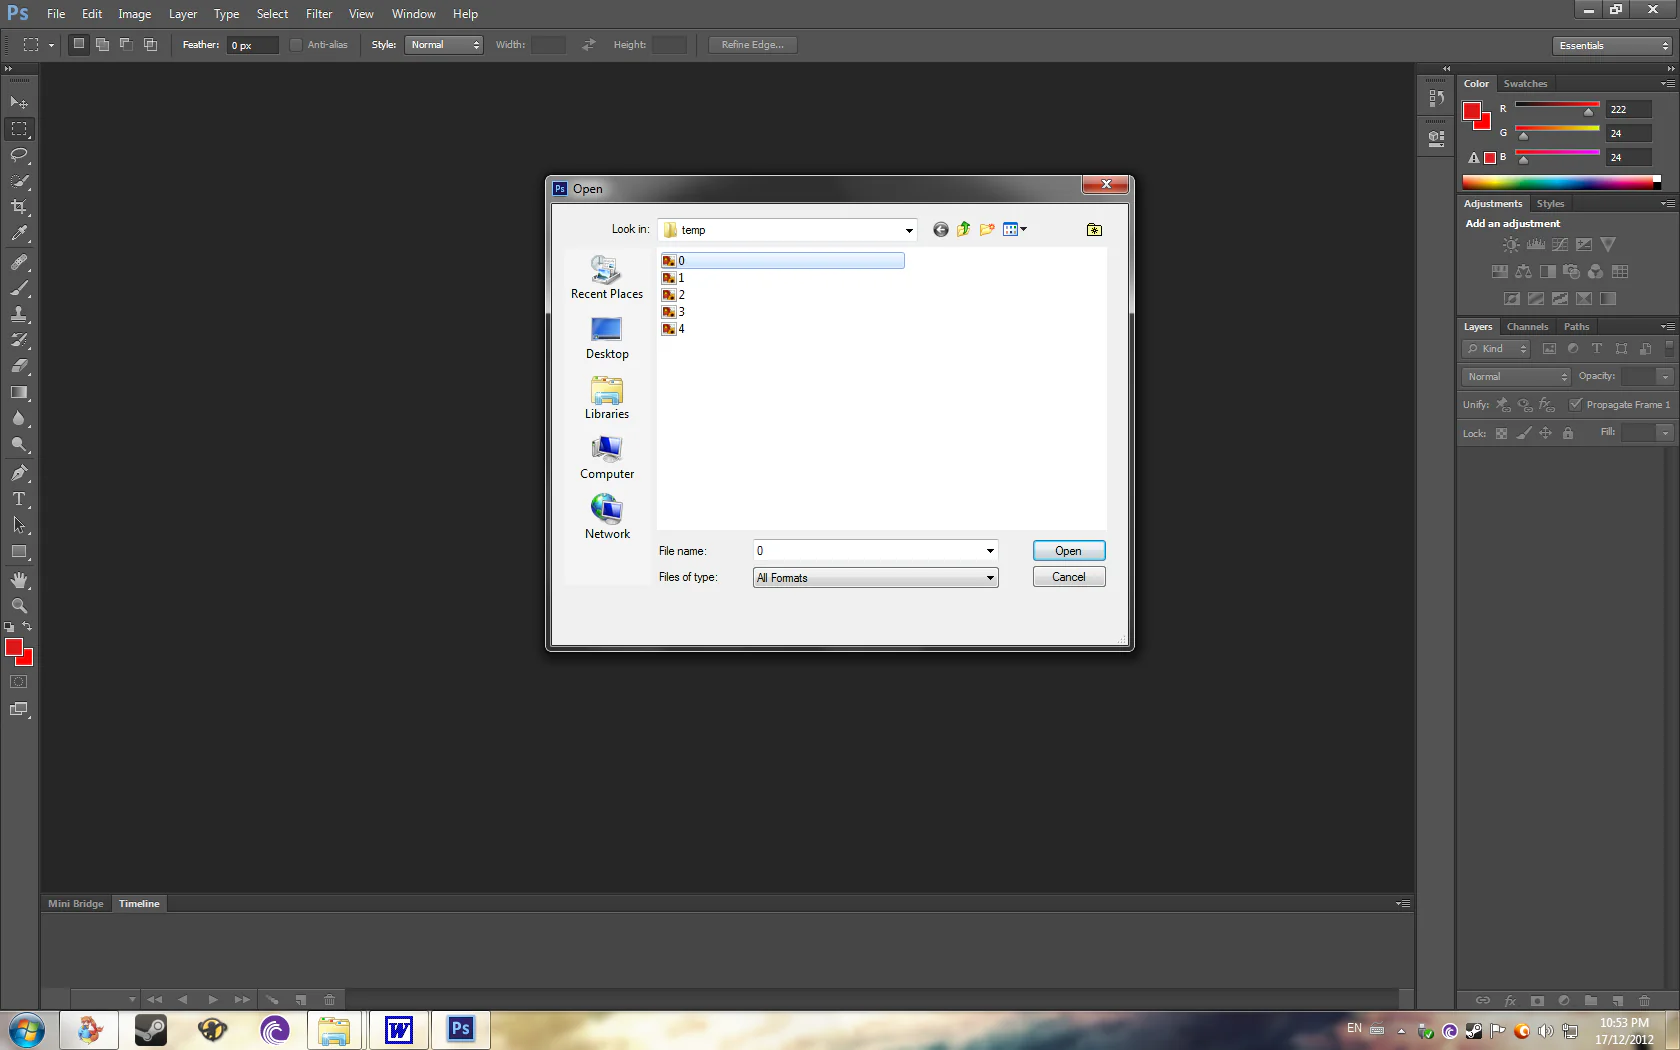
After your photo editor is in action and prepared, continue by bringing in the photograph you want to mirror. Explore an option to import in the file menu. Tap on it, and a dialogue box will show up, permitting you to navigate to the location of your photo file.
Select the specified image file and tap “Open” or a similar option in the chosen program. The picture will then be loaded onto the canvas or workspace of the picture editor, making it ready for further alterations.
Confirm that the imported picture is consistent with the program for which you have the fundamental authorizations to form edits. With the picture effectively imported, you’ll now move on to the consequent steps to attain the reflection effect.
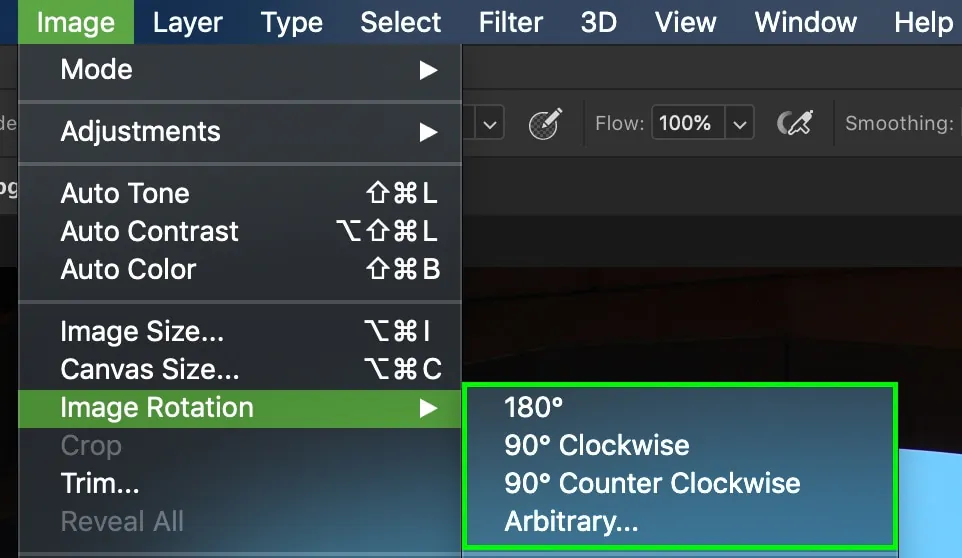
Step 3: Locate the mirror tool and specify the axis
Next to your photo import onto the canvas, the following essential step is to find and select the mirroring or flipping features inside the image editing program. This tool is vital to executing the horizontal mirroring that will make the reflection effect.
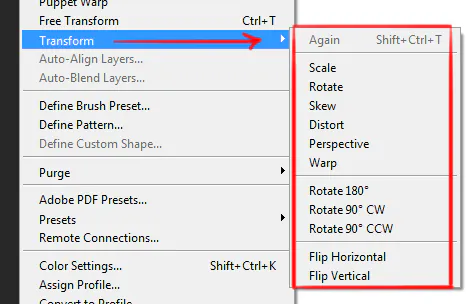
Browse through the toolbar or menu alternatives, typically found within the upper part of the interface, to discover the mirroring tool. It could be indicated by an icon looking like two opposing arrows or the word “Flip.” In some programs, this highlight can be beneath the “Transform” or “Edit” menu.
Once found, tap on the mirroring tool to enact it. This function plans for the software to mirror the picture based on the desired axis. The program may incite you to select the mirroring axis at this point, and since we are making a reflection effect, pick the vertical axis.
This choice is significant for accomplishing the reflection effect because it inverts the arrangement of pixels from top to bottom, making the mirrored adaptation.
Step 4: Apply the mirroring effect with additional settings
Continue to execute the vertical mirroring of your picture. Depending on the software you’re utilizing, you will experience different tools and choices to fine-tune the mirroring:
Some applications give additional mirror options such as “Mirror Across Center” or “Mirror Along Path.” Head to these highlights if accessible, as they can offer intriguing reflections beyond a simple vertical flip.
In certain apps, the mirroring tool may have isolated options to flip the picture horizontally or vertically. Be sure you’ve chosen the vertical flip or mirror alternative for our specific reflection effect.
Navigate the adjustment sliders that permit you to control the intensity or blending of the mirroring effect. These sliders can be convenient for making subtle variations within the reflection, including subtlety to your ultimate composition.
If your program underpins it, utilize a live preview choice to see the mirrored effect in real-time before executing the changes. This highlight empowers you to create instant visual appraisals and adjustments.
Learn how to utilize the undo and redo capacities so that you can alter the mirroring settings or go back if needed.
Step 5: Evaluate and retweak the under-editing composition

Scrutinize the mirrored effect to guarantee it fits together with your inventive vision for the reflection.
Utilize the zoom option to examine the mirrored composition closely. Check for any defects, distortions, or irregularities that will have happened in the mirroring process. Zooming in lets you create precise adjustments.
If the mirrored image requires slight repositioning or orientation, utilize the software’s positioning options. Alter the placement to attain the specified composition, bringing symmetry and proportion within the reflection.
Play with the opacity or blending alternatives to coordinate the mirrored portion with the initial consistently. This step adds a proficient touch, making the reflection show up naturally and upgrading the overall display.
Survey the color consistency between the initial and reflected segments. Make fundamental colour rectifications or adjustments to preserve a cohesive and harmonious appearance over the entire image.
After you are done with the mirrored effect and any extra alterations, save your changes. Utilize the “Save As” alternative if you need to protect the original image and make a new version with the reflection effect.
Take the time to refine subtle elements and make fundamental upgrades, accomplishing a result that aligns with your imaginative objectives.
After conducting these modifications, your vertically mirrored image with a reflection effect is ready for utilization or further adjustments.
Step 6: Save the ultimate mirroring effect
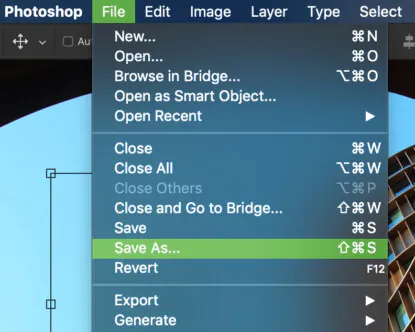
Move to the “File” menu in your program. Search for choices such as “Save” or “Save As.”
When saving the ultimate picture, select a fitting file format, considering standard formats that incorporate JPEG, PNG, or TIFF, depending on your aim and the photo quality level you require.
Give a descriptive file title for your mirrored composition to reflect the altered version’s substance or purpose. Select a destination folder or directory where you need to save the artwork.
If your picked file format offers quality settings, adjust them according to your choices. That is particularly significant for formats like JPEG, where you’ll direct the compression level.
Press the “Save” or equivalent button to affirm your choices. If you select “Save As,” you can be prompted to confirm the file format and settings.
By saving the mirrored image, you cement the mirroring effect, making a particular version of your source photograph.
Conclusion:
To sum up, the reflection simulation property of the image-mirroring technique generates natural scenes of shots that look both compositionally harmonious and visually charming. The scheme offers visual satisfaction by introducing no-difference-found duplication of all of the image’s components. This simple approach is attained by critically applying and manipulating different spatial factors, including scaling and repositioning components in the picture. Moreover, other than photographs, image mirroring is also employed in graphic designs, marketing art, and surreal illustrations where visual depiction is essential. By implementing the processes and tools highlighted in this blog, you can efficiently achieve compelling imagery in your images and distinguish your images.
