How To Create A Glow In The Dark Effect
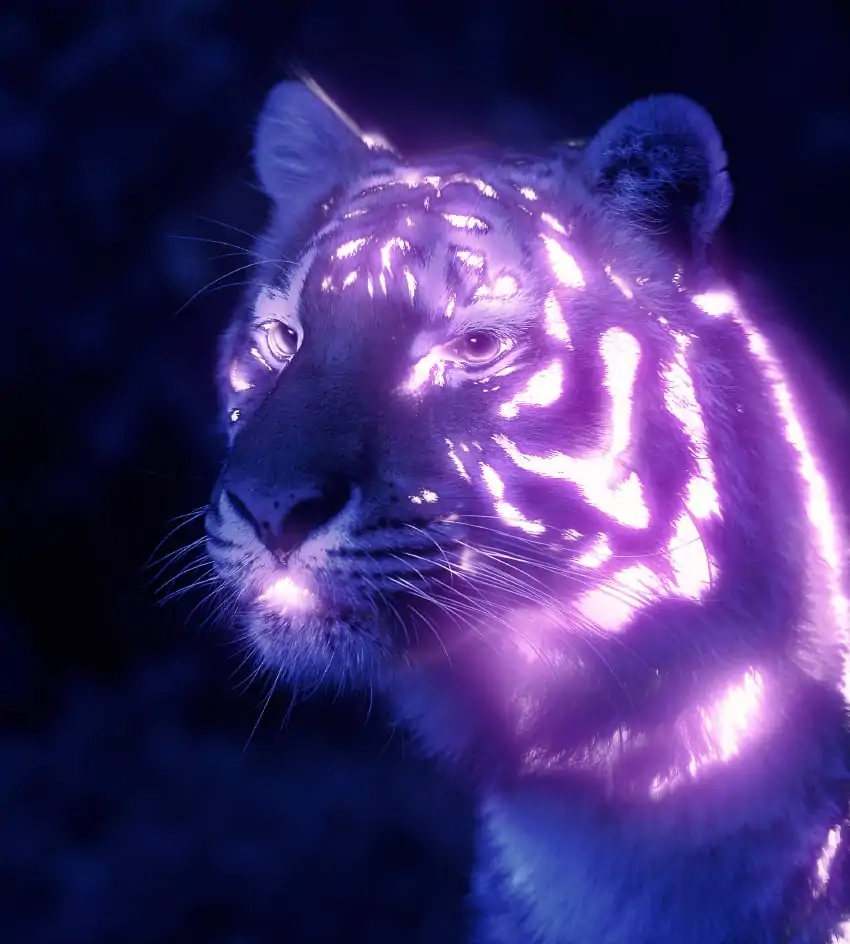
The phenomenon of glow in the dark occurs as objects radiate visible light in the dark just after they are exposed to a light source. The core idea behind this occurrence is photoluminescence, in which materials composed of constituents like zinc sulfide or strontium aluminate absorb light wave energy to retain it for an extended period of time. Furthermore, the special inks to create the glow effect are also available now, which helps achieve glow in art pieces. After getting charged, inks will glow in the dark for a few minutes, creating luminous, bright effects. Utilizing the glow caused by the glow in the dark or photoluminescence phenomenon is common in practical fields like toy making, clocks, safety signs, apparel, decorative items, and even scientific purposes. Besides, the distinctive, glowy aesthetics of this approach act as an innovative enhancement in image enhancement to get luminous visuals by transforming multiple kinds of images and design components. This blog will present the step-by-step process to enhance digital images and illustrations with a glow in the dark effect.
Step 1: Identifying The Specific Component In Your Photograph
Start by identifying the component in your photograph you need to enhance with the glow in the dark effect. That could be a text layer, an object, or a specific zone of the picture.
Make sure that the chosen subject has apparent boundaries and contrasts well with its environment. If the subject blends overly with the background, the glow effect might lose its effect.
Utilize a high-resolution photograph to hold detail and avoid distortion as you are editing. An evident subject can make the glow show up sharper and more specified.
Select a background that’s either totally dark or has negligible visual diversions. That will enhance the luminosity of the glow effect.
If the subject isn’t already confined, utilize selection tools like the Lasso or Pen Tool using Photoshop or the Selection Brush in GIMP to make an exact cut-out.
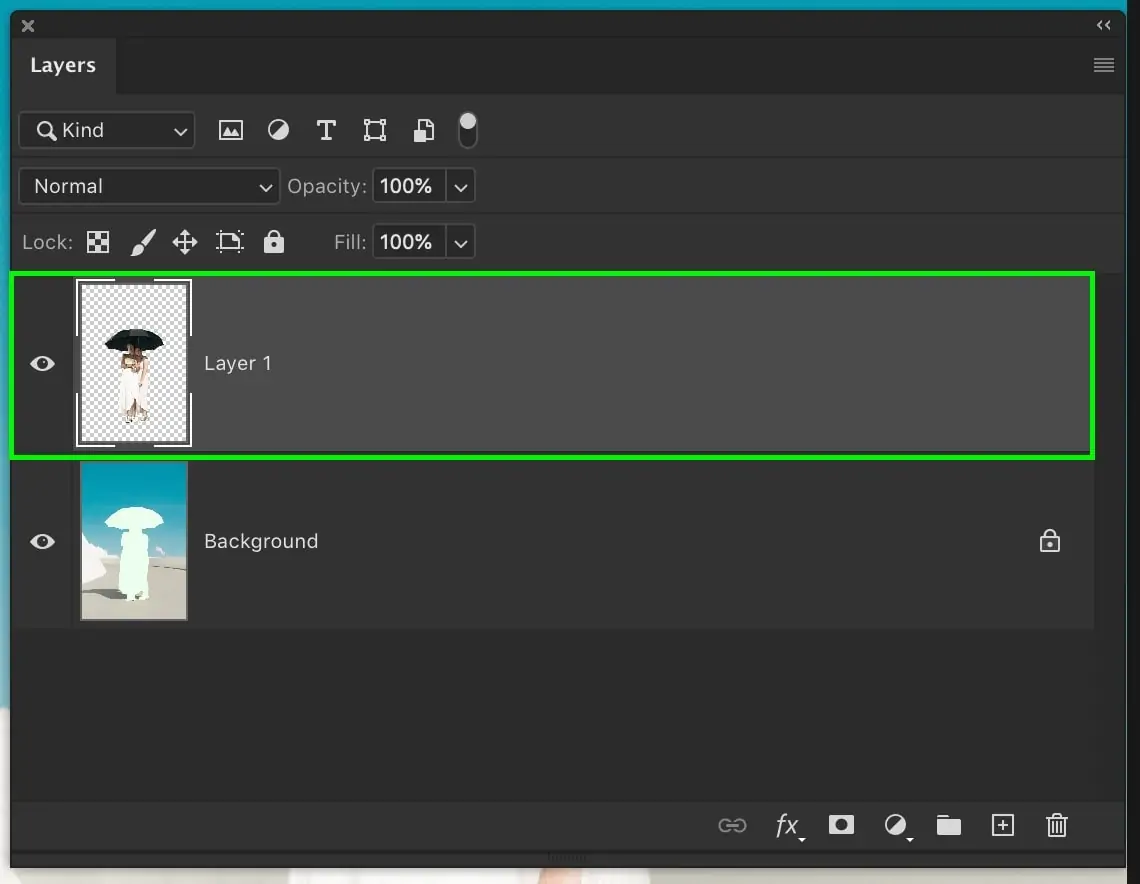
Put the isolated subject on a new layer to permit full control over the glow effect without involving other parts of the picture.
Step 2: Selecting The Dynamic Colors
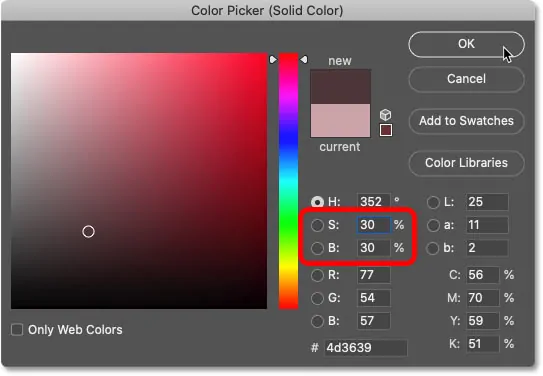
Select dynamic, neon-like colours for the zones of the subject where you need the glow to emerge. Radiant shades of green, blue, yellow, or pink serve best for a realistic glow-in-the-dark appearance.
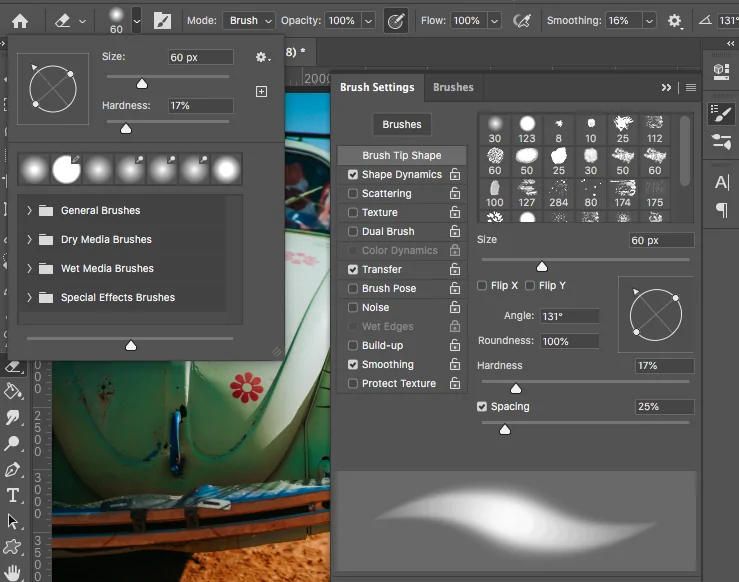
Utilize the Brush Tool with a solid colour to paint over the chosen ranges. Revise the brush size and hardness as required to conform to the shape and details of the subject.
Make sure that the colour application is, indeed, focusing on ranges that would naturally transmit light, like edges or particular glowing areas of the subject.
To get a more energetic effect, try multiple shades of the same colour to form a subtle gradient. That can help recreate the progressive dispersion of light from the source.
In case your subject is on an isolated layer, lock the transparency or utilize a clipping mask to keep the base colours limited to the intended regions.
Recheck the application for consistency to keep up the glow’s naturalism and symmetry.
Step 3: Applying An Outer Glow
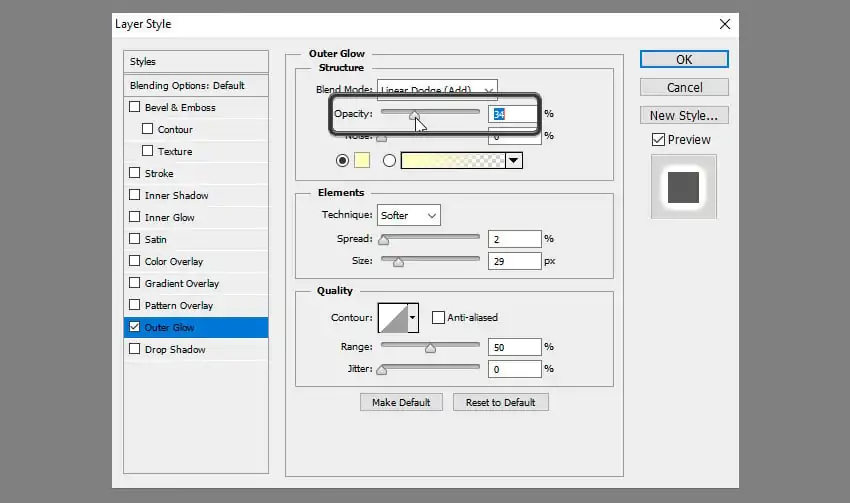
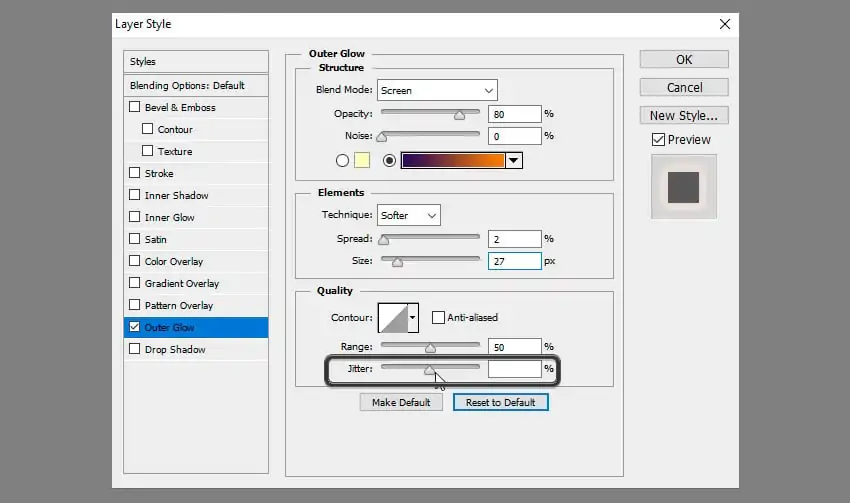
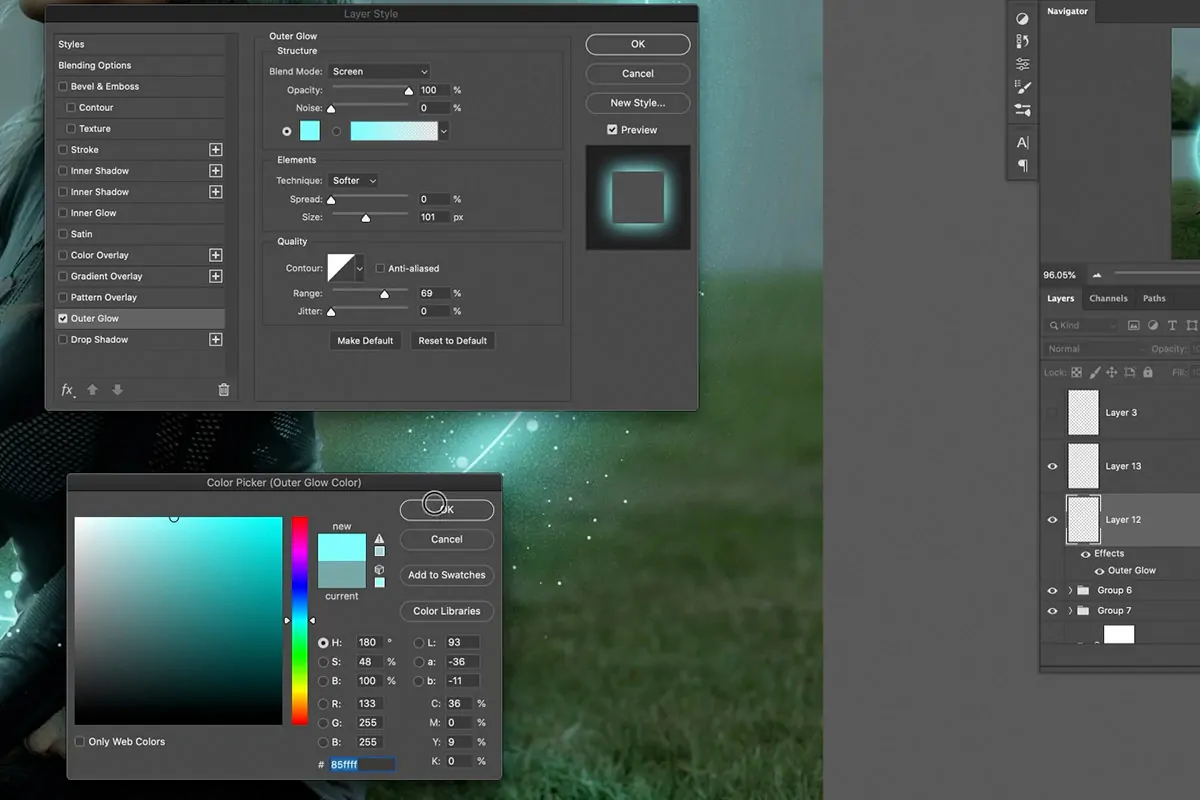
Utilize the layer styles or effects included in your editing program to apply an outer glow to the chosen subject. If using Photoshop, that could be found beneath Layer > Layer Style > Outer Glow.
Specify the glow colour to coordinate the base colour connected within the previous step, guaranteeing visual agreement.
Alter the size and spread settings to oversee the intensity and width of the glow. Larger settings make a delicate, diffused glow, while shorter ones create a concentrated effect.
Adjust the opacity slider to modify the brightness of the glow against the foundation. Increased opacity performs sufficiently for sensational impacts. Similarly, lower opacity makes fine highlights.
Alter the blending mode to alternatives such as Screen, Overlay, or Soft Light to improve the glow’s conformity with the subject and its surroundings.
Include multiple glow layers if required for more prominent depth or colour variety. For example, an inward layer can be brighter, whereas the external edges fade into the background.
Step 4: Enhancing The Brightness And Contrast
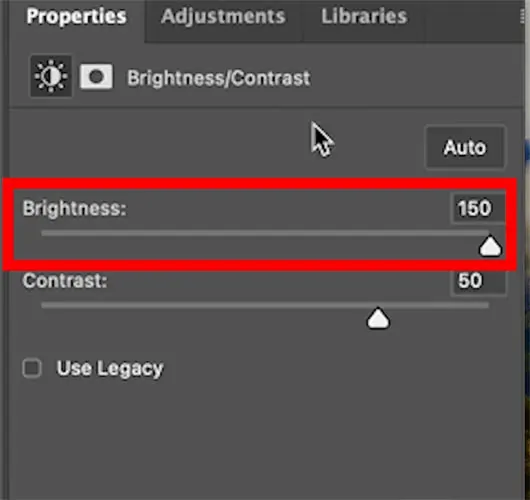
Alter the brightness and contrast of the subject to make the glow more dynamic and conspicuous. That helps the glowing ranges stand out clearly against the darker environment.
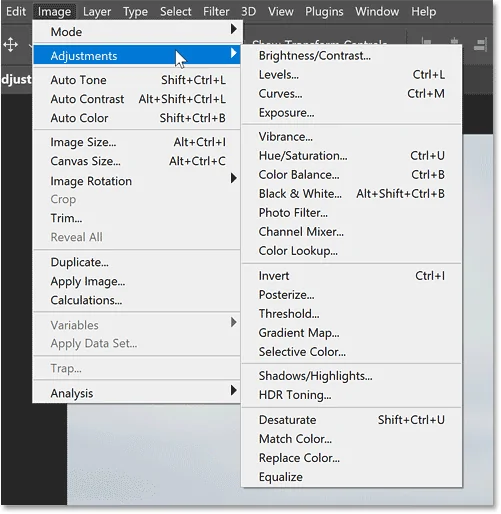
Utilize Brightness/Contrast adjustment layers in your program to tune these settings without influencing the initial layer. In Photoshop, you can get to that feature by heading under Image > Adjustments > Brightness/Contrast or via an adjustment layer.
Expand the brightness of the glowing areas to mimic emitted light but prevent over-exposure from holding realistic, subtle elements.
Decrease the contrast marginally within the glowing regions to relax moves and make the glow show up more naturally.
For the background, decrease brightness and increase contrast to make a more profound dark effect, making the glow appear more vigorously.
Survey the general composition to guarantee that the brightness upgrades don’t overwhelm other components or make the photograph look fake. Harmony is key for a proficient wrap-up.
Step 5: Blending The Glow With The Encompassing Components
Utilize blending modes to consistently coordinate the glow with the encompassing components. Modes such as Screen, Lighten, or Overlay are perfect for glow impacts.
Add the blending mode to the glow layer to be sure it interacts naturally with the foundation and avoids harsh edges.
Decrease or alter the opacity of the glow layer to soften its formation and make a realistic scattering effect.
Utilize a soft eraser or layer mask to refine edges where the glow transitions into the foundation, guaranteeing it fades easily.
To get multi-layered glows, apply blending alterations to each layer independently to preserve a consistent look.
If your background contains surfaces or colours, alter its brightness or tone to improve the visibility of the glow without overpowering it.
Check for sharp contrasts or obvious separations and tweak the blending settings until the glow effect shows up wholly blended.
Step 6: Applying Gradients And Highlights
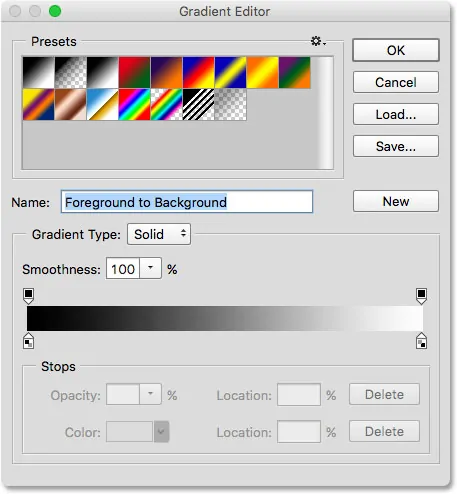
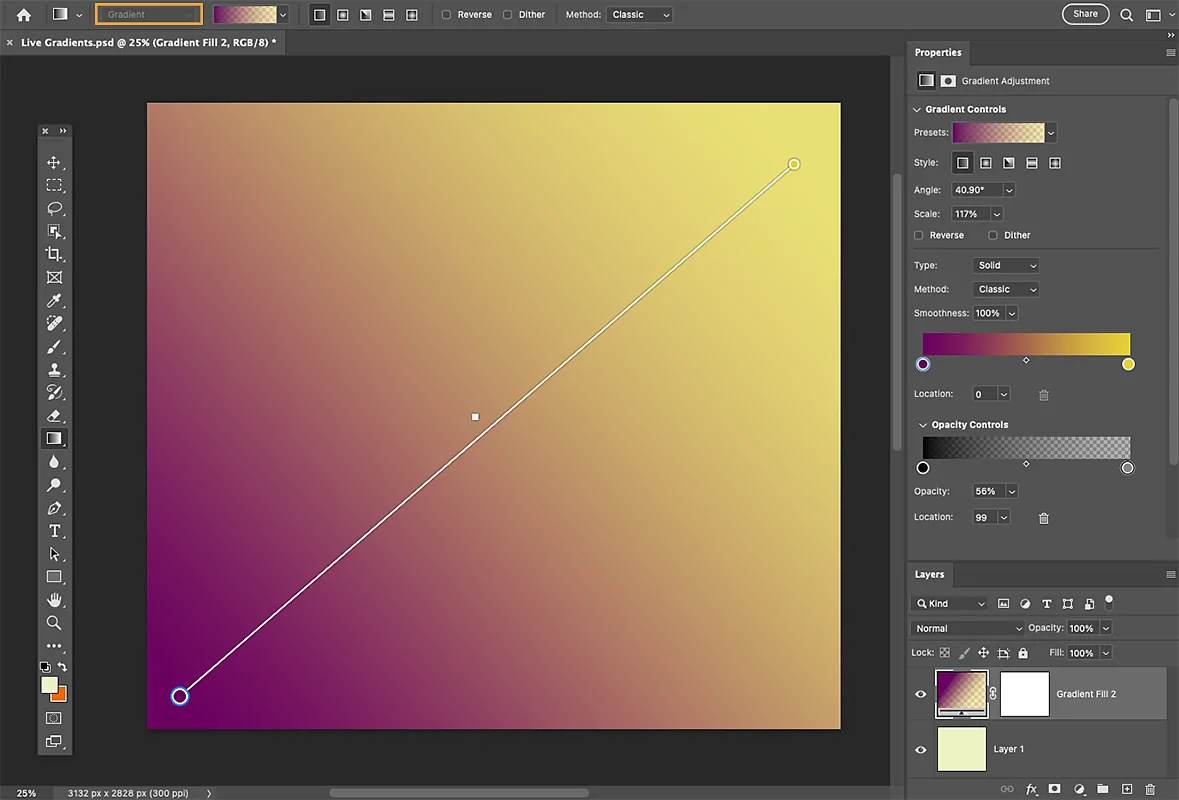
Add gradients to mimic the natural dispersion of light rays from the glowing ranges. Utilize the Gradient Tool or gradient overlays in your editing program to apply subtle moves of brightness and colour.
Select a gradient colour that matches or complements the base glow colour. For included profundity, make radial gradients beginning from the glowing source to imitate light spreading outward.
Add gradients on separate layers and put them to blending modes such as Screen, Overlay, or Soft Light for a more integrated and energetic impression.
Include highlights to upgrade the intensity of the glow in particular zones, like corners, edges, or focal points of the subject. Utilize the Brush Tool with reduced opacity for exact control.
Play with different gradient layers, combining short and long dispersions to imitate distinctive levels of glow.
Refine gradient placement and opacity to get smooth blending and prevent sudden transitions.
Review the composition with the Preview option, confirming that the gradients and highlights intensify the glowing impact while maintaining harmony and realism.
Step 7: Fine Tuning The Image
Audit the whole photograph to assess the overall effect of the glow effect, making sure that it shows up realistic and not overwhelming. Adjust the components that stand out too starkly or blend too smoothly.
Fine-tune the intensity of the glow by returning to the opacity settings and adjusting the outer glow and gradient layers to hit the proper balance.
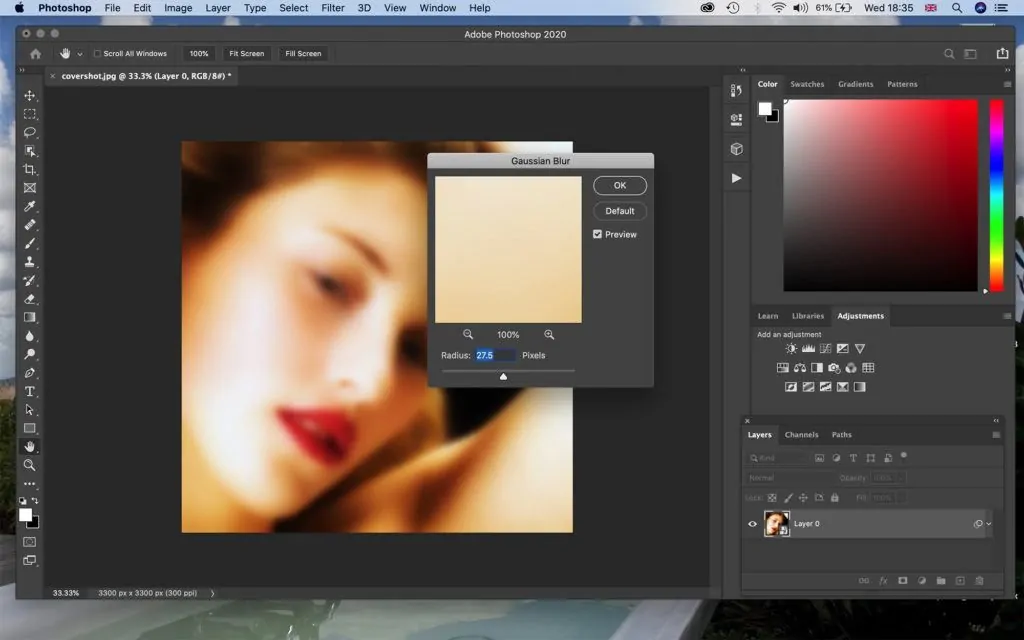
Utilize Gaussian Blur or comparative blur features to smooth out ranges that ought to transition tenderly into the background, helping the glow emerge as something natural.
Look at the colour temperature and saturation to affirm that the glow conforms to the rest of the picture. Vary the colour settings as required to make a more unified overall tone.
Concentrate on the glow’s placement, guaranteeing it improves key components of the subject without overpowering the design.
Use the Zoom in feature and assess the edges of the glow; tidy up any harsh lines or extra details utilizing layer masks or a delicate eraser tool.
Finally, you can export the image in the format you want, confirming that the glow remains visible and sharp over different stages and screen resolutions.
Conclusion
In conclusion, the glow in the dark effect, when added to photographs, amplifies the significance of critical factors like texts, design elements or the primary subjects. It also sometimes provides compositions with 3D depth, which results in vibrant, dynamic settings. In addition to enhancing images, the glow in the dark effect can also sometimes work as an image corrector or modifier when you need to edit images that were captured in low-light conditions or at night times. It helps to bring attention to the essential details as well as infuse a novel climate into those shots.


