
How To Create A Drape Effect
A drape effect is a common tool in photography used to add style and lighten the existing materials or fabrics within images. It also adds a dynamic touch by enhancing textures, material movements, and realistic depth. This effect can also be generated using digital tools to mimic realistic textures of draped materials. Creating a drape effect requires different image editing tools and effects, including texture overlays, selection tools, drawing tools, transform tools, layering, blend mode settings, opacity adjustments, lighting and shadows manipulation, and some other enhancing techniques. This approach is common in upgrading a wide range of images, including portraits, fashion photography, product photography, event photography, home interiors, and much more. For the photographs without any specific element to add a drape effect various drape-based textures can be utilized as backdrops to achieve either a timeless, rustic charm or any of the contemporary styles. It gives fabrics and flowing materials, including curtains, dresses, and covers, a realistic feel and folds, making images more life-like and often simulating a 3D appearance. This blog will proceed with the steps to create a drape effect by both enhancing the existing materials and simulating drapes digitally.
Step 1: Image Loading
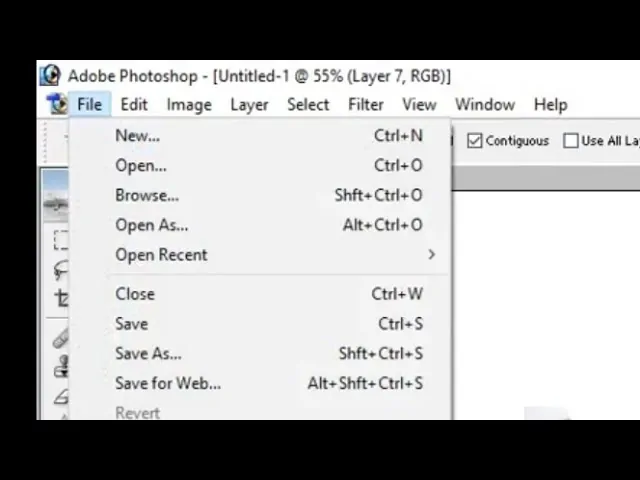
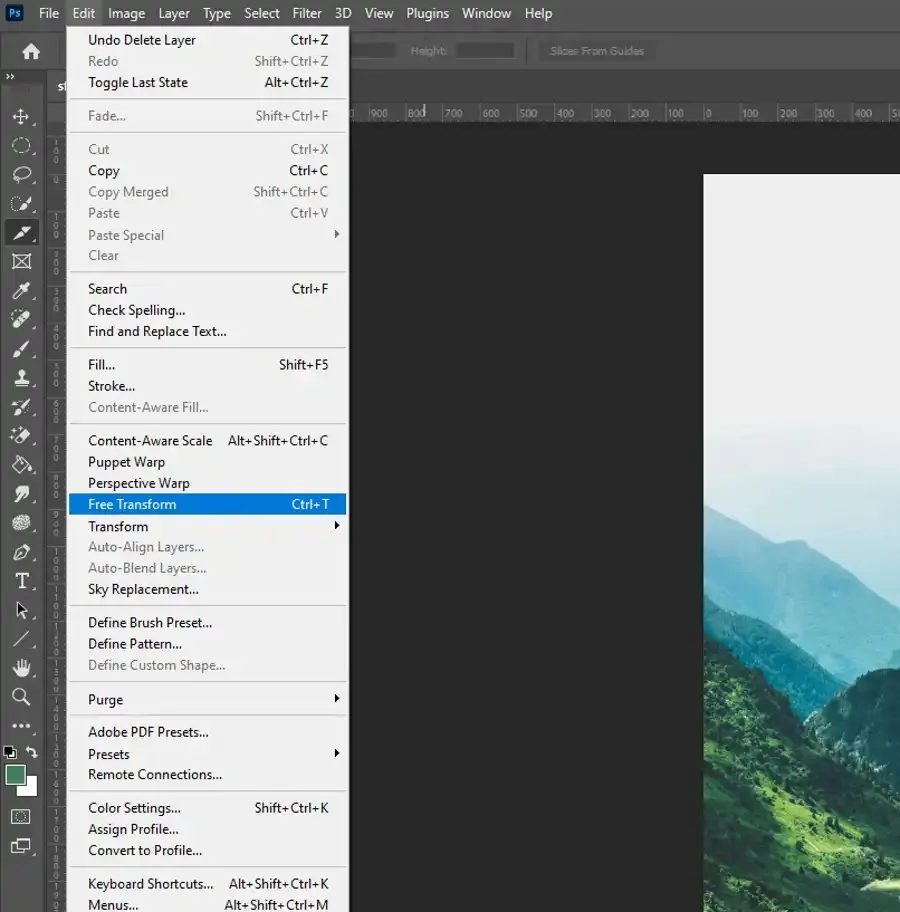
Begin by opening your choice of photo editing application like Adobe Photoshop on your PC.
Utilize the File menu to choose Open and find the image you need to alter. That photograph can either have existing drapes or work as the base for including new fabric.
In case you are beginning with a blank canvas or plan to include drapes in a photograph, make a new document with suitable measurements.
Review that all layers within the image are visible. As essential, unlock the background layer or convert it into a smart object for non-destructive editing.
Before working on the drape effect, you will need to make basic edits like cropping the picture, altering the resolution, or correcting colours for uniformity in the composition.
Be sure that you save your work frequently and prepare the image for the subsequent steps by getting it prepared for the draping effect process.
Step 2: Target Zone Selection
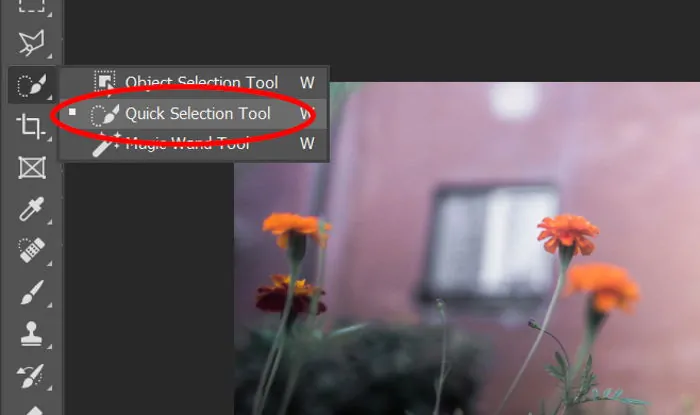
Choose a suitable selection tool for the process, like the lasso tool, quick selection tool, or pen tool.
Layout the zone where you need to include drapes or fabric. That might be around a subject, as a background component, or as a new addition to an empty area.
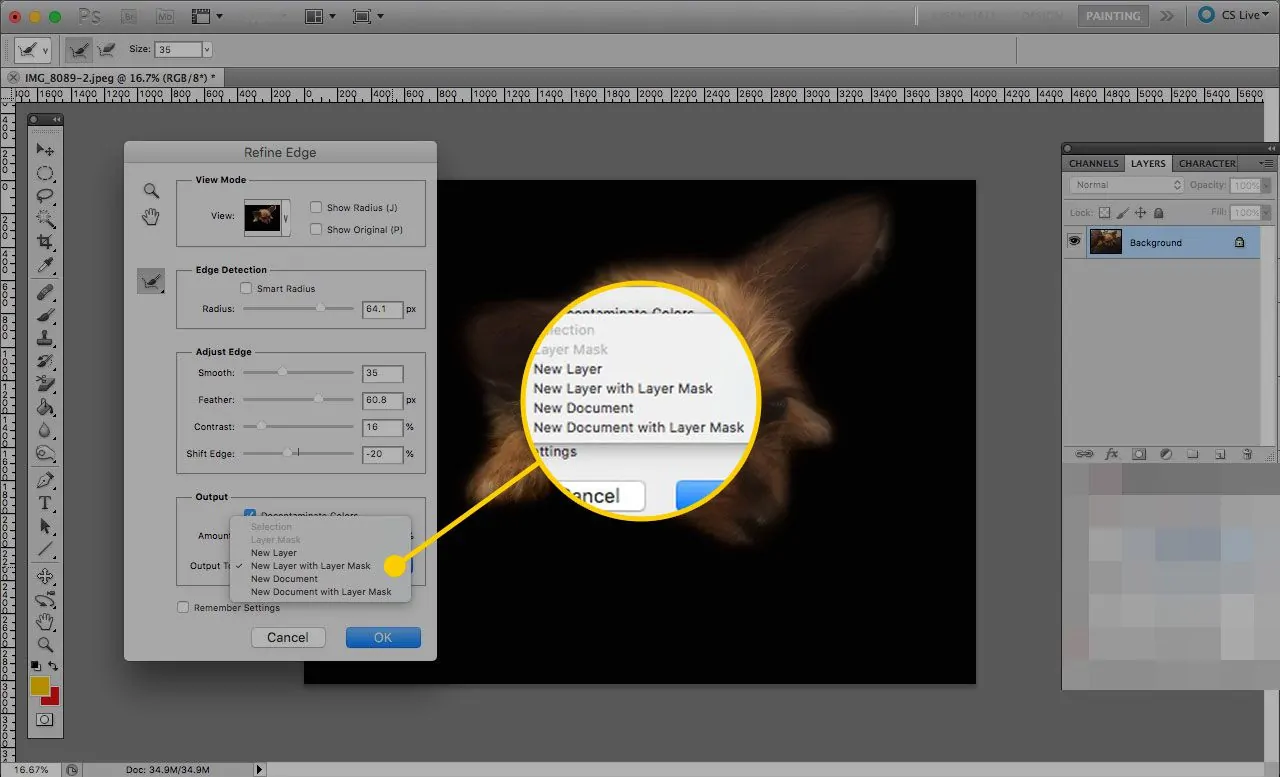
Utilize the Refine Edge or Select and Mask choices to make the selection smoother, making sure that clean lines particularly in case you are including fabric to regions near edges such as a subject’s face or body.
After making the selection make a new layer. That layer will hold the new drapes without influencing the rest of the photo.
In case the chosen range requires a delicate transition into the rest of the picture, utilize a feathered edge on your selection for a more synthesised impression once the fabric is included.
Step 3: Drape Material Creation
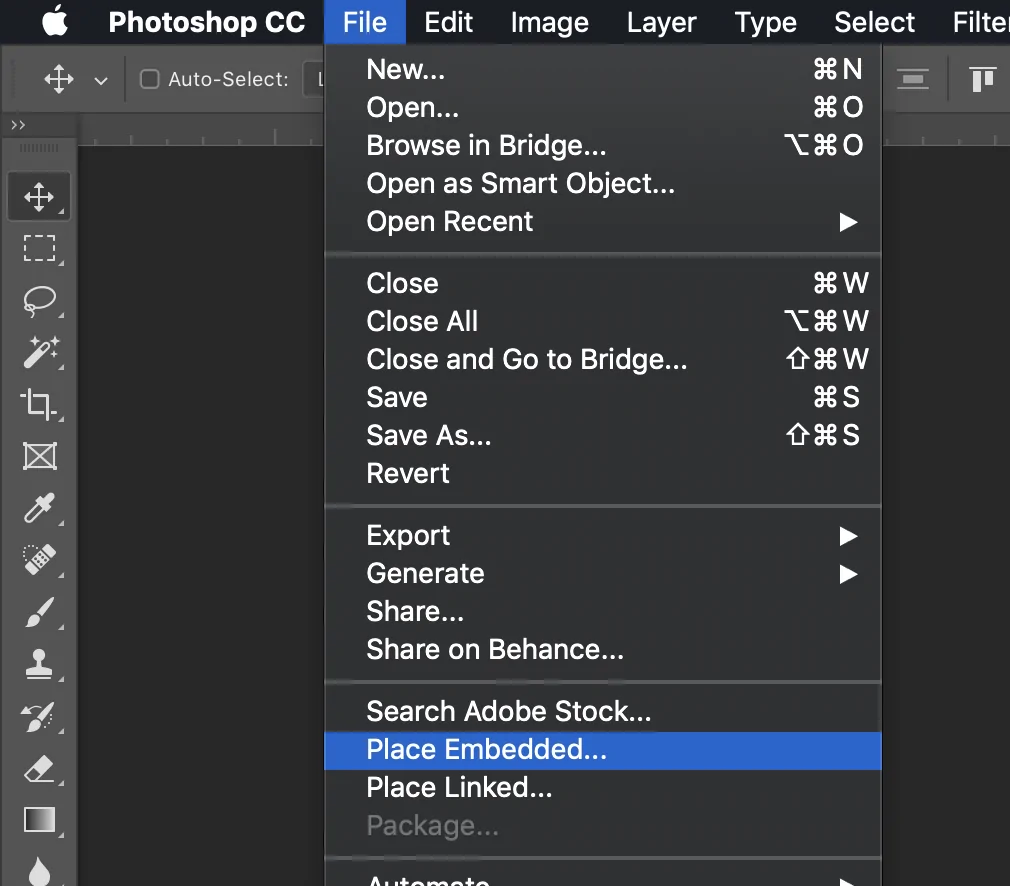
In case you’re including real fabric in the picture, discover a high-quality image of that fabric or texture you need to use. You’ll import this by selecting File > Place Embedded then choosing the fabric image.
In case you prefer to make the fabric digitally, utilise drawing tools such as the pen tool to lay out fluid, wavy forms that speak to fabric draping. To get a more realistic appearance, create soft curves and lines to mimic folds.
Fabric textures including cotton, velvet, or silk each have interesting features. Select or design a texture that corresponds to the tone and setting of your photograph. Opt for a soft fabric surface for elegant folds or a stouter texture for more panoramic effects.
Once done with fabric import or creation, resize and set it inside the selection zone made in Step 2. Make sure it shields the specified region and adapts naturally to the composition.
Alter the edges of the fabric utilizing layer masks or the transform tool to be sure it integrates smoothly into the photograph and corresponds to the perspective and lighting.
Save your fabric material on an isolated layer so you’ll be able to manipulate it independently from the original picture, guaranteeing that you have flexibility during the following steps.
Step 4: Drape Material Shaping
Confirm that the fabric layer is dynamic in your layers panel so that any modifications influence the drape material only, not other components of the picture.
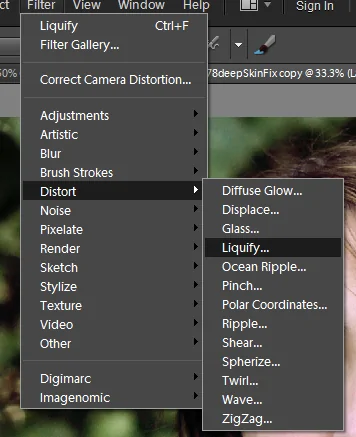
Get to the Liquify Tool using Filter > Liquify and set the fabric’s flow. You’ll utilize the Forward Warp Tool to pull, push, and shape the fabric into lifelike folds, curves, and swirls. That tool will offer control over how the texture responds and adjusts to the scene.
Start sculpting the fabric to correspond to genuine drapes. Utilize small movements to make smooth, natural folds, focusing on where gravity and lighting would influence the fabric’s behaviour. A delicate curve performs excellently for soft, flowing drapes, correspondingly, sharp folds could be more useful for thicker fabrics.
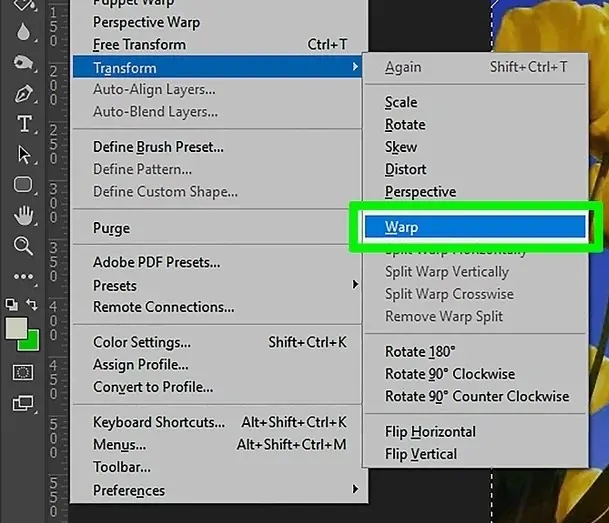
To get meticulous control over large fabric regions, utilize the Warp Tool with Edit > Transform > Warp.
Smooth out any hard edges utilizing feathering or a soft brush tool. Ensure that the fabric transitions intrinsically with the other components of the photograph.
As you shape the fabric, look into the overall perspective of the setting. As drapes usually drop naturally from a specific direction, so conform the fabric’s flow with the present contours and angle within the photo.
Utilize tools such as Smudge Tool or Clone Stamp to perform any concluding alterations to the fabric, making sure that the shape and folds are smooth and realistic.
Step 5: Making Lighting Adjustments
Make a new layer devoted to lighting adjustments. Make sure it stays over the fabric layer so you can effectively integrate the lighting effects with the drapes.
To mimic natural highlights and shadows on the fabric, utilize the Dodge Tool for lightening and the Burn Tool for darkening. Concentrate on the folds and edges of the fabric to add depth, providing the drapes a more 3D impression.
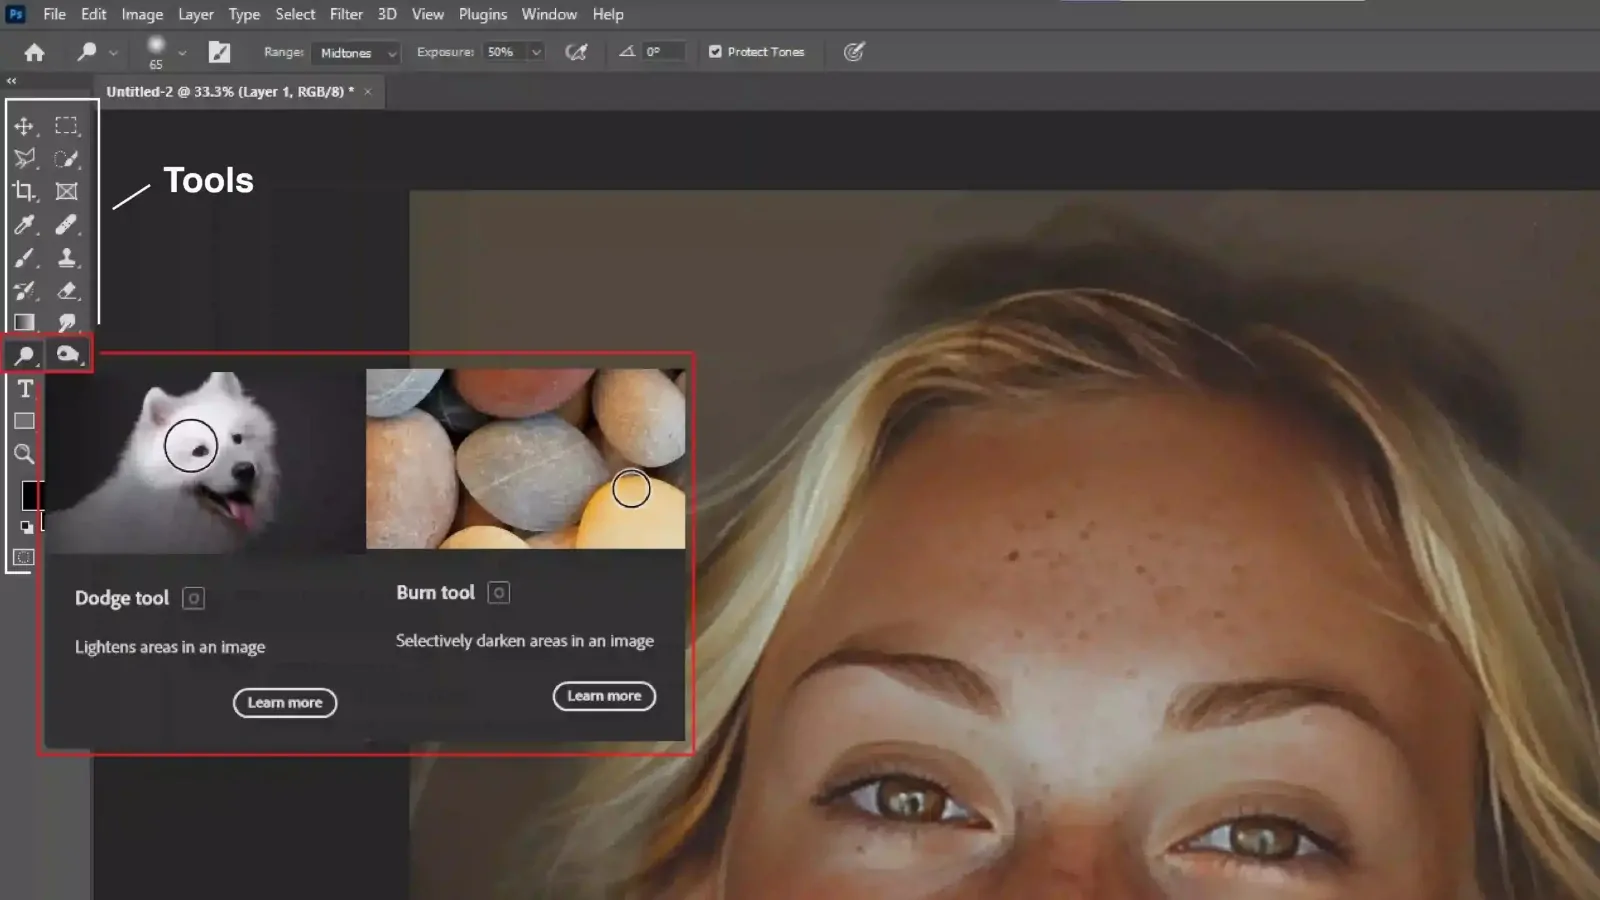
Before you apply lighting, visualize or identify the central light source in your photograph like natural light, a lamp, or a spotlight. The direction and intensity of that light source will direct you on where the highlights and shadows should be set on the fabric.
Lighten the ranges where the fabric is stretched or closest to the light, and darken the deeper parts of the folds or ranges further away from the light source. That contrast will emphasize the texture and flow of the drapes.
To achieve a more constant lighting adjustment, utilize a soft round brush with low opacity. That will permit you to include shadows and highlights more steadily, making a realistic, soft effect on the fabric.
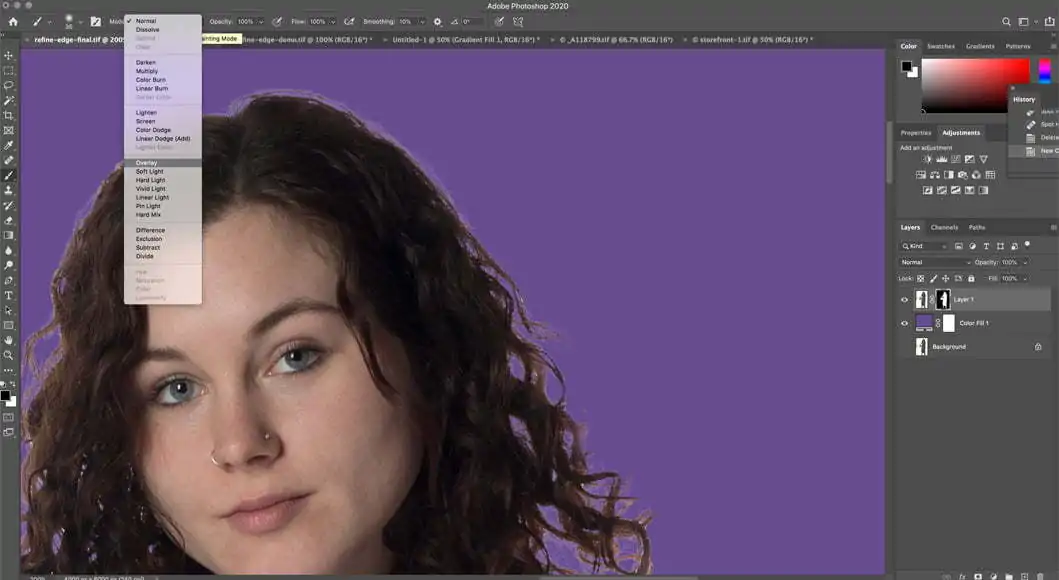
Once done with modifying the fabric’s light and shadow utilizing the Dodge and Burn tools, put the lighting layer to Soft Light or Overlay. That will consistently incorporate the lighting effect with the fabric and merge it into the original picture.
Alter the opacity and blend modes of your lighting layer to polish the overall depth and intensity. Make sure the lighting on the fabric corresponds to the rest of the image’s lighting and makes a lifelike visual flow.
Step 6: Texture Refinement And Final Export
Put a suitable fabric texture over the drape layer to improve realism. Utilize high-quality textures for materials such as silk, velvet, or cotton according to your preferred effect. Resize and adjust the texture with the fabric design.
Alter the blending mode of the texture layer to Soft Light, Overlay, or Multiply for consistent integration. Revise the texture layer’s opacity to make it look more natural, making sure that it does not overwhelm the existing shape and lighting of the fabric.
Include a Layer Mask to the texture layer and utilize a soft brush to tune zones where the texture should fade or show up softer.
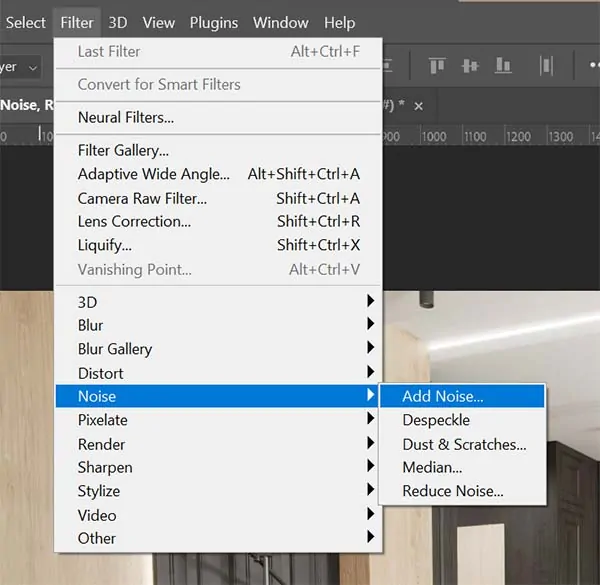
Add a light noise or grain effect to imitate the subtle flaws of real fabric, chipping in the authenticity of the fabric.
Scan the overall composition to make sure that the drapes are incorporated naturally with the remnant of the arrangement.
Assess colour, perspective, and scale for harmony with the background and the overall scene.
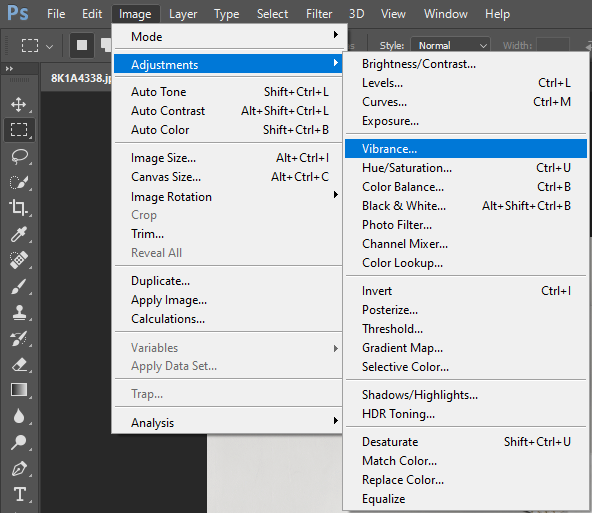
Utilize Hue/Saturation, Brightness/Contrast, or Color Balance alterations to match the drapes with the colour palette and lighting of the composition. Make sure they go with the tone and temperament of the composition.
Improve the depth by including highlights to lit regions and shadows beneath folds. Utilize the Dodge and Burn features, or paint with a low-opacity brush on a new layer, put to Multiply for shadows and Screen mode for highlights.
Utilize sharpening tools to define folds and details. In case edges show up too sharp, feather them scarcely for a realistic transition into the scene.
Recheck all components are cohesive, and after that save your final image in a high-quality format such as PNG or JPEG and suitable resolution settings. Also, consider keeping a layered file PSD for likely future edits.
Conclusion
In summary, a drape effect enhances the fabrics or materials in images by offering them a soft-flowing look with realistic folds and curves further enhanced. The manipulation of shadow and lighting effects in photographs mimics the natural behaviour of light falling onto surfaces. This effect also creates a feel of motion and energy, thus giving static images an animated impression. In general, a drape effect creates a soft elegance and richness in images without overemphasizing the selected zones or detracting from the primary subject within an image.
