How To Create A Clairvoyant Effect
The term clairvoyant refers to a person who possesses the capability to acquire knowledge related to an object, person, place, or appearance through extrasensory perception, or ESP. A clairvoyant is able to foresee the future or gain insights about unrecognized ideas through visual perceptions. He or she often uses foreseeing powers to help people struggling with uncertain feelings in their lives by providing guidance and solving mysteries. The mysterious and supernatural notions affiliated with the clairvoyance phenomenon are enchanting enough to evoke novel concepts among individuals who are interested in creating something unique and mind-blowing. The same is the case with artists, especially those who employ visual expressions to communicate their inventive views, either personal or inspired ones. Though with the expansion of digital art forms, the mode of expression is evolving, the development of ideas and themes still belong to the human mind. Likewise, modern artist are using unique concepts like a clairvoyant effect to enhance their composition with supernatural and surreal climates. Moreover, the existing images or photographs are also enhanced using this otherworldly art theme using advanced art software and techniques. The step-by-step process to add a clairvoyant effect to images is as follows.
Step 1: Add A Soft Glow And Dreamy Blur
The first step to creating a clairvoyant effect is to add a soft glow and dreamy blur that help in forming a mystical environment, nuancedly diffusing details through maintaining the clarity of the subject.
Create a duplicate of your main photograph so that you can proceed with the editing process without affecting the original images while experimenting with creative moves.
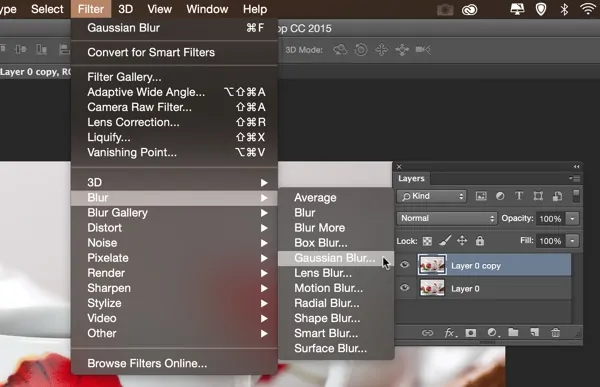
Utilize a Gaussian blur filter with a moderate radius so that the image does not lose its vital details but attains a slight softness.
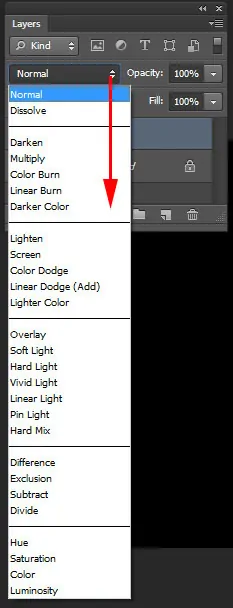
Once you have applied the blur filter and attained the desired softness, you have to set the blending mode, choosing from options like Overlay or Soft Light to further integrate the blur effect into the image and build a glowing feel around the primary subject.
Modify the opacity of the layer to further intensify the effect. To enhance and decrease the opacity minutely to undo excessive haze while keeping a supernatural aura.
To get a more tuned appearance, utilize a layer mask to remove the blur from the zona’s critical zones, like eyes or other facial features, which need to be clear and prominent.
Step 2: Present An Ethereal Aura And Lights
This step is about presenting an ethereal aura and lights that enrich the clairvoyant effect by making a magical glow encircling the subject. It offers the scene of the spiritual energy evolving from some otherworldly entity.
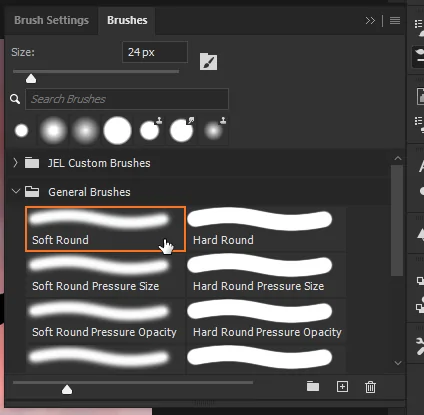
Create a new layer and select a round, soft brush with lower opacity. Then, start painting radiant light sources surrounding the critical regions like the eyes, hands, or head, making sure that light looks natural and smoothly blends into the surroundings.
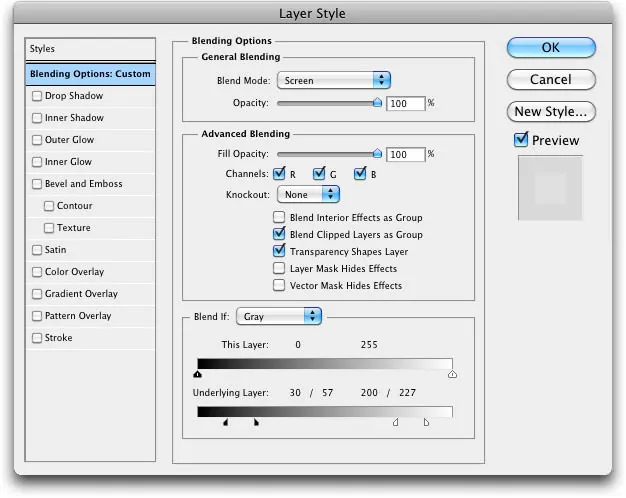
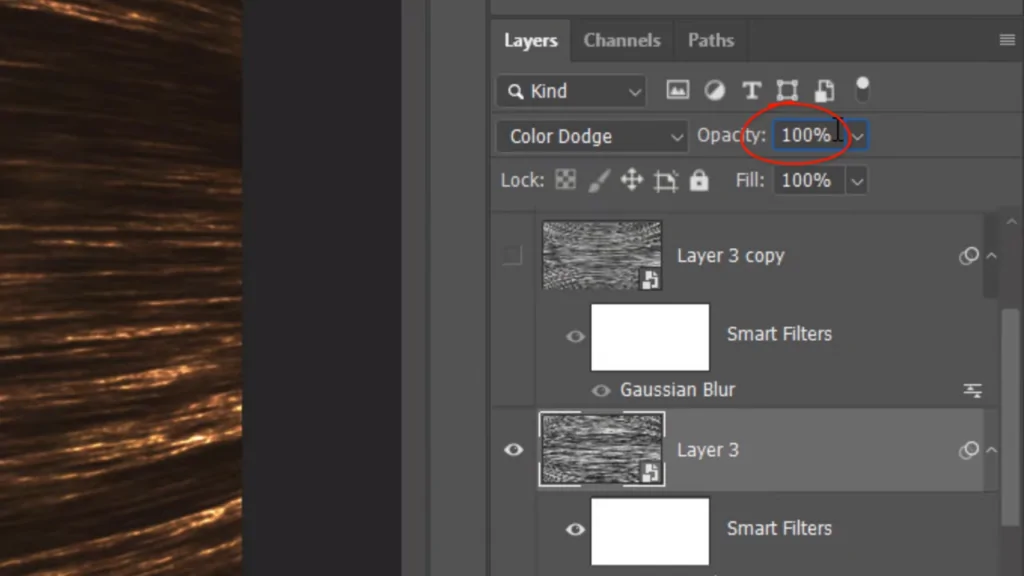
Revise the blending mode of your under-process layer using options such as Overlay, Screen, or Color Dodge that build up brightness while keeping a smooth shift between the original image scene and the added light sources.
Enhance the mystical climate by using layer styles like Outer Glow Effects; you need to select tones like soft blue, white or purple. After that, you will set the Size and Spread settings, making sure that the glow stays moderate yet notable, fortifying the ethereal impression.
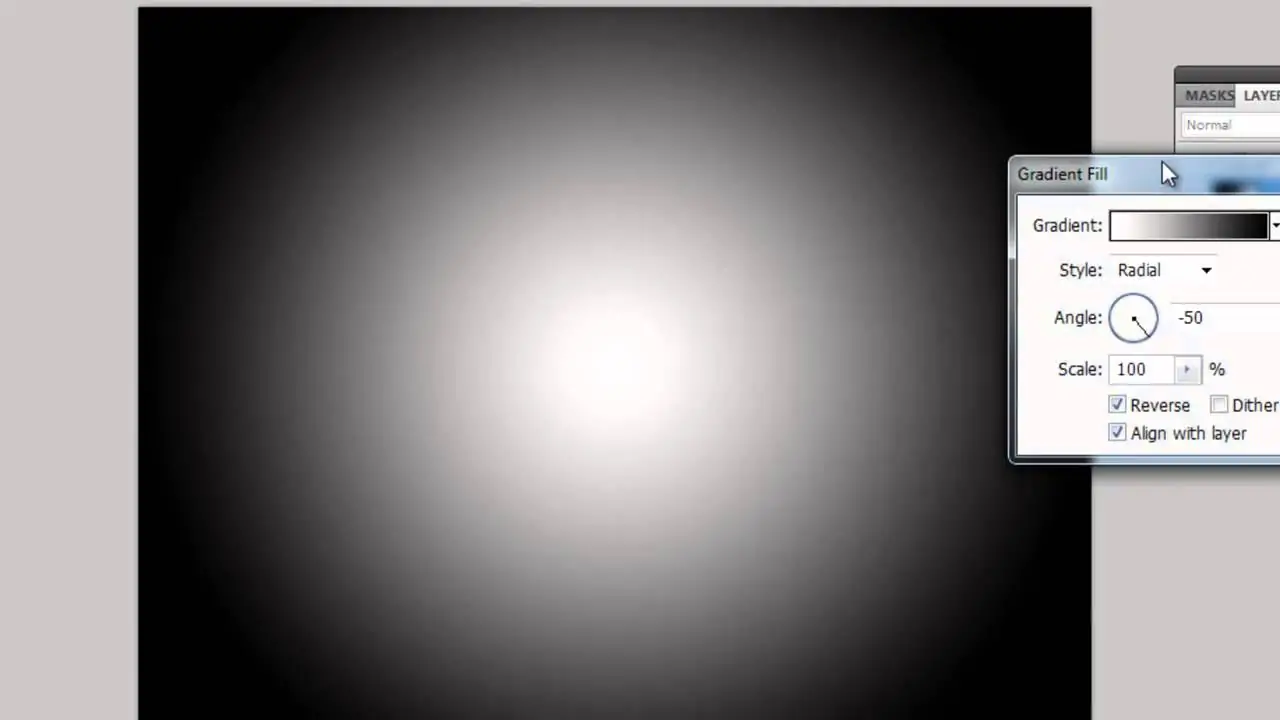
Consider employing a radial gradient to add a coloured or soft white glow behind the subject, imitating a heavenly light source. It helps to tweak the opacity and blur to make a radiated, surreal tone without overthrowing the vital details.
Step 3: Utilize Double Exposure Technique
Utilize double-exposure or transparency strategies to further escalate the clairvoyant effect, creating an illusion of psychic vision or spiritual manifestations that is incorporated into the photograph artistically.
To proceed with this approach, you will begin by picking images containing abstract textures, spiritual elements, or symbols. Once selected, you will carefully set the components on the main photograph layer while modifying its opacity to create a smooth yet not too overpowering blending.
Shift the blending mode of your newly added texture or components to Lighten, Overlay or Screen, allowing these elements to blend organically with the main image. It also helps keep the most glowing zones clear and gradually eliminate unimportant details to avoid any visual clutter.
To fine-tune the effect, employ a layer mask and erase or soften the particular parts of the overlay to concentrate on the regions where the secondary image (textures or components) ought to show up more noticeably, boosting the clairvoyant vision aesthetics.
Step 4: Modify The Color Scheme
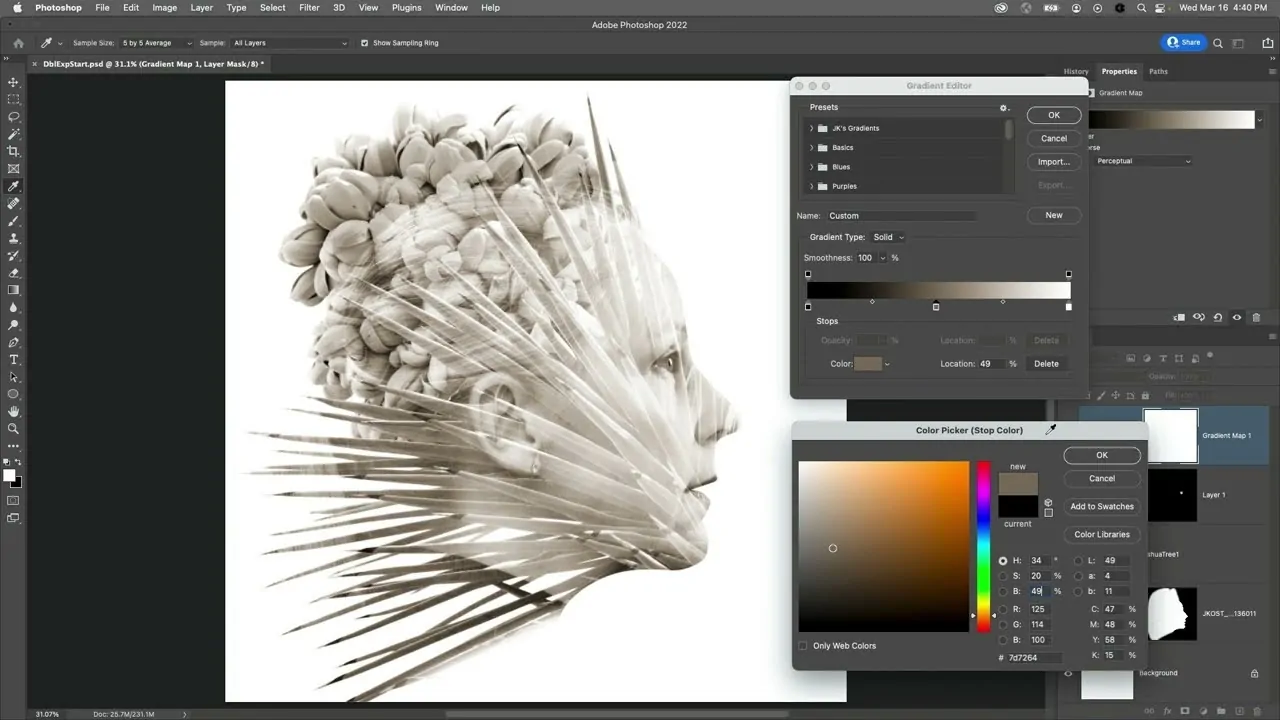
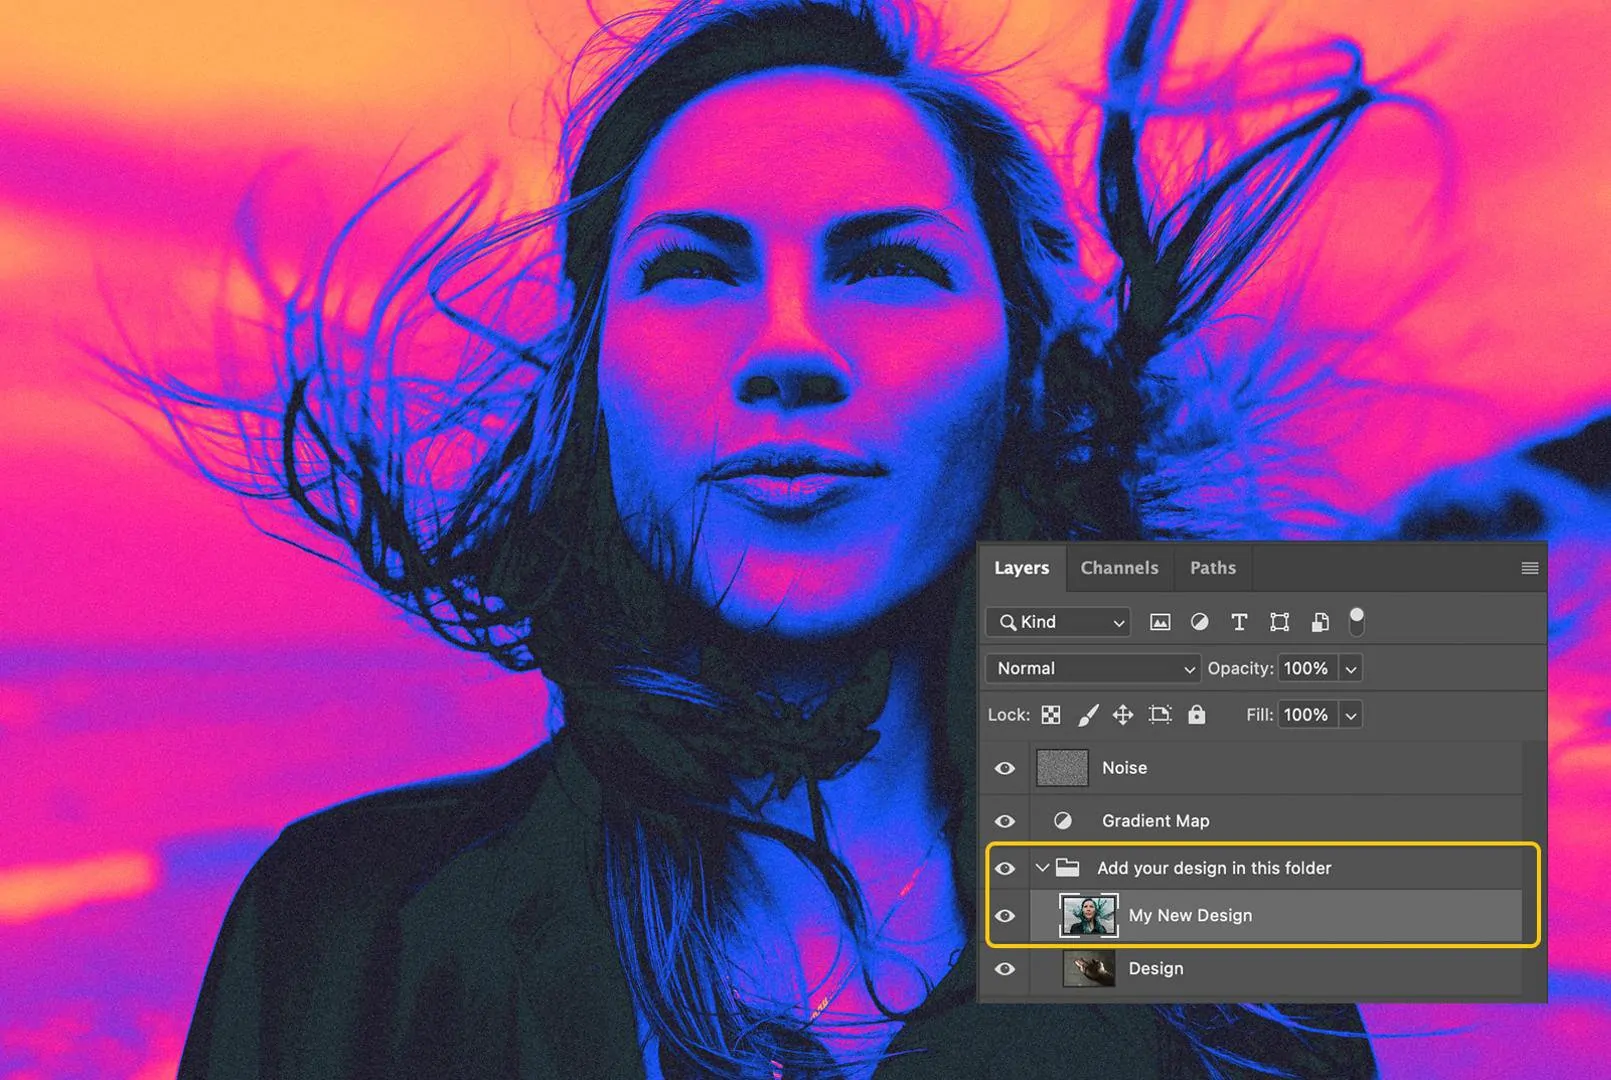
Revise the general colour balance of the image, shifting them to tones like deep blues, purples or any other cool tone related to dreamlike or psychic visions. For colour balancing, you can pick tools like Color Balance, Gradient Maps or Selective Color.
Utilize a new adjustment layer to apply a soft violet or purple hue using filters or curves to softly blend warm and cool tones while preventing oversaturation or freakish contrasts.
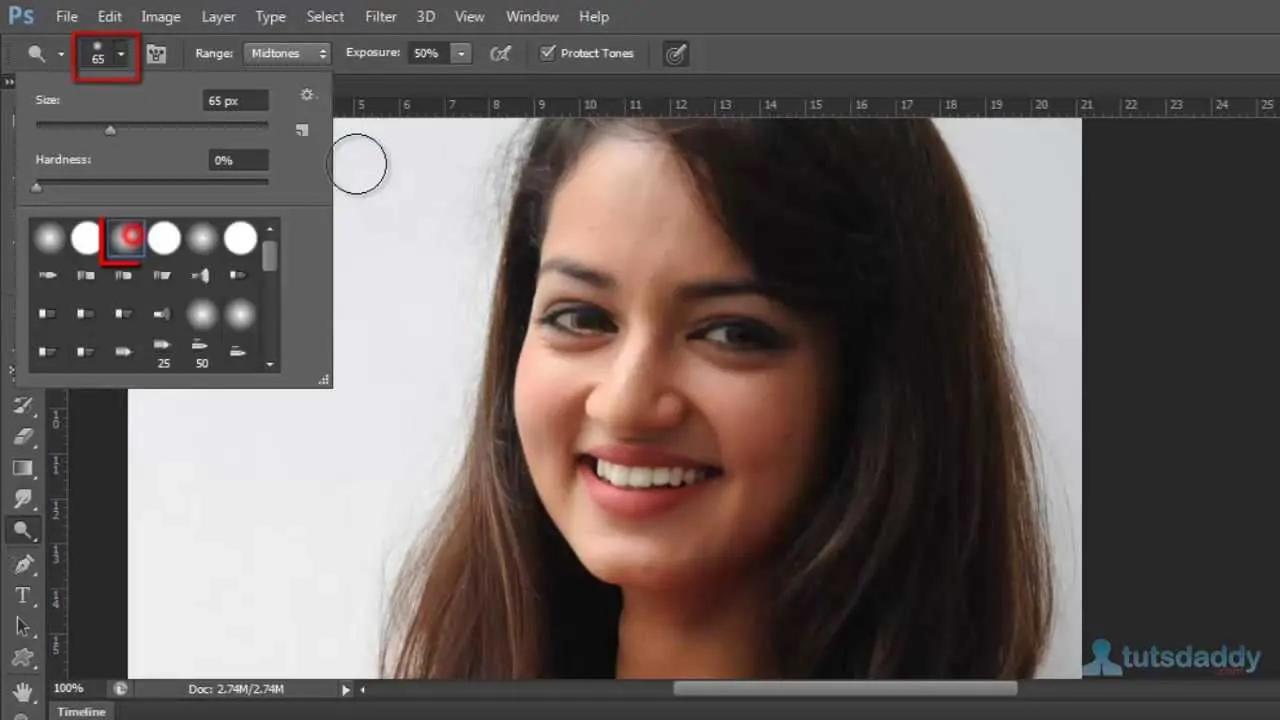
Utilize Dodge and Burn tools to add depth and dimension to the composition, highlighting the critical zones while darkening the photo’s edges.
Step 5: Enhance The Subject’s Features
In creating a clairvoyant effect, the eyes are the most critical components that indicate deep thinking, supernatural perception and the ability to envision what is transcendental to the tangible world.
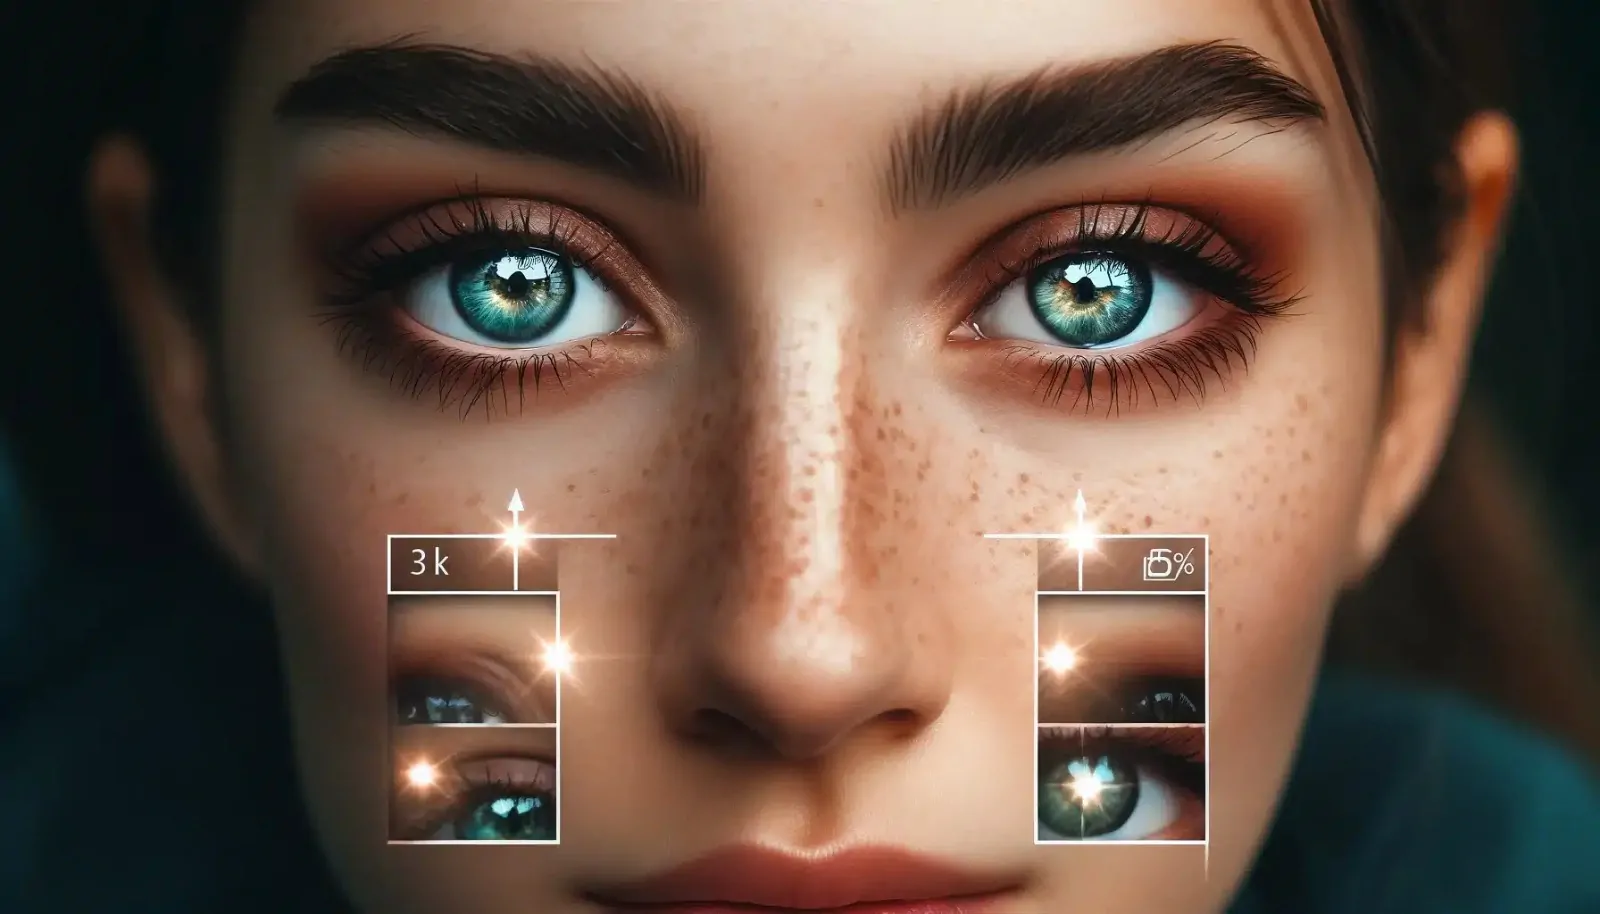
Begin by using the zoon-in feature on the eyes and utilize a soft white brush or the Dodge tool on a new layer with the blending mode specified for the Overlay or Soft Light modes.
Make the irises brighten moderately and keep working till attaining a more intense and radiant look, but let the highlights go unnatural or disintegrated.
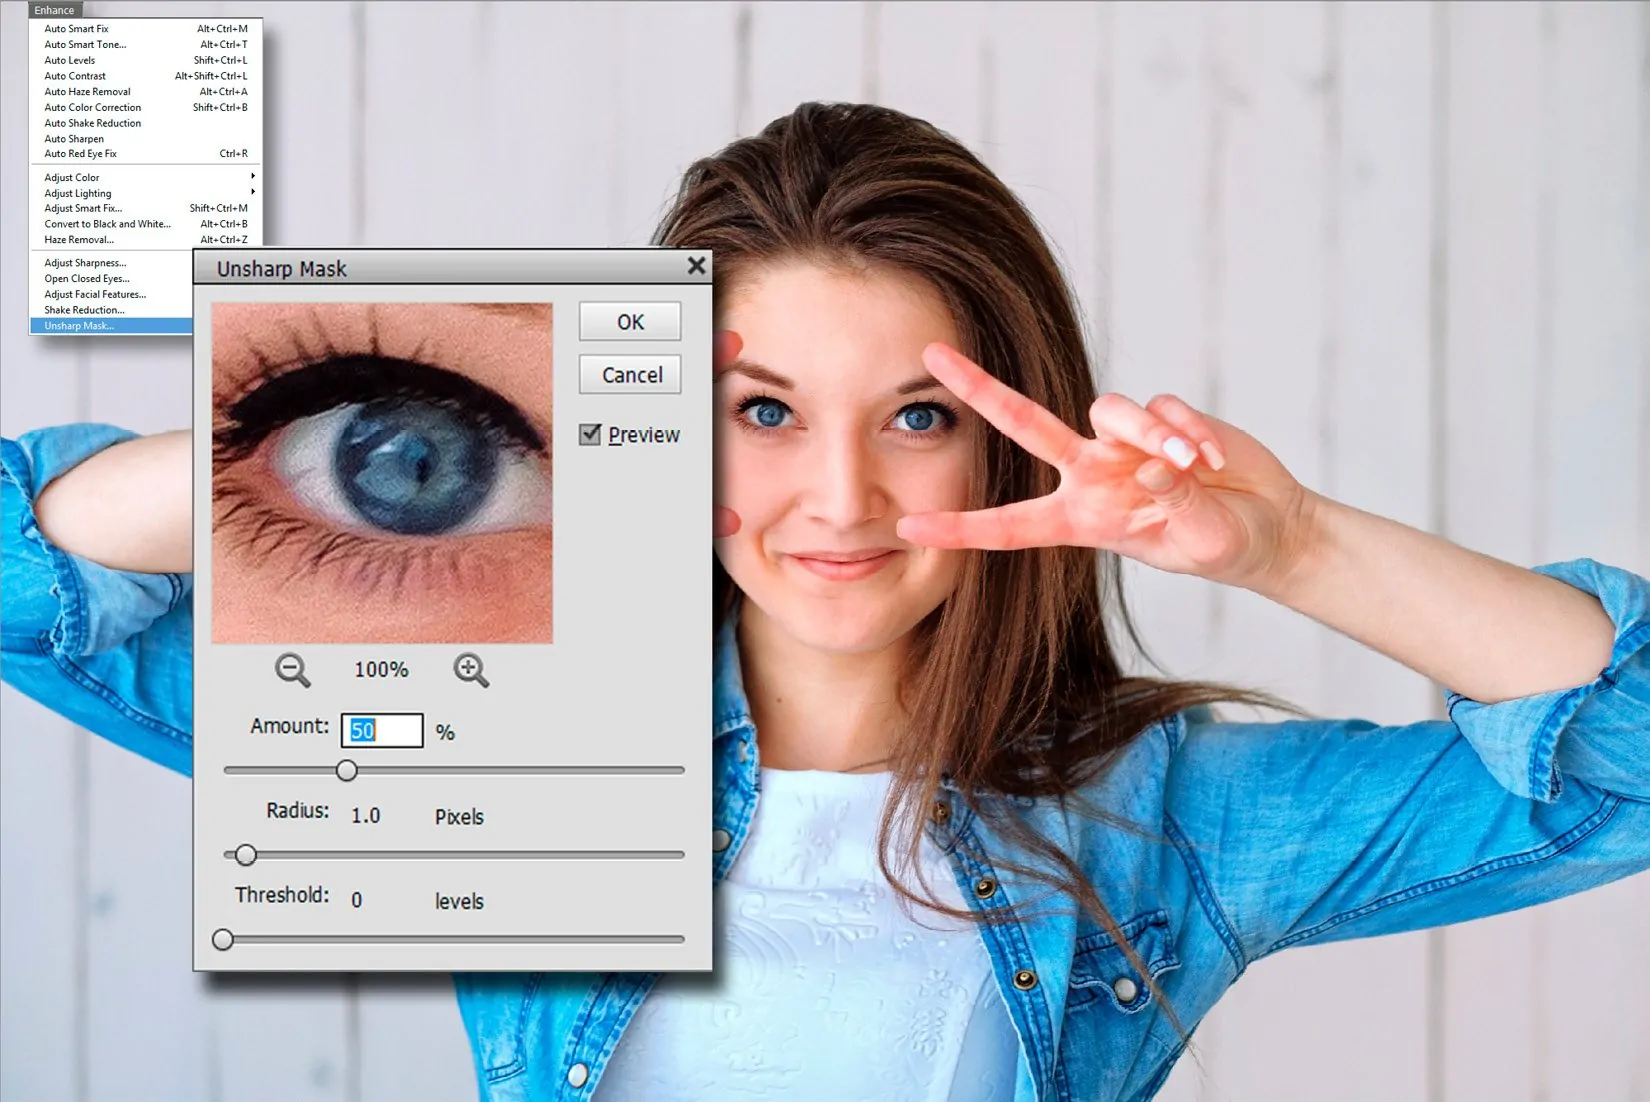
To enhance the mysticism, duplicate the eye region and use a Guassaisn blur with blending mode Color or Linear Dodge.
Set the opacity accordingly to prevent making the glow look artificial and create a soft, ethereal look.
To further spur the clairvoyant effect, add glow into the pupils, create light reflections, or apply geometric symbols inside the irises; all these moves will maximize the strength of dreamy visions.
Utilize the Hue\Saturation adjustment layer to get magical tones for the eye colour, such as emerald green, violet or gradient blue; that will help reinforce the clairvoyant notion.
Step 6: Add Light Trails And Motion Blur
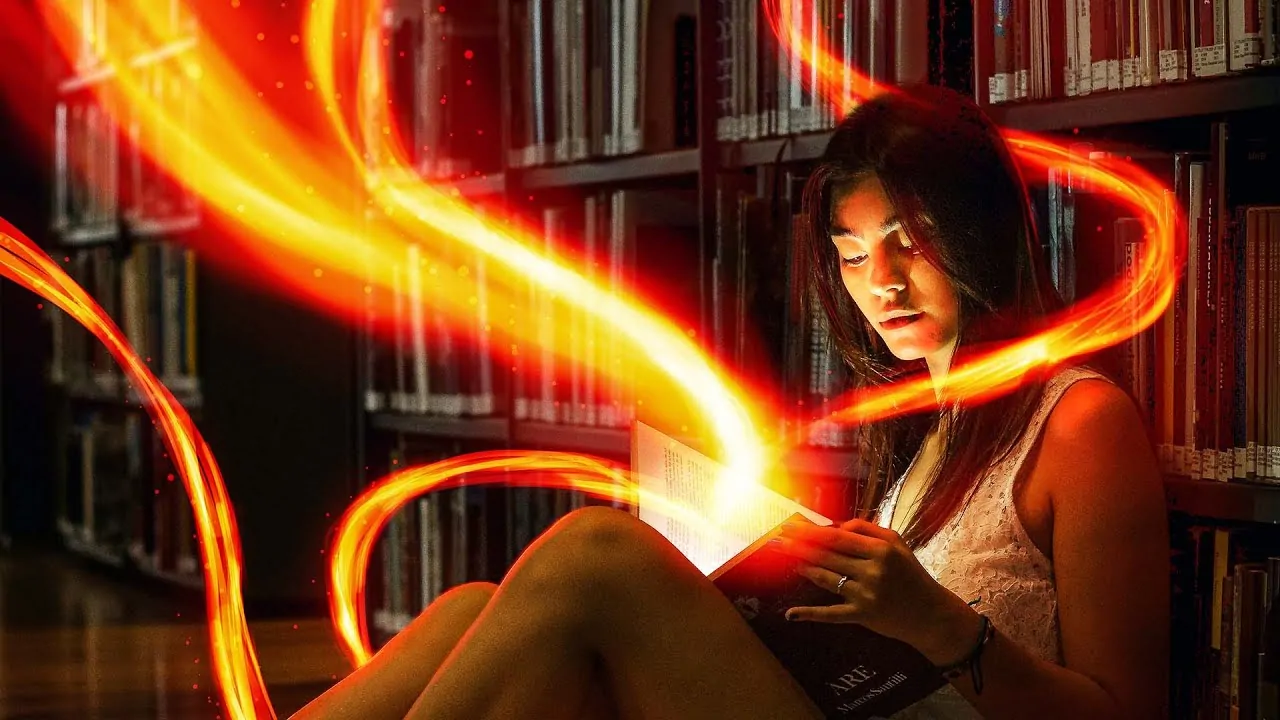
The inclusion of light trails and motion blur can build up an energetic and super-spiritual feel that makes the composition more eye-catching.
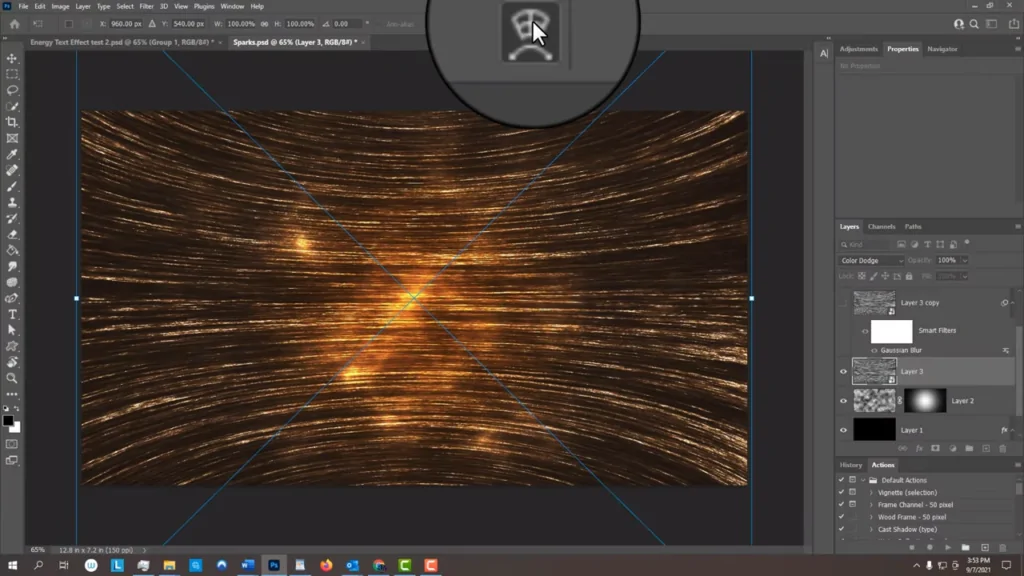
Duplicate the main subject or other glowing parts to add the motion blur filter using a mild angle for a directional stream so that the scene depicts the natural energy flows instead of creating distortions.
Employ a soft brush and begin painting manual light trails around the subject. Remember to highlight the hands, eyes or aura to depict the psychic waves.
Modify the opacity value and select a suitable blending mode. Then, make the motion blur effect more integrated by removing unessential details to amplify the visionary traits of the scene.
Step 7: Add Mystical Symbols And Particles
Before moving on to the save and export phase, you should consider adding some additional mystical symbols or energy particles to accelerate the supernatural theme.
You can explore symbols and motifs such as astrological signs, ancient dunes, or faded scripts, placing them in a way that looks like they are encircling the subject, further increasing the magical atmosphere of the image.
Set the blending mode and opacity of the layers containing symbols. The most suitable options include Overlay, Screen or Soft Light to get a unified formation.
Upgrade the senses of energy flowing around by using soft light orbits, glittery particles or sparkling dust. For this purpose, you use speckled textures or special brushes to create realistic parts.
After adding energy particles, consider using slight motion or Gaussian blur onto particles, containing areas for seamless blending.
Reconsider the composition and perform any essential moves. Save the final image in a suitable format with appropriate resolution settings.
Conclusion
In summary, a clairvoyant effect is a captivating idea that infuses a layer of mystery and metaphysical aura into the images. Simulating the atmosphere of otherworldly visions and unpredictable occurrences can entirely transform the visual story. It often gives rise to the surreal narrative, which depicts the subject as being in a clairvoyant state and indulging in its own otherworldly visions. You can highlight the main subject of the images with a clairvoyant effect, providing a luminous presence that seems to radiate an alluring supernatural glow. The addition of mystical symbols and glowing particles also add to the impression of the scene by simulating the flow of some spiritual energy.


