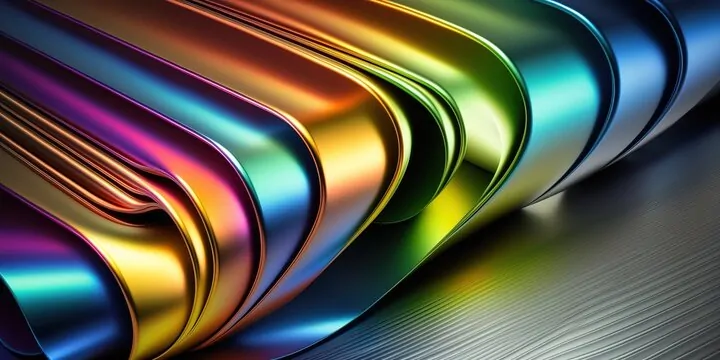
How To Create An Anodized Effect
Through the electrochemical process of anodizing, the metal surface is transformed into an anodic oxide finish that is aesthetically pleasing, long-lasting, and resistant to corrosion. Aluminum works best for anodizing. However, other nonferrous metals like titanium and magnesium can also be anodized. Moreover, the sparkling elegance of the anodized metal surfaces is also an inspiring aspect that has given it the status of an enhancement effect in the field of image editing and digital art. The process of adding an anodized effect involves reproducing the looks of the metals’ surfaces that experience the anodization processes. The resultant images represent a sleek and polished finish, often providing a 3D appearance. The digital tools and techniques employed via image editing software involve selection tools, adjustment layers, brush tools, gradient tools, dodge and burn tools, artistic filters, blending modes, opacity adjustment and more. Though all of these tools play a significant role in creating an anodized effect, you need a structured approach to effectively use these resources and get ideal results.
Step 1: Using A Selection Tool
Import your chosen photograph in Photoshop or any image editing software. You will have to isolate the specific metallic object so the anodized effect spreads only to it.
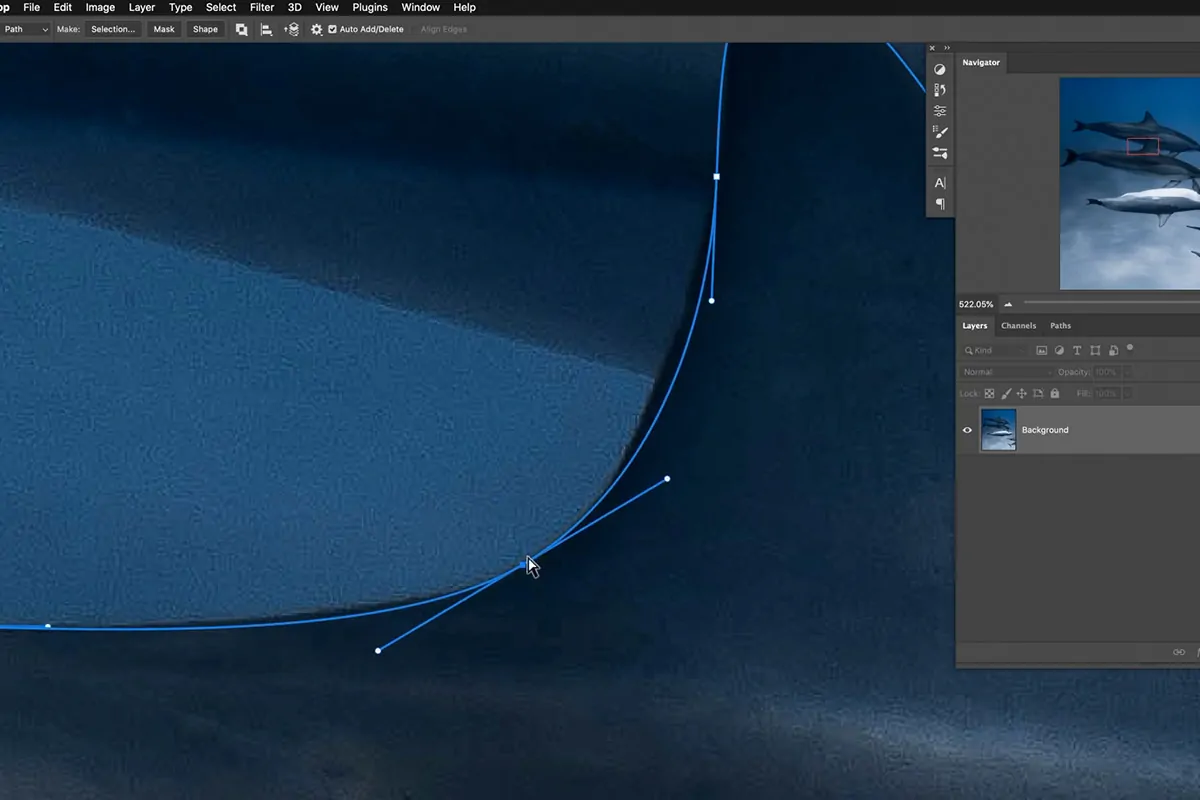
Select a proper selection tool according to the shape of the object. The Pen Tool is most suitable for smooth edges, while the Quick Selection Tool is well for objects that have explicit contrast. The Lasso Tool can be valuable for uneven forms, though it may require polishing.

Attentively lay out the object, guaranteeing only the aiming region is chosen. If you have chosen the Pen Tool, finish the path and convert it to a selection using the Right Click and Make Selection option. Use the Quick Selection Tool to alter the brush size to attain superior precision.
Once you have selected the object, fine-tune the edges by selecting Modify and then Feather, which will de-stress drastic moves. You can moreover utilize the options Select > Modify > Expand/Contract to polish the selection.
Use the shortcut Ctrl + J to create a duplicate of the selection onto a new layer, keeping it isolated from the foundation. It will confirm a non-destructive workflow for further alterations.
Step 2: Removing The Colors

This step involves removing the colours of the selected object to form a neutral metallic ground. Move to Image > Adjustments > Desaturate to changes over the object to grayscale, which assists in accomplishing a lifelike anodized metal development.
To imitate the grainy surface of brushed metal, you will include noise by selecting the Add Noise option. Put the noise value or amount to 3 to 5 per cent, select Gaussian, and confirm the Monochromatic setting to guarantee a natural appearance.
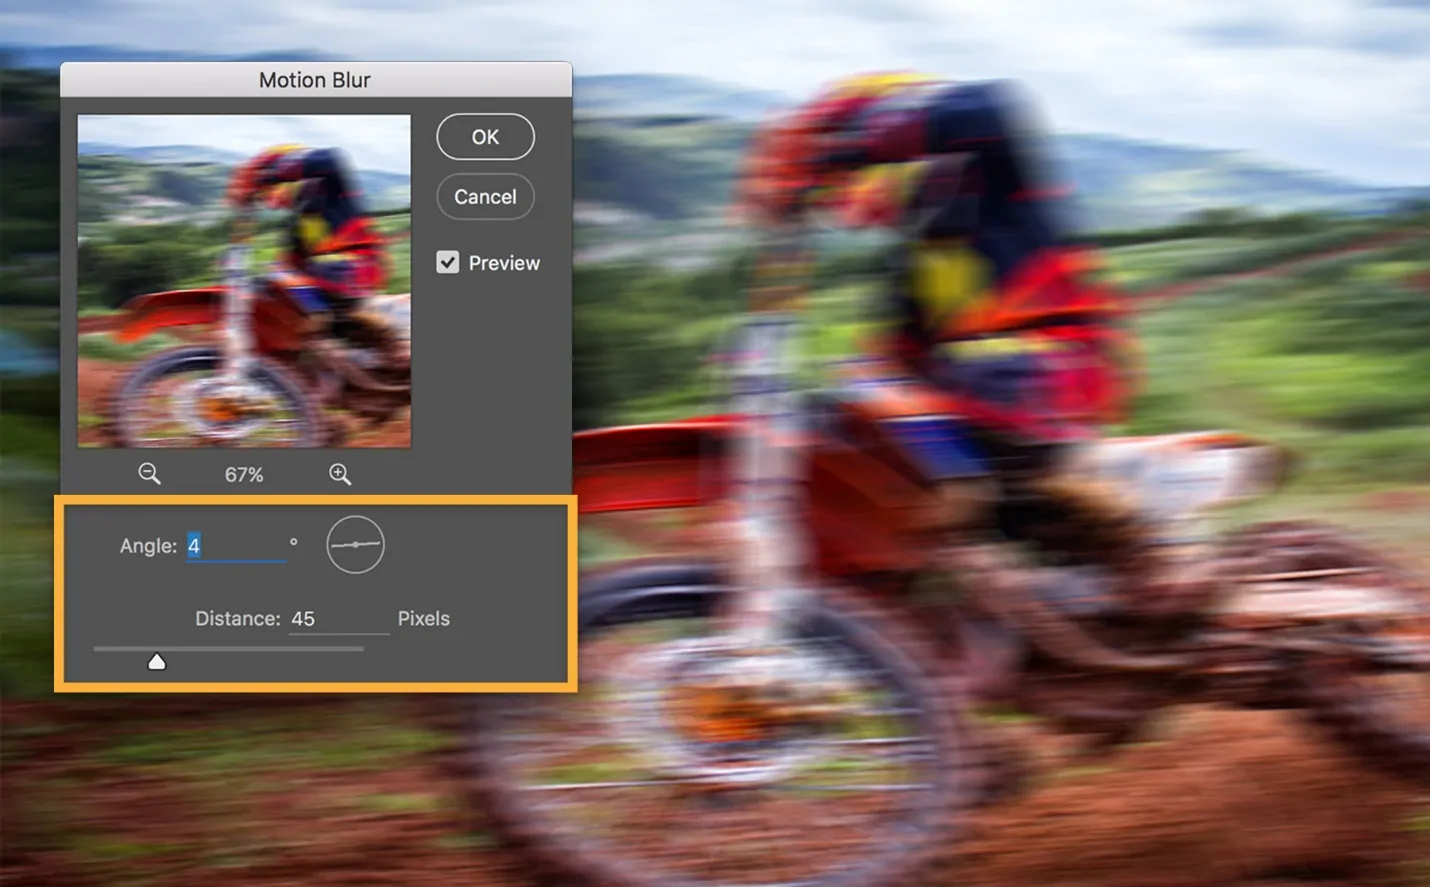
Proceed to Filters to select the Motion Blur feature and set the angle to 0 to 90, concurring with the metal’s realistic grain. Alter the Distance slider until the surface looks like genuine brushed aluminium.
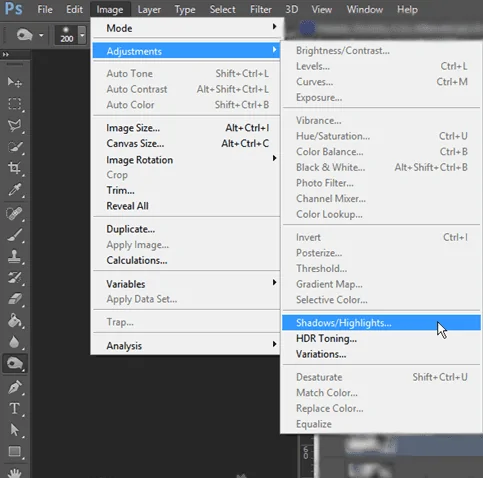
To simulate the solid highlights and shadows, anodized metal moves to Levels Adjustments and reset the input sliders to include depth. That step improves the metallic shine before you proceed with colour application.
Scan the outcome and keep polishing as required. The object ought to presently correspond to a brushed metal surface prepared for the anodized colour within the following step.
Step 3: Adding Metallic Color
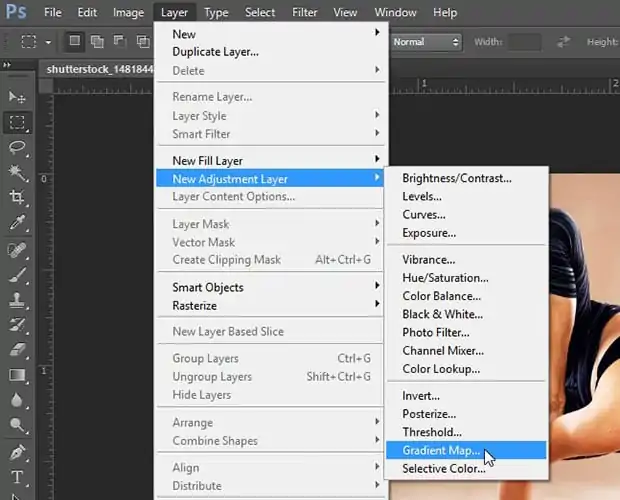
To add colour to the metallic texture, move to Layer and click on New Adjustment Layer, and from the option, select Gradient Map. It will offer a non-destructive colour application while protecting the metal surface.
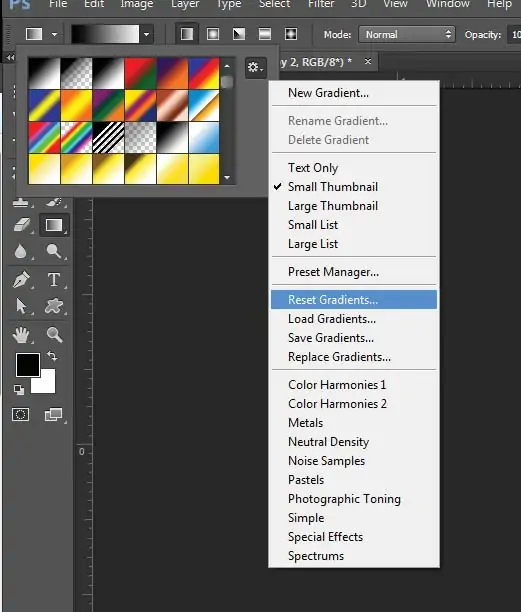
Press on the Gradient Editor and set a gradient that mirrors anodized metal, like blue, red, purple, or gold. As fundamental, make a custom gradient by including diverse colour stops and altering their positions for a perfect transition.
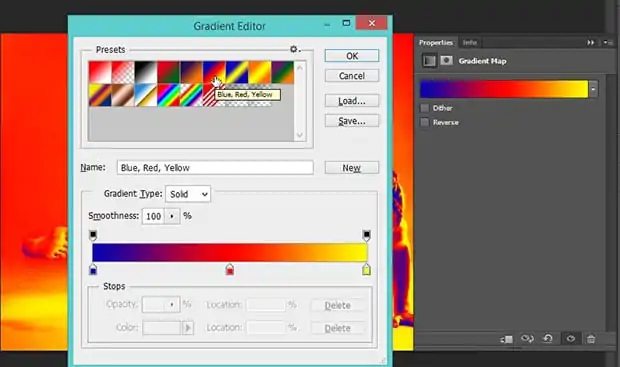
Alter the blending mode of the Gradient Map layer to Overlay, Soft Light, or Color, depending on the intensity you need in the anodized effect. Revise the opacity of the layer, tuning the potency of the colour.
If you feel that the colour requires more adjustment, proceed to Image > Adjustments and select Hue/Saturation. Activate, Colorize, and alter the sliders to fine-tune the anodized tone.
Survey the effect and make sure that the colour shows up dynamic but keeps up the metallic surface. That action will provide the object with a practical anodized wrap-up before regulating reflections and profundity.
Step 4: Including Highlights And Reflections
Consider including highlights that mimic light reflections to enhance realism. Make a new layer and specify its blending mode, considering options like Overlay or Soft Light to attain a smooth blend.
Choose the Brush Tool and select a soft round brush with white or light grey as the colour. Decrease the Opacity by around 30 to 50 per cent and diligently paint along the borders and lifted regions where light normally reflects.
Utilize the Dodge Tool to make particular zones brighten and the Burn Tool to make shadows darker. Alter the Exposure between 10 to 20% to keep the impact unobtrusive. Concentrate on curved or polished segments to form a characteristic metallic shine.

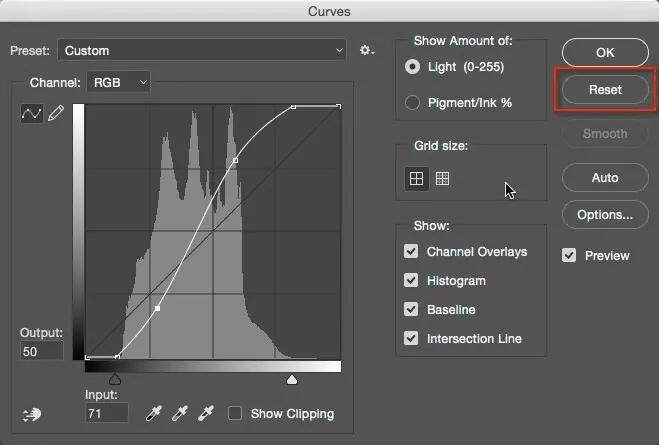
Move to the Curves feature and marginally change the curve to improve the contrast between light and dark ranges, driving the reflections towards more definition.
Examine the symmetry between highlights and shadows to make sure that the anodized metal contains a realistic reflective formation before moving to the ultimate advances.
Step 5: Including Slight Imperfections

To make the anodized effect seem more naturalistic, include slight blemishes such as fine scratches, smears, or nuanced wear. Make a new layer and choose the Overlay or Soft Light mode for a true-to-life blend.
Proceed to Filter, select Noise and Add Noise option, set the noise amount to 2-5 per cent, select Gaussian, and check Monochromatic to mimic the minor abnormalities found on anodized surfaces. Decrease the layer opacity in case the effect is overly assertive.
Click on the Brush Tool and select a scratch or grunge brush. Specify the Opacity to 20 to 40 per cent and softly paint with a dark grey or black colour to present fine scratches. Concentrate on edges and ranges where wear naturally happens.
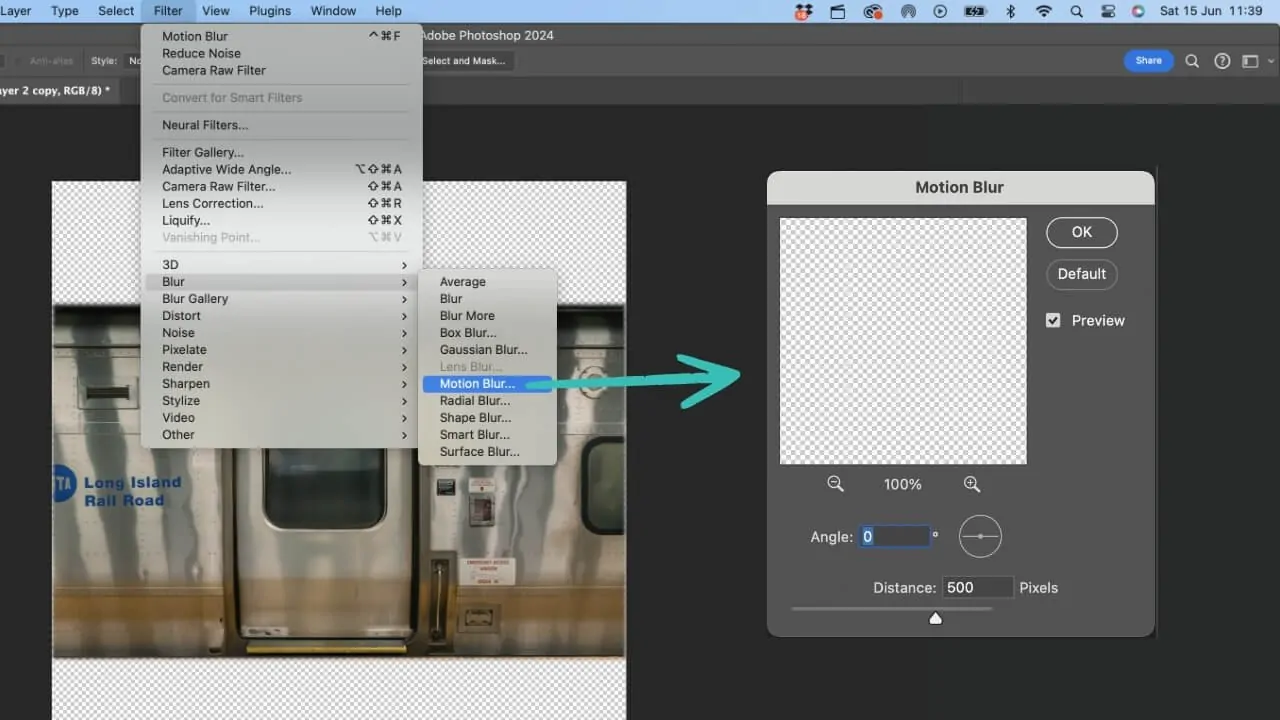
Apply the Motion Blur effect with an angle set to 0° or 90° to integrate the scratches with the brushed metal surface. Alter opacity and layer masks to fine-tune the effect.
Make sure the flaws stay subtle, including authenticity, without overwhelming the anodized appearance.
Step 6: Simulating Natural Light Refractions
To upgrade the anodized effect, mimic light refractions and gloss. Make a new layer and choose the Overlay or Soft Light blending mode for a lifelike reflective effect.
Activate the Gradient Tool and select a linear or radial white-to-transparent gradient. Spread delicate strokes in zones where light would normally strike, including the edges or curved textures. Alter the Opacity to 20 to 40 per cent for a proportional impression.
Utilize the Brush Tool with a delicate, white brush to paint little, concentrated highlights on reflective points. Decrease the Opacity and size for a more steady effect.
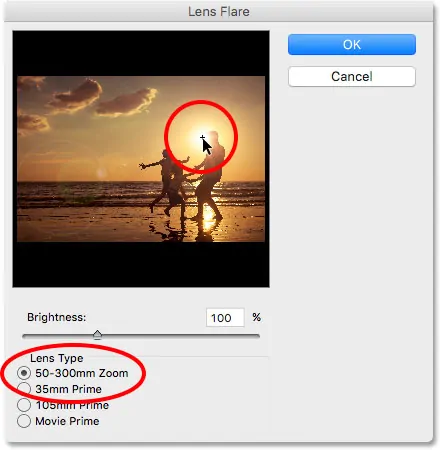
To form a strong metallic reflection, proceed to Filter and select Render > Lens Flare. Select a 50 to 100 per cent Brightness setting and place it close to the foremost reflective surface. Decrease the opacity of the layer as required.
Review the gloss harmony, guaranteeing it goes with the anodized effect without overwhelming the surface and colour.
Step 7: Finalizing The Effect
The final step is about polishing the composition, for which you will begin by heading to Image to select Adjustments > Hue/Saturation and gradually modifying the Hue slider to polish the colour tone.
Utilize Image > Adjustments > Curves to improve contrast and make the anodized wrap-up appear more energetic.
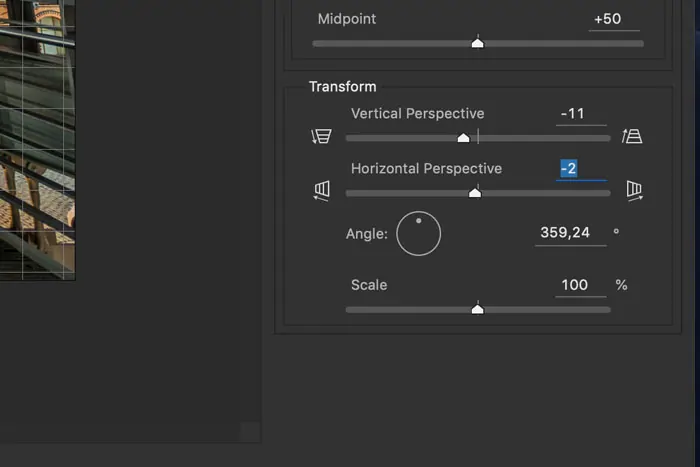
Bring more attention to the anodized object by creating a vignette effect. Include a new layer, fill it with black, and at that point, move to Filter > Lens Correction > Custom and alter the Vignette Amount. Specify the blending mode to Soft Light and decrease the Opacity to get a natural impression.
Utilize the Unsharp Mask to upgrade fine subtle elements. Put the Amount to 50 to 70%, Radius to 1 to 2px, and the Threshold to 2 to 5 levels to keep surfaces intense without presenting noise.
After you are satisfied with the overall effect, you can save and export the final picture in an appropriate format and resolution.
Conclusion
In summary, an anodized effect adds a glossy layer to the image, providing it with metallic attributes of lustre and reflections. Just like the anodization process enhances the visual desirability of metallic surfaces, the enhanced photographs exhibit the same glossy finish that strengthens their visual charm. The particular metallic surface or object you target is enhanced in a way that it becomes the focus of attention by attaining a reflective trait like shiny surfaces do. Moreover, the overall composition’s highlights, shadows, contrast, and colour scheme are amplified so that they all contribute to the formation of a smooth, glossy formation that is unique and eye-catching.
