How To Create A Backlit Effect
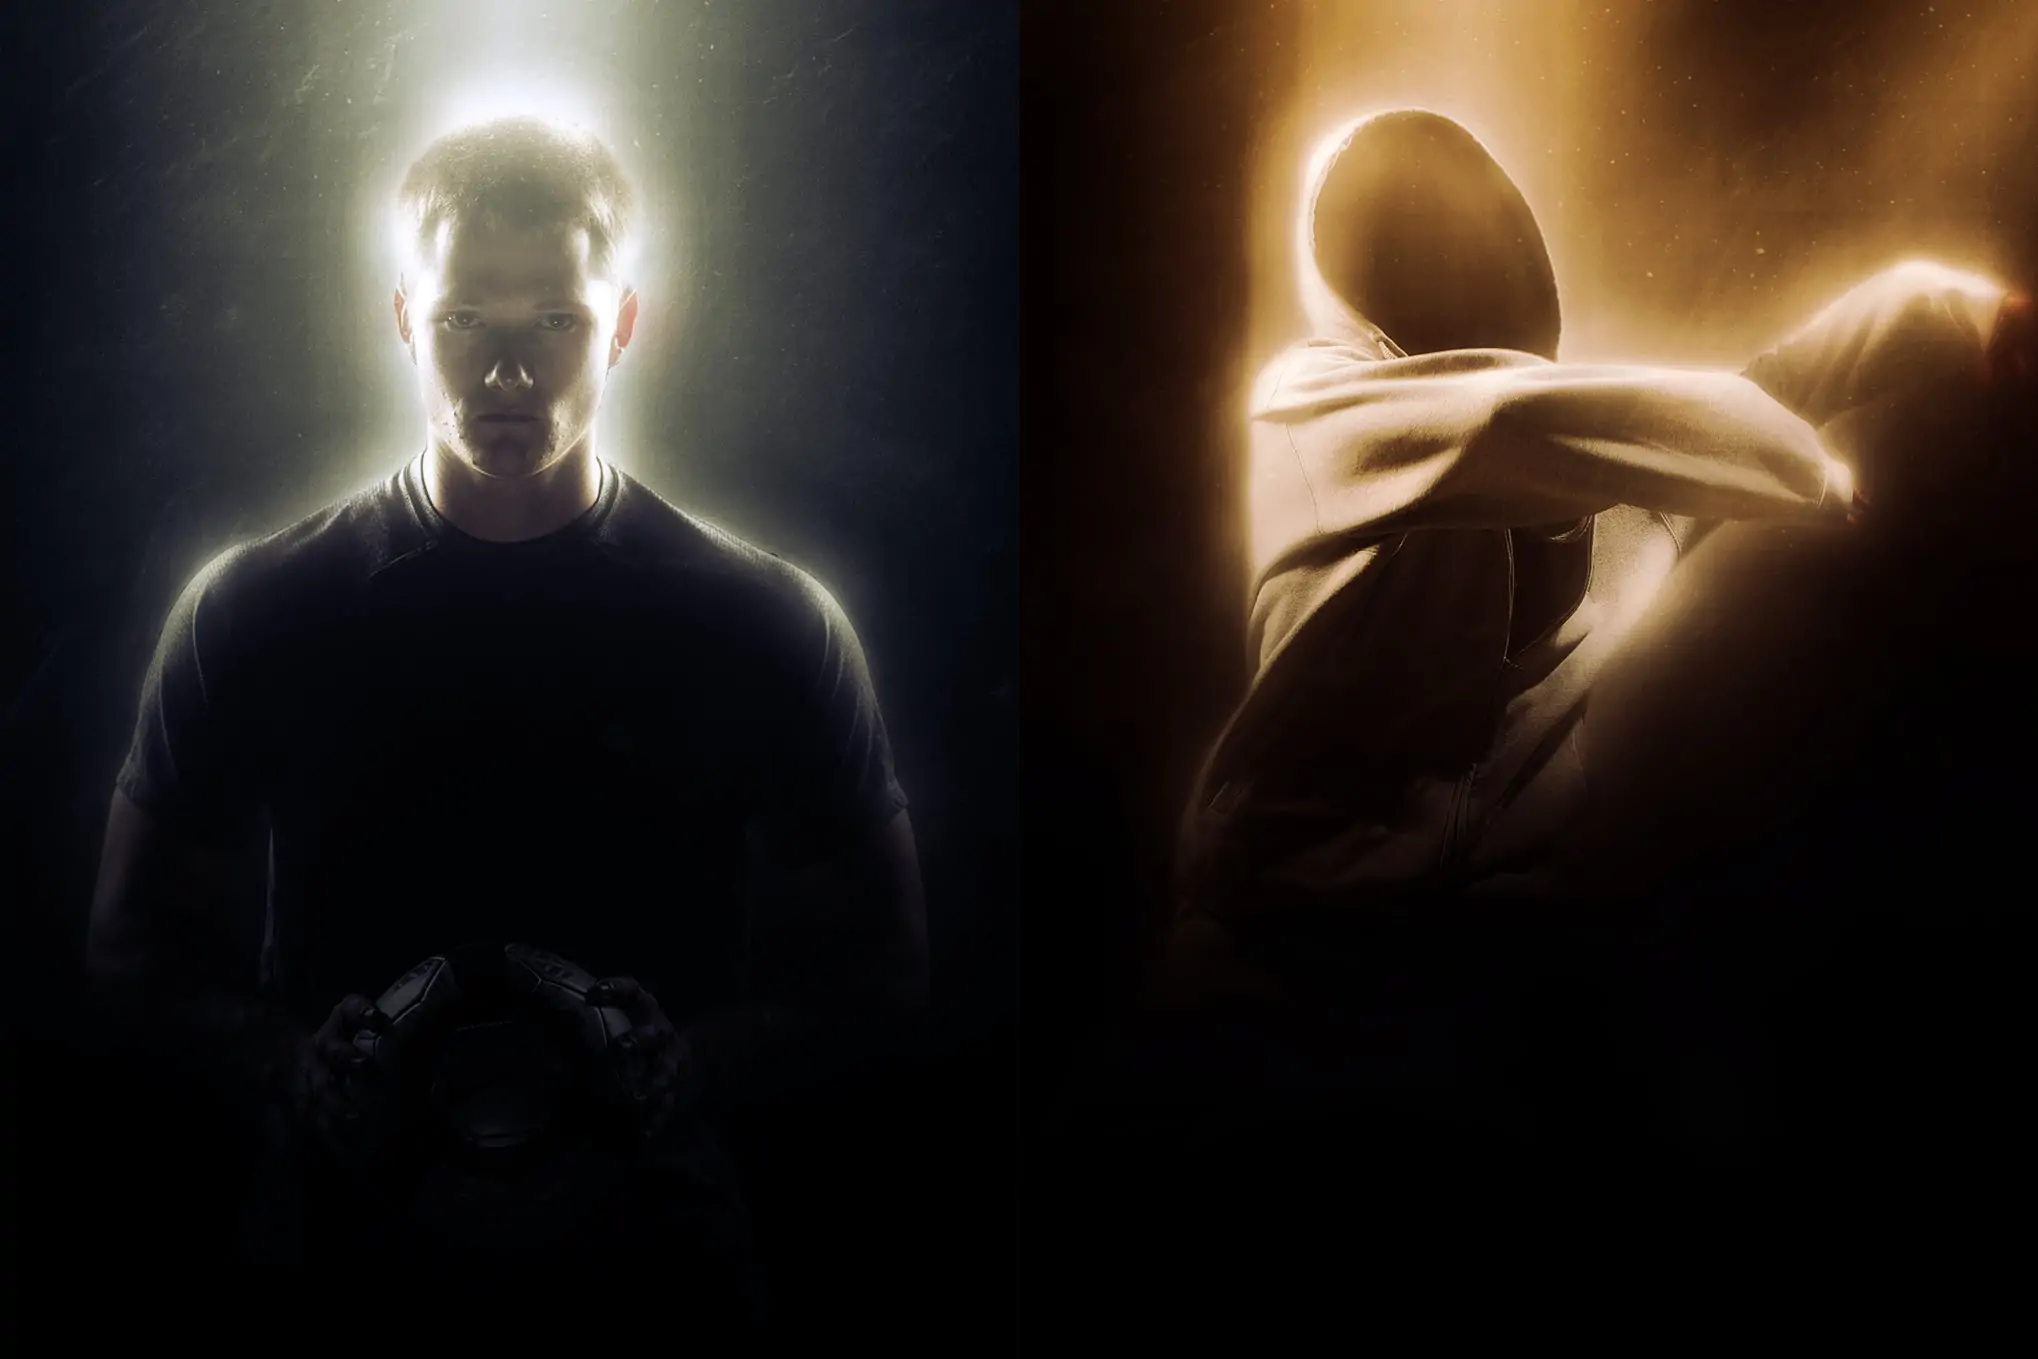
Backlit is a common technique for producing dramatic and eye-catching pictures in photography. By putting the main light source behind the subject, this procedure produces unusual lighting effects and ravishing silhouettes. Learning backlighting can help your pictures stand out from the crowd by giving them more contrast and depth. It is critical to comprehend how different camera settings and editing tools might affect the finished image to add a backlit effect to photographs. As to those photographs which were captured within normal lighting conditions, yet you want to recreate a backlit effect for them, various editing tools and techniques can substantially help you with that. You can operate different remarkable tools, filters, masking techniques, and other adjustment options to give your image a genuine backlit effect. This blog post includes the detailed steps you need to follow to apply backlighting effects to photographs in powerful editing software like Adobe Photoshop.
Step 1: Image Preparation
Start your picture editing app, for example, Adobe Photoshop, GIMP, or Affinity Photo.
Tap on the File option within the top menu; at that point, select Open to go through and pick the picture you want to edit.
Check that the picture is in a proper format, such as JPEG, PNG, or TIFF.
Establish your workspace for editing. Revise panels and tools for simple get-to.
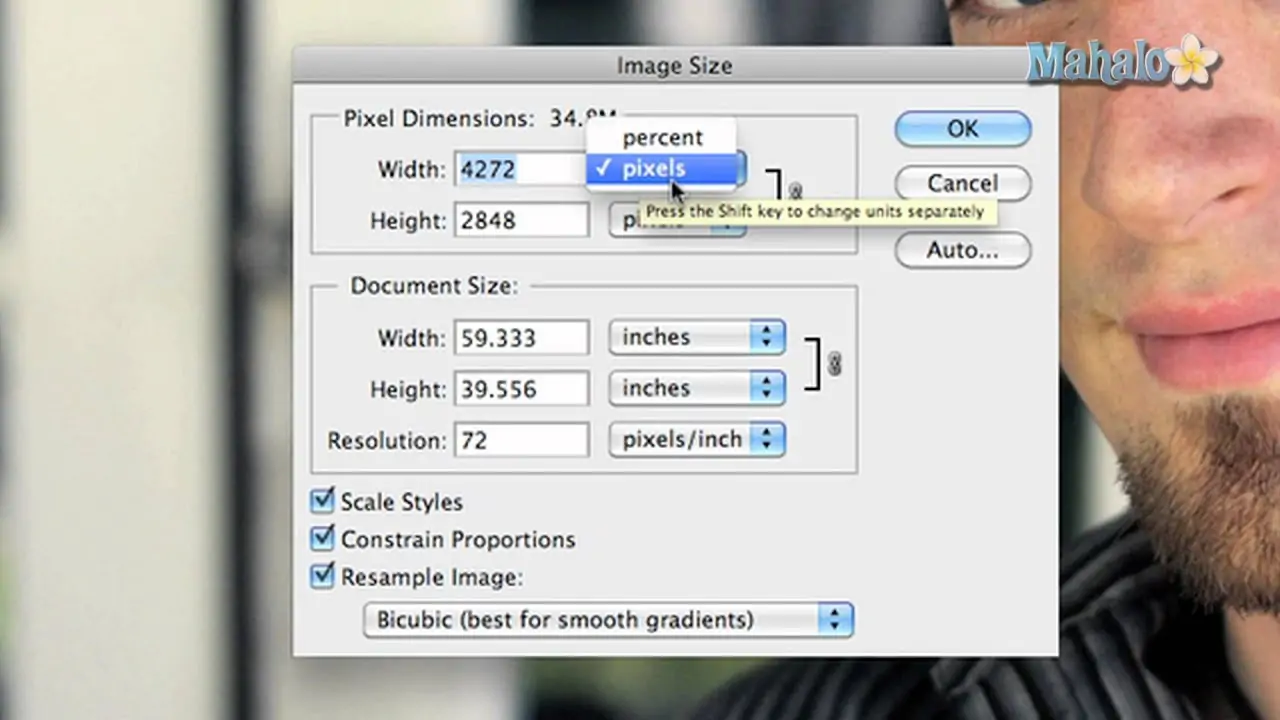
Confirm that the picture resolution is satisfactory for meticulous altering. Go for a high resolution for ideal results.
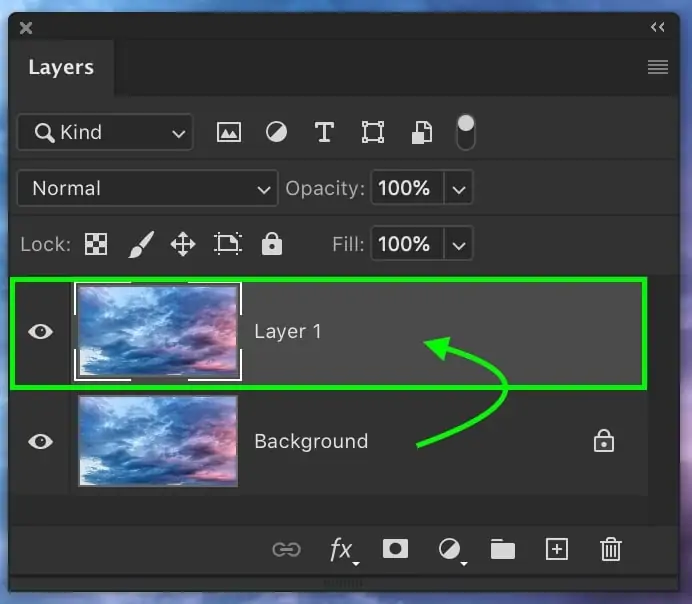
Before making any changes, copy the initial image layer. If using Photoshop, click on the background layer and select the Duplicate Layer option. It helps you hold the initial photograph.
Step 2: Layer Settings
Within the Layers panel, press on the background layer to confirm that it is in working mode.
Tap on the background layer to select Duplicate Layer or utilize the shortcut keys Ctrl+J for rapid action.
Look into giving a new name to the duplicated layer, such as an Editing Layer or something relative for simple reference. To do so, you have to double-click the layer title within the Layers panel to add a new title.
Be sure that the duplicated layer is over the initial background layer in the layer panel to edit non-destructively.
Furthermore, the initial background layer must be locked to prevent coincidental changes. Tap the lock symbol in the Layers area.
Ensure that both layers are in a visible state. The eye symbol next to each layer within the Layers panel ought to be active.
Lastly, save your work to protect modifications. Utilize the Save As feature if you want to make a new version.
Step 3: Using Brush Tool To Mask
Within the Layers panel, press on the Editing Layer to guarantee it is dynamic.
Press the icon specified to add a layer mask, which is at the base of the layers panel. It will make a white layer mask thumbnail next to the layer thumbnail.
Employ the Brush Tool from the toolbar, or use key B on your keyboard.
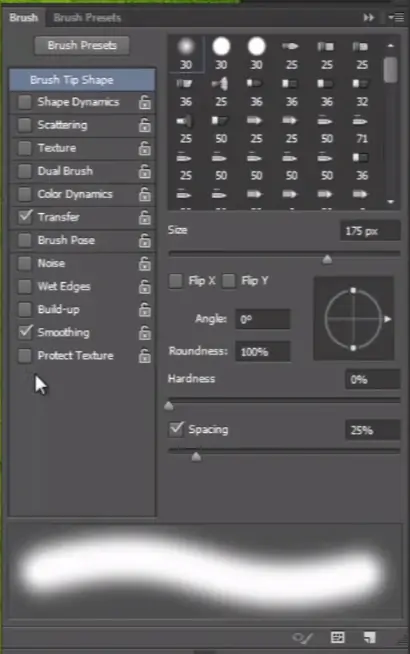
Select a delicate round brush, alter the size as required, and put the opacity to around 50% for smooth moves.
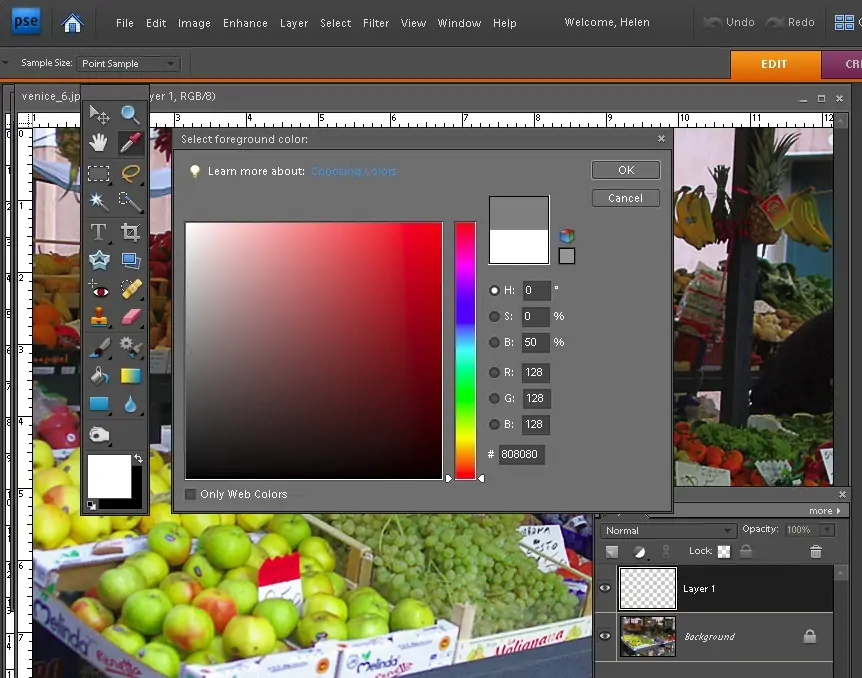
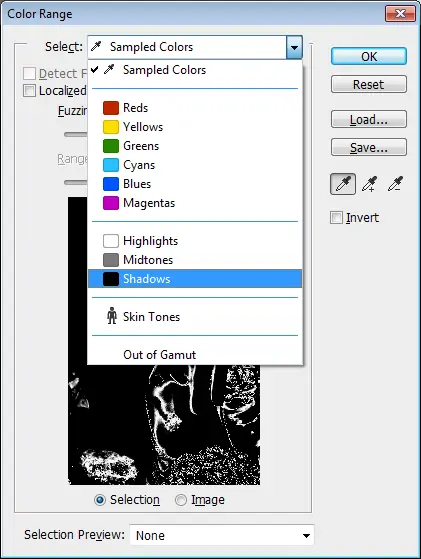
Be sure that the foreground colour is specified to be black colour to help you cover up portions of the layer.
Paint over regions where you need to decrease or conceal the backlit impact. Black obscures the layer, whereas white discloses it.
Keep shifting between black and white to tune the mask. Utilize a smaller brush size for thorough zones.
Alt-click on the mask thumbnail to see it. That can aid you in seeing and altering the mask more accurately.
Adapt the mask’s opacity within the Properties panel if required for a subtler effect.
Frequently save your advancement to dodge losing modifications.
Step 4: Levels Or Curves Adjustments
Recheck that the Editing Layer is active within the Layers panel.
Tap on the Image button present within the top menu to select Adjustments and click on Levels or Curves for accurate management.
Within the Levels or Curves dialog, drag the highlights slider to the left side to illume the backlit regions.
Utilize the Dodge Tool from the toolbar (for a shortcut, use key O) to brighten particular ranges specifically. Designate the range to Highlights and the exposure to approximately 10-20%.
Utilize a soft brush to delicately paint over the regions you need to enhance more.
Flip the visibility of the adjustment layers to catch the contrast.
In case fundamental, return to the Levels or Curves adjustment layers and make further changes.
Utilize adjustment layers for a non-destructive workflow, permitting you to adjust settings without changing the initial layer.
Try different layer blend modes, such as Screen or Overlay, to improve the lighting development.
Step 5: Burn Tool For Shadows
Firstly, confirm that the Editing Layer is active within the Layers panel, then press on the Create new fill or adjustment layer symbol at the foot of the Layers panel and pick between Levels or Curves.
Within the Levels dialog, drive the shadows slider to the right side to develop the shadows. For Curves, pull the lower-left point marginally upward.
Alter the midtones slider to adjust the brightness. In the case of curves, press the centre of the line and drag it up or down to vary the midtones.
Pick the Burn Tool from the toolbar and place the range to Midtones and exposure to about 10-20%. Delicately paint over areas where you need to darken the midtones.
Confirm that the image features ample contrast between the highlights and shadows, highlighting the impact of the backlit.
Utilize layer masks on adjustment layers to execute the changes selectively.
Try blend modes such as Multiply to improve shadows without losing subtle elements.
Flip the visibility of the adjustment layers to see changes and guarantee the alterations glorify the backlit effect.
Frequently save your tweaks to avoid the misfortune of changes.
Step 6: Use Of Gradient Tool
Select the Create new fill or adjustment layer symbol in the Layers panel and access Gradient.
Pick the Gradient Tool from the toolbar or tap key G on your keyboard.
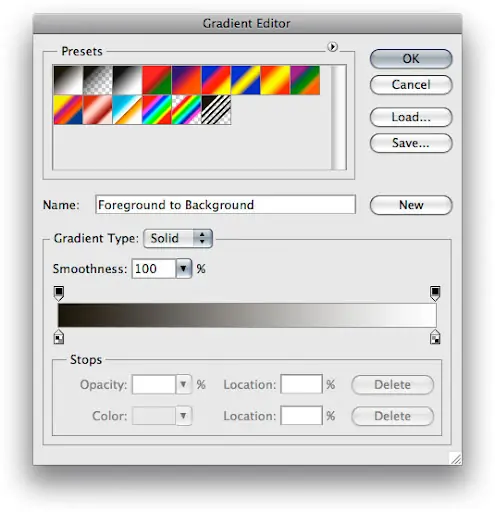
Within the Gradient Editor, select a gradient that moves from a light colour, embodying the light source, to transparent. You can utilize a radial gradient for a circular light impact or a linear one for better directional light.
Press and drag over the canvas to apply the gradient layer. Your drag’s direction and length will decide the gradient’s placement and effect.
Alter the gradient layer’s opacity to mix it easily with the basic image. Fix opacity to approximately 30-50% for a mild effect.
Play with blending modes like Overlay or Soft Light to integrate the gradient with the picture and improve the backlit result.
Use a layer mask for the gradient layer and paint it dark to cover up or decrease the effect in particular ranges if required.
Alter the gradient layer’s position or reapply if vital for the specified lighting outcomes.
Review how the gradient overlay influences the general picture. Guarantee it upgrades the backlit impact without overwhelming the subject.
Once done with changes, save your progress to confirm the changes and avoid losing your endeavours.
Step 7: Overall Adjustments
Review the picture to guarantee the backlit effect looks lifelike and improves the general composition.
Utilize adjustment layers such as Hue/Saturation or Color Balance to establish the colours if the backlighting has changed them. Recheck that the colours show up dynamic but not artificial.
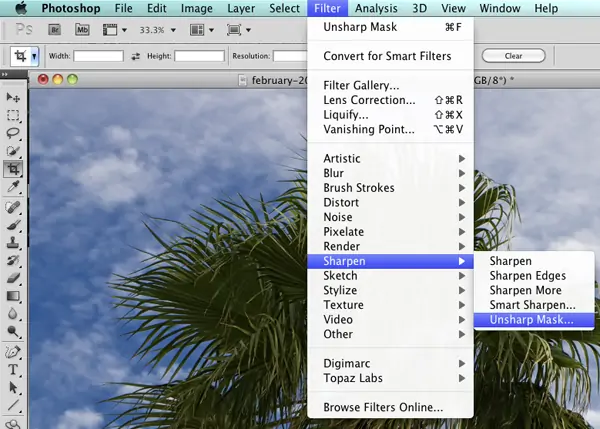
Add sharpening to elevate subtle elements and guarantee the picture remains fresh. If you are using Photoshop, utilize Filter > Sharpen > Unsharp Mask or Smart Sharpen.
Utilize the Zoom-in feature to inspect for any undesirable abrasions or over-edited regions. Utilize the Clone Stamp or Healing Brush to rectify any points.
Do any concluding alterations to exposure, contrast, or brightness to guarantee the photo keeps up equilibrium.
After you are done with the final tweaks, flatten the layers to integrate them into a single layer for simple saving. Navigate to Layer and click on the Flatten Image option.
Protect your final shot by using File and Save As. Select the specified format as per your application, like JPEG or PNG, and alter quality settings as required.
Conclusion
Overall, a backlit effect can greatly benefit your photos by giving them more depth and drama. It remakes the common photographs by giving the illusion that the primary light source was behind your subject to create an enticing glow around it. Your photographs will become more visually halting with the amazing depth and exhilaration this approach can bring to them. Whether you’re opting to edit the photos just to modify the lighting effects or want to add some special lighting developments, a backlit effect will always amaze your viewers. To improve your shots and produce marvellous backlit visions, you can take a peek at the techniques this blog highlights.


