How to Apply Time Lapse Editing to Your Images
Time lapse editing for photographs allows you to transform static images into captivating sequences that represent the passage of time and highlight the beauty of change. It additionally lets you create aesthetically appealing stories by recording events that may go undetected in real time. The editing process entails choosing and organizing a collection of photos, enhancing their aesthetic appeal, and merging them into a time lapse sequence. Adobe Photoshop, Lightroom, and time lapse editing applications can be used for editing. Ultimately by applying time lapse techniques to your images, you can breathe life into static photographs and create visually spellbinding stories.
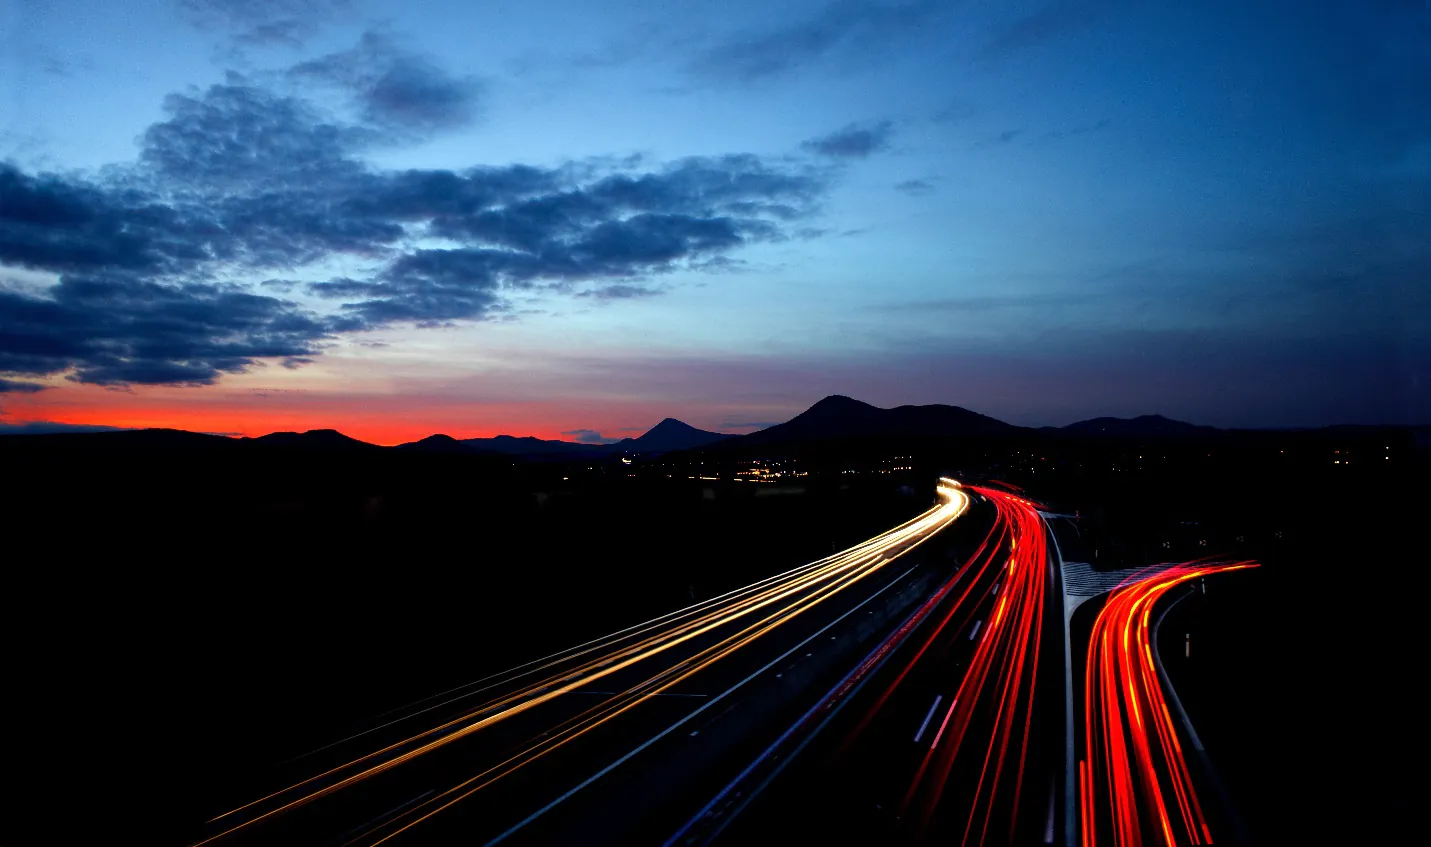
Selecting the Right Images:
Selecting the right images is a crucial step in the process of creating a compelling time lapse sequence. It’s essential to choose a set of images that effectively convey the desired narrative and capture the progression of events or changing scenery. The images you select will serve as the foundation for your time lapse, so it’s important to make thoughtful choices.
Start by considering the story you want to tell through your time lapse. Identify the key moments or elements you want to highlight and look for images that effectively capture those elements. Consider the overall theme, mood, or message you want to convey, and choose images that align with that vision.
Variety is key when selecting images for a time lapse. Look for a mix of wide-angle shots to establish the context and capture the larger scene and close-up shots to highlight specific details or actions. Including different perspectives and compositions add visual interest and depth to your time lapse.
Consider the visual progression you want to showcase in your time lapse. Look for a series of images that depict a noticeable change over time, such as the movement of clouds, the transition of natural light, or the growth and transformation of a subject. The key is to have images that, when combined, create a sense of movement and transformation.
Pay attention to the technical quality of the images. Choose sharp, well-exposed photos, and free from major distractions or imperfections. Higher-resolution images provide more flexibility during editing and ensure a higher-quality final result.
Lastly, trust your creative instincts and choose images that resonate with you emotionally. Your passion and connection to the subject matter will shine through in the final time lapse sequence.
Thoughtfully selecting the right images sets the stage for a captivating and visually engaging time lapse sequence that effectively tells your desired story.
Sorting and Organizing:
Once you have gathered suitable images for your time lapse project, the next crucial step is sorting and organizing them effectively. Proper organization ensures a smooth and coherent flow in your final time lapse sequence.
Start by creating a dedicated folder on your computer and copying all the selected images. Renaming the files in sequential order can help maintain a logical progression. Most operating systems allow you to select multiple files and rename them simultaneously, making the process more efficient.
Consider using dedicated software or image management tools to help you arrange the images in chronological order. That can be especially useful if you have a large number of photos or if you shoot them at different times or on different days.
If you have additional variations or alternative shots, create separate folders within your main folder to keep things organized and make it easier to locate specific images during the editing process.
By sorting and organizing your images thoughtfully, you lay a solid foundation for the subsequent steps of time lapse editing. It ensures a seamless workflow and enables you to create a visually engaging and coherent time lapse sequence that effectively tells your desired story.
Editing and Enhancing:
Once you have sorted and organized your time lapse images, it’s time to dive into the exciting phase of editing and enhancing them. This step allows you to bring out the full potential of your images and create a visually captivating time lapse sequence.
Begin by using photo editing software like Adobe Photoshop or Lightroom to adjust various aspects of your images. Pay attention to elements such as exposure, colour balance, contrast, and sharpness. Fine-tune these parameters to enhance the overall visual appeal and create a consistent look throughout the sequence.
Experiment with filters and effects to add creative touches and establish a specific mood or atmosphere. Play with saturation, vignettes, gradients, or even apply artistic filters to infuse your time lapse with a unique style.
Consider applying batch editing techniques to maintain consistency across your images. That can involve synchronizing adjustments across multiple frames or creating and applying presets to speed up editing.
Furthermore, don’t shy away from cropping or resizing your images if necessary. That allows you to focus on the most impactful elements and eliminate distractions from the frame.
The goal of editing and enhancing your time lapse images is to elevate them beyond their original state, transforming them into stunning visual assets. Paying attention to details and unleashing your creativity can create a time lapse sequence that truly captivates your audience.
Creating the Time Lapse Sequence:
Once you have edited and enhanced your individual time lapse images, it’s time to bring them together and create a captivating time lapse sequence. This step is where the magic happens, as you transform still images into a dynamic visual story.
You will need video editing software capable of handling image sequences to create the time lapse sequence. One popular choice is Adobe Premiere Pro, which provides a wide range of tools and flexibility for crafting time lapse videos.
Import your edited images into the software and arrange them in the desired order. Adjust each frame’s duration to control the time lapse’s speed. Shorter durations create a faster-moving sequence, while longer durations slow down the progression.
Smooth transitions between frames are essential for a seamless time lapse experience. Experiment with various transition effects, such as cross-dissolves or fades, to create a fluid flow between the images. Avoid abrupt jumps or jerky movements unless intentional for artistic purposes.
Regard adding background music or sound effects to enhance your time lapse sequence’s overall atmosphere and impact. Choose audio that complements the mood and theme of your visuals, and ensure the timing aligns with the pacing of the time lapse.
Preview the sequence to ensure that the timing, transitions, and overall flow are to your liking. Make any necessary adjustments, such as tweaking frame durations or refining transitions, until you achieve the desired result.
Once you are satisfied with the sequence, it’s time to export your time lapse video. Select the appropriate video format, resolution, and quality settings based on your intended usage or platform. Consider compressing the video if needed to reduce file size without compromising visual quality.
Creating a time lapse sequence requires attention to detail and a sense of storytelling. By carefully crafting the sequence with well-timed frames, smooth transitions, and appropriate audio accompaniment, you can transform your collection of edited images into a captivating time lapse experience.
Putting the Finishing Touches on Your Time Lapse:
After creating the time lapse sequence, it’s important to put the finishing touches on your project to ensure a polished and professional result. This final step involves reviewing and fine-tuning various aspects of your time lapse.
First, carefully review the entire sequence to check for any inconsistencies or issues. Look out for flickering or abrupt changes in exposure, colour shifts, or other visual discrepancies. Make necessary adjustments to ensure a smooth and consistent visual flow throughout the time lapse.
Consider adding text overlays or captions to provide context, timestamps, or additional information. These can enhance the storytelling aspect of your time lapse and make it more informative and engaging for viewers.
If you have recorded audio separately or plan to include a voiceover, ensure the audio aligns well with the visuals. Adjust the volume levels and make any necessary edits to synchronize the audio with key moments in the time lapse.
Fine-tune the overall pacing of the time lapse by adjusting the duration of specific segments or frames if needed. Pay attention to the rhythm and flow of the visuals, ensuring that the time lapse maintains a sense of interest and momentum.
Lastly, export the final version of your time lapse in the appropriate format and resolution for your intended platform or usage. To ensure the best performance and visual quality, consider developing various versions targeted to different platforms, such as social media or your website.
Putting these finishing touches on your time lapse can elevate it from good to exceptional. Addressing any issues, adding informative elements, and refining the overall presentation can create a captivating and professional time lapse that leaves a lasting impression on your audience.
Conclusion:
Finally, time lapse editing for images can turn lifeless photographs into fascinating sequences. Whether you’re photographing a natural phenomenon or a casual event, time lapse editing adds a sense of mystery and magic to your photographs. Employing the correct tools and techniques, you can capture the spirit of a moment and reveal the extraordinary elements in your photographs’ commonplace circumstances.
