How To Apply Displacement Maps To Images
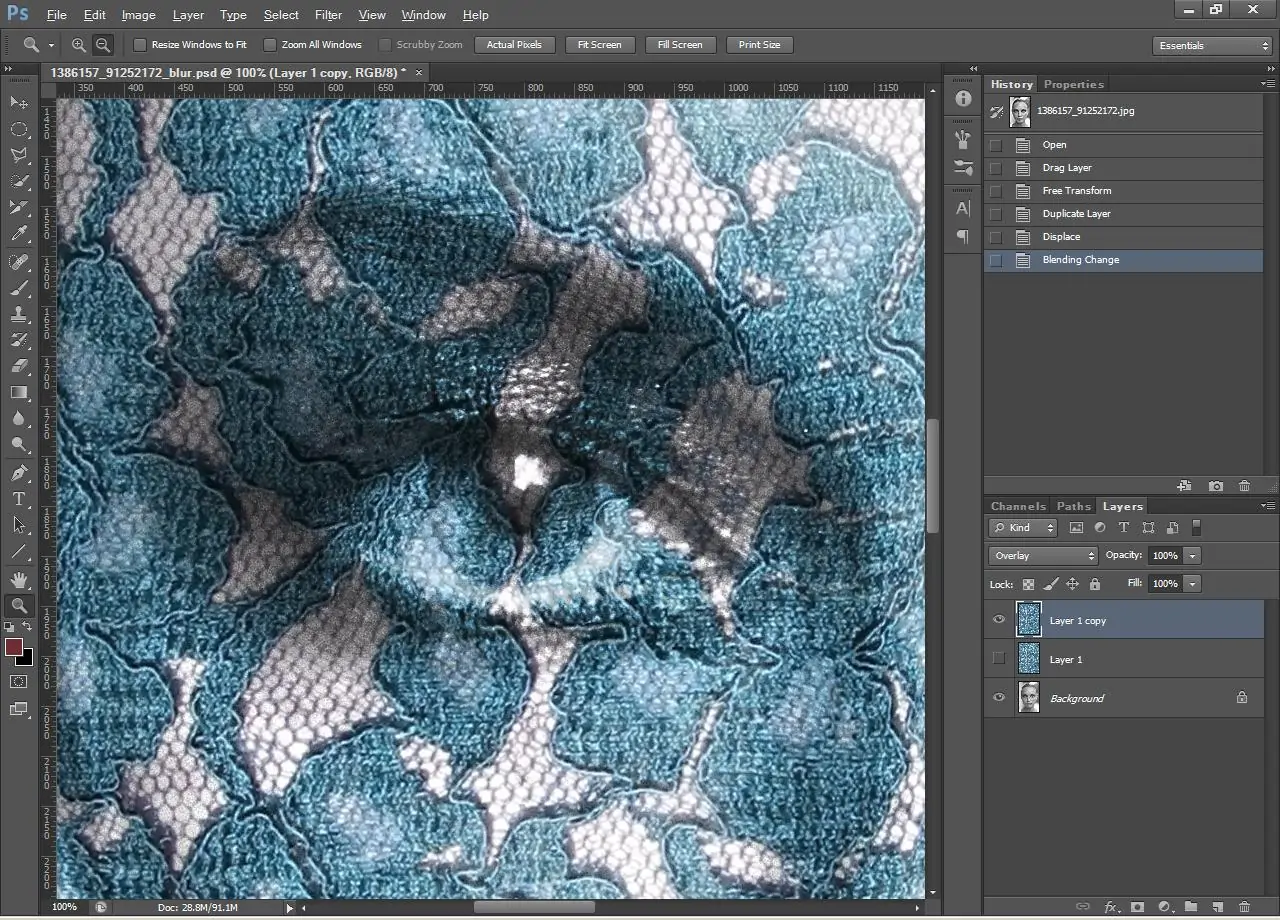
A displacement effect is an interesting phenomenon in image creation and manipulation, which imbues depth, texture effects and an illusion of activity into photographs. The process of adding a displacement effect includes distorting or manipulating photographs by shifting their pixels in accordance with the intensity of another image, which we call a displacement map. The process of creating a displacement effect, or, you say, applying displacement maps to images, concerns two images. The first one is your base image or target image on which all the displacement adjustments are applied, and another image termed the displacement map image, would help you determine the rearrangement or displacement of pixels into the target image. The final arrangement includes a warped or stretched appearance with a striking setup, which, oftentimes, looks surreal or abstract; you can also inspire the narrative of your images as well as enrich their essence. Various image editing software helps you apply displacement maps to your photographs and boosts their visual appeal. The following steps in this blog are going to address the essential strategies to create a displacement effect for your shots.
Step 1: Image Preparation
Initiate Adobe Photoshop and import the pictures you will be working with. You need two pictures for a displacement effect:
The first picture is the target image, which is the one you have to distort or alter, whereas the second is the displacement map image, which could be a grayscale picture that will direct the distortion procedure.
Be sure that both pictures are accurately sized and aligned, agreeing to your editing process necessities. It is a sounder approach to check the resolution of both pictures to guarantee they correspond, as discrepancies can influence the ultimate result. You may need to resize or crop the images to fit each other fittingly.
Put the target image and the displacement map in partitioned tabs inside Photoshop. This arrangement helps simplify the method once you later have to swap between them. By organizing your images appropriately, you set the phase for a more exact and effective application of the displacement map, driving better results within the absolute output.
Step 2: Grayscale Conversion
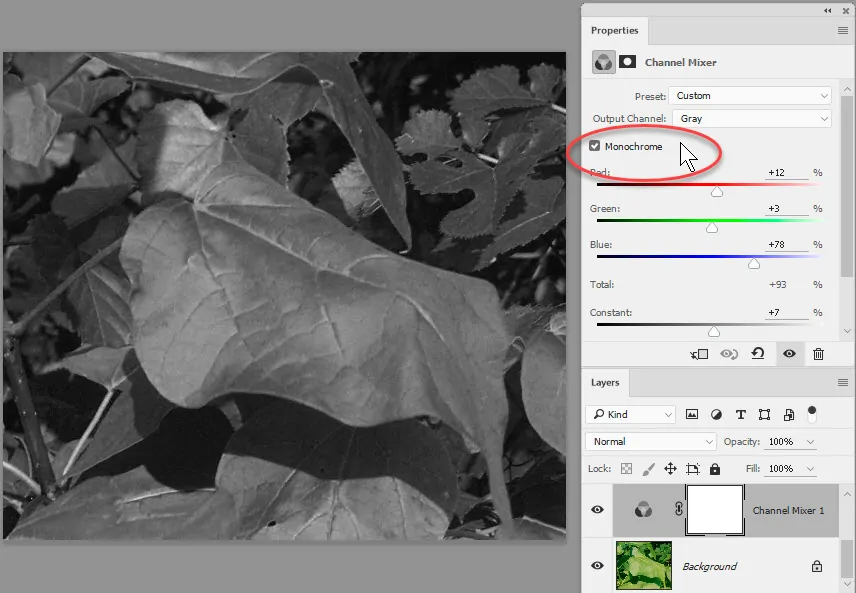
To guarantee that the displacement map functions accurately, it must be in grayscale mode. Begin by specifying the displacement map picture in Photoshop. If the picture isn’t, as of now, in grayscale, you ought to change it.
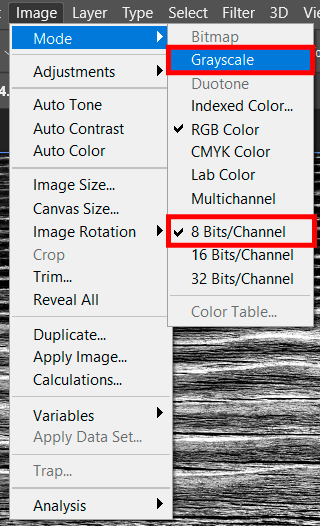
Head to the Image option within the top menu, then click on Mode and select Grayscale from the dropdown alternatives. It will convert the picture from colour to grayscale, which is fundamental for the displacement map to work suitably.
A dialog box may show up inquiring if you need to discard colour information; affirm this by clicking the Discard button.
After you are done with grayscale conversion, audit the displacement map to guarantee it features a clear range of tones from dark to white. These tones will hold the degree and direction of the displacement effect on your target photo. Keep the grayscale displacement map in the form of a PSD or TIFF file to preserve its quality and points of interest.
Step 3: Displacement Map Finalizing
After changing your displacement map to grayscale, it’s imperative to save it in an appropriate format for utilization in Photoshop. This way you can make sure that your map holds its quality and can be effectively accessed all through the displacement process.
Proceed to the File button within the top menu and tap on Save As. Select a format that preserves picture quality and supports grayscale pictures, like PSD or TIFF. These formats support the detail and integrity of the displacement map, which is vital for accomplishing true-to-life effects.
Within the Save As dialog box, title your file suitably and select the specified format from the dropdown menu. Press Save to secure the file.
Confirm that you save the displacement map in a folder where you’ll effortlessly find it thereafter once you apply the displacement effect to your target picture.
Step 4: Map Application
After your target image and displacement map are all set, you need to apply the displacement map effect. Start by choosing the target photo in Photoshop.
Move to Filter within the top menu, then select Distort and select Displace from the submenu. It will open the Displace dialog box, where you’ll specify the parameters for the impact.
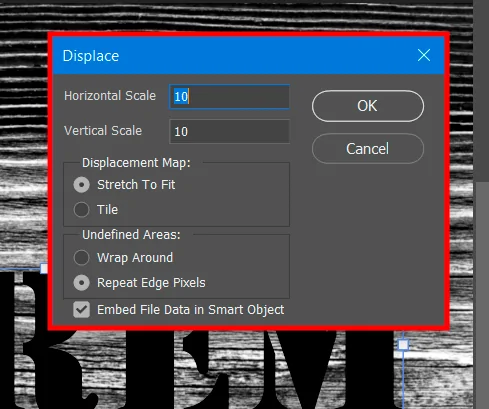
Within the Displace dialog box, you can alter the Horizontal Scale and Vertical Scale values. These settings direct the sum of displacement connected to the target photo. Using higher values results in more articulated distortion; on the other hand, lower values deliver more nuanced effects. Begin with mild values and alter them as required.
Tap on Ok to continue. Photoshop will then encourage you to choose the displacement map file. Find and pick the grayscale displacement map file you kept before, and press Open to apply it. The target picture will presently be distorted pursuant to to the displacement map’s grayscale values.
Step 5: Scale Settings
Within the Displace dialog box, you’ll set the settings to oversee the displacement map effect on your target picture.
Horizontal Scale:
Alter this slider to specify how much the photo should be displaced horizontally. A greater value will create a more pronounced horizontal modification.
Vertical Scale:
Alter this slider to specify how much the image is to be displaced vertically. Using a higher value will induce a more prominent vertical change.
Commence with intermediate values for both settings and preview the results. You will need to play with distinctive values to attain the required effect.
Also, the Displacement Map choice within the dialog box permits you to select between different strategies of applying displacement, like “Stretch To Fit” or “Repeat Edge Pixels”.
After arranging these settings, press Ok to apply the displacement. In case the result isn’t as predicted, you can fix the change and revise the settings further until you accomplish the specified impact.
Step 6: Target Image Distorting
Ahead of configuring the Displace filter settings, Photoshop will incite you to select the displacement map file you already saved.
Within the dialog box that shows up, get to the location where you kept your grayscale displacement map. Choose the file and press Open. This step joins the displacement map to the filter, permitting Photoshop to apply the grayscale values from the map to distort your target image.
Make sure that the displacement map file is accurately chosen, as this will directly affect how the distortion shows up on your target picture. Once chosen, Photoshop will prepare the image based on the map, applying the displacement effect in accordance with the grayscale values.
After the map is added, audit the result to ensure it satisfies your desires. If adjustments are required, you can fix the effect and adjust the displacement map or filter settings in like manner.
Step 7: Final Review And Export
In this final step of applying the displacement map effect, thoroughly audit the result on your target image. Scan to see if the distortion looks as planned and if the displacement adjusts together with your desired outcome. If the effect isn’t very exemplary, you’ve got a number of alternatives for alteration:
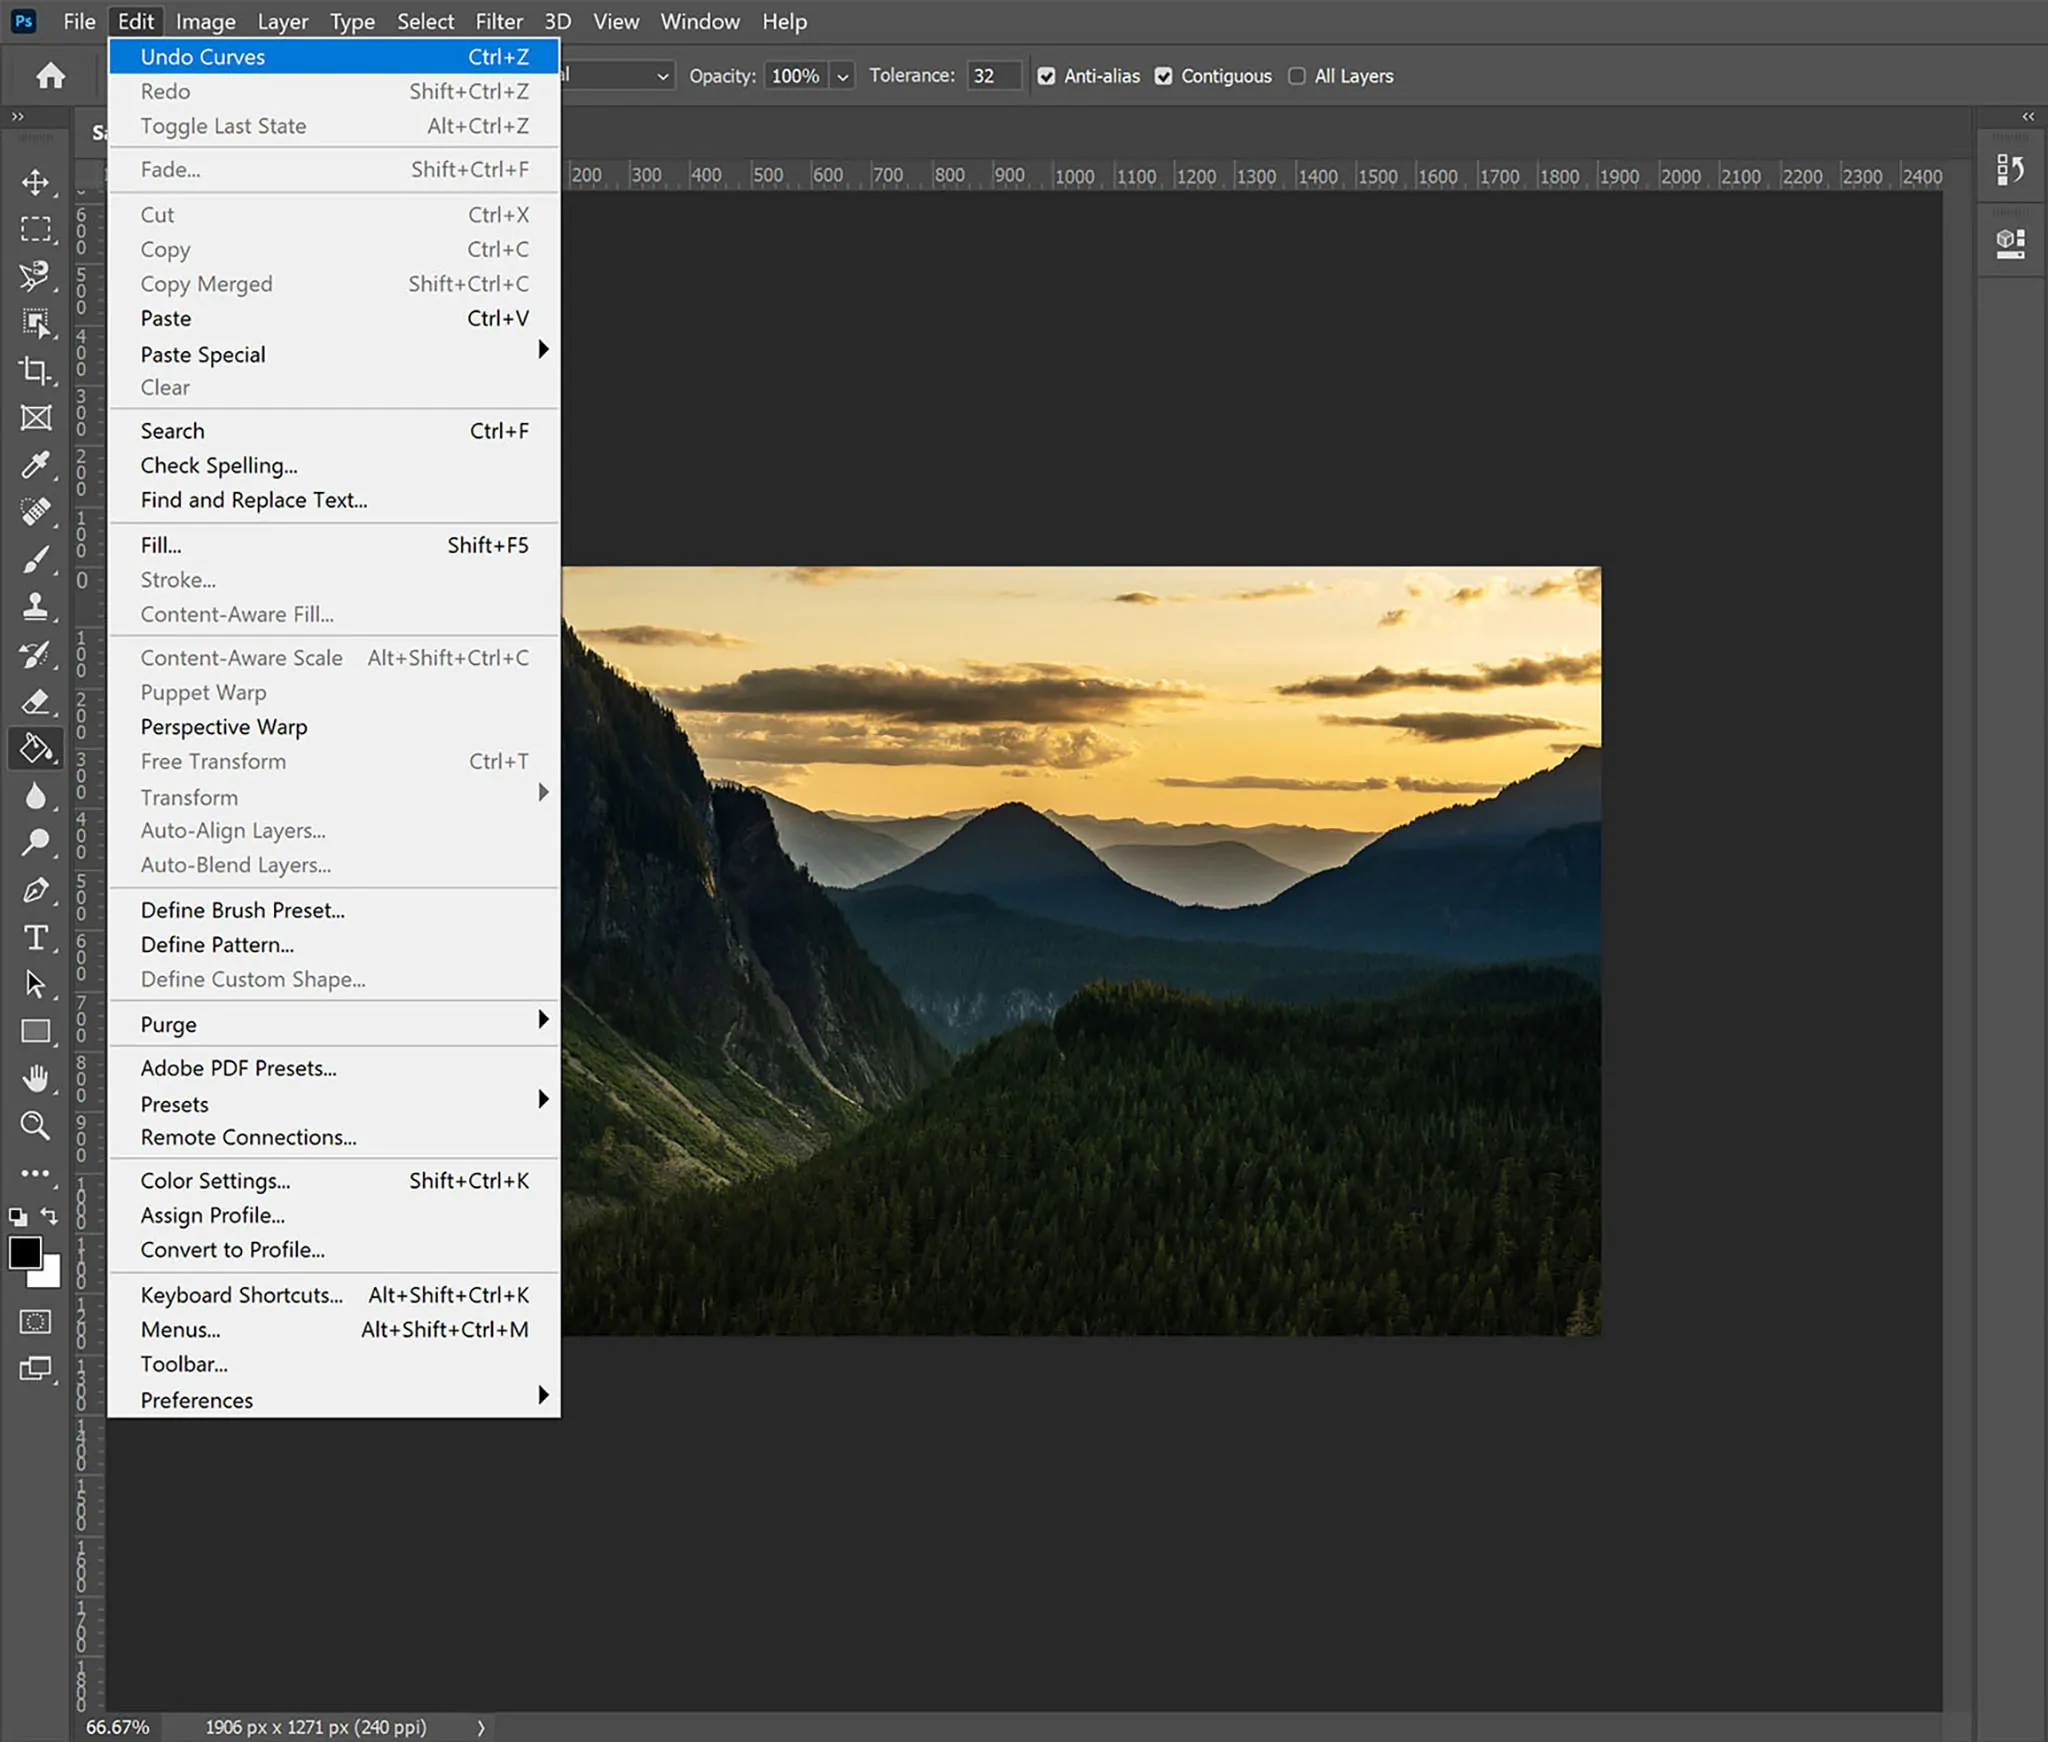
Utilize Ctrl+Z to undo the displacement and re-apply it with adjusted filter settings or another displacement map.
If you observe that the displacement map itself mandates tweaking, go back to the grayscale picture, make alterations, and save it once more. And then re-apply the displacement map to the target photo.
Utilize layer masks or adjustment layers in Photoshop to polish the result. This could help to regulate the areas impacted by the displacement map.
Intermittently preview the modifications to guarantee the effect improves your picture as scheduled. Lastly, save your edited picture within the desired format to protect the modifications. This conclusive step promises that your picture is polished and set for use in your project or exhibition.
Conclusion
In summary, applying displacement maps to images transforms them into vigorous compositions, including multidimensional effects to stun the viewers with their expanded depth. After this process image produces a blend of varying distortions; the lighter zones look more stretched, while the darker ones are likely to attain a minimum level of distortion. This remarkable blend of deliberate imperfections and the initial originality creates a kind of surrealism and otherworldliness while at the same time taking the view back to reality with its intact or less distorted zones.


