How To Adjust Brightness, Contrast, And Saturation In An Image
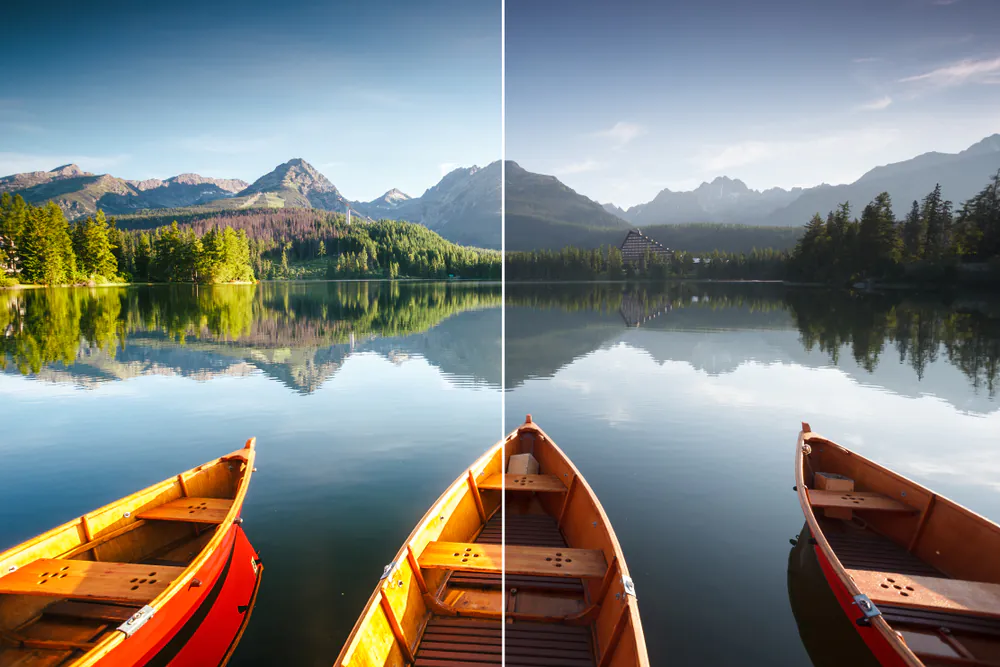
Adjusting brightness, contrast, and saturation is a crucial step in enhancing the visual appeal of an image. Whether you are a professional or a newbie amateur trying to capture the perfect shot, understanding how to adjust these settings can make a significant difference in the outcome of your image. Brightness indicates the overall lightness or darkness of the image, contrast refers to the difference between the lightest and darkest areas, and saturation refers to the intensity of colors in the image. This blog will traverse how to adjust these settings in an image using several popular photo editing tools. We will cover the basics of each adjustment and show you how to make these tweaks to your photos to enhance their overall appearance. Whether you’re editing photos for a blog post or simply trying to improve the look of your photos, this tutorial will provide you with the skills you need to create stunning images.
Eminent Software to Adjust Brightness, Contrast, and Saturation:
Many software tools are available to adjust an image’s brightness, contrast, and saturation, ranging from basic photo editors to more advanced image processing software. Here are a few popular options:
1. Adobe Photoshop
Adobe Photoshop is one of the most acknowledged graphics editing software used today. Photoshop offers many tools that allow users to adjust brightness, contrast, and saturation. With the help of its levels and curves tool, users can manipulate the brightness and contrast of an image by adjusting the intensity of the shadows, midtones, and highlights. The saturation tool allows you to increase or decrease the intensity of colors in an image, making it more vibrant or subdued based on your preference.
2. Adobe Lightroom
Adobe Lightroom is a professional image editing software used by photographers worldwide. Lightroom offers a range of features that make it easier to adjust an image’s brightness, contrast, and saturation. With the help of its tone curve tool, you can adjust image brightness and contrast settings by making subtle changes to its shadows, midtones, and highlights. The saturation tool is also present in Lightroom, allowing the user to adjust the intensity of colors in an image.
3. GIMP
GIMP is a popular open-source photo editing software offering professionals and enthusiasts a free and robust platform to manipulate images. GIMP offers a range of tools that make it possible to adjust an image’s brightness, contrast, and saturation. Its curves tool makes it easy to adjust the brightness and contrast by breaking down the shadows, midtones, and highlights into separate channels. The hue-saturation tool allows users to adjust the intensity of colors in an image.
4. CorelDRAW
CorelDRAW is another photo editing software that offers a range of tools for adjusting brightness, contrast, and saturation in an image. With its levels tool, CorelDRAW makes it possible to adjust the brightness and contrast settings by manipulating the shadows, midtones, and highlights. The saturation tool present in CorelDRAW allows the user to adjust the intensity of colors in an image and make it more vibrant.
5. Capture One:
Capture One is another professional photo editing software that offers a range of tools to adjust an image’s brightness, contrast, and saturation. It provides the Levels and Curves tool to adjust the image’s tone. Capture One also offers a range of color adjustment tools, including the Color Balance tool, the Hue/Saturation/Lightness tool, and the Color Editor tool.
7. Pixlr:
Pixlr is an online image editing software that offers a range of features to adjust an image’s brightness, contrast, and saturation. It provides various adjustment tools, including Levels and Curves, Brightness/Contrast, and Hue/Saturation. Pixlr also offers a range of filters to enhance the image’s tone and color.
8. Canva:
Canva is a graphic design platform offering various features to create and edit images. It exhibits various tools to adjust an image’s brightness, contrast, and saturation, including the Brightness/Contrast, Saturation, and Tint tools. Canva also offers a range of filters to enhance the image’s tone and color.
9. Microsoft Paint:
While Microsoft Paint is a basic photo editing software, it still allows users to adjust an image’s brightness, contrast, and saturation. The brightness and contrast tool makes it possible to adjust the intensity of an image by making it brighter or darker and more vivid or subdued, respectively. The color adjustment tool allows the user to adjust the intensity of colors in an image.
Techniques to Adjust Brightness, Contrast, And Saturation:
Adjusting brightness, contrast, and saturation is crucial to digital image processing. Here are some of the techniques used to adjust these parameters:
Brightness Adjustment:
Brightness indicates the overall lightness or darkness of an image. To adjust the brightness, the following techniques can be used:
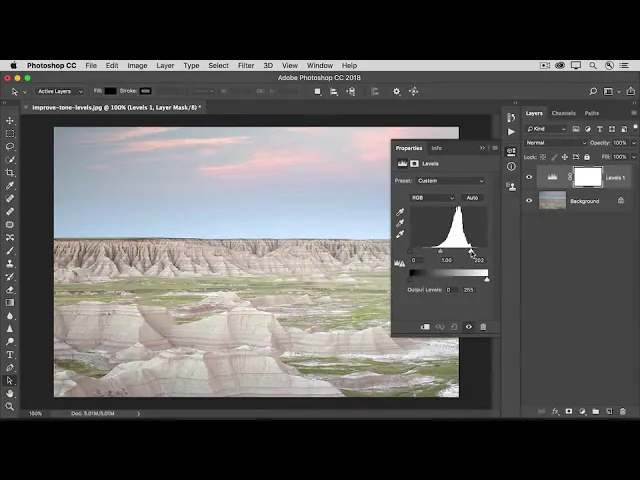
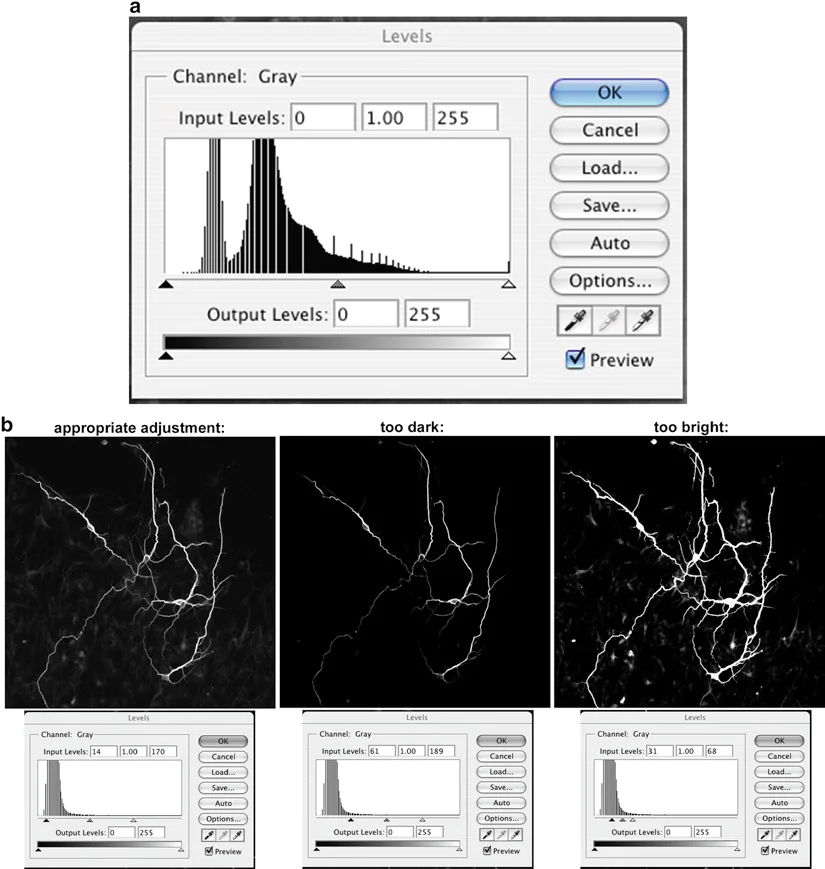
Levels Adjustment: Levels adjustment technique is available in many image editing software, which can adjust the brightness, contrast, and tonality of an image. In this technique, a histogram displays the distribution of pixels in an image. By moving the sliders on the histogram, the user can adjust the brightness and tonality of the image.
Curves Adjustment: Curves adjustment is another option available in many image editing software, which allows the user to adjust the brightness and tonality of an image using a curve. The user can add or remove control points on the curve to adjust the brightness of specific tonal ranges.
Exposure Adjustment: Exposure adjustment can be used to adjust an image’s overall brightness and contrast. In this technique, the user can adjust the exposure level to brighten or darken the image.
Contrast Adjustment:
Contrast refers to the difference between an image’s lightest and darkest areas. To adjust the contrast of an image, the following techniques can be used:
Levels Adjustment: Levels adjustment can be used to adjust the contrast of an image. The user can adjust the image’s contrast by moving the sliders on the histogram.
Curves Adjustment: Curves adjustment can also be used to adjust the contrast of an image. In this technique, the user can add or remove control points on the curve to adjust the contrast of specific tonal ranges.
Brightness/Contrast Adjustment: Brightness/Contrast adjustment adjusts an image’s overall brightness and contrast. In this technique, the user can adjust the contrast level to increase or decrease the difference between the lightest and darkest portions of the image.
Saturation Adjustment:
Saturation refers to the intensity of the colors in an image. To adjust the saturation of an image, the following techniques can be used:
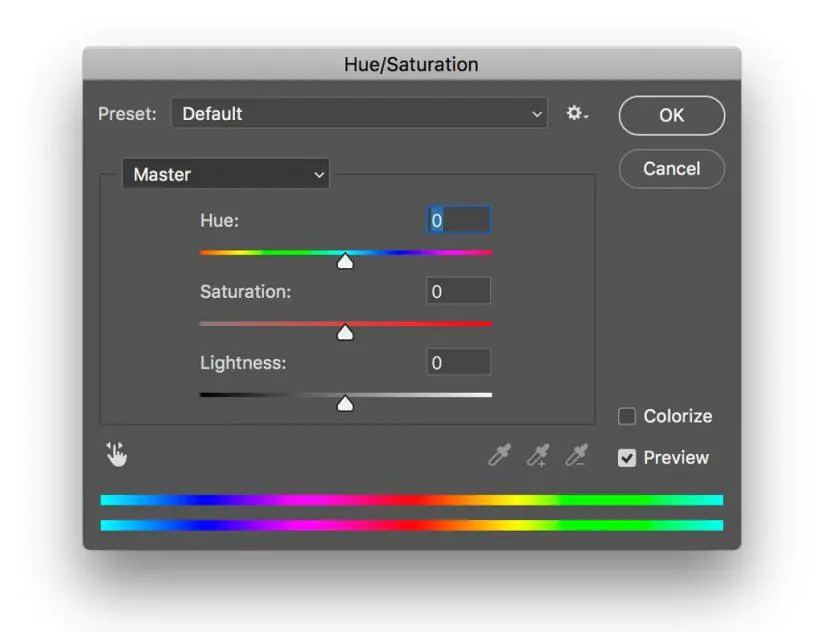
Hue/Saturation Adjustment: Hue/Saturation adjustment is a tool available in many image editing software, which can be used to adjust the saturation of an image. In this technique, the user can adjust the saturation of specific colors or the entire image. The tool allows you to change the hue, saturation, and lightness of different colors in the image.
Color Balance Adjustment: Color balance is another option to adjust the saturation of an image. This technique allows you to adjust the balance between the primary colors in the image – red, green, and blue. By changing the balance between these colors, you can adjust the saturation of the image.
Vibrance Adjustment: Vibrance adjustment can be used to adjust the saturation of an image while preserving skin tones. This technique increases the saturation of the less saturated colors in the image while leaving the already saturated colors alone. Vibrance adjustment is particularly useful for portrait photography, where you want to increase the image saturation without affecting the skin tones.
Selective Color Adjustment: Selective color adjustment allows you to adjust the saturation of specific colors in an image. This technique works by selecting a specific color range in the image and adjusting its saturation. Selective color adjustment can adjust the saturation of individual colors, such as red, green, or blue.
Here are the basic steps to adjust an image’s brightness, contrast, and saturation while considering the abovementioned techniques and editing software tools.
Open the image in editing software like Adobe Photoshop, GIMP, or Canva.
Create a duplicate of the original image to compare later changes easily.
Adjust the brightness of the image. That can usually be done by selecting the “Brightness” or “Exposure” option in your image editor and moving the slider to the right to increase the brightness or to the left to decrease it.
Adjust the contrast of the image. That can usually be done by selecting the “Contrast” or “Levels” option in your image editor and moving the slider to the right to increase contrast or to the left to decrease it.
Adjust the image saturation by selecting the “Saturation” option in your image editor and moving the slider to the right to increase saturation or to the left to decrease it.
Review the changes made to the image and compare it with the original layer. If necessary, adjust the settings again to achieve the desired effect.
Once you are satisfied with the changes, save the edited image.
Conclusion
Adjusting an image’s brightness, contrast, and saturation is a simple yet effective way to enhance its overall look and feel. By following the basic steps, tools, and techniques, you can easily improve the quality of your images and make them more visually appealing.
