How To Add A Grit Effect On Images
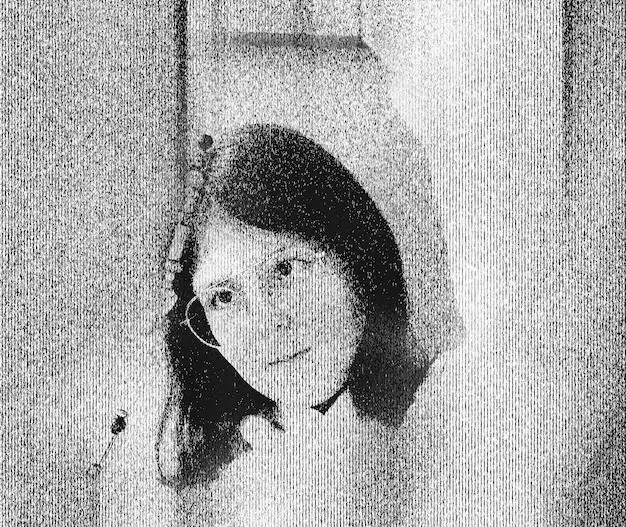
Grit refers to a visual style that showcases raw and rugged aspects of life in images with an intensely concrete appearance. Since life isn’t perfect, visual flaws like the grit effect provide photos with an additional sense of authenticity by implying that the scene within the picture wasn’t intended. The use of gritty textures and filters is common in urban and street photography to depict the raw lifestyles of common people in an acutely realistic way. It gives images a more dramatic and frank atmosphere, which brings viewers’ attention to random or natural aspects of life. Usually grit effects organically appear in images shot at raw settings. However, with the evolution of image enhancement effects, the use of gritty textures and elements also prevails to evoke certain raw sentiments in images and amplify the narrative side. To add a grit touch to a photograph involves the addition of grain or noise, saturation and contrast modification, shadows and highlights enhancement, use of a High-Pass filter, and many other styles that elicit grittiness. The steps to pursue while adding a deliberate grit atmosphere to images are as follows.
Step 1: Noise And Grain Adjustments
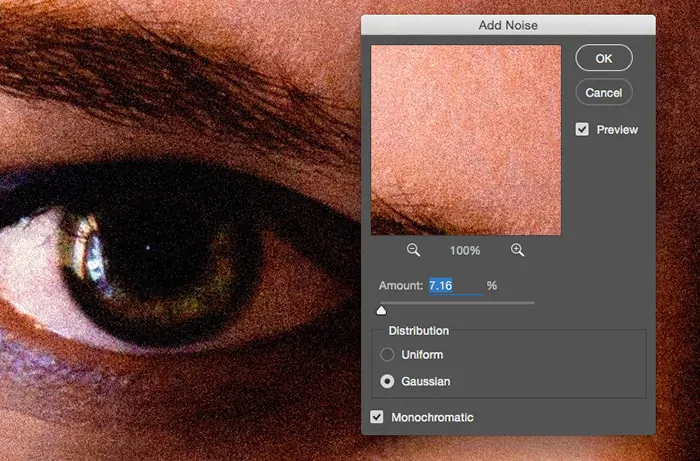
Begin by importing the photograph you need to alter in your editing app, like Photoshop or Lightroom.
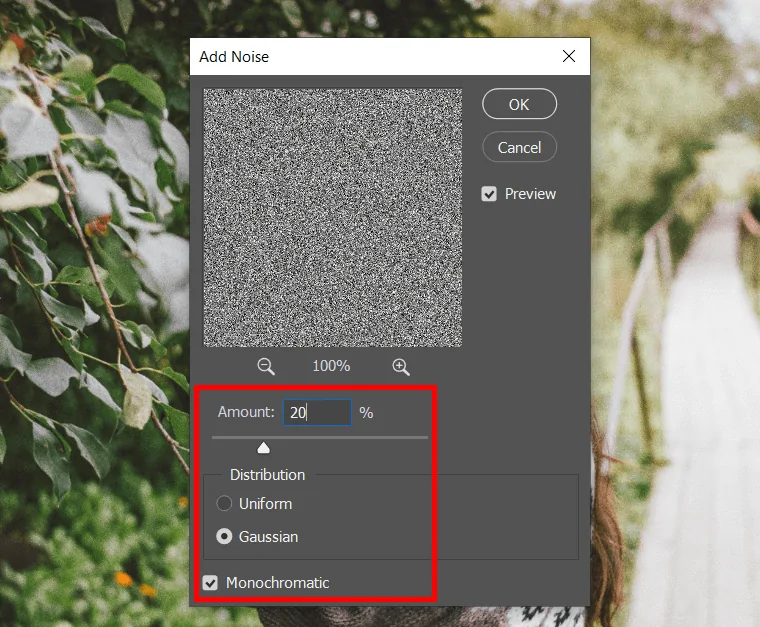
Locate the noise or grain adjustment segment within the app, typically found beneath the Effects or Filter menu.
Start with an intermediate level of grain. Don’t go for high levels to keep the surface looking natural, as too extensive grain can overpower the picture.
Coordinate the grain size to your photograph resolution. Ampler grain looks well for low-resolution pictures, while smaller ones fit high-resolution images, adding a nuanced surface.
Alter the intensity and opacity to manage how noticeable the grain emerges. More increased intensity includes a more assertive, gritty impression.
Utilize before-and-after previews to make sure that the grain includes texture without overwhelming the photo.
Recheck and then apply the grain to complete this foundational step for a gritty look within the image.
Step 2: Using Contrast Tool
Go to the contrast tool in your editing program regularly under Basic Adjustments, Tone, or Brightness/Contrast.
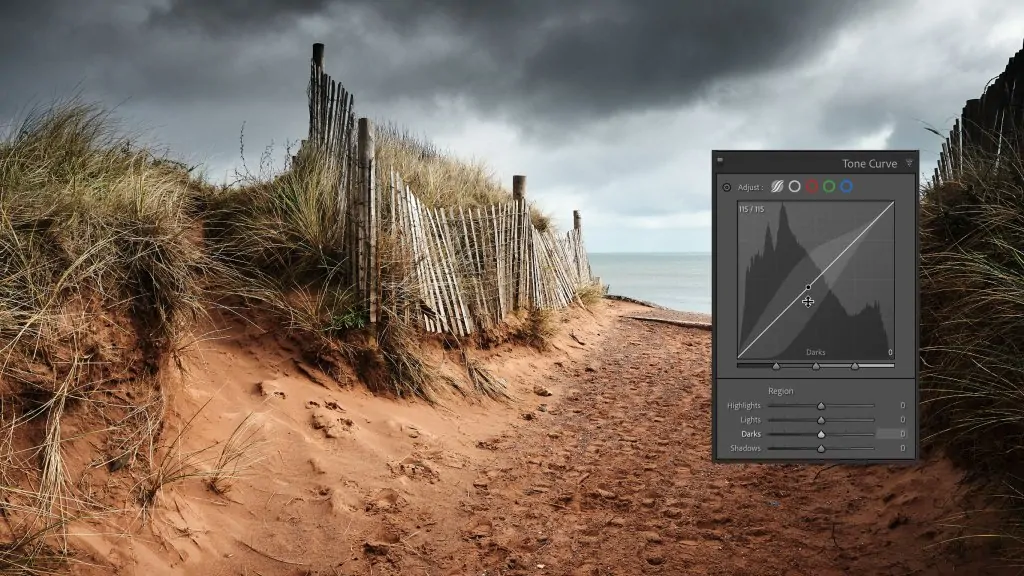
Begin by rising contrast in slight increments. Higher contrast makes dark zones look darker and bright regions brighter, including depth to the shot.
Alter the midtones if functional, as this regulates the detail within the middle brightness range. Upgrading midtones can make surfaces more noticeable without losing detail.
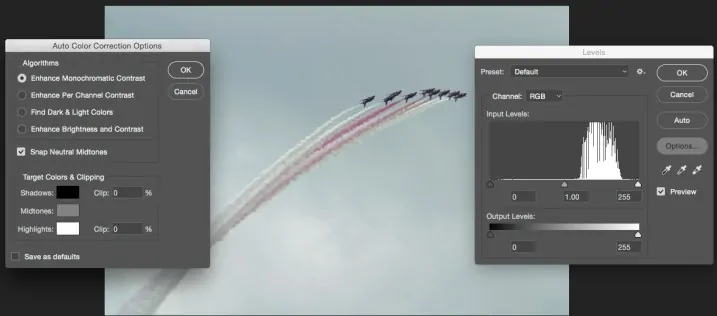
Increase the black and white points marginally to include sharper boundaries. This step reinforces the gritty look, highlighting the image’s crudeness.
Sidestep harsh shadows or blown-out highlights by adjusting contrast with the shadow and highlight sliders.
Compare before and after views to guarantee that the contrast emphasizes essential surfaces without making the image as well harsh.
After satisfied with the results, apply the contrast changes to lock in this layer of the gritty impact.
Step 3: Using Clarity Adjustment
Find the Clarity adjustment of your editing program, usually located near contrast and brightness controls.
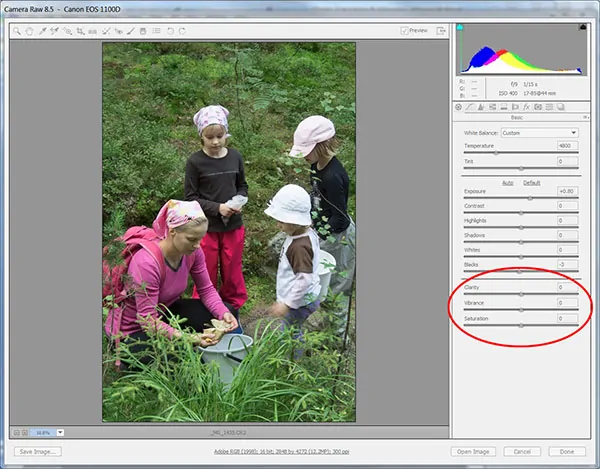
Begin by boosting clarity in little phases. Clarity upgrades midtone contrast, making textures and edges show up more brilliantly, which is fundamental for a gritty impression.
Focus on how the clarity adjustment influences adequate details. Expanded clarity will make textures, such as skin pores or material fibers, stand out more noticeably.
Be careful of proceeding too high with clarity because it can make undesirable halos or make the picture look excessively processed.
Expanding clarity can, in some cases, darken shadows or blow out highlights, so make minor alterations to adjust the general image.
Review the image before and after the clarity alteration to guarantee it includes the surface without looking harsh.
After you are satisfied, apply the clarity setting to bring out surfaces and strengthen the gritty effect within the image.
Step 4: Utilizing High-Pass Filter
Start by making a duplicate of the image layer. It will permit you to add the high-pass filter non-destructively.
Be sure that you are working on the duplicated layer for alterations.
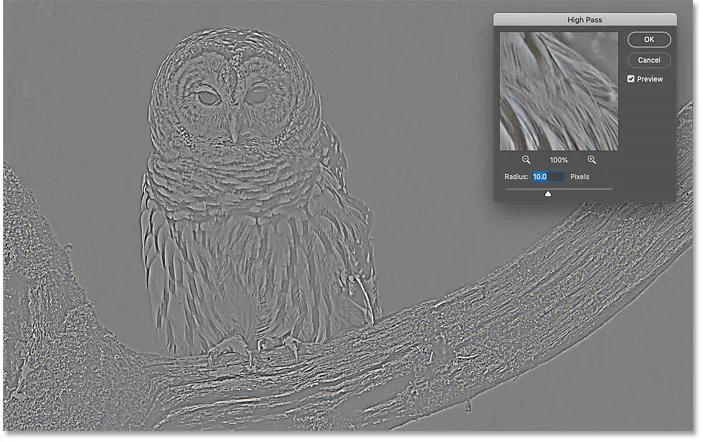
Proceed to the Filter menu, choose Other, and select High Pass. You will see a new window will appear where you will be able to alter the radius. Begin with a low radius of around 2 to 5 pixels to catch more nuanced details.
Rise the radius in case you need larger details, like edges or surfaces, providing the picture a sharper, more defined impression.
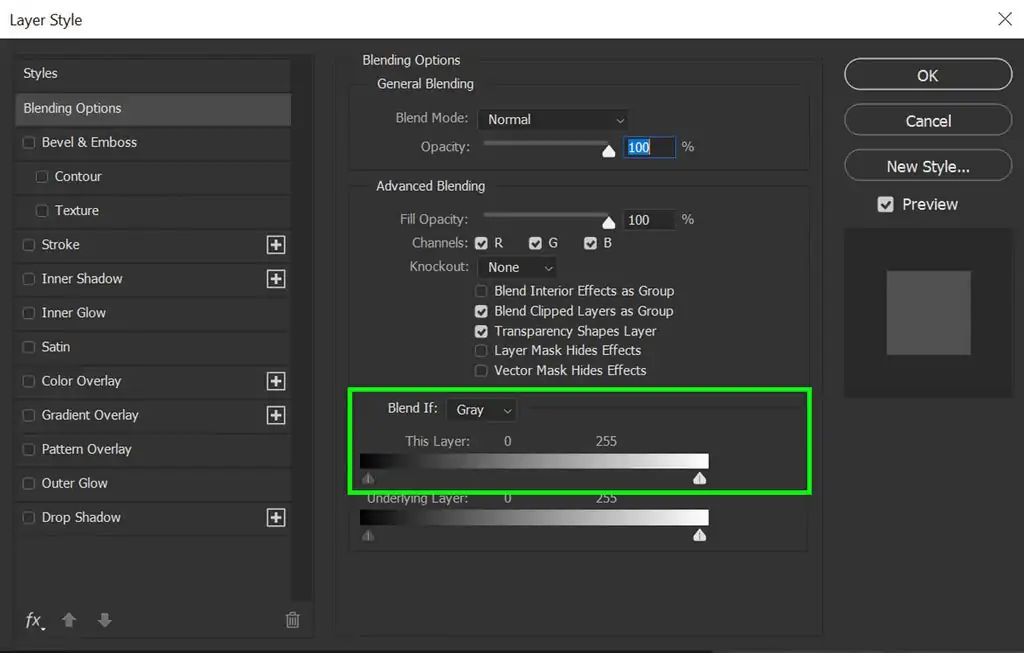
After the high-pass filter is connected, alter the layer’s blending mode to either Overlay or Soft Light to harmonize the sharp details into the image, amplifying surfaces.
In case the impact is too solid, decrease the opacity of the high-pass layer to decrease the sharpness and get equilibrium.
Once you are upbeat with the sharpness and texture, consolidate the layers or apply the high-pass effect permanently to the image.
Step 5: Decreasing Color Saturation
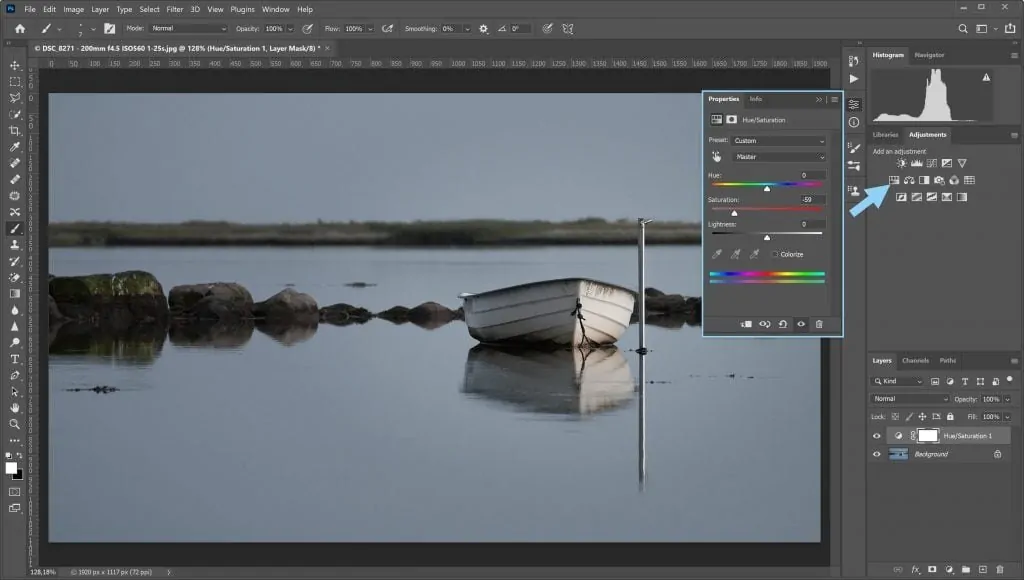
Find the Saturation or Hue/Saturation adjustment, typically found beneath Image > Adjustments or within the Adjustment Layers zone.
Begin by decreasing the saturation to around -20 to -40, according to how quiet you need the colors. Desaturating provides the picture with a more subdued, gritty feel and expels the energy.
In case you need to hold some color in particular ranges, utilize the individual color sliders inside the Hue/Saturation tool to specifically desaturate certain tones, such as reds and blues while leaving others unaffected.
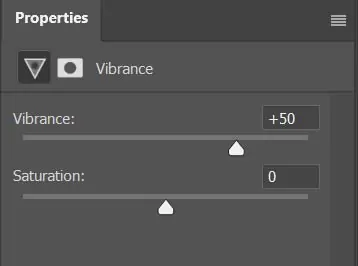
If your software features a vibrance control, utilize it in co-occurrence with saturation alterations. Vibrance focuses on more saturated colors without influencing skin tones as much, presenting a more modest desaturation impact.
Make sure the picture does not appear flat or dormant. A little color still includes profundity, so find the correct balance between muted and dynamic.
Toggle the desaturation effect on and off to correspond to the before and after and evaluate whether it upgrades the gritty formation.
After you are upbeat with the look, apply the desaturation impact and carry on to the following step. It will help accomplish that crude, grouchy environment typical of gritty pictures.
Step 6: Adding Texture Overlays
Discover or create a texture picture with features including grunge, scratches, dust, or concrete surface. You’ll either scan or download surfaces that correspond to the gritty impact you are implying.
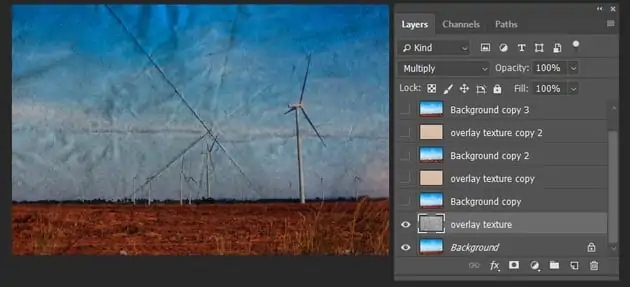
You have to import the found or created texture image as a new layer over your initial image. Ensure that it covers the complete image.
Shift the blending mode of the surface layer to Overlay, Soft Light, or Hard Light to consistently blend the texture into the base image. Play with diverse blending modes for the finest effect.
Decrease the opacity of the surface layer in case the effect is too extreme. The objective is to make a subtle, however discernible surface that upgrades the gritty feel without overpowering the initial image.
In case vital, resize and reposition the texture layer to suit the image accurately. Guarantee that the texture looks natural and equally distributed.
In case the texture appears too sharp or piercing, apply a small amount of Gaussian Blur to ease it and make the impact more modest.
After the texture is in position and blended sufficiently, apply the modifications. This texture layer will include an additional extent of grittiness, making the picture look more raw and weathered.
Step 7: Enhancing Shadows And Highlights
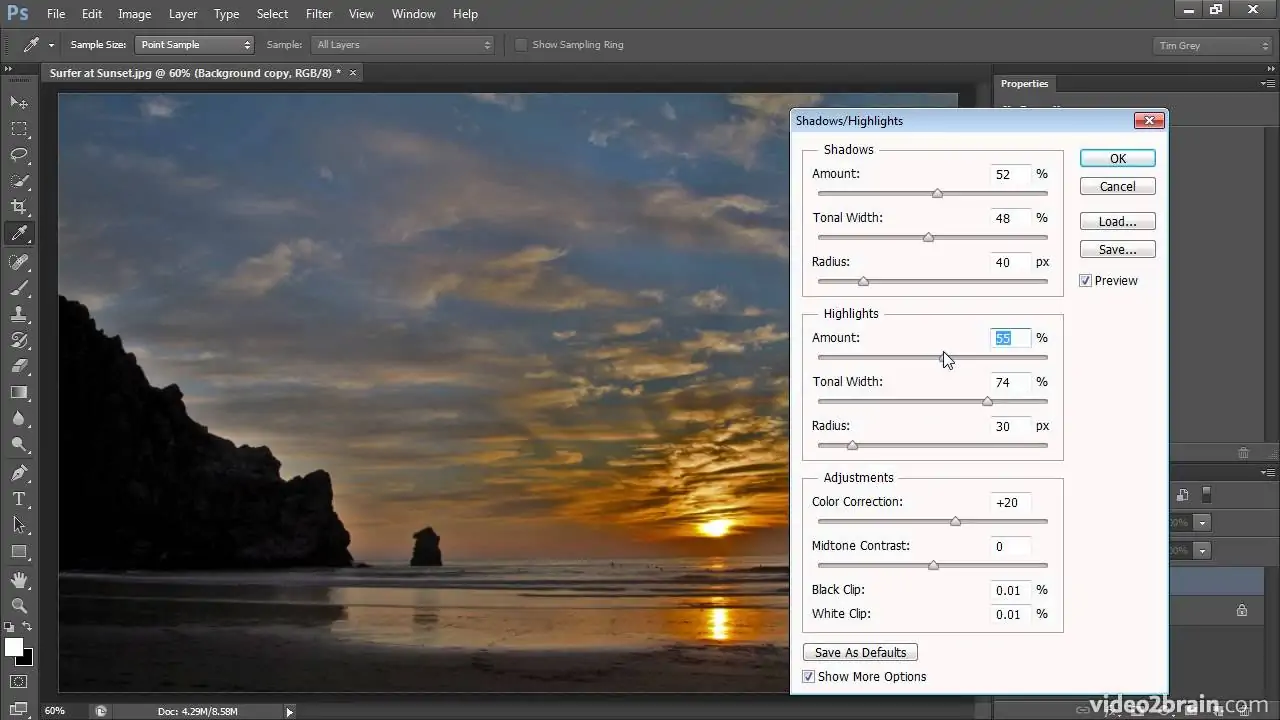
Move to the Shadows/Highlights tool, often seen under Image > Adjustments or as an adjustment layer.
Raise the shadow slider to develop the dark regions of the image, improving the coarse, raw feel. Darker shadows can help highlight textures and make more contrast between light and dark areas.
Alter the highlight slider to decrease excessively bright regions that might detract from the gritty impact. Decreasing highlights can make the picture feel more muffled and cohesive.
In case your software offers, adjust the midtones to adjust the overall photo brightness and upgrade the detail in the mid-range regions without losing contrast.
After making adjustments, evaluate the overall picture to ensure the shadows and highlights go with the gritty look without causing a loss of vital details.
Toggle the impact on and off to see how the shadows and highlights alterations affect the temperament of the image. Make sure it improves the texture and profundity while maintaining a natural feel.
After getting satisfied, apply the changes to conclude the gritty effect creation. The improved shadows and controlled highlights will give the final image a more defined, crude, and textured formation.
Conclusion
In brief, a git effect embraces the chaos of daily life and finds beauty in visual imperfections by adding perfect imperfections to photographs. It can exalt their visual charm by enriching texture, temper, and overall depth. A grit effect infuses your images with a wild and raw quality that emphasizes the finer details and contrast. Eventually, the use of gritty elements in images makes them more engaging and emotionally responsive, unlike the typical planned and flawless photographs. It can bring the attributes of the street or candid photography to your various kinds of images to stimulate novel narratives and climates.


