How To Add A Blood Art Effect To Images
The use of human blood in art has an extensive and contentious history. Despite the fact that blood is ubiquitous and usually harmless in daily life, it has been viewed as frightening. Artists have utilized blood to spark discussions on racism, violence, illness, and gender identity since long ago. The power of blood as an abstraction and a tangible material is evoked in these pieces. Blood is a firmly liminal material that may communicate danger and nourishment, masculinity and femininity, and life and death. Artists have also employed blood to examine how ethnic, social, and national identities relate to themes of heredity, memory, and history. Blood may be viewed as both bursting across and upsetting borders as well as dividing and defining groups. Similarly, the modern artist continues to employ this art form by using real or synthetic blood to create unusual yet captivating art pieces. Moreover, with the digitalization of art, the blood art theme is also incorporated in artworks, designs and images, creating an air of mystery and trance. This blog will further proceed with a step-by-step process of enhancing images with a blood art approach using advanced tools and approaches.
Step 1: The Base Photo Selection
Picking the proper base picture is fundamental for creating blood effects that look natural and impactful.
Choose a photograph with great resolution, like 1080p, so the blood details do not get foggy or pixelated.
Notice the spots where the light is coming from within the image. If the light source is from the left, any blood effect ought to throw shadows on the right side.
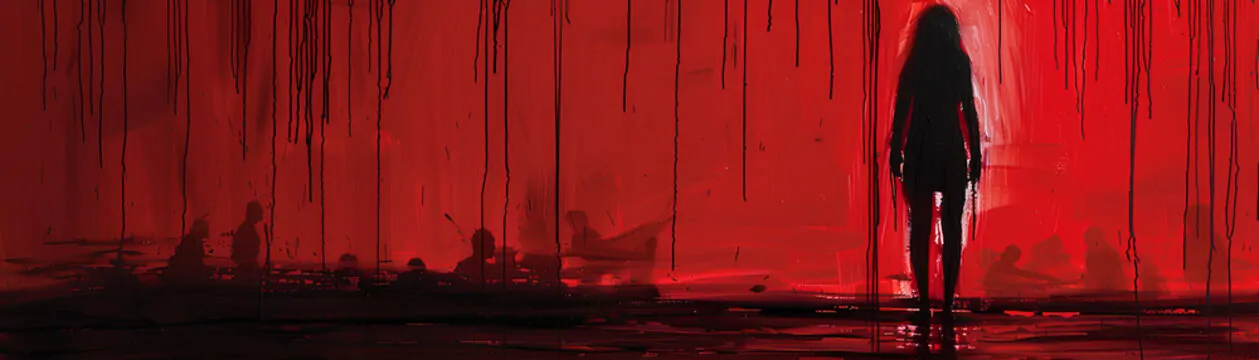
If you are altering an immaculate portrait, the random inclusion of blood would not look natural. However, if the person has an ardent expression or a rough foundation, the blood effects will be accommodated way better.
In case the backdrop is too elaborate or colourful, blood splatters might not look outstanding. A less difficult or darker foundation makes the effect look excellent.
Load the picture in Photoshop or GIMP and save a backup duplicate employing a PSD or PNG format so you’ll work with layers without affecting the initial version.
Step 2: Recreating Blood Art Texture
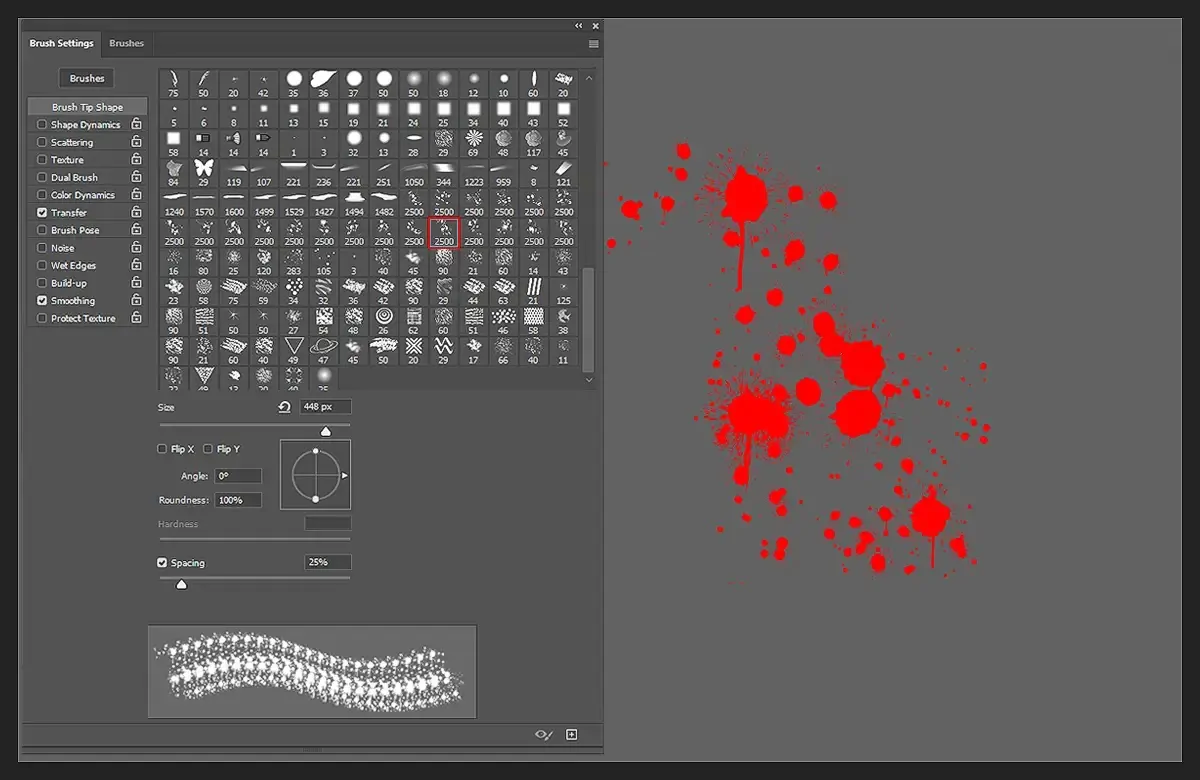
Various free and paid blood brushes are accessible online within Photoshop, GIMP, or Procreate. Search for splatter, drip, or smear brushes to correspond to the effect you would like. You can also design a custom brush by capturing the images of real blood splatters, like utilizing paint or ink and converting them into a brush preset.
Likewise, you can discover high-resolution blood surfaces if you do not want to use brushes. You can overlay those online pictures of blood splashes to give your picture a more natural appearance. Usually, the PNG files with transparent backgrounds work excellently.
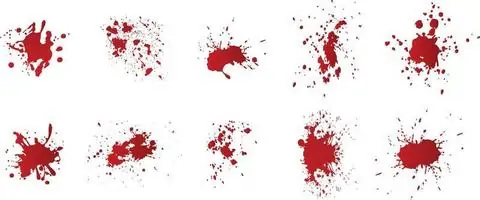
Select a brush or surface that integrates well together with your picture. If the picture is coarse and realistic, you prevent cartoony blood brushes. In case it’s for horror art, head for emotional splashes or handprints.
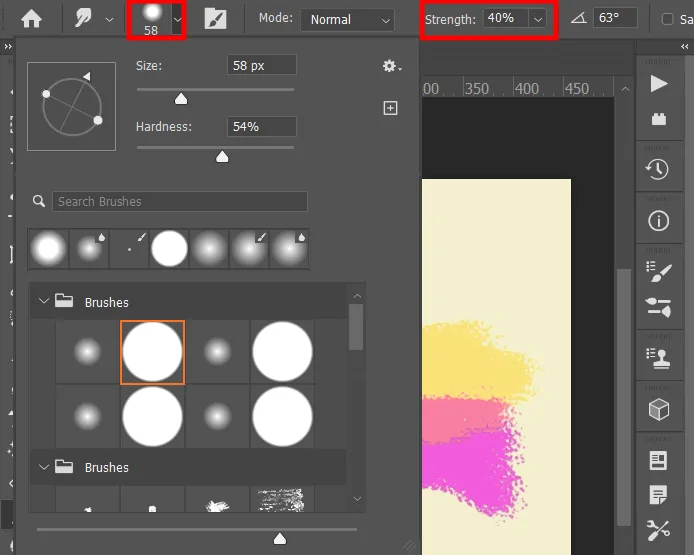
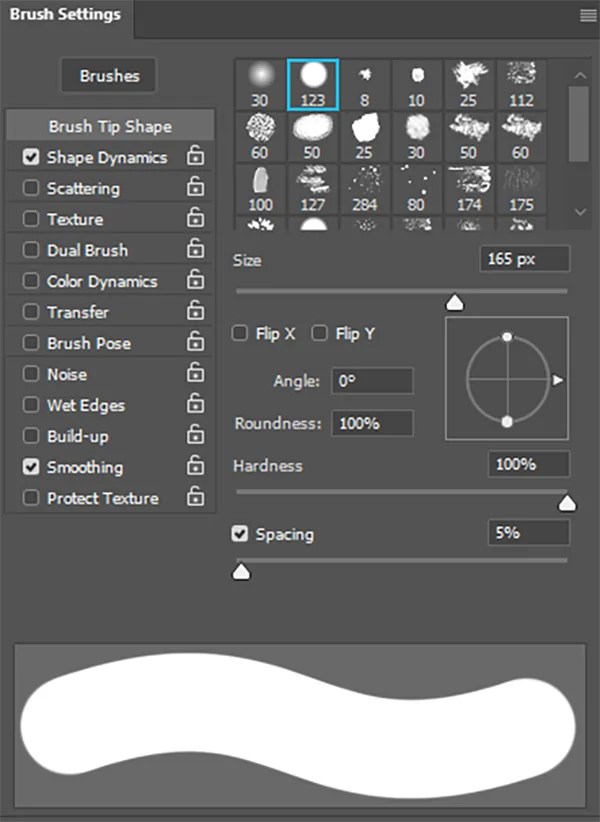
Before you start to paint, change brush settings such as opacity, flow, and scattering to make the blood effect more lifelike. Utilize pressure-sensitive settings if you are employing a tablet for better management.
Continuously test the brush or surface on a new layer, preferably. Play with distinctive sizes and placements to see what looks best before moving to the ultimate effect.
Step 3: Setting Up A New Layer

Before adding the blood effect, you ought to make a new layer to hold your edits adaptable and non-destructive.
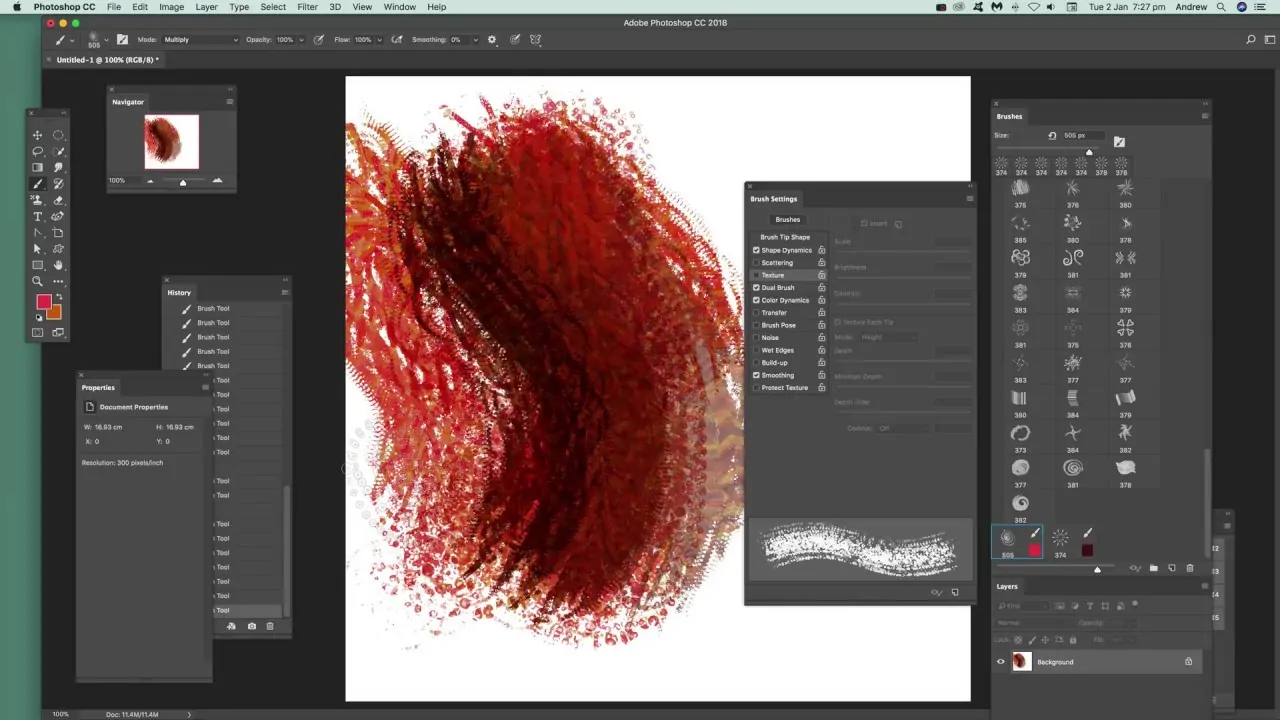
Within Photoshop or GIMP, proceed to the Layers panel. If you are not able to see it, tap on F7 or discover it beneath the window in the menu.
Press on the New Layer button or utilize Ctrl + Shift + N. Also, give the new layer a unique title, like Blood, for organizational purposes.
Alter the blending mode of the new layer, choosing from options such as Multiply, Overlay, or Darken to help the blood harmonize naturally with the picture. It will make it look like a part of the scene instead of hovering on top.
If you want to include numerous blood effects like drips, splashes or smears, make a partitioned layer for each. It will help you alter, eradicate, or adjust individual effects without influencing the remainder.
If you need to keep the blood effect contained inside a particular shape, empower Lock Transparency to prevent painting existing exterior pixels.
Before you move forward, keep your project in a layered format so you’ll alter it afterwards without losing progress.
Step 4: The Blood Effect Application
If you employ a brush, choose one that corresponds to the required effect, like drips for wounds, splatters for effect, or smears for dragged blood. In case employing a blood texture, drag and put it over the picture.
Utilize a stylus or mouse to apply blood carefully. Begin softly and build up the effect. Prevent overdoing it since less is frequently more for genuineness.
It is natural for blood to pursue gravity and impact. If it is coming from a wound, it ought to drip below. Similarly, if it is splattered, look into the force and angle that generated it.
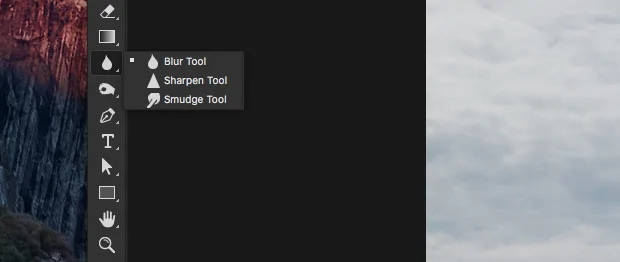
Utilize the Smudge Tool to ease harsh edges or the Eraser Tool with less opacity to integrate the blood into the skin or surface inherently.
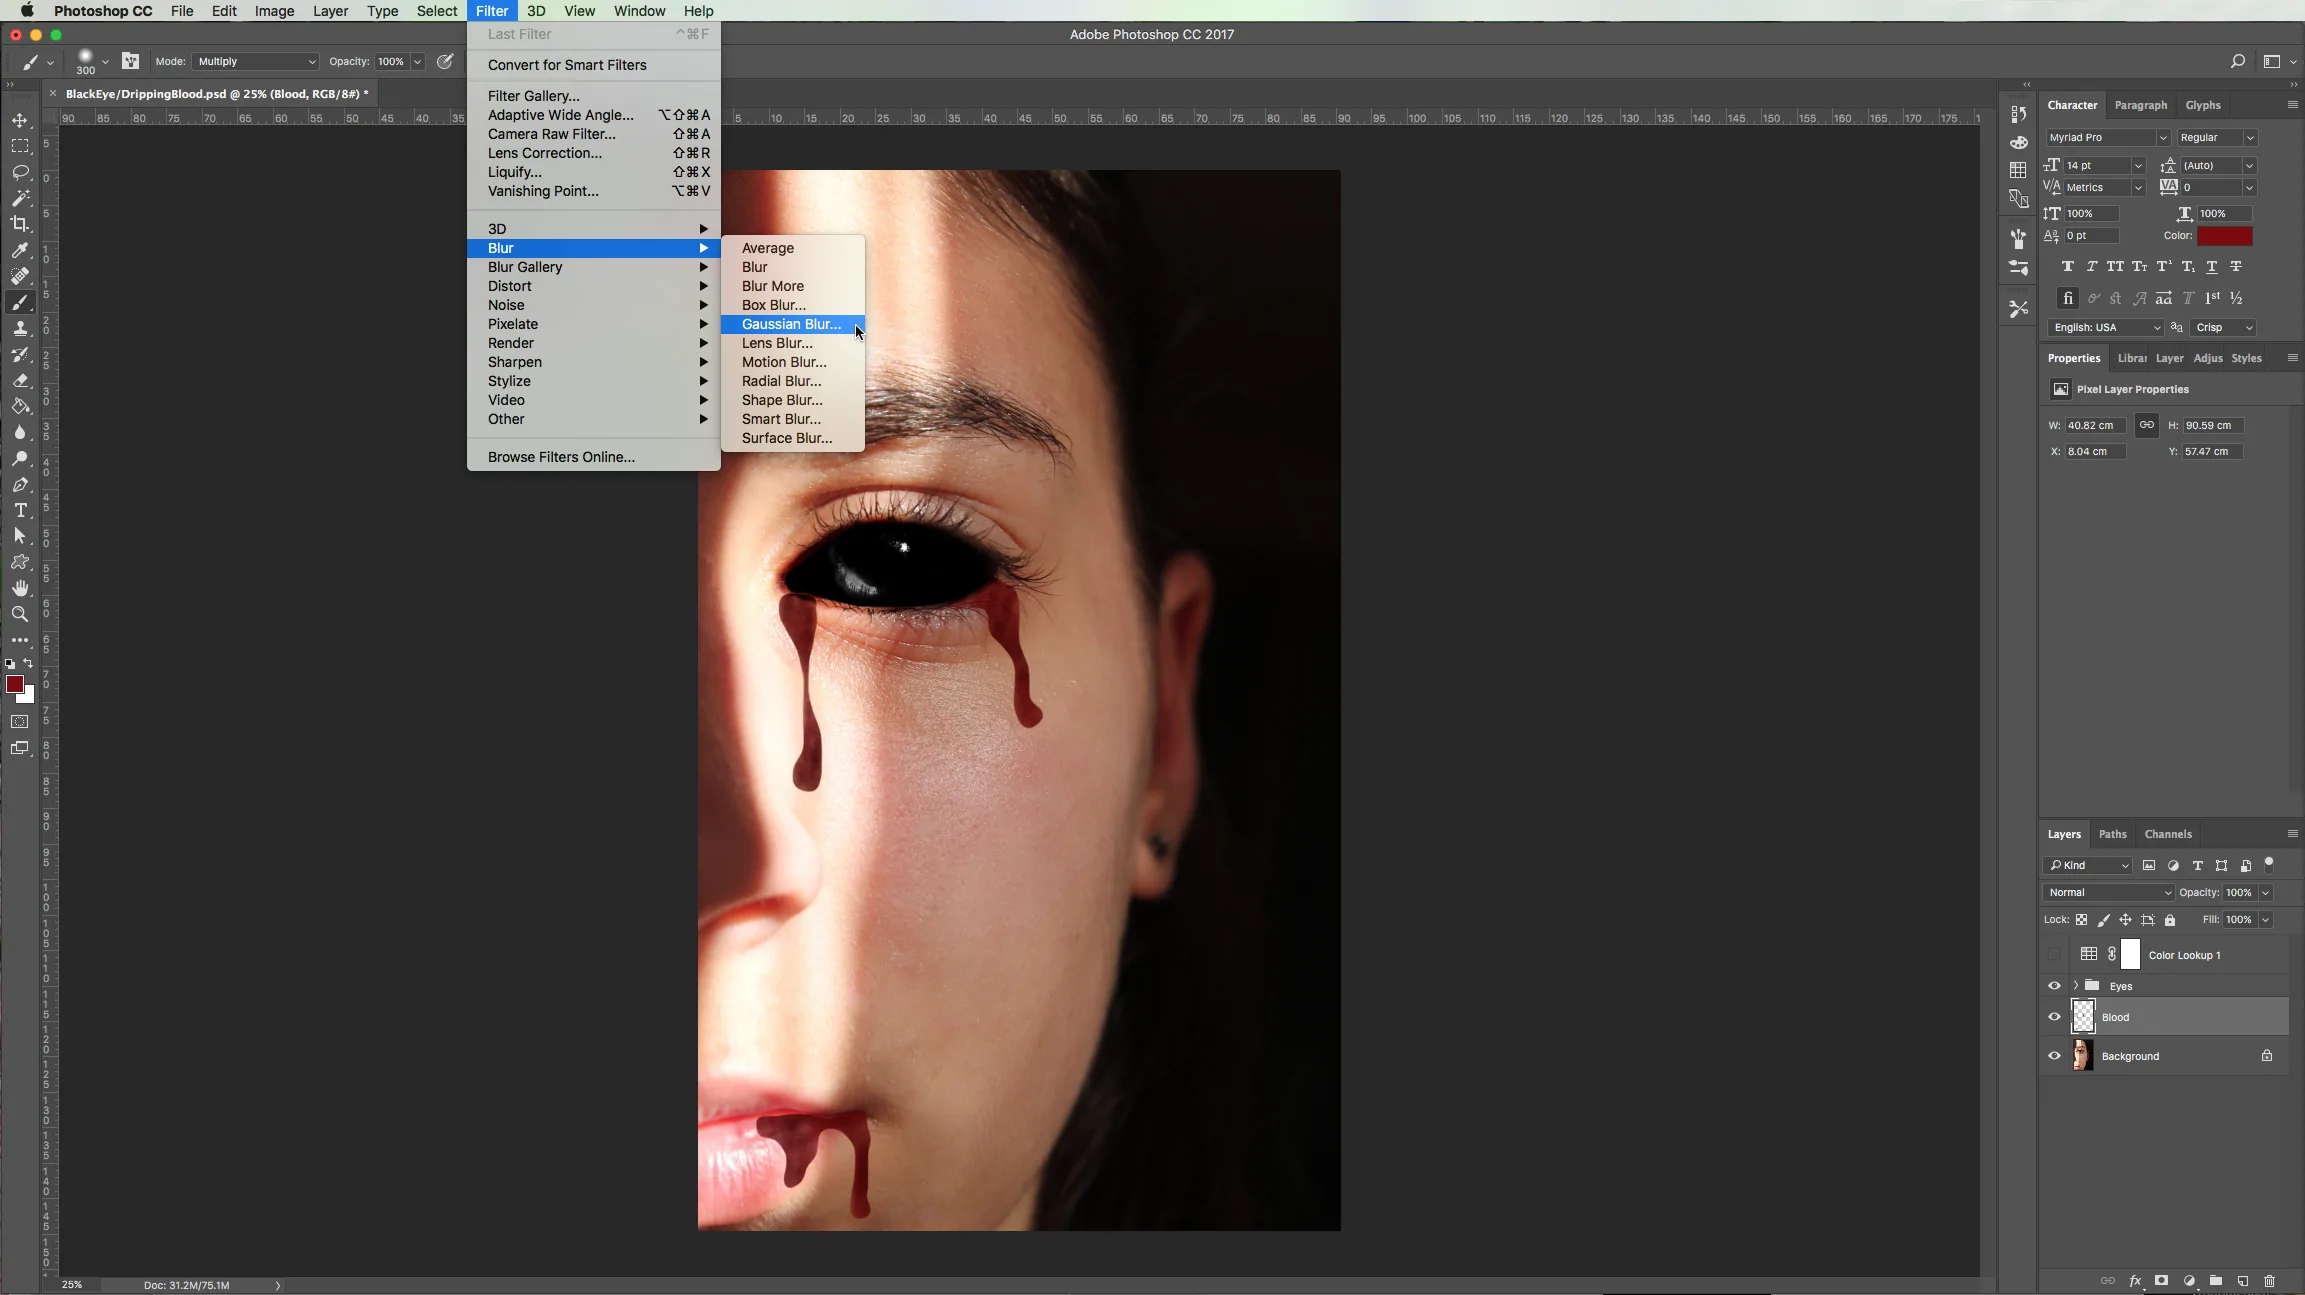
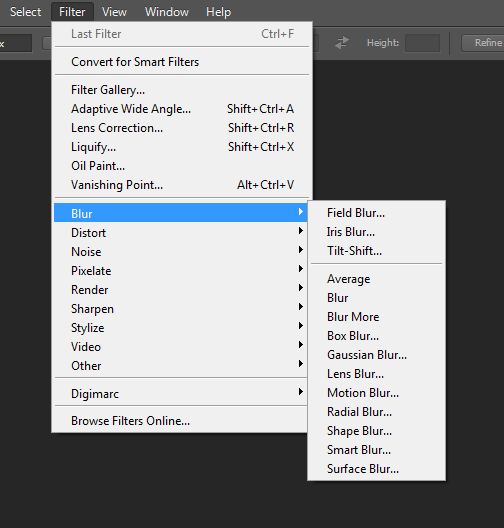
Utilize a small Gaussian Blur using a Filter, then Blur and Gaussian Blur on a few regions to create depth, making a few details of the blood sharper and others more conformed.
If fundamental, include more layers for variations, and after that, change the opacity, colour balance, or blending mode to attain a natural effect.
Step 5: Adjusting The Blending Mode
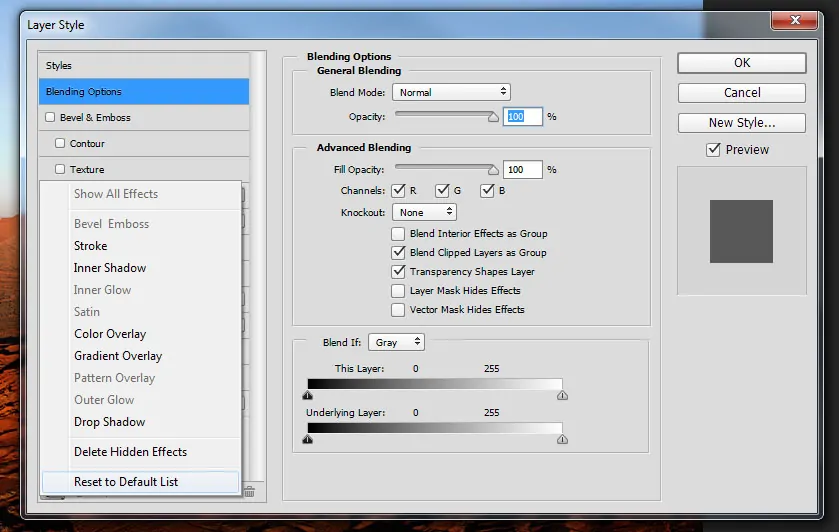
Play with diverse blending modes, including Multiply, Overlay, or Darken, to let the blood interact naturally with the surface underneath it.
Since real blood isn’t always completely opaque, you may need to decrease the opacity marginally between 75 and 90 if you need the effect to conform better with skin, clothing, or objects.
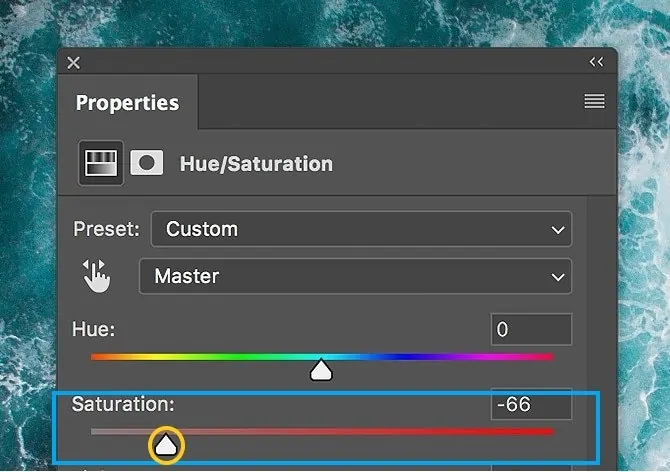
Moreover, blood does not always look bright red. So you need to make it in deep red with a slight shine in the event that it is fresh. In case it is dried, alter the Hue/Saturation to make it darker and better brownish.
Utilize a delicate black brush at low opacity to include shadows beneath the blood for depth. To add highlights, utilize a small white brush to make wet or gleaming reflections.
Utilize the Smudge Apparatus to marginally mollify unnatural edges, and apply a little Gaussian blur to any zones that see as well sharp.
Use the zoom out and observe if the blood looks natural inside the scene. It is vital to erase or lighten certain details to make the effect more credible.
Step 6: Applying Shadows And Highlights
To provide the blood with a more 3D and realistic impression, you would like to add shadows and highlights.
Include a new layer underneath the blood layer and title it as Blood Shadow. Specify the blending mode to Multiply and utilize a delicate black brush to paint nuanced shadows underneath the blood.
Utilize the Gaussian Blur tool following Filter, then Blur and Gaussian Blur to relax the shadow boundaries. Generally, blood stays close to the skin or object, so keep shadows light and not excessively spread out.
Include another new layer over the blood layer and title it as Blood Highlights. Place the blending mode to Overlay or Soft Light.
Utilize a small, delicate white brush at low opacity to include highlights where light would naturally strike the blood, making it seem wet and fresh. Concentrate on the edges of thick drips or pooled ranges.
On the off chance that the shadows or highlights look overly solid, decrease their opacity or utilize the eraser tool at a low opacity setting to regulate them.
Glance at your photo’s general lighting and be sure that the blood’s shadows and highlights correspond.
Step 7: Polishing The Image
After the blood effect is applied, blended excellently, and shaded, the final phase is about polishing the details to get a polished, realistic appearance.
Make sure to make a few parts of the blood sharp, whereas others are negligibly blurred. Utilize the Blur Tool or Gaussian Blur using Filter, then Blur and Gaussian Blur on chosen zones to add depth.
If you find that the blood seems overly bright or faked, proceed to Image click Adjustments, then Hue/Saturation and marginally decrease the saturation. You can, moreover, change the Brightness/Contrast to conform to the lighting within the scene.
As a matter of fact, blood rarely shows up in immaculate patterns. Utilize a delicate eraser at low opacity to expel unnatural edges or excessively thick zones, making the splatters look more natural.
If you discover that the blood needs a more energetic appearance, utilize the Smudge Tool or a low-opacity brush to delicately drag regions of the blood, recreating movement or contact.
Utilize the zoom out and confirm that the blood is integrating naturally into the scene. Alter highlights, shadows, or opacity as required.
After you are satisfied, preserve your work in PSD form for future alters and export a high-resolution PNG or JPEG for final utilization.
Conclusion
To sum up, blood has always been shown in art, from hunts by cavemen to altarpieces and conflict scenes in the Middle Ages to contemporary photography and movies. Blood can stand for both life and death, the holy and the profane, martyrdom and violence, purity and impurity, all at once. However, its significance can also change based on who is viewing and whose blood it is. Similarly, the addition of the blood theme into works and modern images recreates a dramatic atmosphere and intensifies the visual story, thus evoking the viewer’s perception drastically.
