How Can You Invert An Image
Inverting an image reverses the colours of each pixel within the image, presenting a peculiar sight that is more than conventional image modifications. The process alters the colour composition of each pixel throughout the whole image, causing an inversion effect in which the relationships between bright and dark areas are reversed. It is important to note that this technique does not relocate colours around in space; rather, it changes particular colour pixel values to get a visually unique result. This transformational process introduces a refreshing and exciting turn, in which formerly darker sections of the picture become lighter equivalents, and initially, lighter areas become darker. It’s like looking at the image through a mirror, with the colours inverted about their original spots. That reveals hidden features, produces aesthetically appealing compositions, and inspires new artistic interpretations. Image editors can use the inversion effect to break out from typical representations and usher in an atmosphere of freshness, grabbing the viewer’s attention and inspiring them to investigate the image from an unusual perspective.
Step 1: Open Adobe Photoshop:
Begin by launching Adobe Photoshop on your computer. You can download and install it from Adobe’s official website if you don’t have it installed. Once the software is up and running, you’ll be ready to begin working on your image inversion project.
Adobe Photoshop is a powerful and widely used image editing software that provides a plethora of tools and features for various creative tasks. Photoshop’s intuitive interface and comprehensive capabilities make it a preferred choice whether you’re a professional designer or hobbyist. By opening the software as your first step, you produce a digital workspace where you can import, manipulate, and enhance your images. This initial action sets the stage for the subsequent steps, allowing you to delve into the process of inverting your chosen image with precision and creative freedom.
Step 2: Import Your Image:
After launching Adobe Photoshop, navigate to the top menu and click on “File.” From the dropdown menu, select “Open.” This action will open a file dialog box, allowing you to browse your computer’s directories and select the image you intend to invert.
When choosing the image, ensure it’s in a format compatible with Photoshop, such as JPEG, PNG, or TIFF. Once you’ve located your image, click on it and then click the “Open” button. Your selected image will now appear within the Photoshop workspace, ready for further manipulation.
Importing the image marks a crucial step in the image inversion process. It grants you access to the canvas on which you’ll execute the inversion and visually represents the starting point. From here, you can duplicate the image layer to preserve the original, set the foundation for the inversion adjustments, and ultimately craft the visually unique result you seek. This step sets the stage for your creative journey within Adobe Photoshop’s dynamic environment.
Step 3: Duplicate the Layer:
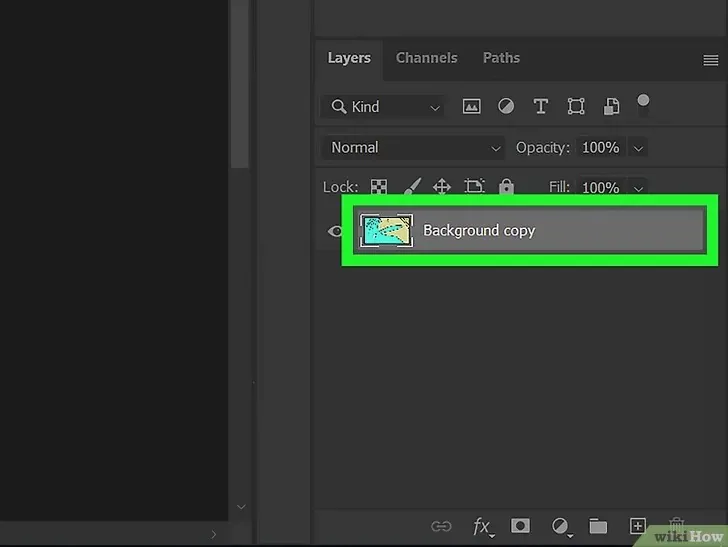
With your chosen image now open in Adobe Photoshop, direct your attention to the Layers panel, usually located on the right-hand side of the interface. You’ll notice a list of layers in this panel, with your imported image as the background layer. Right-click on this background layer and select “Duplicate Layer” from the context menu that appears.
You make a copy of the original image layer by duplicating the layer. This step is crucial because it safeguards your original image from any direct alterations during the inversion process. The duplicated layer serves as a working canvas on which you’ll apply the inversion adjustments while your original image remains untouched.
The duplicated layer enables you to experiment and make changes without fear of losing your starting point. This practice of working non-destructively is a fundamental principle in image editing, ensuring you can always revert to the original image if needed. With this duplicated layer in place, you’re now poised to implement the inversion effect on a separate canvas, allowing you to explore creative possibilities while maintaining the integrity of your original image.
Step 4: Apply the Inversion:
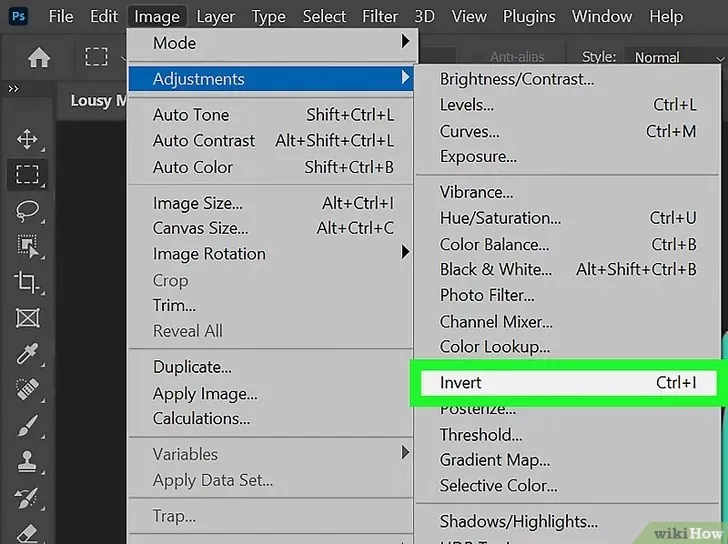
With the duplicated layer selected and ready in the Layers panel, proceed to the “Image” menu at the top of the Photoshop interface. From the dropdown menu, navigate to the “Adjustments” option and click “Invert.” Instead, you can use the keyboard shortcut Ctrl + I (Command + I on Mac) for a swift inversion.
Applying the inversion effect is a pivotal moment in the image editing process. This step triggers the transformation you’ve been working towards, reversing the colours of each pixel within the duplicated layer. Dark areas become light, and light areas turn dark, resulting in a visually contrasting interpretation of your image. This creative shift can unveil new details, evoke different emotions, and provide a fresh perspective on your original subject.
As you execute this step, watch the preview of the inverted image. Adobe Photoshop offers real-time updates, allowing you to gauge the changes as they occur. You can further fine-tune the outcome by adjusting various parameters, such as contrast or brightness. With the inversion effect applied, your duplicated layer now embodies the unique visual result, setting the stage for further refinements and enhancements in subsequent steps.
Step 5: Preview the Inverted Image:
Once you’ve successfully applied the inversion effect to your duplicated layer, take a moment to assess the changes visually. The Photoshop workspace immediately previews the transformed image, allowing you to observe the colours and tonal shifts in real-time.
Previewing the inverted image is a crucial checkpoint in your editing journey. It enables you to evaluate the impact of the inversion effect and determine if it aligns with your creative vision. Pay attention to how the colours have reversed and the emerging visual dynamic. This step helps you identify any unexpected or visually striking elements that the inversion might have introduced.
Consider whether the inverted image aligns with your desired outcome during the preview. If you’re content with the result, you can proceed to further refinements or save the image. However, if you find that adjustments are needed, you can confidently return to the previous steps for fine-tuning.
By taking the time to preview the inverted image, you actively engage with your creative process and make informed judgements on the path of your project. This iterative approach ensures that your end result reflects your artistic intent while fostering a deeper connection to the image editing process itself.
Step 6: Adjust if Needed:
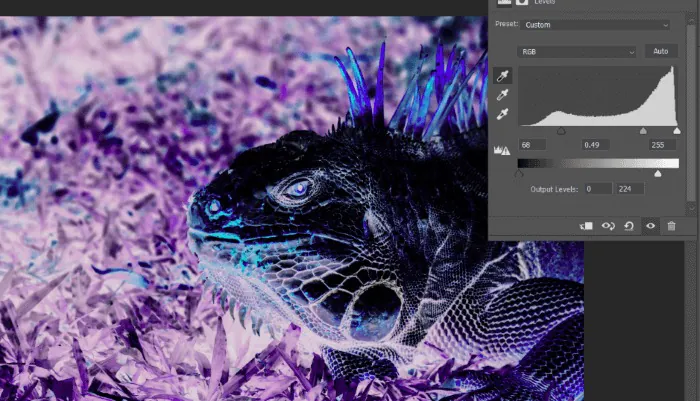
After previewing the inverted image, certain aspects need fine-tuning to achieve your desired outcome. Adobe Photoshop offers a range of adjustment tools to help you refine the inverted image’s appearance.
Consider utilizing adjustment layers such as “Levels” or “Curves” to further enhance the contrast and tonal balance. These tools allow you to control the distribution of dark and light tones, ensuring that the image maintains its visual impact while aligning with your creative vision.
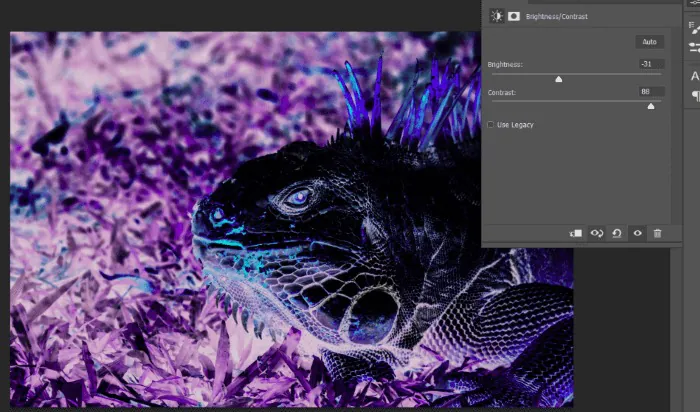
Additionally, you can explore other adjustment options like “Brightness/Contrast” or “Hue/Saturation” to fine-tune specific colour attributes. The goal is to achieve a harmonious and visually captivating result that aligns with your editing objectives.
Adjusting and refining are key advantages of working with digital image editing software. By optimizing the inverted image’s appearance, you demonstrate a commitment to crafting a polished and impactful visual piece. This attention to detail contributes to the overall success of your image editing project and showcases your dedication to delivering high-quality content.
Step 7: Save Your Work:
With the inversion effect applied and any necessary adjustments made, saving your progress is critical to ensuring your efforts are recovered. To do this, navigate to the “File” menu at the top of the Photoshop interface.
From the dropdown menu, select “Save As.” This option allows you to save the edited image as a separate file, preventing changes from affecting the original image or your working copy. Choose a new file name for the inverted image to differentiate it from the original.
Select the desired file format for your inverted image. Common formats include JPEG for photographs and PNG for images with transparency. Choose the format best suits your intended use, ensuring the image’s quality is maintained.
Once you’ve selected the format and provided a new name, click the “Save” button. Your inverted image is now securely stored as a distinct file, leaving your original image untouched for future reference or further edits. Saving your work is a critical step in the image editing process, ensuring that your creative efforts are preserved and ready for sharing publishing, or any other intended purpose.
Conclusion
In essence, image inversion defies pixels; it adds spirit to our pictorial stories, intriguing and motivating in equal measure. It’s an invitation to see the unexpected, welcome the transformational, and see the force of artwork through the prism of innovation. The audience is staring through the looking glass of creation. The image transforms into a mirror of inventiveness, cloning a world where shadows obtain light and light takes on enigmatic colours. The inverted images laud discovering hidden components, forming compelling compositions, and the birth of fresh interpretations that bring pixels to life.
