How To Apply A Low Pass Filter To An Image
The low pass filter is commonly used by camera manufacturers to blur what actually reaches the sensor, thereby removing moiré or pattern or texture overlapping. This filter blurs the image slightly to fix the issue of moiré, yet excessive details are often lost in the process. While higher-resolution or smaller-sensor cameras occasionally lack a low pass filter to optimize detail, the majority of cameras made for daily photography have one to prevent moiré. Moreover, advanced image manipulation techniques and tools can also be used to edit photographs that have sharp edges, noise, and moiré. A low pass filter can also sometimes be used to blur or suppress the background elements to bring more focus to the main subject or foregrounded details. In that way, the less critical areas can be deemphasized to highlight the critical areas more, adding an artistic, dreamy blur to the photographs. The following steps of this blog will present the essential tools and techniques to add a low pass filter to images to get optimal results.
Step 1: Prepare The Base Image
Initiate the software you are utilizing, like Photoshop or GIMP. Double-click the program icon to load it up.
Head to the File menu and press Open, or utilize the shortcut Ctrl + O in Windows or Cmd + O in Mac.
Go through your file explorer and find the image you need to alter.
After locating press on the chosen image to highlight it, then tap Open. The photograph will now show up on your screen within the software workspace.
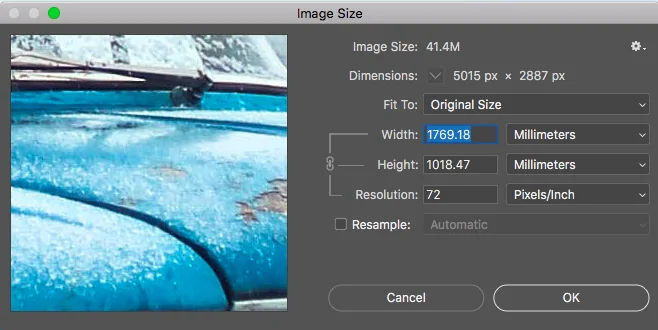
Review the image resolution to see if it fulfils your project necessities. For most instances, a resolution of 72 DPI is fit for the web and 300 DPI is perfect for print. To confirm the resolution, head to the Photo menu and click on Image Size.
Before you apply any filter, quickly go to File > Save As and create a copy of the initial image. It will ensure you’ve got a backup version in case you would like to revert.
In case you need to keep the initial intact, unlock or duplicate the image layer, so you can work on a duplicate. If using Photoshop, you’ll make a new layer by dragging the picture to the New Layer icon at the foot of the layers zone.
Step 2: Turn To Grayscale

If your photo contains multiple colours, convert it to grayscale, particularly when you are applying a low pass filter to minimize textures or noise. The strategy focuses the filter on the intensity or brightness instead of individual colour channels, facilitating the editing process.
Make sure that the image is in RGB or CMYK format. Grayscale conversion works best with standard image formats. In case fundamental, convert your photo format utilizing the software’s tools.
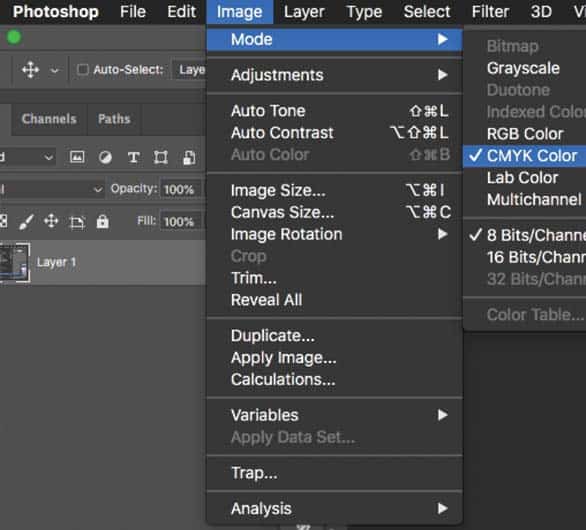
To change the image to grayscale in Photoshop, open the picture and head to Image > Mode > Grayscale.
When prompted, prefer not to discard colour information or flatten the picture.
On the other hand, if utilizing GIMP, with the image open, go to Image > Mode > Grayscale.
Once done with the conversion, confirm that only grayscale values remain. Utilize the Zoom function to affirm smooth transitions in light and dark ranges.
Continuously save your grayscale version beneath a new name so you can return to the colour version as required.
Step 3: Specify The Filter Type
Depending on the objective of your editing, choose a suitable type of low pass filter. Typical choices incorporate Gaussian Blur, Box Blur, and Bilateral Filter, each presenting a different look from the other.
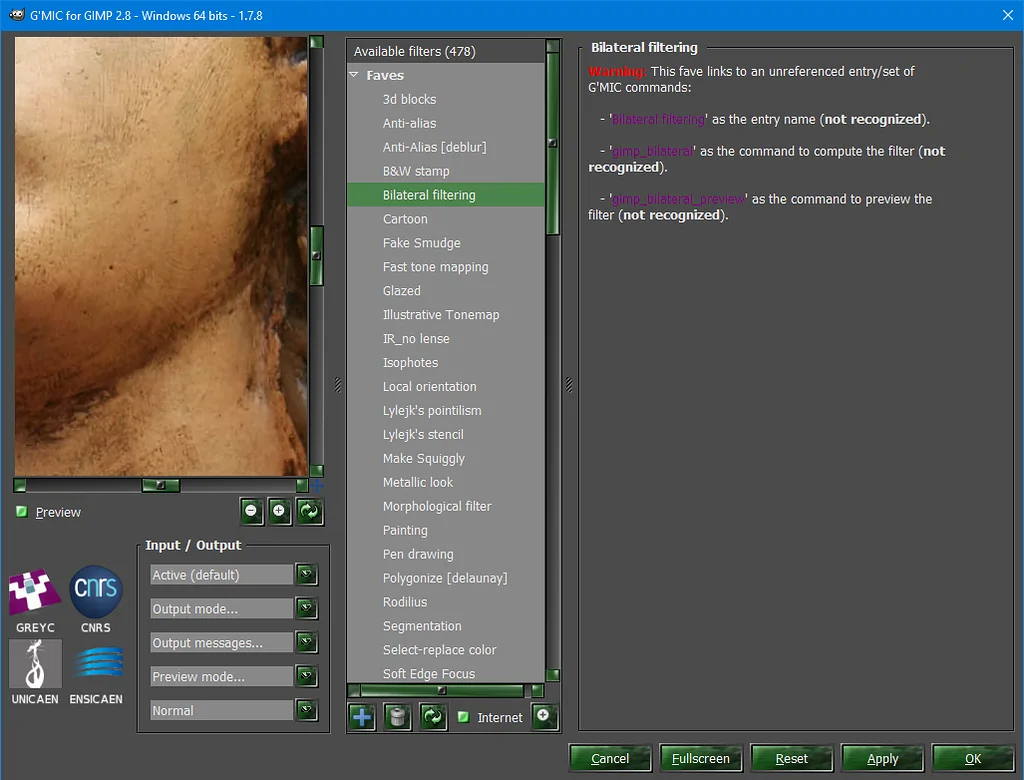
For instance, the Gaussian Blur is perfect for smooth, even blurring with negligible distortion. Box Blur is simpler but more uniform, giving a less natural look. The Bilateral Filter is best for noise reduction while protecting edges.
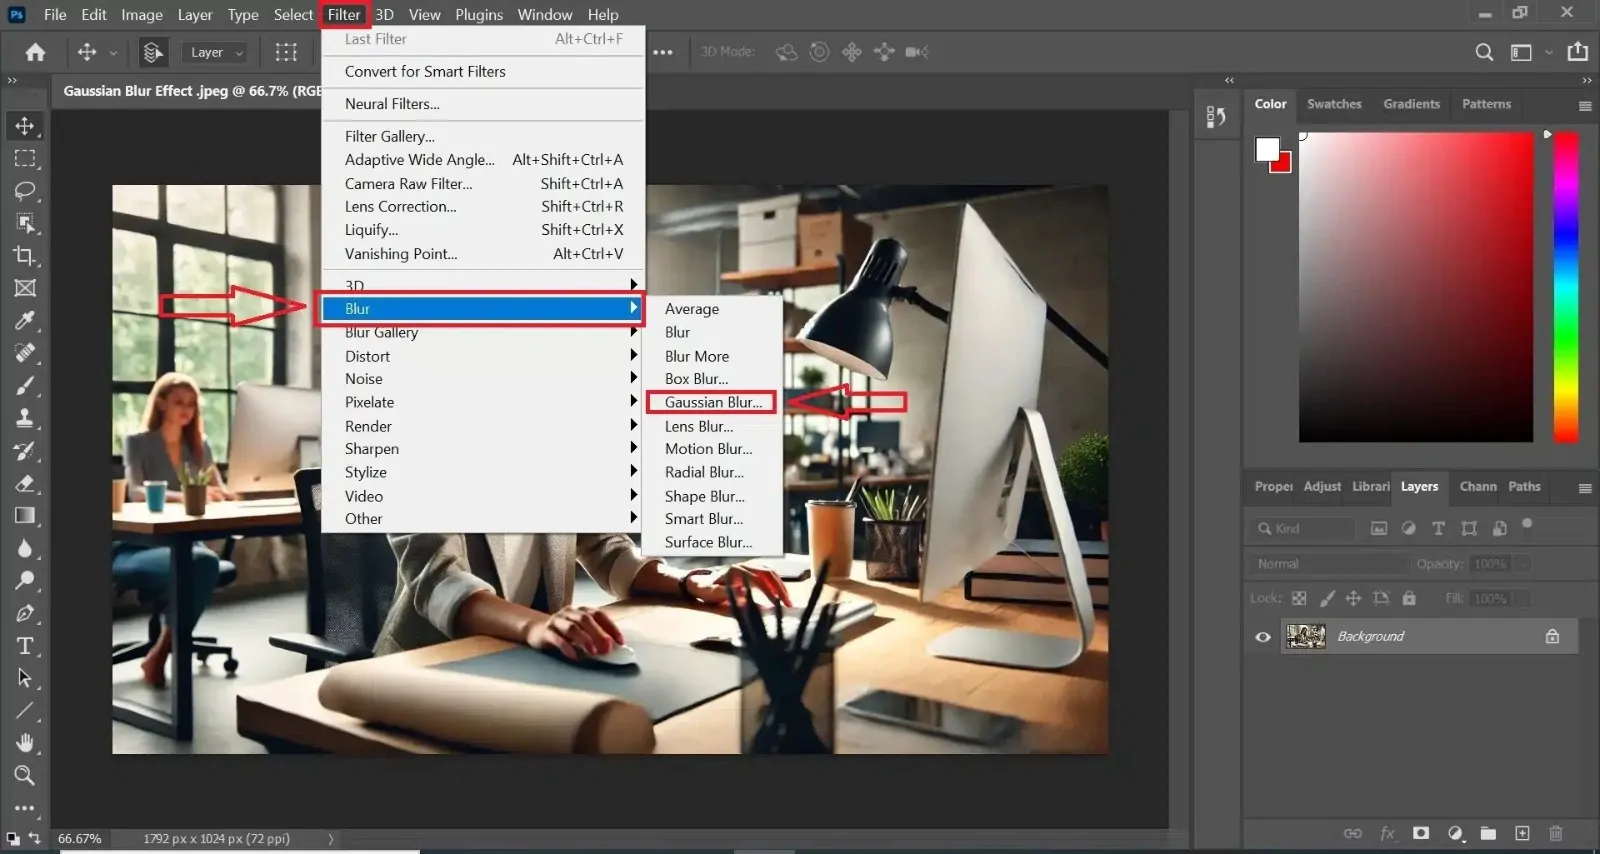
To get to the Filter Menu if utilizing Photoshop, head to the Filter menu at the top and click on Blur, where you will see choices including Gaussian Blur.
Likewise in GIMP, access the Filters menu and select Blur, and pick the required filter.
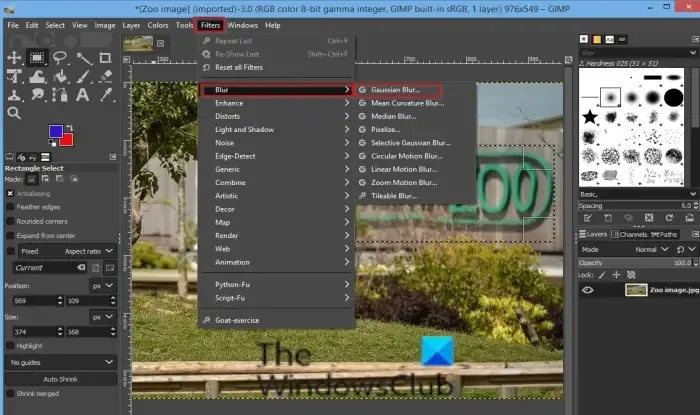
Large-sized photographs may need a more vigorous filter, while smaller pictures may benefit from subtler effects.
Before you apply, see the preview of the filter’s effect. Most photo editors permit you to alter the blur radius in real-time, so you can tune it before finalizing the choice.
In case you need to soften the photograph for aesthetic purposes Gaussian Blur is generally used, similarly, for elaborate noise reduction go for the Bilateral filter.
Step 4: Set The Filter Specifics
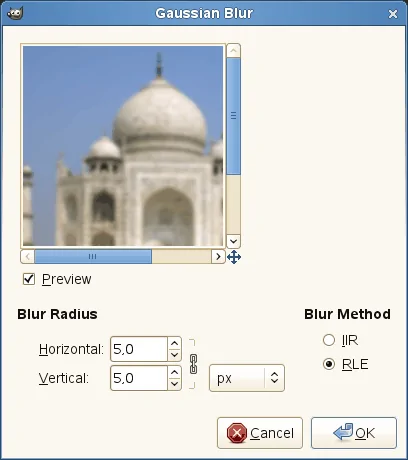
Alter filter radius or strength utilizing parameters like Radius or Strength to handle the intensity of the blur.
In Gaussian Blur, the Radius decides how distant the blurring effect lies. A higher radius makes a more potent blur.
In the case of Box Blur, the filter’s Radius also determines the range of smoothing. You can increase it for more visible blur.
In the Bilateral Filter, parameters include Sigma for spatial distance and Sigma for colour handle edge preservation and noise removal.
Begin with lower values so as not to excessively blur the photo. Slowly increase the values till you get the required effect.
Most applications offer you a preview feature to see the effect in real-time. Do adjustments as required slightly higher settings might progress smoothness, while lower values can preserve picture sharpness.
For intense noise reduction, prefer higher values. For nuanced texture smoothing, utilize lower ones.
After being fulfilled with the settings, tap Ok in Photoshop or Apply in GIMP to tie up the filter application.
Step 5: Apply The Chosen Filter
After finalizing the filter alterations made in Step 4 you have to hold up for the software to schedule the effect. That may take time, depending on the photograph’s size and the complexity of the filter.
Review the whole image after application, emphasising fine details and essential areas like edges or surfaces.
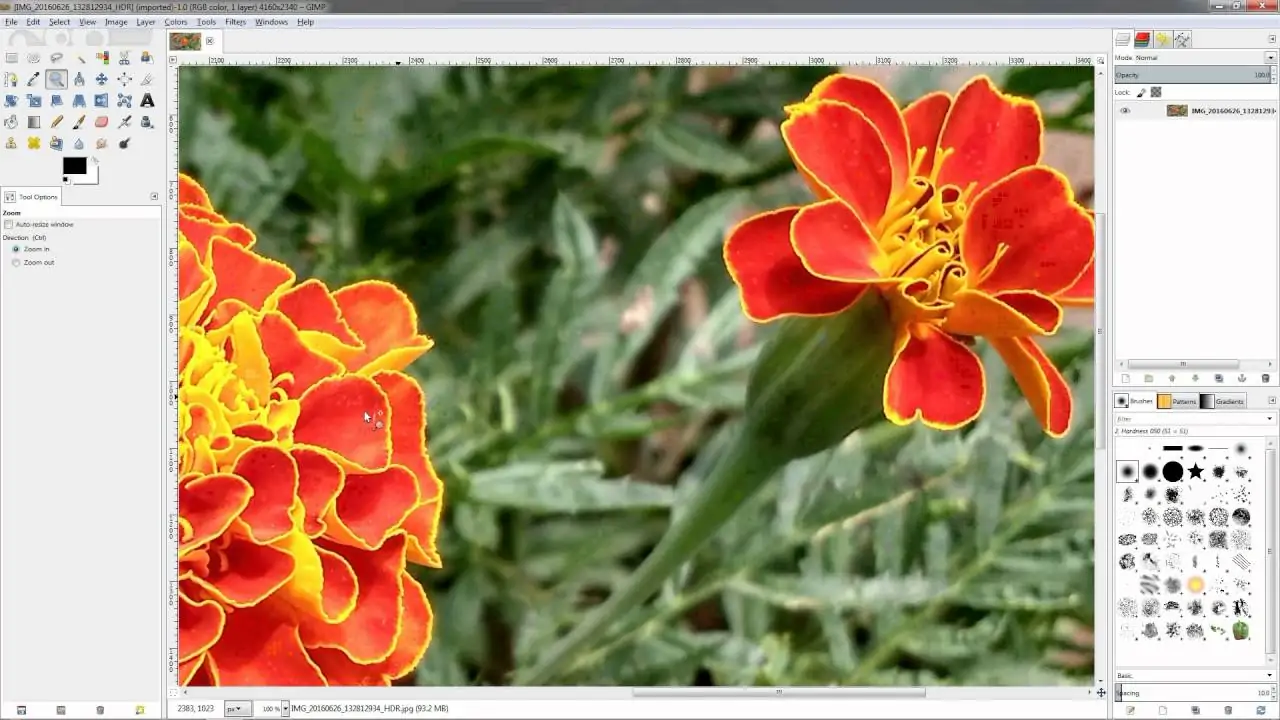
Use the Zoom in and out options to assess the effect comprehensively and make sure it conforms with your coveted result.
If the outcomes are unsuitable, tap Ctrl + Z to undo the changes and return to Step 4 to revamp the filter parameters.
Recite this process until the effect is accommodated and looks immaculate in the photograph.
Save your progress by making a backup record or creating a duplicate of the layer to protect your alters non-destructively.
Step 6: Polish The Filter
Spread the original photograph side by side with the filtered adaptation to compare developments instantly.
Utilize toggling or transparency alterations in layers to specify ranges where the effect might require refinement.
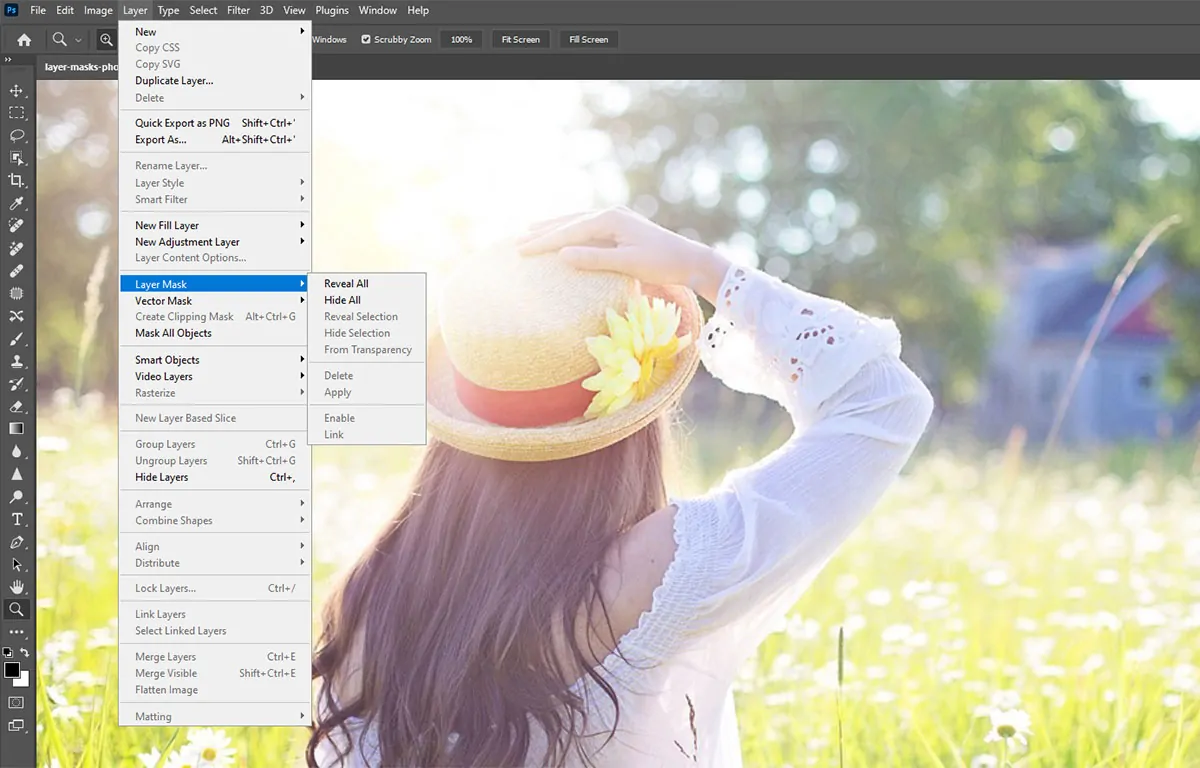
If accessible, employ a layer mask to fine-tune the filtered effect, permitting you to remove or soften the filter from particular regions, like text or focal zones.
For excessively softened edges, apply particular sharpening to restore clarity without influencing the whole photograph.
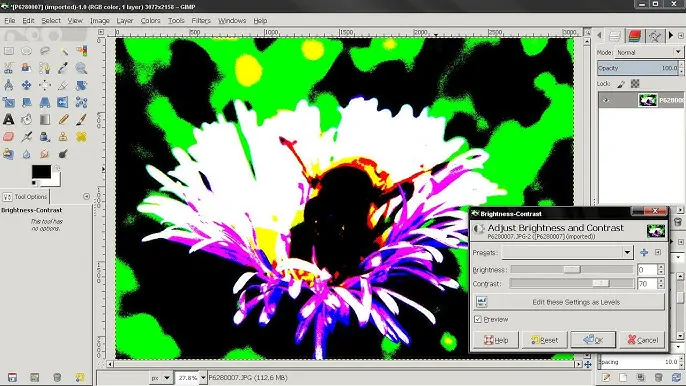
Enrich the composition using minor adjustments, like expanding contrast or brightness, to polish the ultimate impression.
Inspect and iterate as essential, ensuring no fundamental subtle elements are lost or over-modified.
Affirm adjustments and prepare the ultimate output to save and export.
Step 7: Save And Export
Save the filtered photograph within your software’s native format like PSD or XCF to protect layers and keep editing choices accessible.
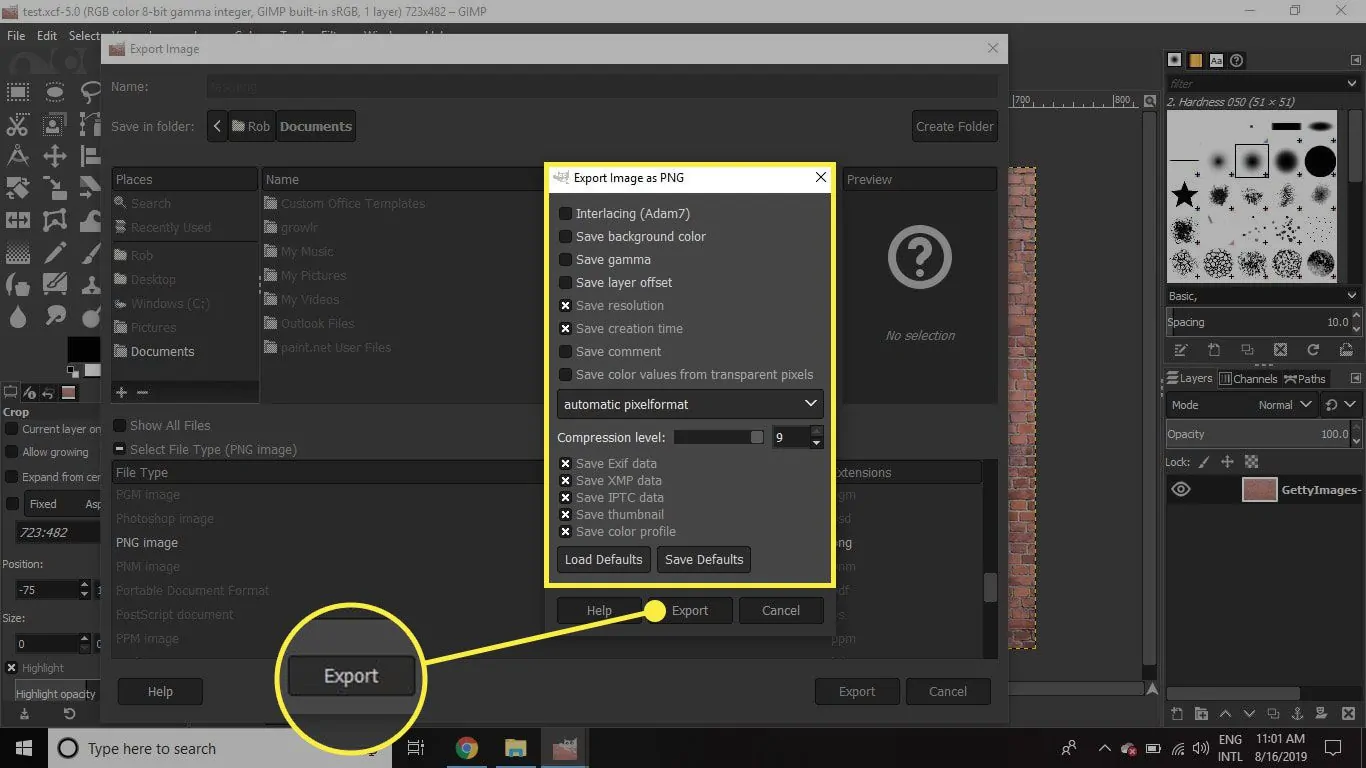
After that export the finalized form in a usable format like PNG for quality or JPEG for compressed utilization.
Alter export settings like 300 DPI for print or 72 for web and tweak colour profiles to options like sRGB for web compatibility.
Manage your workflow by saving the exported file with a clear title in an assigned folder for simple retrieval.
Create a backup of both the project and exported files to an external drive or cloud storage to confirm safety and availability for future usage.
Conclusion
In summary, a low pass filter is a useful tool for image enhancement and to enrich the visual details. The over-sharpened edges, noise, and pattern overlap, or moire are common issues in digital photography. Consequently, advanced camera filters as well as image enhancement techniques can overcome such issues. Although the use of a low pass has little effect on your photo’s sharpness, you shouldn’t be troubled as there are further tools that can assist you in restoring optimal sharpness in critical areas. Overall, you can avoid over-sharpened and distracting elements in your images, which frequently occur because of sensor issues, patterned objects in a scene, and aliasing.
