How To Create A Pastel Color Effect
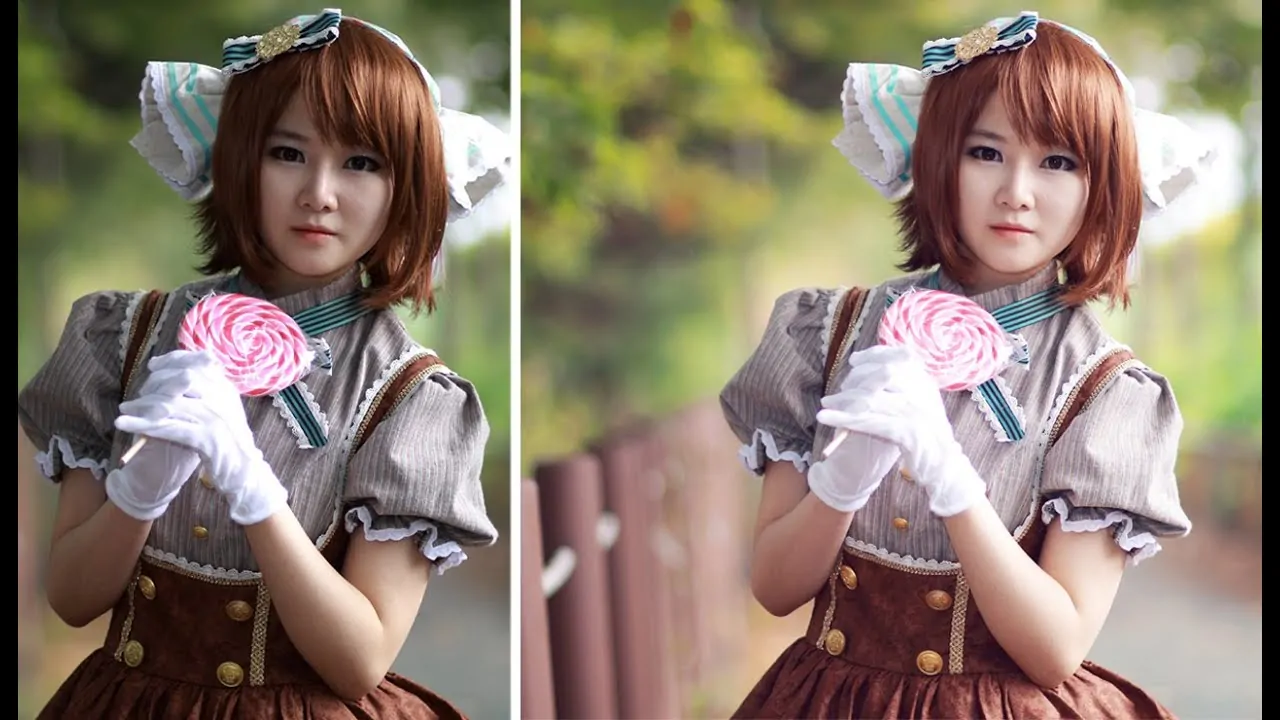
Though Patel hues have certain historical associations, they have now become a crucial component of contemporary artwork due to the growth of the minimalist ideology. Pastel colors provide a softer appearance that is easy on the eyes since they are less saturated than other colors. The use of pastel tones can allow viewers to experience calm, serene feelings and be at ease. Pastel colors’ gentleness can also evoke cherishing thoughts, particularly when combined with other emotional themes. Furthermore, these colors are upbeat, joyous, and life-affirming, and can give your photos and graphic designs a vibrant, refreshing atmosphere. In the field of image manipulation, advanced software options like Photoshop, Lightroom, Krita, and GIMP offer a variety of features to manipulate the existing brightness, saturation, contrast, and color balance of images. As a result, the final composition looks like a tranquil piece that presents a pleasant, dreamy climate, giving the main subject an otherworldly impression. Yet, creating a pastel color effect in your images is not only about muting colors and decreasing contrasts; it mandates some special techniques and a careful selection of tools. This blog will present a step-by-step process to help you create a charming and flawless pastel color effect.
Step 1: Preparing The Photograph
Initiate your editing program and import the image you need to transform. It will ensure that you are working with the initial file and can make adjustments without changing the source material.
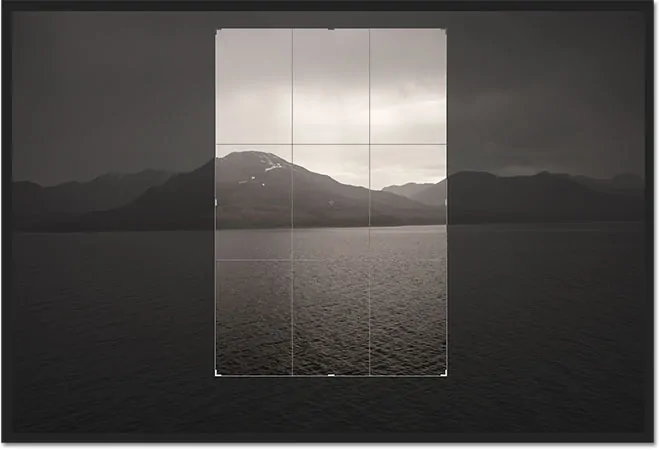
Modify the composition by cropping the photograph to focus on the primary subject or components you need to emphasize. Appropriate structure guarantees that the picture looks harmonious and engaging.
Make sure that the image resolution is high enough for the required yield, whether it’s for print or digital usage. Low resolution can cause pixelation once you add effects, so begin with a high-quality shot.
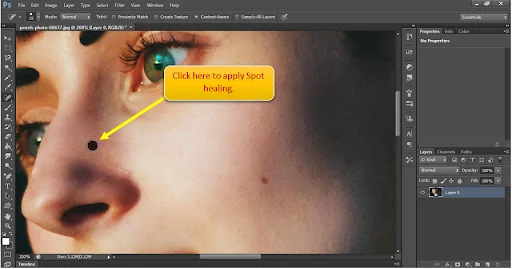
Utilize tools like the healing brush or clone stamp to dispense with diverting elements or imperfections from the image. It will prepare the picture for a more pristine and more polished appearance.
Before you apply any alters, duplicate the initial image layer. It will permit you to create non-destructive modifications, protecting the initial for future alterations.
Step 2: Modifying The Exposure
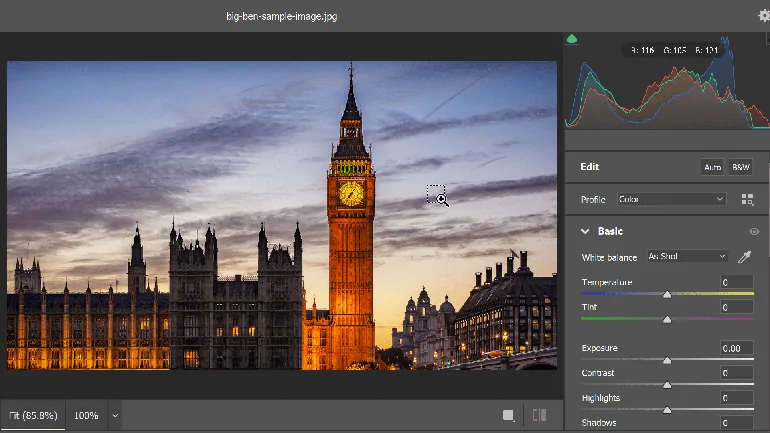
Begin by modifying the exposure to guarantee the image is adequately lighted. Advance the exposure marginally if the picture is too dark, or reduce it in case it is too optimistic. The objective is to attain a proportional light distribution.
Expand the brightness to lighten the general image. Take care not to exaggerate it, as over-the-top brightness can wash out details. A minute increase will help make the delicate, light feeling typical of pastel styles.
To preserve depth, alter the shadows and highlights. Lighten the shadows marginally to ease the picture and protect contrast, while upgrading highlights to include a delicate gleam to the brighter ranges.
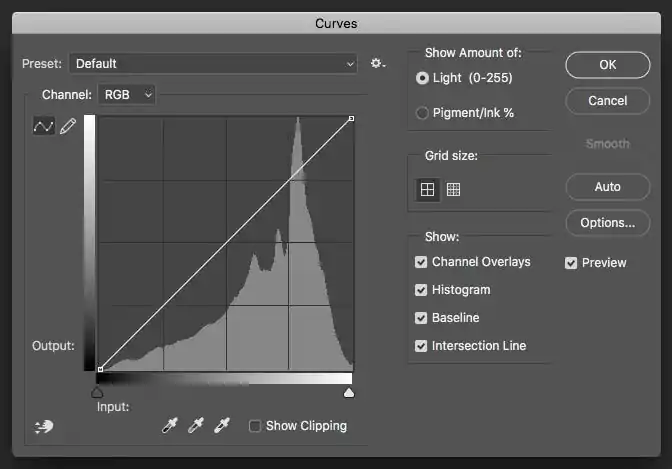
Employ tone curves to touch up brightness levels. Alter the curve to brighten midtones without compromising the darkest shadows or brightest highlights.
Once done with these adjustments, step back and survey the image. It ought to have a delicate, airy quality, with light regions standing out subtly without extreme contrasts.
Step 3: Decreasing The General Saturation

Start by decreasing the general saturation of the photograph. This step soothes vibrant colors, making a more calm and peaceful tone. Utilize the saturation slider to reduce it steadily until the image seems delicate and pastel-like.
If certain colors stay overly intense, utilize selective color alterations to diminish their saturation separately. For example, decrease the saturation of reds or blues to guarantee all hues harmonize smoothly.

As we reduce saturation, ensure that the image does not become too faint. Concentrate on keeping up a balanced impression by retaining a tinge of color, which is basic for making the soft pastel look.
Add a Hue/Saturation adjustment layer to handle the color intensity over distinctive areas. Such a non-destructive strategy permits fine-tuning the composition without forever altering the initial image.
After the saturation is decreased, take a moment to assess the photograph. The colors ought to appear delicate and pastel, without any sharp or excessively striking ranges, contributing to the overall tender, wistful feel.
Step 4: Applying Color Overlays

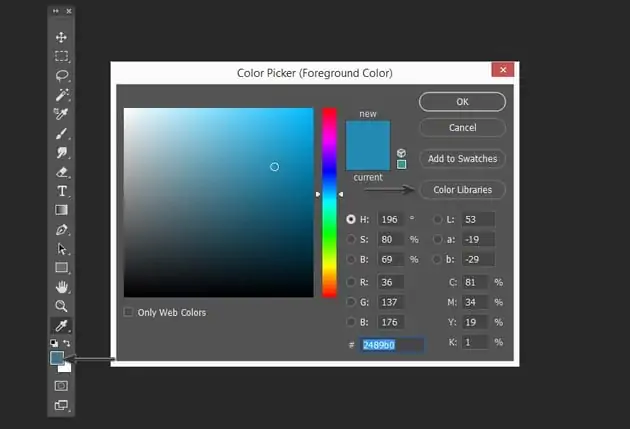
Select delicate pastel colors, like light pinks, blues, greens, or lavenders, that complement the temperament of the picture. These colors will bring forth the signature pastel effect. You can either choose a single color or a mild gradient of pastels.
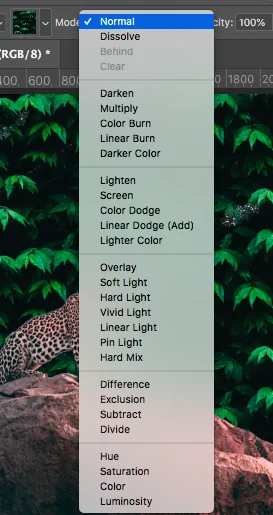
Include a new layer over the image. That layer will bear the pastel overlay and authorize for adaptability in editing. Be sure that this layer is set to a blending mode that incorporates smoothly with the basic image, like Soft Light or Overlay.
Utilize the paint bucket or gradient feature to fill the new layer along with your chosen pastel colors. The colors should cover the whole image, but do not worry if it appears too strong initially as it will be muted afterwards.
Reduce the opacity of the color overlay layer to around 20 to 40%. It will guarantee the pastel tone subtly tints the image without overwhelming the initial subtle elements.
Try different blending modes such as Color or Hue to attain the desired pastel effect. These modes blend the color more naturally with the photograph, upgrading the general tone without warping details.
Once done with the overlay application, look at the image. The colors ought to presently have a delicate pastel tint, making a pleasant and dreamy impact that adds to the rest of the adjustments.
Step 5: Using The Highlights Tool
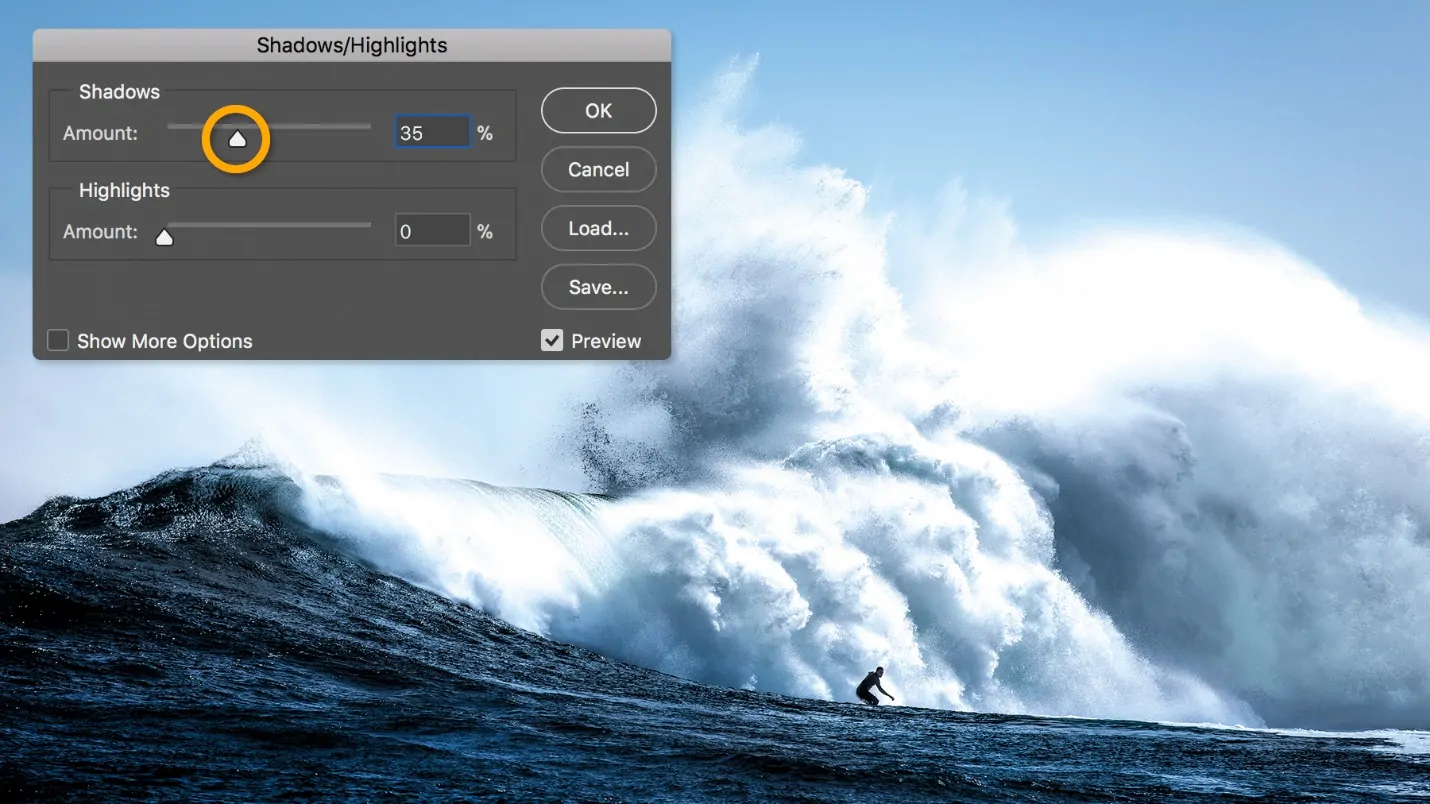
Utilize the ‘Highlights’ slider in your editing program to brighten the lighter ranges of the image. This step includes an ethereal gleam to the image, enabling the delicate, dreamy pastel effect.
A gentle light filter can help further enhance highlights while keeping up a tender tone. Add a layer of soft light or utilize a soft brush to include bright spots to ranges that can naturally capture light, like the subject’s face or the lightest spots of the background.
For a more spot-specific effect, utilize the Dodge tool set to highlights. Gently paint over ranges that you need to brighten, making sure the impact is nuanced and not too harsh.
Alter the contrast marginally to form the highlights prominent without making stark contrasts between light and dark zones. A poised contrast will keep up the delicate pastel look while still offering the image depth.
After upgrading the highlights, you need to examine the image. Now the highlights should be brighter and have a gleaming, smooth final look. Confirm that the light ranges blend consistently with the rest of the image, upgrading the pastel impact without making any bizarre-looking brightness.
Step 6: Boosting The Pastel Tints
Begin by revising the individual Red, Green, and Blue (RGB) channels. Nuanced alterations to these can help polish the pastel tints in your image. For instance, you can barely expand the blue channel for calmer tones or alter the red for warmer pastel tints.
Utilize the Hue/Saturation tool to drive the overall hue of the picture toward pastel-friendly shades. Drag the sliders to shift the colors toward milder shades including light pink, mint green, or lavender. That will help guarantee the image leans into the pastel range without modifying the overall aesthetic.
To attain a balanced pastel look, adjust warm tones such as yellows and oranges with cool tones including blues and greens. Set the temperature of the photo utilizing the color balance or temperature sliders to prevent any excessive warmth or coolness.
If certain colors within the image are still overly intense, utilize the selective color adjustment option. Aim at specific colors like reds or yellows and decrease their saturation or vary their hue to guarantee they integrate with the pastel palette.
Look at the transitions between colors to get smooth blending. Pastel colors ought to flow naturally into one another without sharp contrasts. Utilize gradient tools or feathered selections to ease these moves and keep up a consistent effect.
Once done with making adjustments, audit the image as a whole. The pastel colors should presently appear well-balanced, with no single color overwhelming the others. The image should have a delicate, harmonious tone that inspires a mild, dreamlike climate.
Step 7: Performing Final Touches
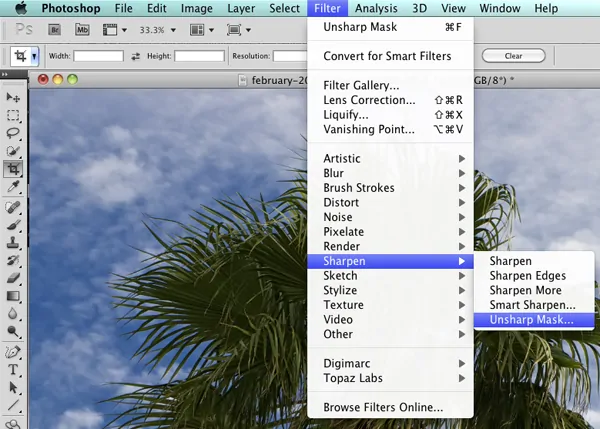
Employ subtle sharpening to emphasize fine details without affecting the soft pastel effect. Utilize a high pass filter or a subtle unsharp mask to sharpen critical ranges, including edges or textures, while keeping the widespread softness unharmed.
If your image is a portrait style, utilize a skin-smoothing tool or frequency separation method to preserve smooth surfaces without failing realism. It will help in holding the mild impression of pastel tones.
Audit the image’s composition and guarantee the adjustments keep up a balance. Do any essential final changes to brightness, saturation, or contrast to improve the ultimate look.
After you are satisfied with the results, you can move to the export phase. Choose a suitable format like JPEG or PNG and proper resolution. Make sure that you are saving a high-quality adaptation for printing or sharing on digital platforms.
Conclusion
In summary, the soft pastel color effect is enormously used by photographers, artists, and designers to add a dreamy and ethereal quality to their photos. It is considered one of the finest choices for making images look elegant, romantic, and sophisticated. When it comes to creating your artwork or enhancing your images, the editing approaches, like a pastel color effect, are best to employ to transform your photographs’ climate. Nevertheless, whatever you create or whichever editing approach is employed, never hesitate to experiment with your individual artistic views and try adding innovations. Since today’s viewers also seek innovations, you can try to combine pastel colors with brighter ones, and you might rewrite art history.
