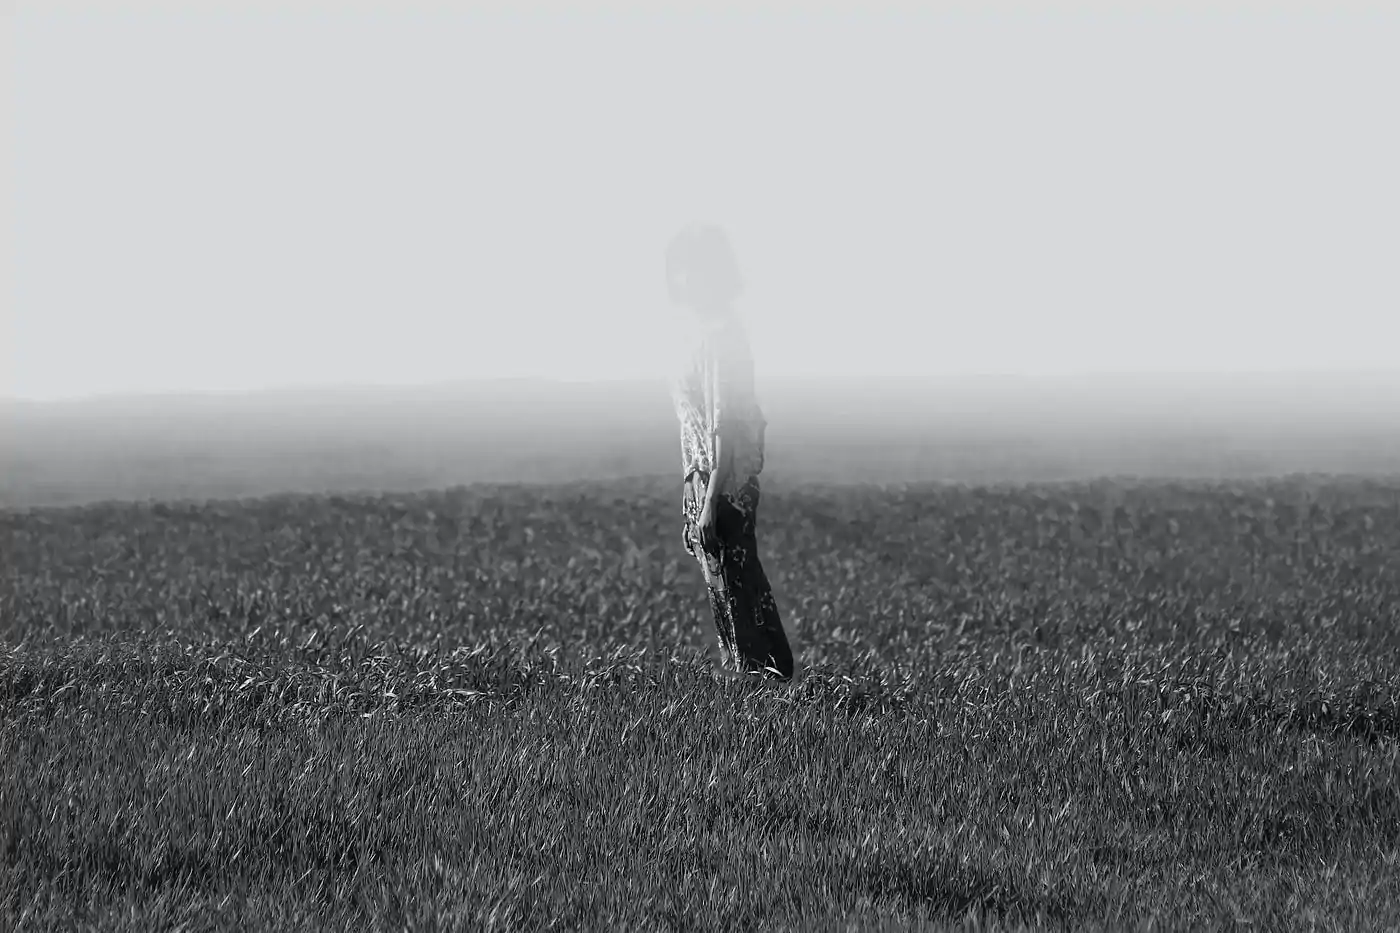
How To Add A Fading Effect To Images
To create a smooth transition between different elements and areas of a photograph and create gradual effects, the editing approach, like a fading effect, is the compelling one. It can make the composition of an image more cohesive and blended-looking by integrating the foreground and background elements. Fading applies to various areas of images including colours, textures, and critical zones or could be used to solely emphasize the main subject. Besides enhancements, a fading effect can also be employed for image correction. For instance, you can fade a picture to soften any details that are too over-saturated, harsh, or distracting. For themed photos and other entertaining project ideas, fading certain aspects of your photographs can create an ethereal air of mystery. The leading editing tools and techniques involved in fading effect creation are opacity settings, layer masking, use of gradient tools and blending mode settings. The following steps of this blog will discuss the process of creating a fading effect in detail.
Step 1: The Base Image Selection
Start by selecting the photograph to which you need to apply the fading effect. That can be a photo, artwork, or any visual element that needs an upgrade. The quality of the initial image is imperative because it will influence the ultimate result of the fading effect.
Bring the selected photograph to your preferred image editing app, like Adobe Photoshop, GIMP, or any other software that offers layer manipulation and gradient features.
Make sure that the image is suitably sized and cropped to your wanted dimensions. Scan for any zones that might need cleaning up or adjustments before adding the impact.
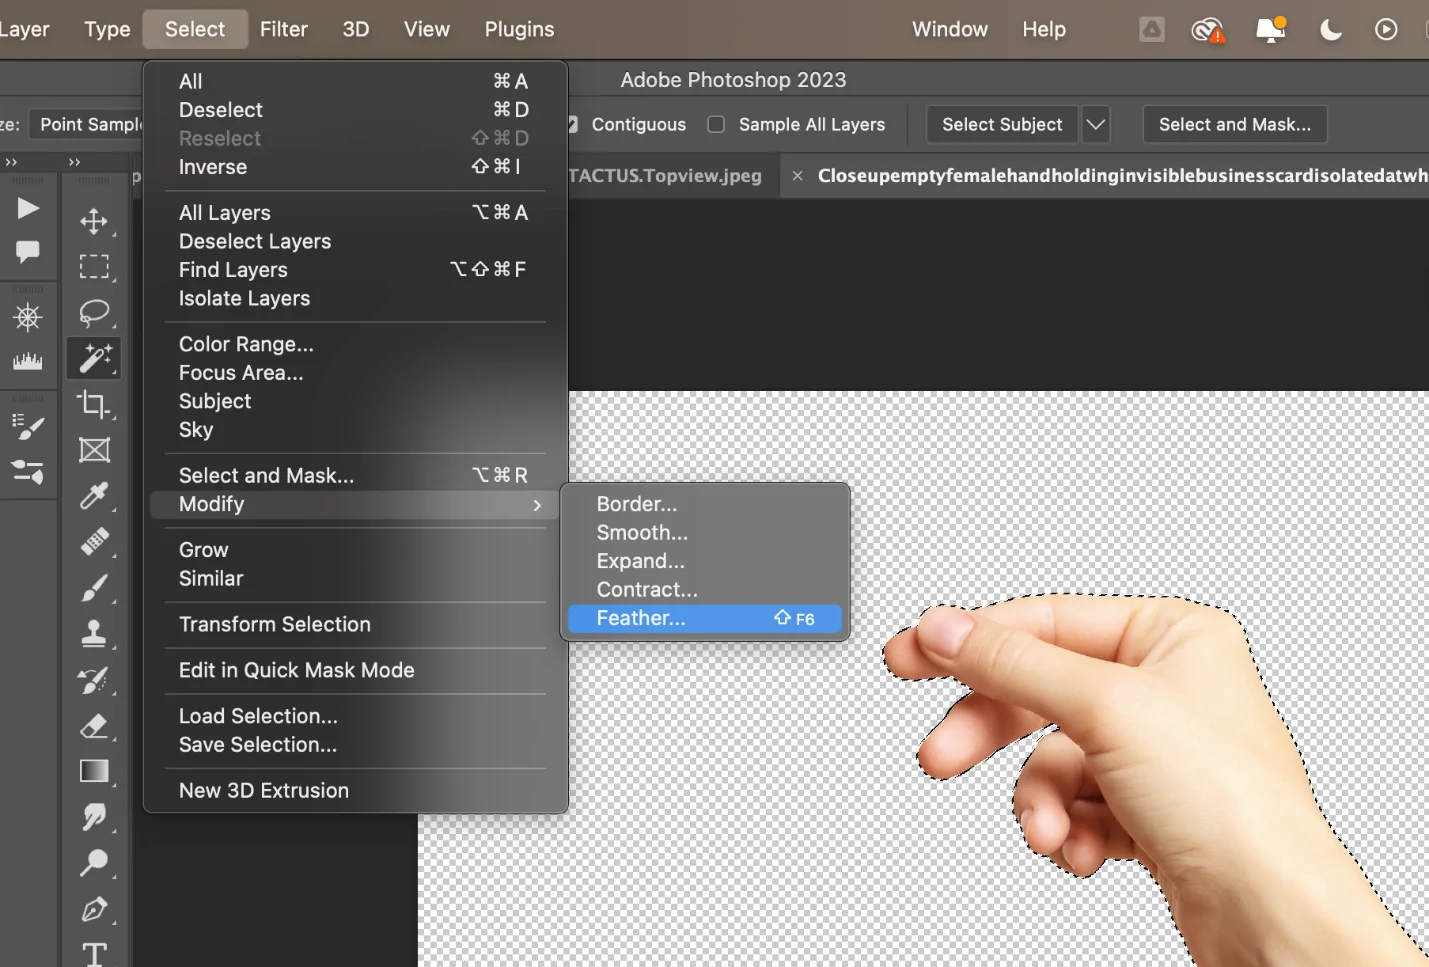
Specify the regions of the picture where you need the fading effect to appear. It could be around the edges, a particular region of focus, or to create an overall smooth transition to transparency.
In case your software uses layers, be sure that the image layer is active and prepared for modification. You may need to duplicate the photo layer before continuing, as it permits non-destructive editing.
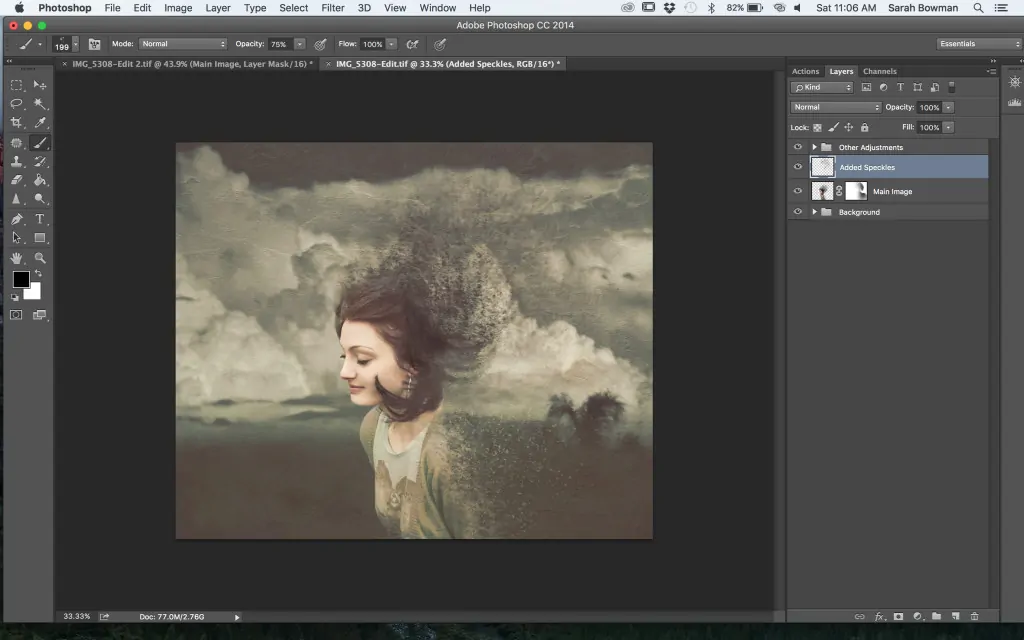
Step 2: Duplicating The Image
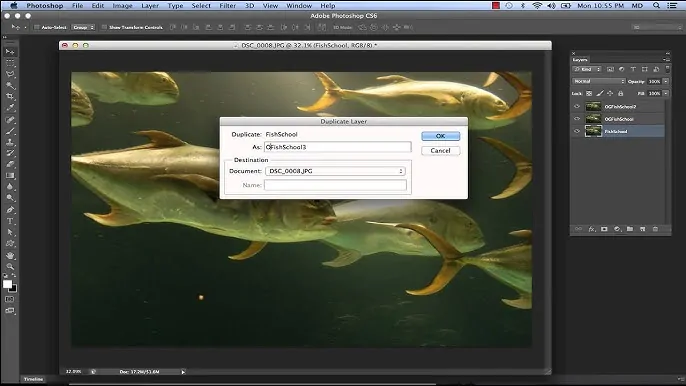
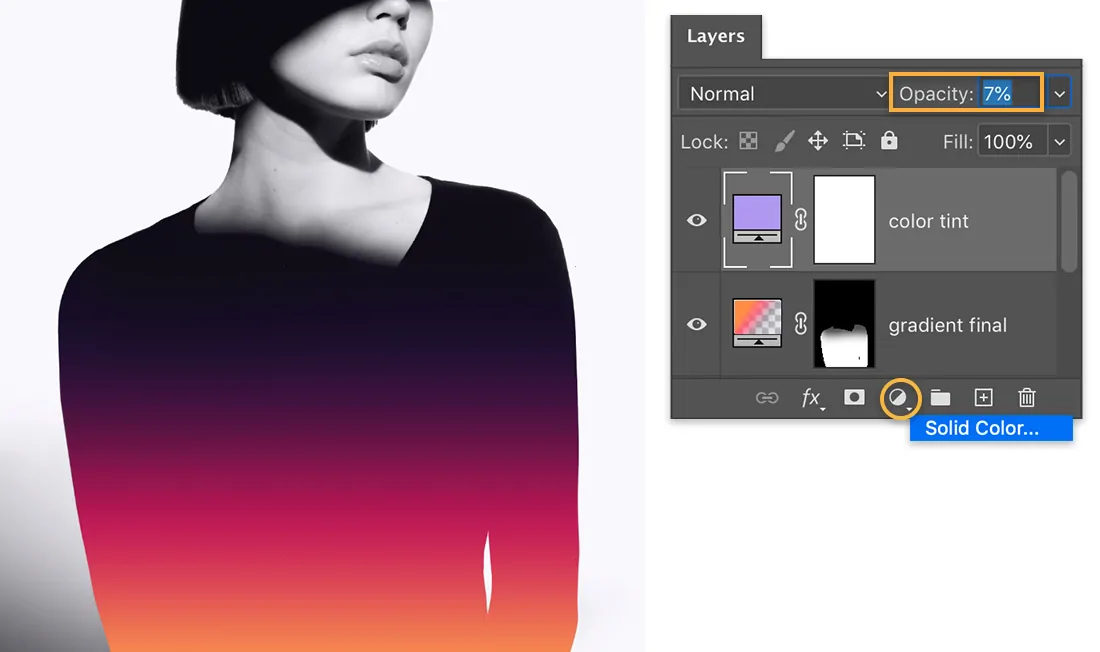
To protect the initial photo and go on non-destructively, make a duplicate of the image layer. That could be done by right-clicking the image layer and choosing the Duplicate Layer option. That step helps you to apply changes to the duplicated layer while keeping the initial intact for comparison or re-editing.
It is a great practice to retitle the duplicated layer, like as a Faded Layer or anything specific to the effect you are going to apply. It will help keep your workspace organized, particularly when working with numerous layers.
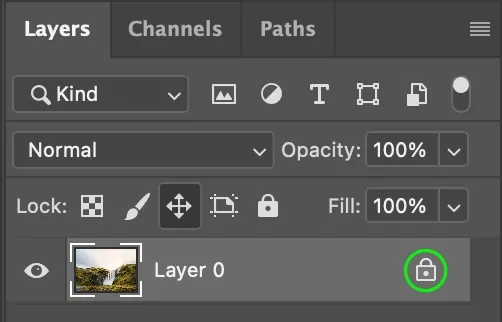
Lock the initial layer to avoid accidental changes while you work on the duplicate layer. It will guarantee that the original stays intact all through the process.
All alterations, including opacity changes and mask applications, will be applied on the duplicated layer. It keeps the initial unchanged and permits you to test freely with the fading effect.
Before you move on, review the visibility of both layers to guarantee that the duplicate layer is properly adjusted and prepared for the fading effect to be applied.
Step 3: Modifying The Opacity
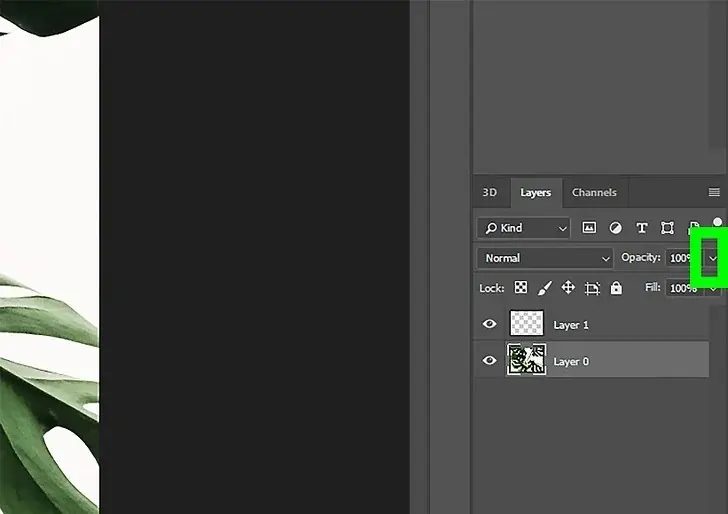
Be sure that the duplicated layer that you need to fade, is chosen in your layers panel. That’s where you will alter the opacity.
In most picture editing programs, you can see the opacity setting at the top of the layers area. It is typically depicted as a percentage, with 100 percent as fully opaque and 0 percent as thoroughly transparent.
Slowly decrease the opacity of the duplicate layer to form a faded effect. The amount of opacity decrease relies on how nuanced or sensational you need the fade to look. For a delicate blur, try lessening the opacity to around 70 to 80%. For a more discernible fade, decrease it further.

Once done with adjusting the opacity, preview the effect by toggling the visibility of the layer on and off. It can assist you in determining if the fade looks natural or if you wish to alter it further.
You may go back and change the opacity more than once, depending on the fading effect’s blending with the rest of the picture. Keep altering till you accomplish the specified level of fading.
Step 4: Using The Gradient Tool
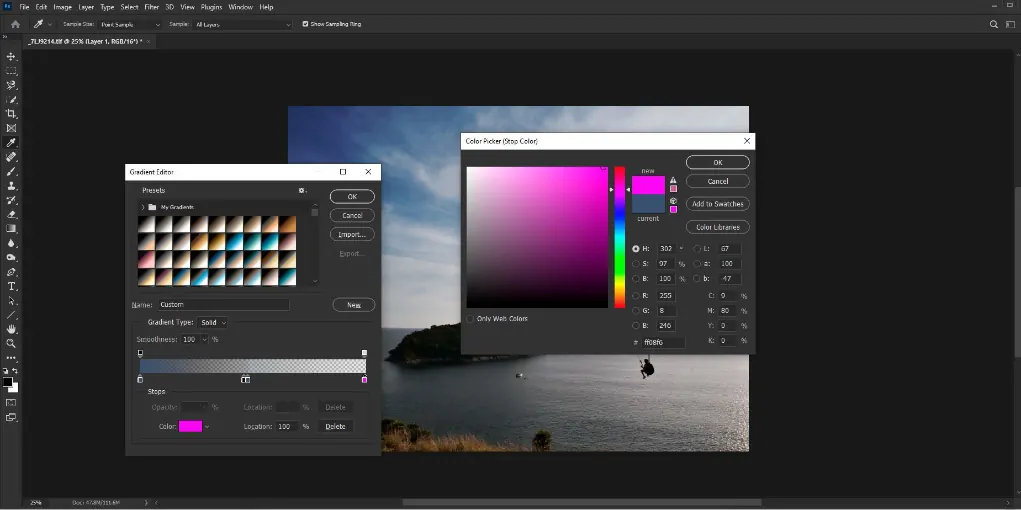
After the duplicated layer is activated, include a layer mask to control the transparency of particular zones on the layer. In most image editing programs, this feature is accessible at the bottom of the layers and is generally depicted by a rectangle with a circle interior.
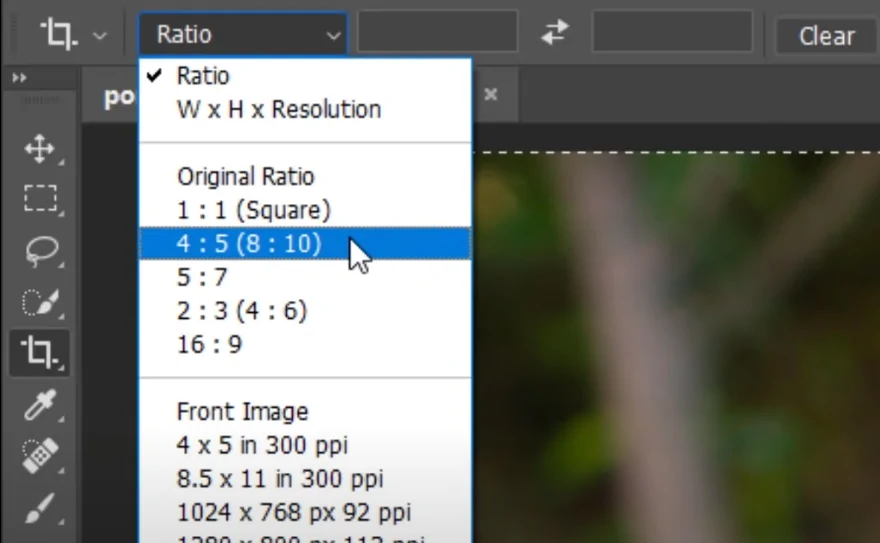
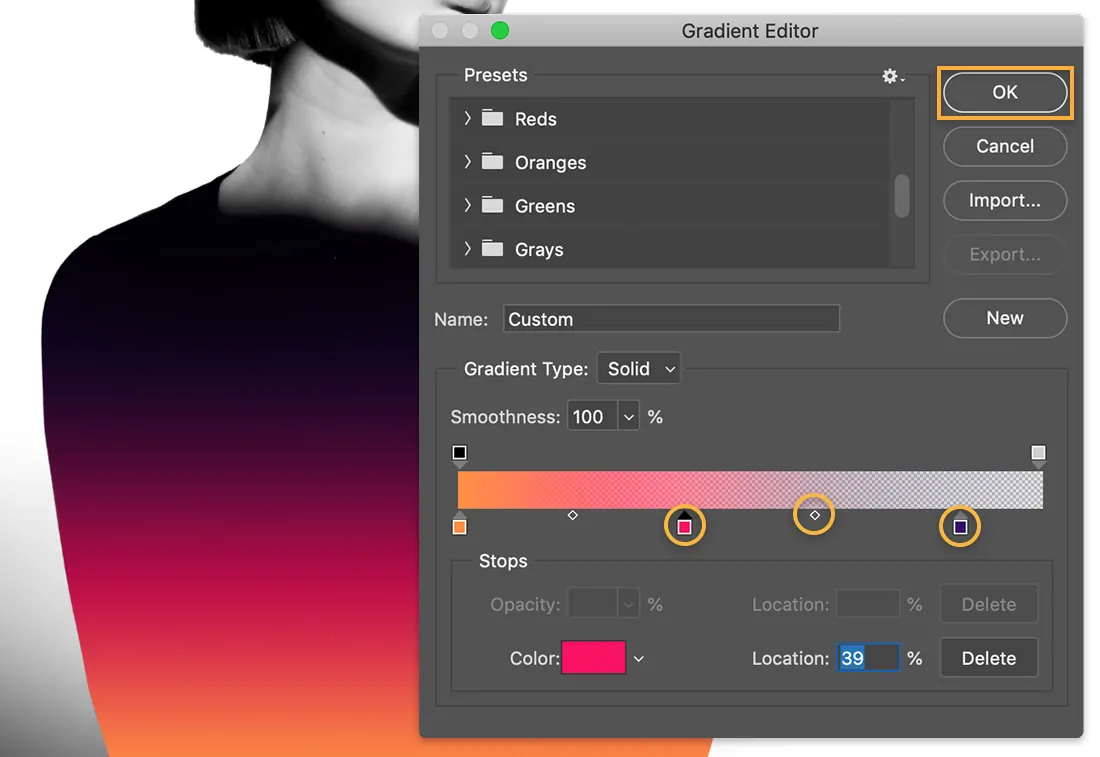
Choose the Gradient Tool from the toolbar which lets you get a smooth shift from one point of the picture to another, which is fundamental for making a fading effect.
Select the suitable gradient type for the impact. Commonly, a Linear Gradient is utilized for fading from one edge to another, while a Radial Gradient can make a circular fading effect. Alter the gradient to coordinate the range you need to blur.
Press and drag the gradient tool over the layer mask. Begin from the range where you need the picture to remain completely visible, like the centre or primary subject, and drag toward the space where you need the image to fade like the edges. The gradient will make a smooth shift between opaque and transparent zones.
If the gradient does not accomplish the required fade, you can alter it by reapplying or adjusting the gradient’s direction, scale, or opacity. It helps you to tune the fading impact to gain a more natural impression.
Step 5: Refining Gradient Mask
If the fade is not as smooth as you expected, employ the layer mask and alter its opacity. Bringing down the opacity of the mask itself can make a more muted transition, helping the fading effect mix way better with the rest of the shot.
Choose the Brush Tool and set it to soft, round settings and low opacity. Delicately paint over zones of the mask where you need the fade to be more or less drastic. Painting with dark will expand the transparency or fade in that range, whereas painting with white will get back the visibility.
On the off chance that the gradient transition feels too sharp, you can utilize the Brush Tool or Gaussian Blur to soften the gradient edges. It makes the fade show up more normal and less harsh.
Use feathering to the mask to relax its edges. Feathering makes a progressive shift between the opaque and transparent regions, making the fade show up smoother. It is particularly accommodating if the shift looks over sharp.
Persistently toggle the mask on and off to review your progress. It will help confirm that the mask is blending the faded zones naturally and that the shift looks consistent.
Step 6: Finalizing The Composition
Survey how the fading effect integrates with the rest of the image. As required, alter the mask further by painting over ranges to upgrade or decrease the fade. You can also change the opacity of the duplicated layer in case the fade is too excessive or too mild. The aim is to confirm that the transition shows up smoothly and coordinates with the overall composition.
Use the Zoom in and out of the image to be sure that there are no obvious harsh lines or mismatched moves. In case the blurred zones look too drastic or unnatural, utilize the Brush Tool to further polish the mask or alter the gradient.
After getting satisfied with the fading effect, you can blend the layers or leave them separate for future alters. Ensure that the composition looks balanced, with the faded areas blending consistently with the central point.
Keep the photo in your preferred format like JPEG, PNG, etc. If you would like to keep up transparency, export as a PNG. When saving for web purposes, look into adjusting the resolution or compression settings to refine the file size.
Before wrapping up, preview the exported picture in varying sizes or settings to make sure the fade effect shows up as intended over different gadgets or stages.
Conclusion
In summary, the fading effect often lends your image a retro or vintage look that evokes feelings of nostalgia. It presents the characteristics of memorable old photo albums that fade with time, making your contemporary images classical pieces. To give your work a timeless feel, you can add more relevant elements making your image look like classic camera photos or movie scenes. In genres like portrait, celebrations, and landscape photography, softening the colours and tones via opacity and saturation reduction you can make the images look romantic, nostalgic, or ethereal. In brief, you are open to countless creative possibilities while employing a fading effect approach in image editing.
