How To Turn An Image Into NFT Artwork
A non-fungible token, or NFT, refers to a digital asset that exists entirely in the digital world and that you cannot possess. Any kind of digital content, including memes, articles, music, and artwork, can be an NFT. NFT-based art encompasses all forms of art, including digital signatures, pixelated images, and abstract art, all completely digital and intangible. These works own unique identifiers that give the viewers access to the identity of the inventor behind them. It has become an employment source for various artists; they can monetize their hard work without making strides towards art exhibitions, which is a prolonged procedure requiring extensive physical and human resources. Digital platforms allow artists to sell their creations at their own chosen costs. Also, some platforms give support in the form of royalties for subsequent sales. Various artistic characteristics of NFT artworks are famous among image creators and editors, and they often employ the NFT art approaches to enhance their images. This blog is going to present the processes that are employed by image editors to enhance their everyday shots using diverse NFT art approaches.
Step 1: Observing The Composition Of The Photograph
Start by evaluating the overall quality of your photograph. Look for points like blurriness, low resolution, or pixelation.
Observe the composition of the photograph, noticing framing, alignment, and overall balance. Make sure the central subject is well-placed and there is no diverting mess.
Highlight zones that require improvement, like underexposed or overexposed segments, low contrast, or ranges with insufficient detail.
Survey the picture for any visible noise, graininess or artefacts which will decrease clarity, particularly in dark or uniformly coloured ranges.
Look at the colour palette of the photo. Is the overall tonal impression warm, cold, or over-saturated? Make a mental note of colours which will require change for better proportion.
Consider the ultimate outcome you need to attain in your picture. It can help direct your NFT-based upgrades and edits in the next steps.
Step 2: Performing Initial Tweaks
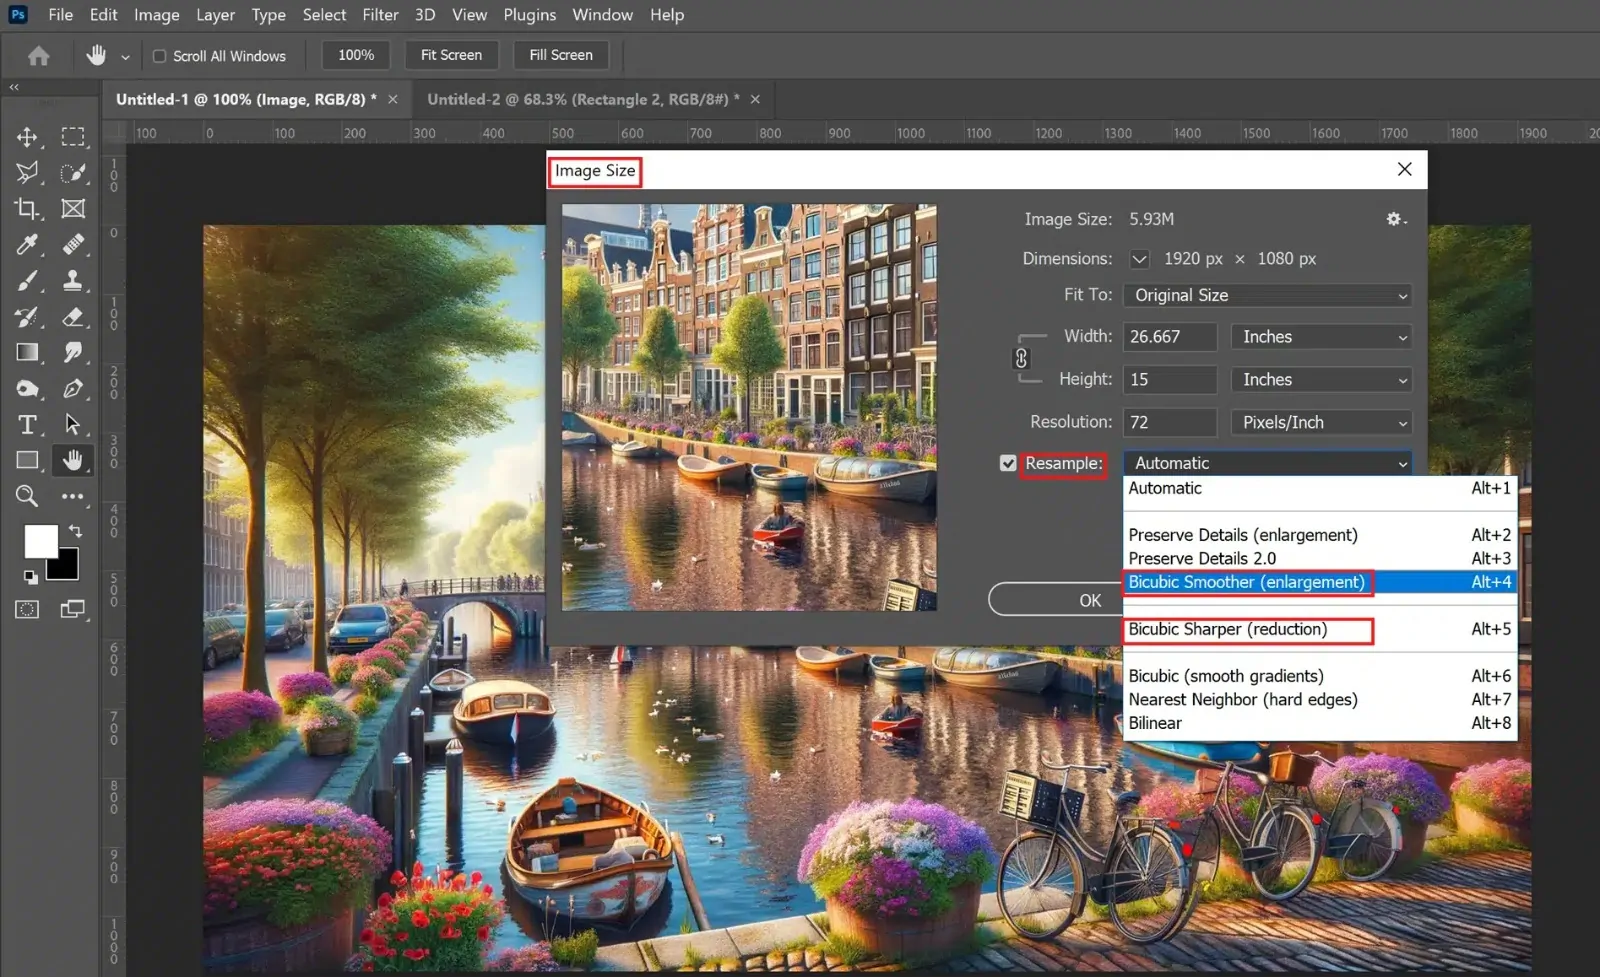
To begin with, assess the current resolution of the photograph. In case it is low, it may show up pixelated on enlarging, making resolution improvement vital.
Utilize programs such as Topaz Gigapixel AI or Adobe Photoshop to upscale the picture. These apps utilize advanced calculations to improve resolution while keeping up quality.
In your chosen program, select the alternative to upscale or resize the picture. Opt to extend the resolution by 1.5x to 2x for ideal quality improvement without exaggerating it.
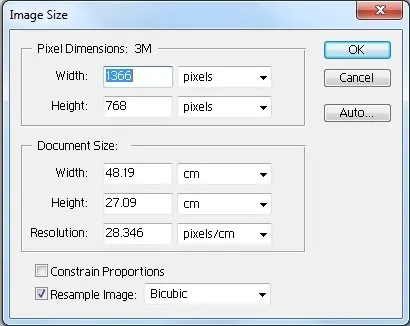
Make sure the aspect ratio is locked to avoid stretching or distorting the image when expanding its resolution.
After the resolution is expanded, refine details like sharpness and clarity, particularly around edges or complex surfaces, to avoid a hazy look.
After the upgrade, zoom into the picture to inspect for any pixelation or loss of detail, readjusting in case vital.
Step 3: Enhancing Brightness And Contrast
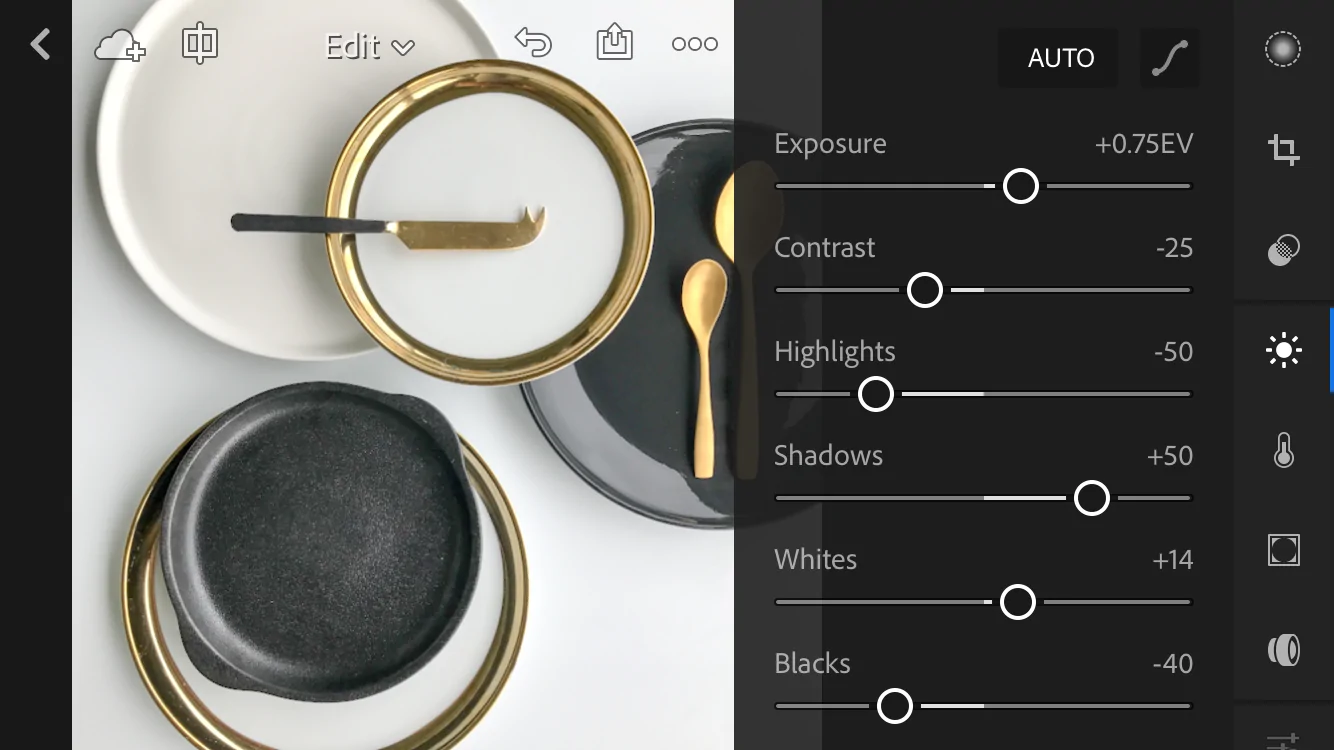
Start by assessing the colours within the photograph. Are they too bland, over-saturated, or uneven? Explore regions where colours might require alteration.
Utilize tools in Photoshop or Lightroom to alter the brightness and contrast. Expanding contrast can make the photo stand out by emphasising shadows and highlights.
Advance the saturation to form colours more distinctive, but be careful not to overdo it. Alter vibrancy to selectively upgrade colours without influencing skin tones or natural components too much.
In case the picture looks too warm or yellowish or cool like bluish, alter the white balance or colour temperature to reestablish a natural appearance.
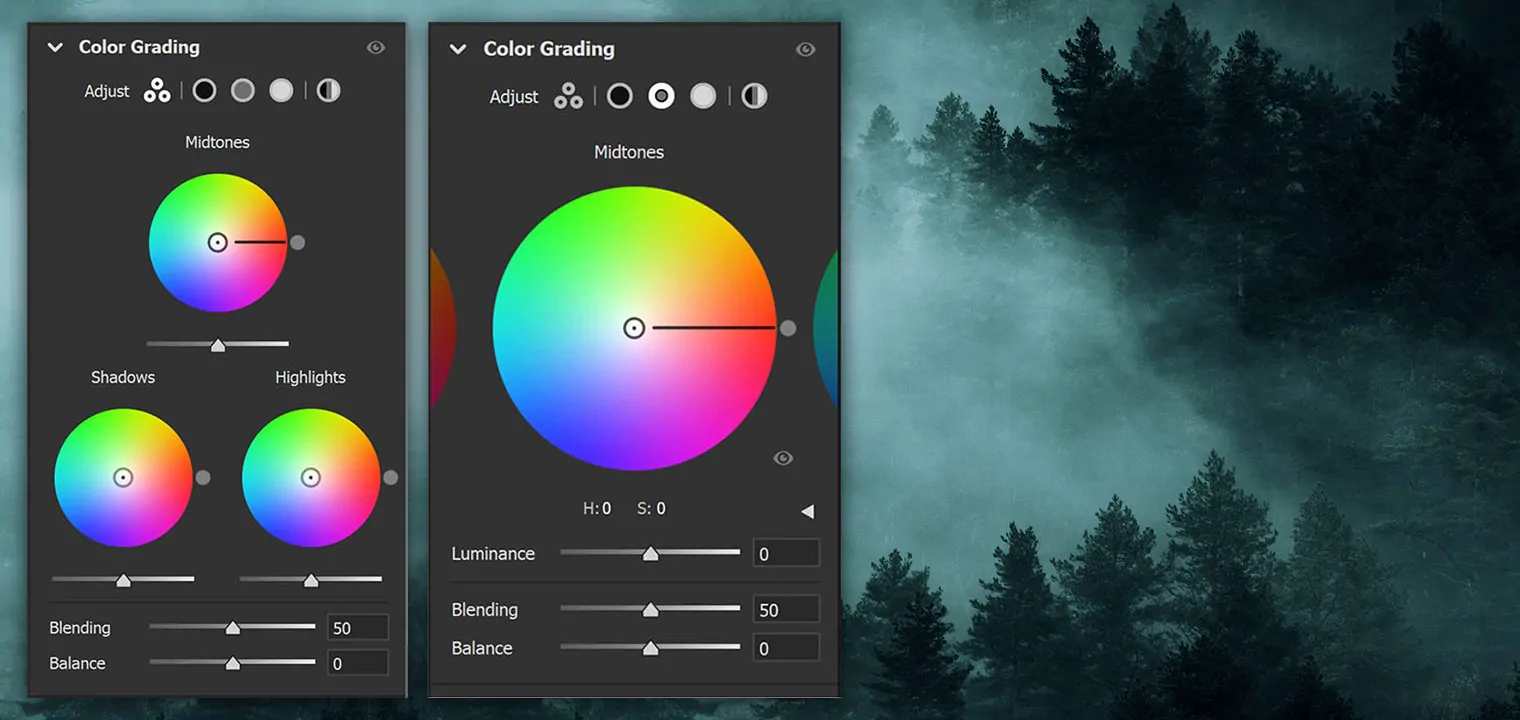
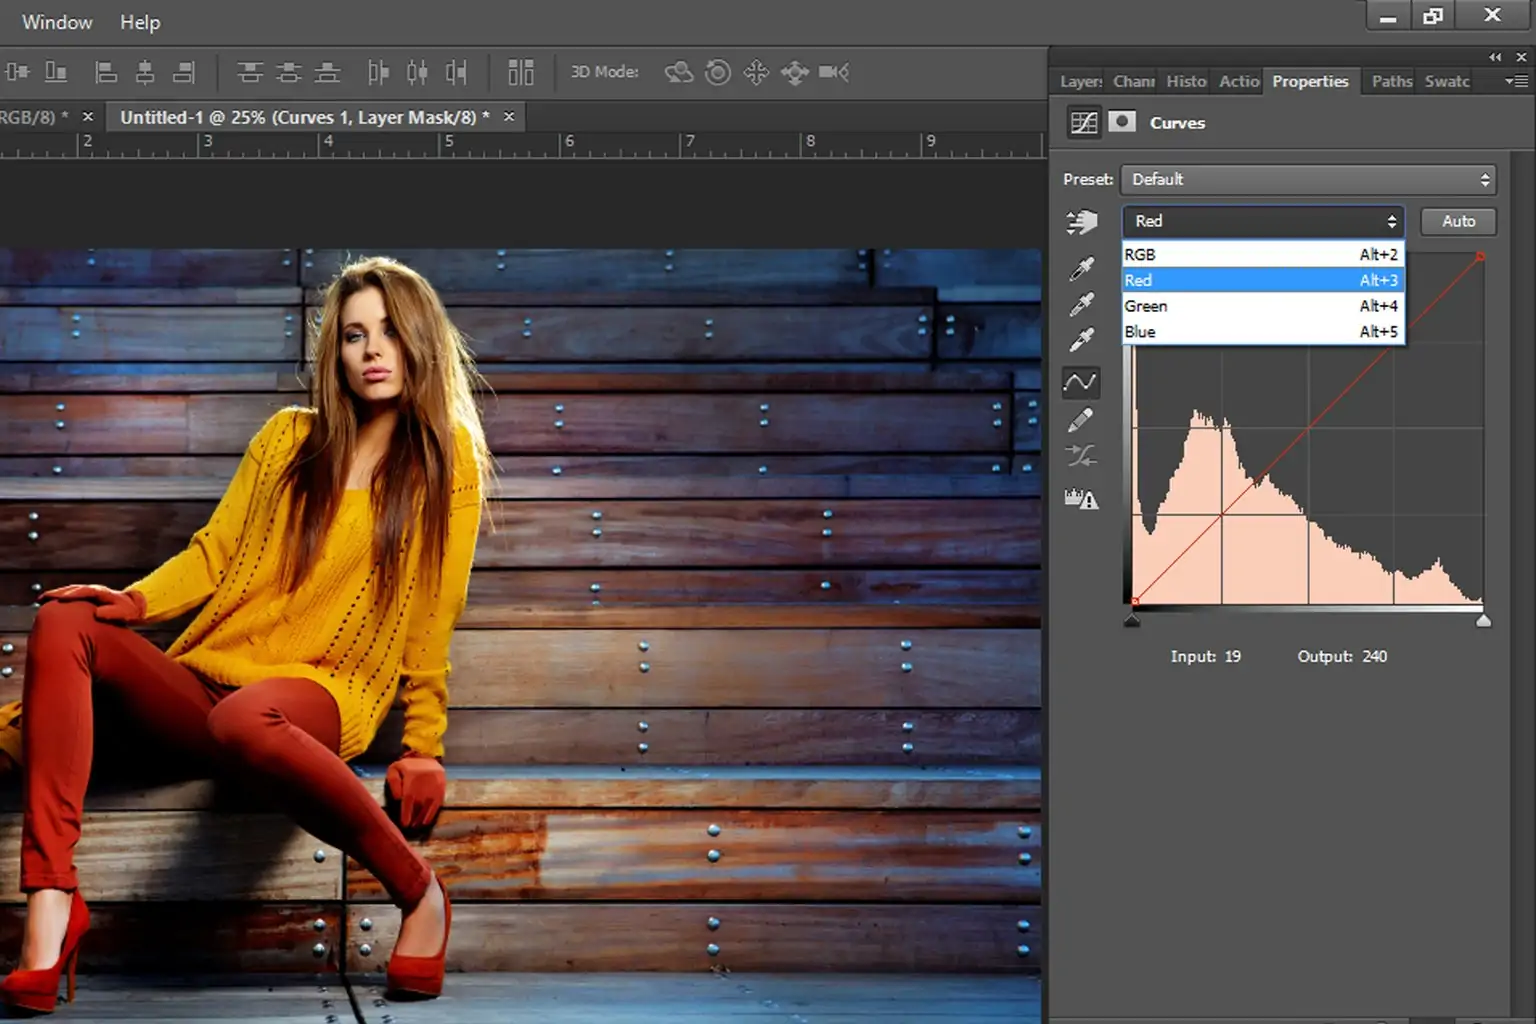
Use colour grading or curves adjustments to polish the tonal range and balance the colours. It can make a more dynamic and visually striking picture.
Step 4: Polishing The Fine Details
Use the Zoom in option to closely look at the fine details, like textures, edges, and any regions which will show up blurry or need clarity.
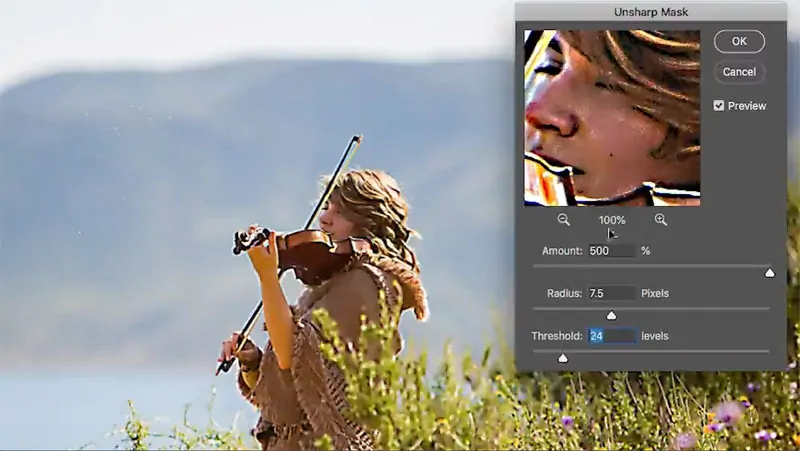
Utilize sharpening tools, including Unsharp Mask in Photoshop or Topaz Sharpen AI, to improve the fine subtle elements and make the photo look crisper.
Centre on key highlights including facial details, objects, or imperative textures within the picture. Utilize local sharpening or clarity settings to upgrade these ranges.
Use selective smoothing to edges or ranges with extreme noise or pixelation, guaranteeing they blend consistently with the rest of the picture.
In case your picture contains surfaces, utilize tools like Texture Slider in Lightroom or Clarity in Photoshop to form surfaces, materials, or natural components more detailed and engaging.
Cautiously remove any undesirable artefacts or flaws, like noise or blur, that may degrade from the sharpness of the picture.
Once done refining the details, take a break to consider the picture as a whole to confirm the upgrades blend naturally, and no zones show up over-done or out of order.
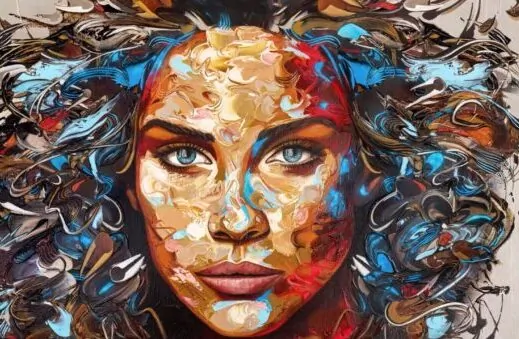
Step 5: Adding Artistic Effects
Choose the aesthetic direction you need for your image, like vintage, dreamlike, or abstract. It will direct the selection of appropriate impacts and filters.
Utilize filters like Instagram-style, Oil Paint, or Watercolor to provide the image a special aesthetic touch. Use these effects unpretentiously to avoid overpowering the picture.
Present textures like paper, canvas, or grunge, to produce depth and interest. Surfaces can help grant the photo a more material, conventional art look.
Play with gradient maps, colour overlays, or selective colour adjustments to form a particular colour palette that improves the temperament of the image.
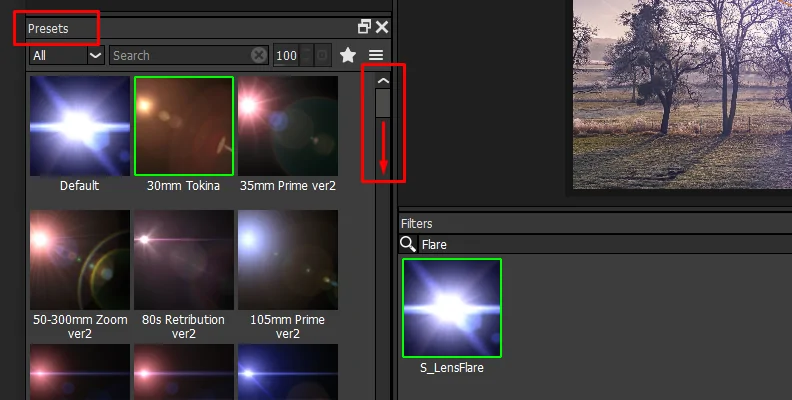
Include light effects like lens flares, bokeh, or vignettes to stress key ranges or bait attention to central points, making a more picturesque and imaginative climate.
If you have dynamic visuals, consider including motion effects such as motion blurs or distortions, which can make a sense of movement or dynamism inside the picture.
Utilize blending modes to merge multiple effects and layers, altering the opacity and intensity until the correct balance is accomplished for the overall setting.
Step 6: Using Noise Reduction Tools
Look at ranges of the picture where noise, graininess, or other defects may be obvious, particularly in low-light or even-coloured parts.
Employ noise reduction filters in Adobe Lightroom, Photoshop, or Topaz Denoise AI to smooth out grainy ranges while keeping up detail and surface.
Cautiously alter the strength of noise reduction to prevent overly smoothing the photograph, which can cause loss of fine detail and sharpness.
Utilize Clone Stamp or Healing Brush in Photoshop to remove unwanted artefacts, like dust spots, smudges, or flaws, that detract from the photo quality.
After lessening noise, sharpen imperative details such as edges or central points to regain clarity lost during the noise decrease process.
Review the image for colour noise or any incidental colour speckles that can show up in zones with subtle gradients. Utilize particular tools in Lightroom or Photoshop to get rid of it.
Examine the image one final time to guarantee that no diversions or defects are remaining. Tend up any small details which will have been missed.
Step 7: The Final Tweaks And Exports
Survey the composition for any last tweaks, like adjusting brightness, contrast, or saturation to make sure the image looks proportional and polished.
In case essential, crop the picture to improve composition or remove diverting components. Ensure the main subject is well-centred or situated according to your aesthetic vision.
Make sure that all alterations made in prior steps are steady and blend consistently. The picture ought to have a unified look without overdone zones.
View the picture on distinctive screens to analyze its look over different gadgets, ensuring colours and details look great on all platforms.
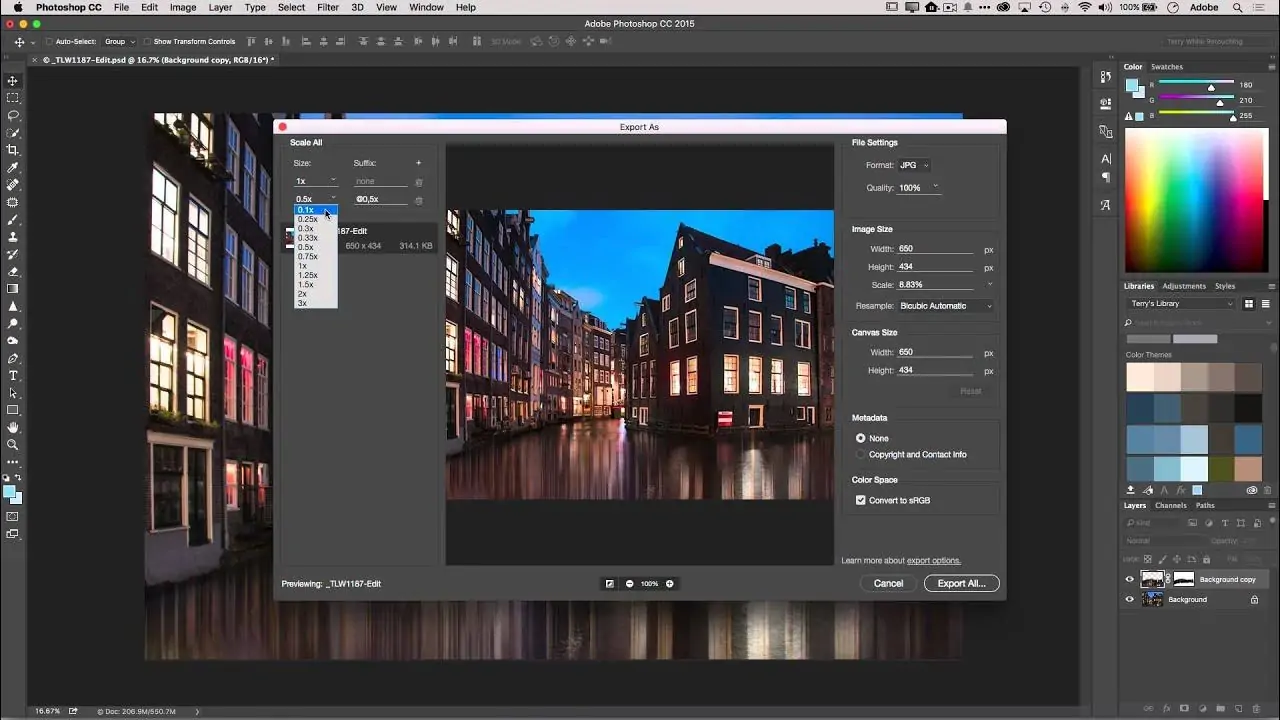
Export the picture in a high-quality format like PNG or TIFF, for ideal preservation of details.
Save a duplicate of the image with all layers intact in case you would like to do any future edits.
Conclusion
In summary, turning an image into NFT artwork is a productive practice that can imbue your images with outstanding aesthetics. From presenting traditional classical art, pop art, surreal art, or retro art to infusing elements of futurism, 3D art, glitch art, digital art, and many more; all these options, with a multitude of others, add to the creative options of an artist. Furthermore, though the transformed images reflect existing NFT works, it is a form of replication that may raise copyright issues. On the other hand, the artists and editors can make images proficient enough for minting on blockchain platforms by adding a tinge of their unique artistic markers.
