
How To Use Content Aware Scale In Image Editing
Content-aware scaling is an advanced and smart version of image resizing that elaborately focuses on the key components, enhancing their appeal while eliminating unnecessary aspects within a photograph. It doesn’t impact the whole composition like common resizing approaches and dexterously picks and rearranges, as a center of focus, all the significant elements without causing irritating abrasions or distortions. The resultant images are hardly identified as resized ones; instead, they look like the original raw shots. At its core, it works on mathematical algorithms that accurately access images from minor to major zones and intelligently focus on the quality of details like the subject features or other worthy objects within the images. As its name itself represents, content-aware scaling understands the importance of the vital elements within the photo’s content and smartly rescales it without sacrificing its essence. This blog will deal with all those smart techniques and tools that are necessary to employ while resizing your shots using a content-aware scale approach.
Step 1: Open the base image in your editing app
Firstly, run your chosen image-modifying program to start the resizing setup. Your editing application can be an effective software like Adobe Photoshop, where content-aware scaling is promptly accessible.
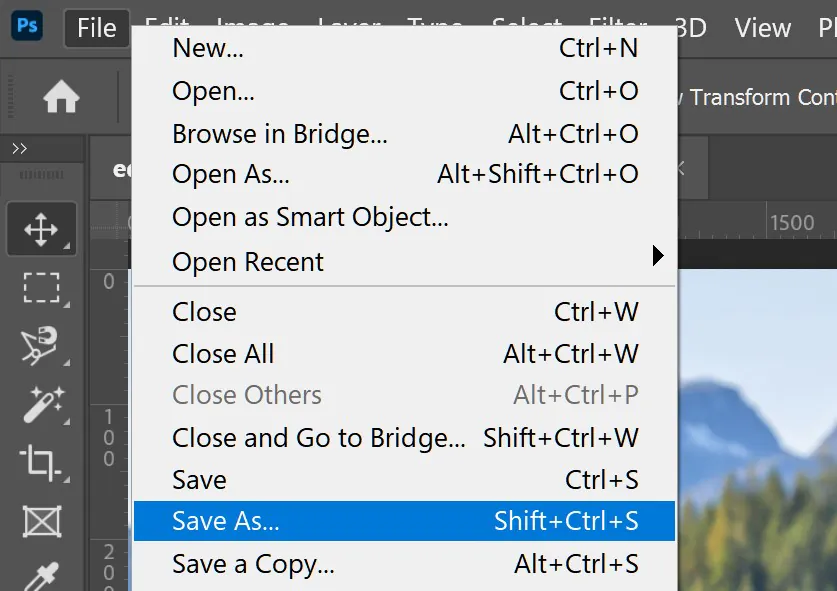
Following, explore the “File” menu and click “Open” to load the image you intend to resize. This step confirms that you have the particular picture at your disposal for adjustment.
After the picture is opened, take a minute to get acquainted with the interface of the editing program. You can start by finding the toolbar, which contains different tools and functionalities required for image manipulation errands.
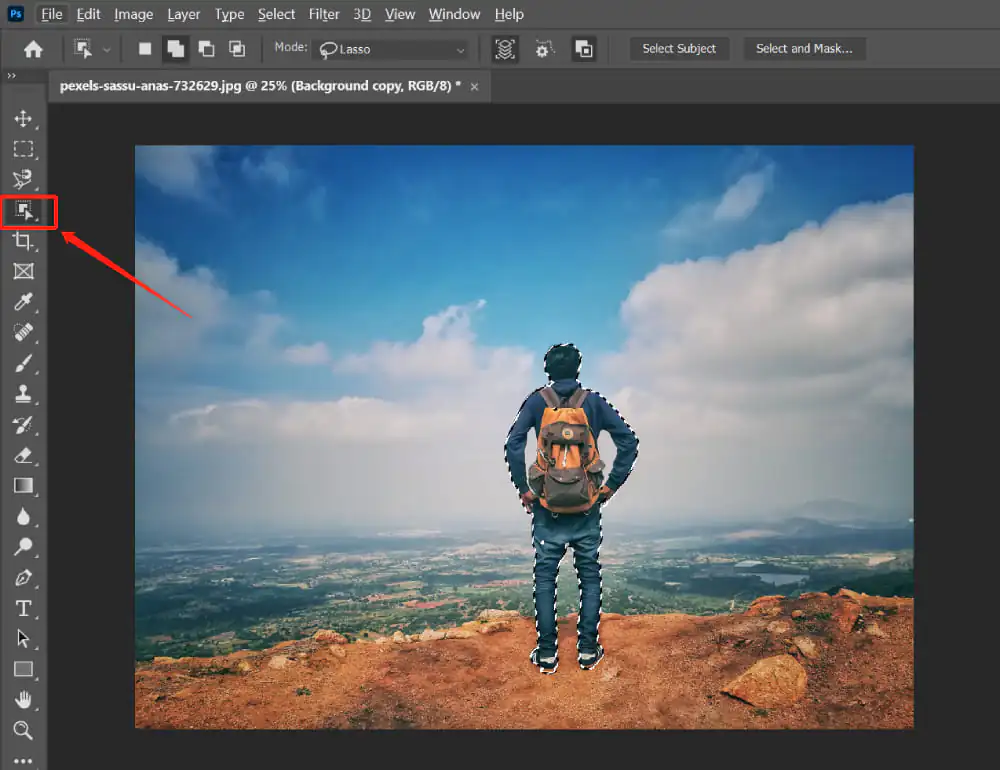
On the off chance that you’re using Adobe Photoshop, the toolbar is, as usual, on the left side of the screen. Search for the symbol that indicates the Content-Aware Scaling options, usually depicted by two squares enclosing. Tap on this button to activate it for the up-and-coming steps.
By opening the picture within the editing software, you set the organization for the consequent actions, allowing you to get to the collection of tools essential for content-aware scaling.
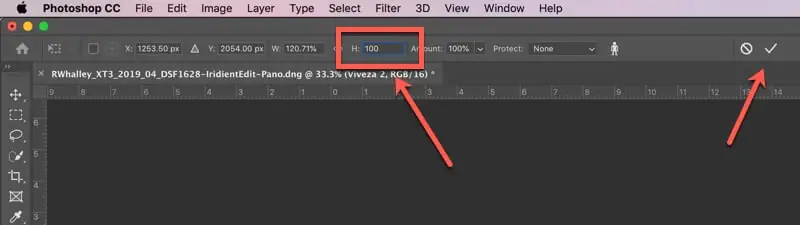
Step 2: Activate the tool and options related to content-aware scaling
After selecting the Content-Aware Scaling tool, head to the options bar at the top of the screen. Seek out the input areas that permit you to indicate width, height, or percentage.
Next, you have to input the required values for width and height in case you’ve got particular measurements in mind. Then, again, you can indicate the rate at which you need to resize the image. This flexibility caters to different project requirements.
Numerous image editing tools give you the choice to control proportions. Use this highlight to preserve the initial aspect ratio while altering the width or height. That way, the resized image doesn’t show up misshaped.
Consider setting the output resolution during the resizing. That can be helpful, particularly if you’re planning images for print or digital platforms with particular resolution specifications.
Before finalizing the resizing parameters, employ the preview highlight, if accessible, to observe how the content-aware scaling algorithm will alter the image, giving you a view of the ultimate result.
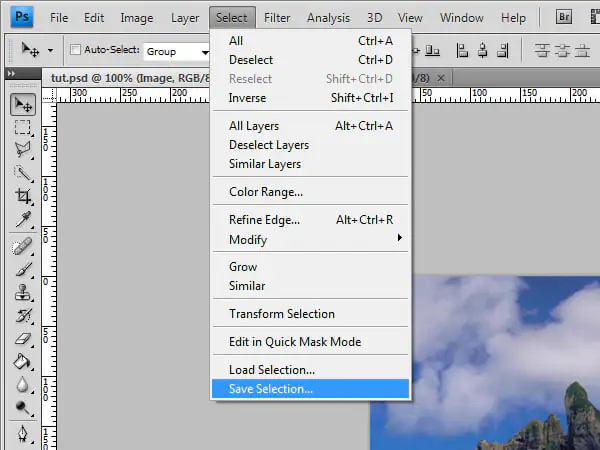
Step 3: Specify the essential zones
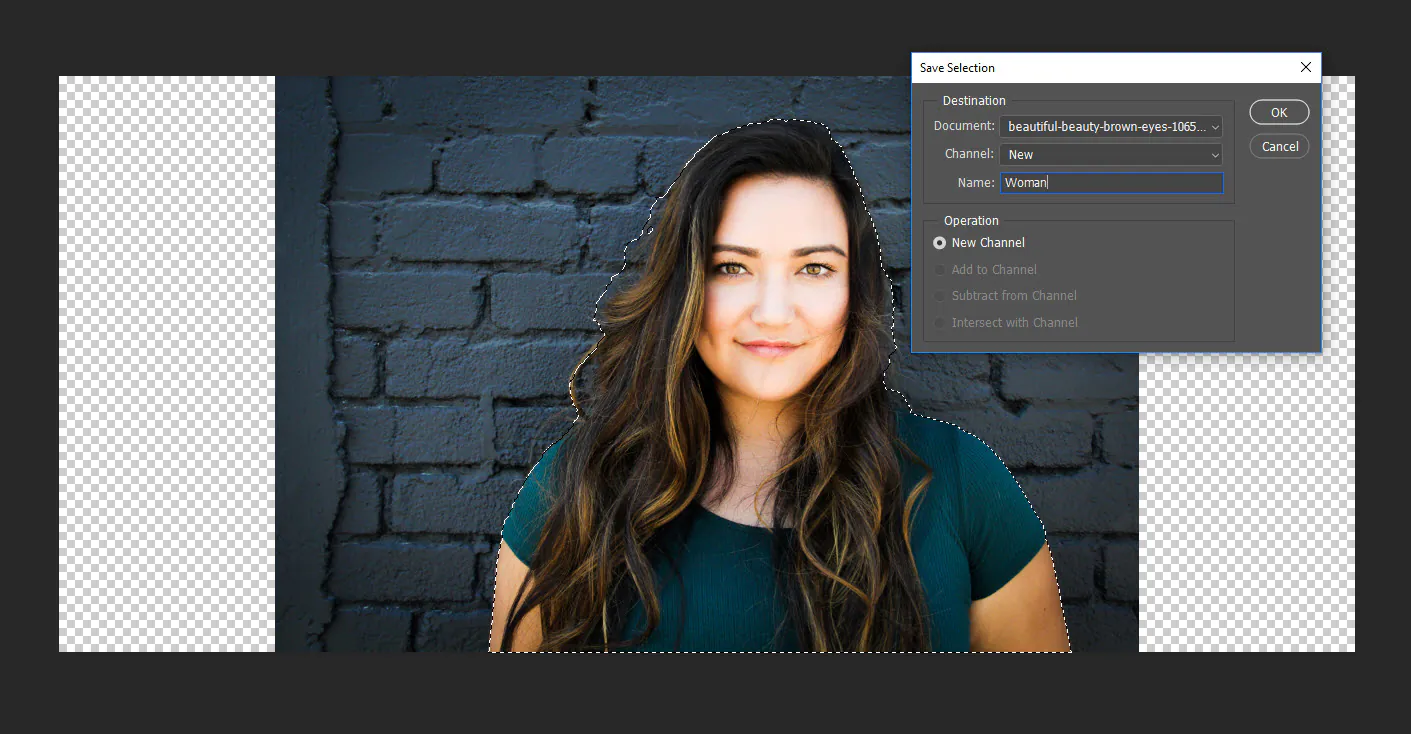
To emphasize the key elements of your image, utilize the selection tools accessible in your software to mark the ranges you consider vital. You can consider faces, particular objects, or any components that are leading to the composition.
Tune your selections for confirmed accuracy. Most of the software tools supply choices for setting and refining selections, letting you retain the basic subtle elements precisely.

As per the complexity of your photographic atmosphere, you might have to be compelled to include or eliminate items from your selections. This guarantees that the content-aware scaling algorithm knows which zones to prioritize during resizing.
Utilize the masking function to secure intricate details. Masks can control the transparency of chosen ranges so that they stay untouched by the scaling manipulations.
Evaluate the general composition of the image and recognize components that contribute essentially to its visual appeal. By ensuring these key regions, you safeguard the foundation of the composition even after resizing.
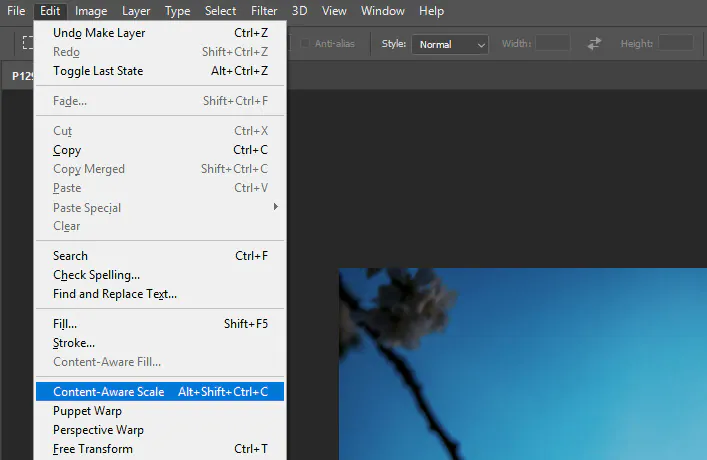
Step 4: Apply the content-aware parameters that you finalized earlier
Discover the command or button in your editing app that starts the content-aware scaling process. In Adobe Photoshop, it can be an Apply button or another choice.
While you perform the scaling, the content-aware scaling algorithm goes to work. It analyzes the image substance, distinguishing the secured regions and making intelligent choices on how to adjust the surrounding elements.
Watch the real-time changes within the picture as the algorithm applies scaling. take into consideration whether the protected regions are retained, minimizing distortion and keeping up the overall visual equilibrium.
Various software programs also facilitate you with a progress indicator or status bar during complex operations like content-aware scaling. Keep track of this to ensure that the resizing process is progressing as anticipated.
In case you spot any undesirable outcomes during the scaling, you can use the pause function (if available) and make adjustments before finalizing the changes for thoroughly monitored results.
Step 5: Regulate your scaling settings
Review the areas you indicated for safeguarding during the scaling process. Analyze if the algorithm thrivingly retrieved the key components without distortion.
Evaluate the overall composition of the rescaled image, ensuring that visually pleasing stability is kept up and that no unintended aberrations are introduced.
Take a zoomed view for more details, in particular, if your image bears complex elements or you are preparing the image for high-resolution output. Make sure no specifics or quality are lost.
Some editing apps allow you to weigh up the original and reduced versions side by side. Use this feature to measure the effectiveness of content-aware scaling in maintaining image integrity.
If the resized photograph is purposive for digital platforms or user interaction, contemplate how it will be interpreted by the audience.
Make sure the visual impression remains appealing and that the resized images match your intended arrangement.
Step 6: Fine-tune the preserved areas
Readjust the selections, utilizing tools like the Lasso tool in Adobe Photoshop. Such tools let you adjust and refine the boundaries of secured regions. Click on the Lasso tool from the toolbar and draw around the regions you need to alter.
Navigate to the feathering option, available within the Lasso tool settings. You can make a smoother transition between protected and non-protected zones. Feathering avoids unexpected changes and confirms a consistent integration of resized and secured components.
If you have utilized masks in past steps, employ the Brush tool with a low opacity value to alter the transparency of the masks. That introduces granular control over what parts of the protected zones are more or less influenced by the content-aware scaling.
Cope with any distortions utilizing tools like the Spot Healing Brush. This tool deftly mixes pixels, making it viable for settling minor issues that will emerge during the resizing operation.
Use selective tools like the Magic Wand or Quick Selection to carry out particular adjustments inside protected areas. If facial features are a key component, for instance, utilize these tools to refine protection settings for facial highlights.
Set up layer masks in the protected areas and proceed through the refinement process. Layer masks can form non-destructive alterations, empowering you to return to past phases if required.
Step 7: Assess the final composition and save it
In your picture editing program, discover the option to commit or apply the changes. This action cements the content-aware scaling additions you’ve made, making them a permanent aspect of the photograph.
Click on the “Save As” button to create a new record for the modified image. This step is basic to protect the initial, unaltered adaptation of the image while having an isolated file for the resized adaptation.
Select the suitable file format for your needs like JPEG or PNG, and set the quality parameters. Consider the expected usage of the image and select the format that best suits your project prerequisites.
If your project requires a particular resolution, preserve or adapt it appropriately during the saving action. This step is significant, particularly for print or platforms with particular resolution rules.
It is a useful practice to organize your records into folders. This helps keep your original and resized pictures organized, making it simpler to oversee your projects and find particular files in the future.
If you’re working on a project that includes collaboration or may require future changes, consider documenting your content-aware scaling activity. This documentation can be important for sustaining uniformity or making future alterations.
Conclusion
In essence, content-aware scaling is a careful trimming and cropping strategy that minutely analyzes the content within an image. It includes aspects from subject features to every vivid object and identifies what elements are essential for a resized image and what is meant to be cut out. Unlike traditional resizing processes, it avoids causing distortions and clarity issues. The final composition is perfectly resized and presents a natural look with a clear and vivid element arrangement. The content-aware scale images are so enticing and surprising for the viewers with their preciseness and high-quality effects, effortlessly dodging that they are not the direct shots but the edited ones.
