How To Use Auto Levels To Transform Images
With the swift advancement of digital media, various image postprocessing techniques with numerous easily accessible tools and options for image transformation have been developed. You can work on multiple aspects separately, from distortion correction to image modification, and you can even fine-tune images from every angle. The photos with varying aspects to manipulate and correct the manual adjustment become a bit time- and effort-consuming. There comes the part of automated manipulations like auto-leveling, which collectively yet precisely work on image significant highlights, including brightness, color balance, and contrast. Auto levels is a functionally designed technique that controls and directs the tonal distribution while concurrently dealing with color inconsistencies and variable lighting scenarios within the photographs. Especially when you have a series of photographs to work on at auto levels, you can simplify the postprocessing and create astounding visuals in minimal time. For an efficient and accurate editing of your images with auto levels, you can look into the following steps highlighted in this blog post.
Step 1: Examine the image’s essential features
Start by analyzing the overall brightness of the image. Figure out whether it appears excessively dark or too bright.
Evaluate the contrast levels inside the photograph. Seek for zones that need definition or have too much contrast.
Examine the color stability to decide if there are any discernible color casts or inconsistencies.
Note specific elements within the image that must be emphasized or repressed.
Consider the lighting conditions beneath which the photo was taken, as this will affect the general tonal quality.
Notice any ranges of the picture that will require extraordinary consideration amid the altering process.
Get the unique highlights and subtleties of the image to direct the ensuing application of auto levels.
This introductory assessment establishes targeted alterations and guarantees that the automated upgrades adjust to the particular characteristics of the photograph.
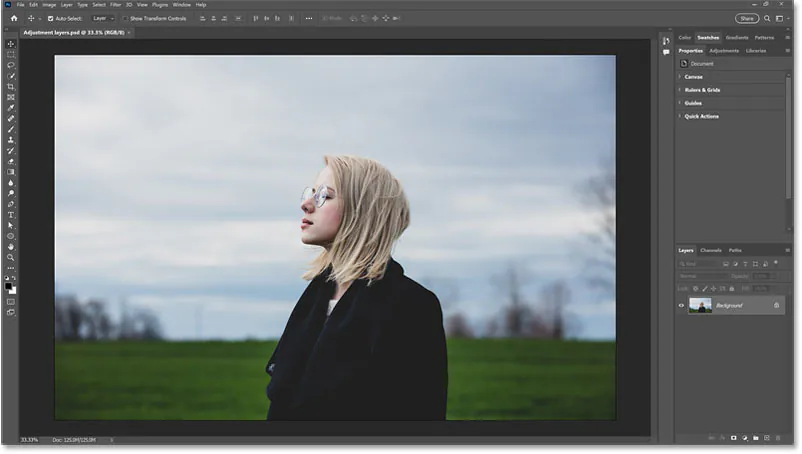
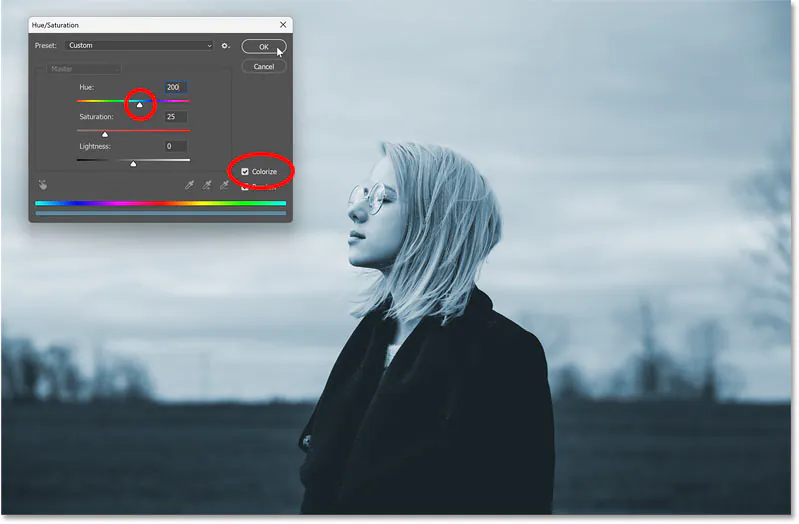
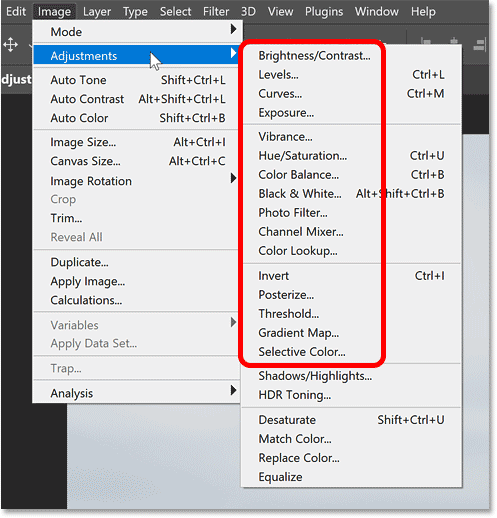
Step 2: Try auto levels feature settings
Open your favored image manipulation software and load the image you need to improve.
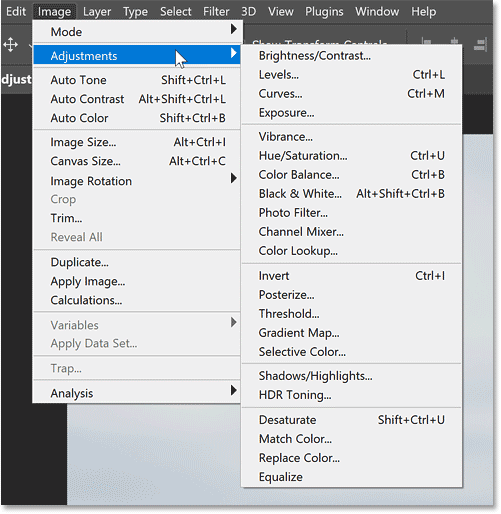
Find the “Auto Levels” highlight inside the software’s altering tools. That is often found within the “Adjustments” or “Image” menu.
Tap on the “Auto Levels” option to enact the automated adjustment tool.
Get it that this highlight analyzes the tonal conveyance within the picture and consequently alters brightness, contrast, and color levels.
Be mindful that the availability of the “Auto Levels” feature may shift slightly depending on the software you’re utilizing. Still, it could be a standard tool in most photo editing applications.
Aquantify yourself with any extra options or settings related to the “Auto Levels” highlight, such as the capacity to see changes before applying them.
Guarantee that you have a backup or copy of the initial picture to compare the results and make essential alterations afterward within the editing process.
This step defines the stage for applying automated improvements to the image utilizing the “Auto Levels” functionality.
Step 3: Head to the automated adjustments
After getting to the “Auto Levels” highlight, start the programmed alteration by selecting the suitable command or button.
Let the program analyze the tonal dispersion within the image and apply programmed adjustments to optimize brightness, contrast, and color symmetry.
Be persistent amid this process, as the program may take a minute to analyze the photograph and make the essential alterations.
Examine the real-time changes to the photo and note any critical changes in overall visual quality.
Comprehend that the objective of this automatic adjustment is to attain a well-balanced and outwardly engaging result without manual interruption.
Assess whether the automatic alterations correlate with your wanted result. If vital, a few photo editing software permits you to undo or return the changes at this phase.
Continue to the following steps with the enhanced picture, considering that extra manual alterations may still be required for fine-tuning.
This step marks the application of the automated enhancements, establishing a more elegant and refined composition.
Step 4: Assess the tonal range distribution
After the automatic adjustment, carefully audit the tonal dispersion within the photo.
Look at the dispersion of dull and light tones, ensuring that they span the complete range for an adjusted representation.
Go for enhancements in contrast, as the auto levels highlight points to improve the refinement between shadows and highlights.
See any zones where the automatic adjustment may have overemphasized or stifled certain tones. These evaluations will direct further refinements.
Assess the effect of the adjustments on color harmony. Note if any color casts have been rectified or if there are zones that still require consideration.
Utilize any visualization tools given by your editing program to separate particular channels, such as red, green, and blue, and evaluate their individual assistance to the overall tonal symmetry.
If the automatic alteration is inadequate for specific regions, it can be arranged to form extra manual adjustments to address particular issues.
This step includes a critical examination of the tonal viewpoints of the picture, guaranteeing that the automatic alterations comply with your vision for the ultimate result.
Step 5: Perform the essential refinements
After the audit of tonal distribution, start any vital refinements to address particular regions that require extra adjustment.
Utilize manual editing features and options in your program to refine brightness, contrast, or color in districts where the automated process may not have attained the specified outcome.
Alter sliders, curves, or levels specifically to strengthen particular components inside the photo. This step permits a more personalized touch tailored to the exhilarating characteristics of your image.
Work on accomplishing a harmonious balance throughout the image, tending to any outliers or irregularities that will have been neglected during the automated process.
Consider utilizing masking strategies to apply adjustments to certain parts of the picture, giving more prominent control over localized improvements.
Frequently compare your advance with the initial image to guarantee that fine-tuning efforts contribute totally to the overall look without presenting unintended defects.
Be careful to preserve a natural and practical look, dodging excessive alterations that will compromise the authenticity of the initial picture.
Fine-tuning could be a pivotal step in tailoring the automated enhancements to the particular subtleties of your photo, guaranteeing a polished and proficient final result.
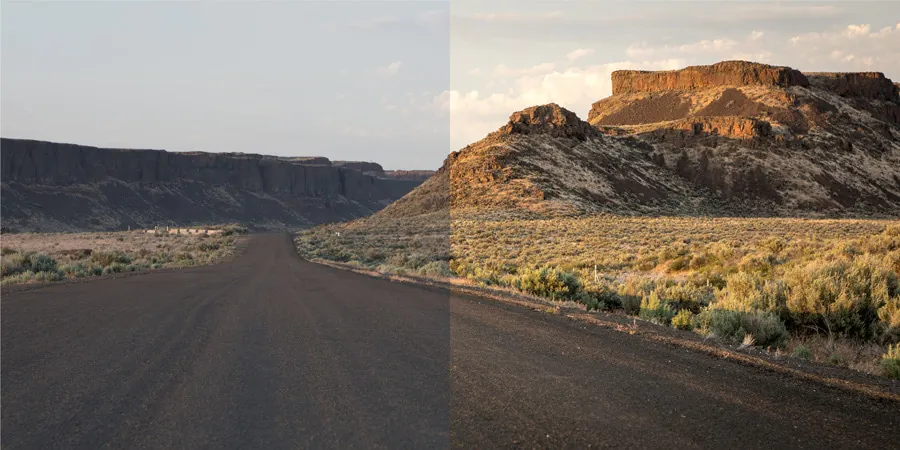
Step 6: Analyze before and after versions
Prior to finalizing the edits, take time to compare the image before and after the application of auto levels and consequent alterations.
Utilize the software’s preview highlight or toggle between the initial and altered versions to keenly survey the effect of the changes.
Pay near consideration to enhancements in brightness, contrast, and color balance, as well as any fine-tuning you’ve connected within the previous steps.
Assess whether the enhancements correlate with your initial objectives for the image. If discrepancies or zones of concern emerge, consider returning to particular steps for more refinement.
Explore for overall advancements in picture clarity, detail, and visual appeal. The objective is to get a final result that improves the image without relinquishing its realness.
Try side-by-side or split-screen views if your software permits you to understand the change comprehensively.
Look for a harmonious result where improvements contribute absolutely to the image’s overall quality without compromising its integrity.
This comparative examination serves as a last checkpoint before saving or exporting the edited picture, guaranteeing that the alterations comply with your vision for the ultimate result.
Step 7: Save or export the final composition
Once you’re satisfied with the ultimate alterations, continue to save or send out the improved photo.
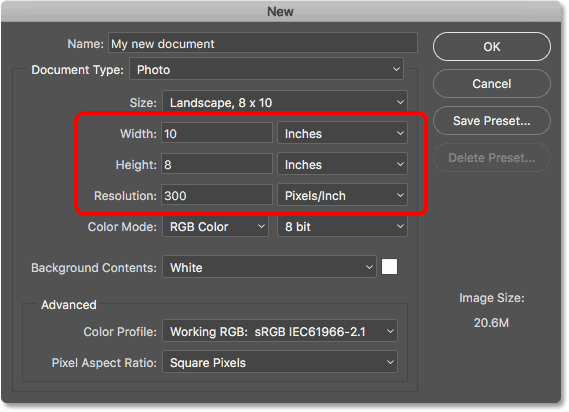
Select a suitable file format and quality settings based on your intended utilization of the picture. Standard formats are JPEG, PNG, or TIFF.
Rename the file if essential to recognize it from the original or to indicate the changes made during editing.
Select the folder where you need to save the upgraded image.
Affirm any extra settings, such as color profiles, resolution, or metadata, before completing the saving or exporting stage.
Be careful of file size, primarily if you aim to share or upload a picture online, and regulate compression settings appropriately.
Confirm that the saved or exported picture meets the details and necessities for your expected usage, whether for web sharing, printing, or other applications.
Completing this step concludes your efforts in applying auto levels and fine-tuning, which results in a finalized, upgraded picture prepared for introduction or conveyance.
Conclusion
To sum up, automatic leveling produces a more visually satisfying and desirable effect on images’ across-the-board quality and aesthetics. The essential objective of auto-levels is to verify that the darkest and lightest zones within the image represent the whole range of accessible tones. This collective alteration uplifts the image’s clarity and creates a more rhythmic representation of colors. For images that show up as extensively dark or lack contrast, the auto-levels will naturally redistribute the tonal values to address these issues. The resulting photos will be exemplary and well-toned, with all the integral factors competently supervised.
