How To Turn Your Images Into Scribble Art
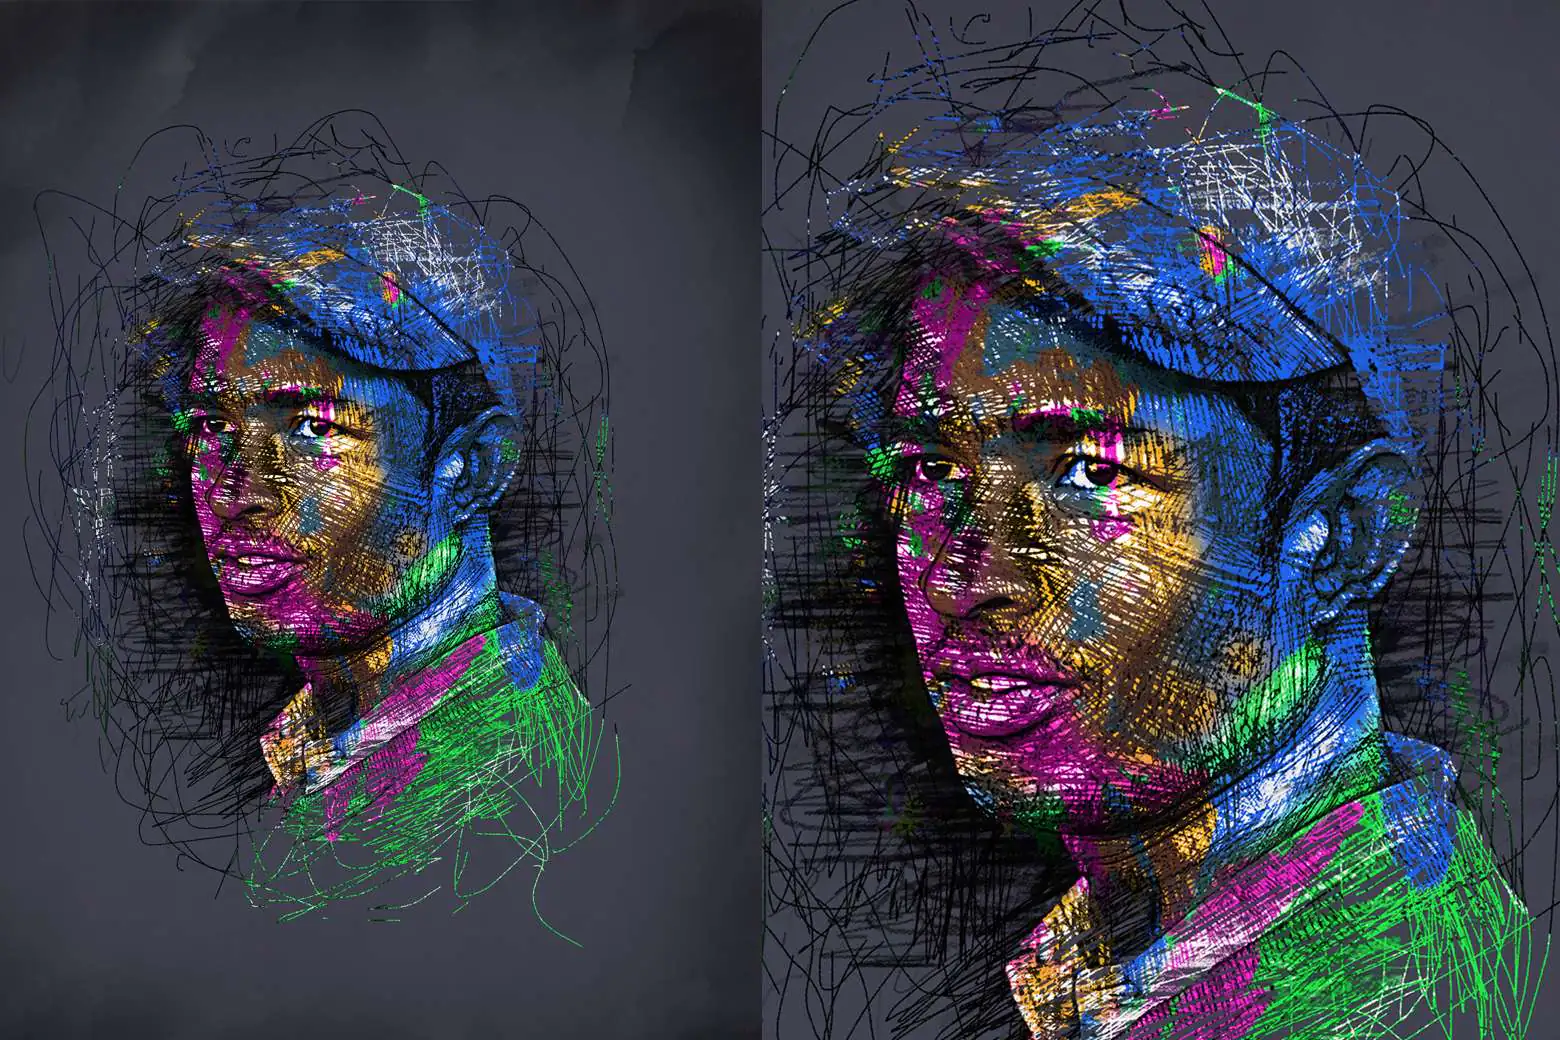
Scribble art is a framework of creative impulsiveness that proposes an unusual approach to art, counting on spontaneity and the imperfections of brushstrokes. This technique makes images a ravishing display of artistic flaws, featuring random lines, patterns, and shapes that overshadow the main subject, winning over the innate perfection of digital art. The unbridled ideas that are otherwise restricted to the human mind and are never meant to come out to avoid visual chaos get a breakthrough in scribbled artworks. Beyond the notion of traditional perfection related to art, this technique is even more spooky and free than abstract art, which reserves some artistic rules. By breaking conventional margins and letting the imagination set free, the canvas becomes a platform for innovative illustrations of scribble art. Nevertheless, despite the free-form character of scribbling art, it still benefits from attention to the techniques and step-by-step approach this blog tutorial can help you with. Ultimately, after grasping the following set of steps, you can create fascinating scribble art out of your plain images, eliminating boredom.
Step 1: Establish the base for your art

Selecting the proper source picture will impact the result of your scribble work. Regard these viable tips when selecting your source picture:
Suitability:
Choose an image that reverberates with your inventive vision. It can be a photo, a landscape, a portrait, or any subject matter that motivates you. Your source picture should align with the feelings or narrative you want to communicate to the viewers.
Particular Traits:
Pick a picture with well-defined shapes, clear lines, and exciting stuff. These components will provide a solid base for your scribbled art. The more precise the features, the more you can play with and upgrade them utilizing your scribbles.
Resolution:
For a pristine digital image, make sure that your source picture is of high quality. That provides clarity when zooming in and working on complex, subtle elements. High-resolution images result in high-quality scribble art.
Individual Association:
Select the visual that echoes with your personality. Your association with the subject matter will imbue your artwork with more feeling and profundity.
Variety:
Do not restrain yourself to one sort of picture. Explore diverse subjects and styles. Assortments can lead to unique and differing artistic manifestations.
Step 2: Adjust your software and explore drawing tools
Choose your choice of digital art software. Some significant choices are Adobe Photoshop, Multiply, Corel Painter, and Adobe Illustrator, among others. Each of these offers one-of-a-kind highlights and capabilities, so choose one that coordinates with your vision.
Think about your hardware alternatives, like an illustration tablet or a touchscreen gadget. Illustration tablets like Wacom or Huion offer accuracy and control, whereas touchscreen gadgets such as an iPad with an Apple Pencil give transportability and a natural feel. Select the apparatus that suits your working style and budget.
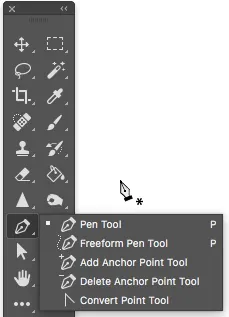
Investigate and try with custom brushes or brush sets. Different software provides you with custom options or allows you to download brushes that are pre-designed to imitate the organic character of scribbles. These brushes will be your primary tools for crafting your art.

Familiarize yourself with your chosen software’s features. Learn how to make and order layers, as they will play a critical part in your creative activity.
Grasp the fundamental keyboard shortcuts and hotkeys regarding your program. This information will spare you time and simplify the workflow.
To utilize color in your work of art, get comfortable with the color tools in your software, like selective color, blending, and creating color palettes.
Set a standard saving and backup framework inside your software to ensure your work in case of unforeseen crashes or issues.
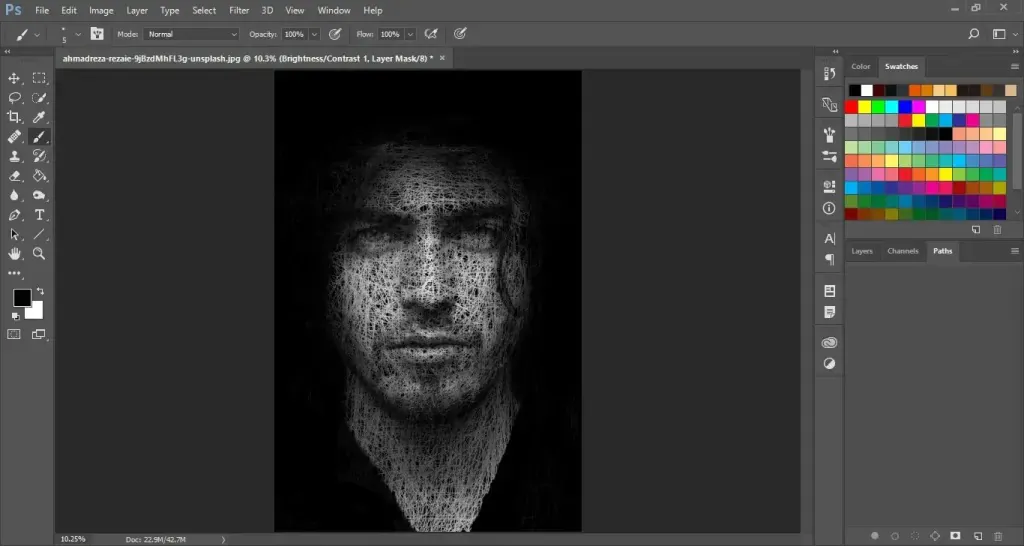
Step 3: Launch your image and make initial preparations
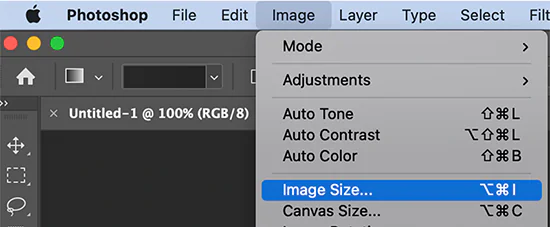
Launch your chosen software and add your source photograph. Use the software’s upload features to load the image onto your canvas.
Adjust the size of your image as required to accommodate your canvas parameters. Most software facilitates you with plenty of scaling and cropping options.
Make a new layer for your source image to use on your scribble art in separate layers, making it more simple to supervise and edit your artwork.
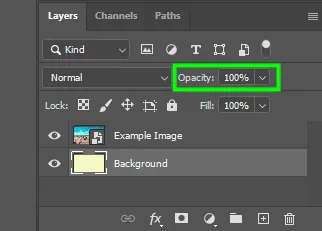
Minimize the opacity of the layer containing the image that smooths the sketching or tracing process over the source image. A decrease in opacity will turn the image semi-transparent, letting you recognize your scribbles more precisely as you blend them.
To safeguard against mistakenly altering the original image, lock the layer.
After ensuring that your source image is all setup, it’s time to start the scribbling process. Generate a new layer for your scribbles and start drawing in abstract lines and filling in the contours in your image.
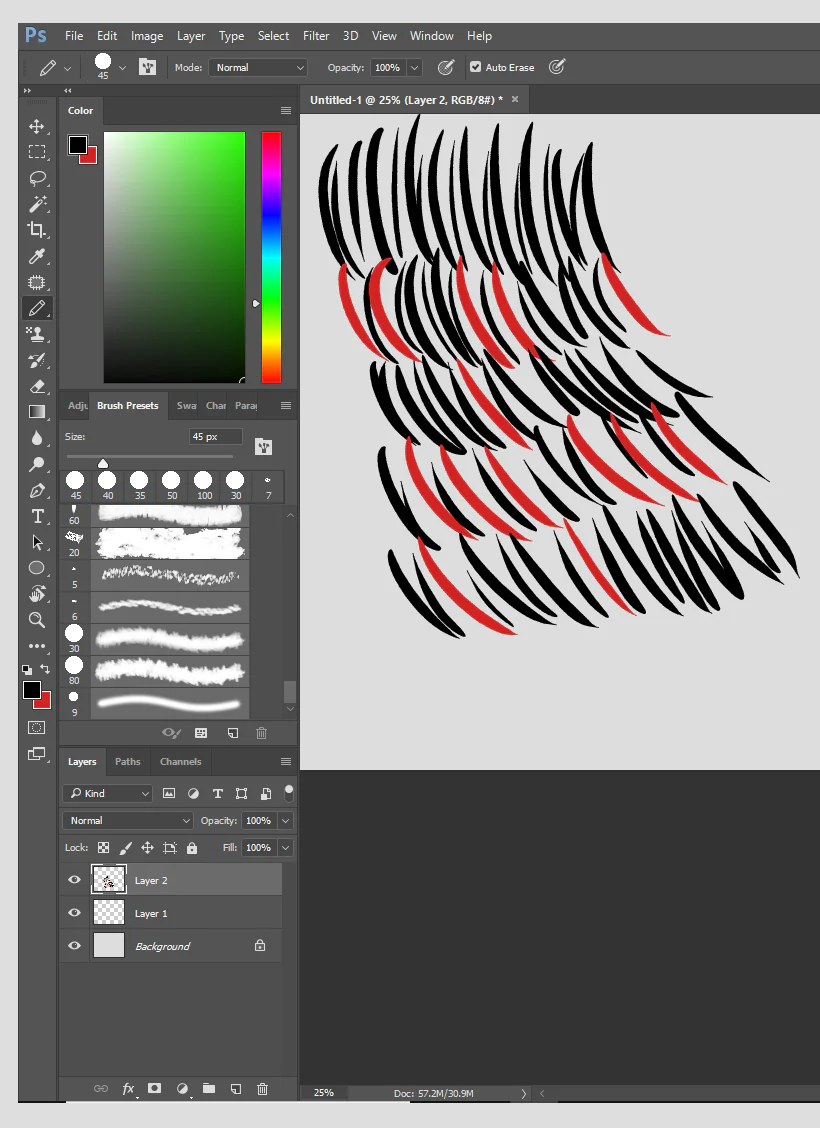
Step 4: Start drawing simple lines into intricate scribbles
Consider the design you prefer for your scribbles. You can try rash, chaotic lines or more precise and intricate strokes. Have fun with different styles to discover what meets your artistic vision.
To add richness and texture to your composition, use strokes of varying thickness. Increased thickness helps define outlines and critical features, while less thick lines are for finer details.
To enhance creative effects, let your lines overlap and intersect each other. That creates an impression of deliberate disarray and complexity in your scribble art.
Scribble art depends on freedom, so let your hand roam and don’t overanalyze each stroke. Appreciate imperfections and unpredictability in your lines for exciting outcomes.
Focus on illustrating vital elements and components of your visual. Emphasize these spots with your scribbles to entice attention to the main point of the subject.
As you move forward, create multiple layers to regulate and work with your scribbles while focusing on different facets of the image separately.
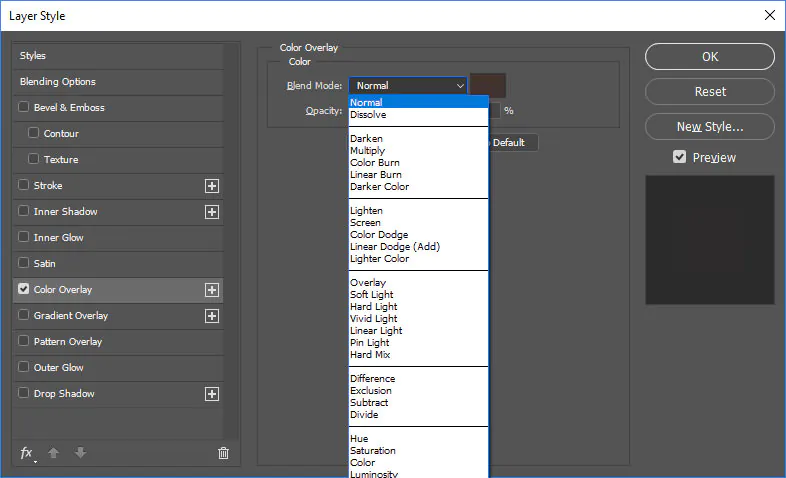
Step 5: Fill in the colors and enhance the background
Pick a color palette that reflects your artistic taste and the attitude you want to convey. It can be bold and vibrant or quiet and monochromatic; your color options can profoundly impact the final glimpse of your scribble art.
Use coloring tools to shade sections of your picture with color, or use digital brushes to apply color. For concrete artwork, think about pens, pencils, or any coloring tools.
Develop new layers for your colors and confirm they are set up and labeled. So that you can rapidly edit or adjust the colors without drastically affecting the remaining elements of your artwork.
Make use of software blending modes in layers. Play with these modes to get unusual and exciting color results. Try modes like “Overlay” and “Multiply,” which can increase the warmth of your colors.
Think about creating a background for your design. A solid-colored and textured background can strengthen the overall composition and complement your subject.
Step 6: Recap and rectify scribble art
Review your scribble art by using the zoom-in and zoom-out features of your software. Try observing it from a fresh perspective.
Reevaluate the more minute particulars of your artwork. Glance mindfully at the lines, colors, and how they collaborate. Look for any disparities or areas where you can enhance uniformity.
Examine your composition’s focal point for clarity and the overall arrangement and placement of elements. Retweak if it is required.
Check the association of your color palette with the visual aura you want to introduce in your work. Tune the color balance or saturation according to the right spiritual impact.
Examine the composition of your artwork. Ensure that the focal point is clear and that the overall balance and placement of elements are visually satisfying. Implement adjustments if needed.
Review the textures or special effects you’ve put in to affirm their transforming role in your artwork. Ensure those effects are not overpowering the natural aspects.
Ask for feedback from peers or digital artists. Their positive or negative comments can equally polish your final scribble composition.
Regarding the feedback, make any necessary changes to your images, like editing lines, colors, or any other irregularities you’ve discovered.
Scrutinizing and refining your scribble art highly contributes to its perfect alignment with your creative approach and effectively passes on the feelings or message you aim for. At the end of this step, you have achieved a clean and captivating last piece that successfully visualizes your inventive abstract ideas.
Conclusion
Scribble art is one of the most easygoing forms of art that lets the creator go with the flow. The artist needs to be open to revealing his free self, which is often subdued by conventional standards. Scribble expression is also a symbolic relief for the artist and the onlooker, as human nature loves wild and organic things. In the modern era of extreme materialism and formalities, artwork is often affiliated with decency and intricate beauty without giving much freedom to raw artistic expression. Eventually, scribbled art images bring light to the liberal aspect of art that is pleasing to the mind, the eyes, and the heart.
