How To Turn A Photo Into A Manga
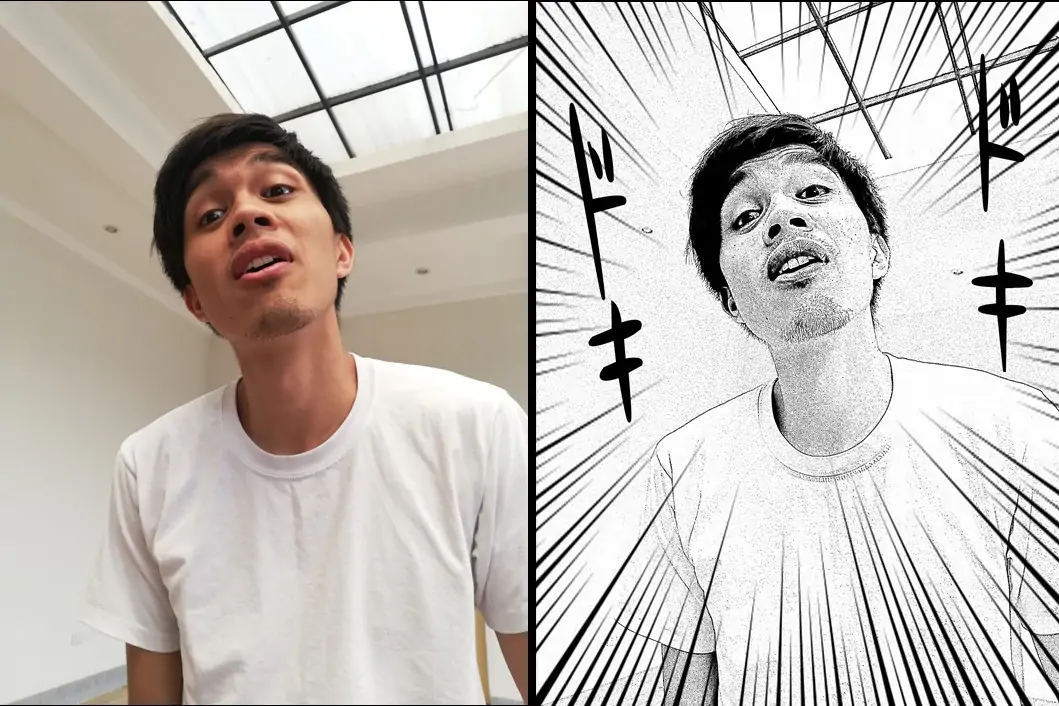
Manga is a kind of Japanese art that conveys stories in an original way through beautiful illustrations. Manga encompasses a wide range of genres, including historical fiction, drama, detective, horror, mystery, science fiction, sports, and many more. It is strongly linked to Japanese society and culture. Adventure, action, business, and comedy are among the numerous genres included in manga. Manga is published in prominent publications like Jump and Shinen Beat in Japan. These go on for a long time and are released chapter by chapter, either weekly or monthly. The manga characters are typically depicted as having exaggerated emotions, such as tears welling up in buckets or eyes that swell up to the size of their faces when they laugh. Similarly, characters are portrayed as having red cheeks and steam flowing all over their bodies when they are furious. This blog post will explain how to deliberately employ digital tools and techniques to turn your existing photos into thrilling manga pieces.
Step 1: Initial Image Selection
Pick a photo that will work as the right ground for your manga conversion. Search for an image with precise subjects and particular highlights that you expect to stress in your manga artwork.
Check that the photo has great lighting and design to encourage simpler tracing and control in subsequent steps.
Before you start, make sure that your photo possesses high quality and resolution. It can help in keeping up with details amid the transformation process. On the off chance that is needed, alter the brightness, contrast, or colour balance to improve the precision of the image.
Pinpoint the primary subjects or central focuses inside the image that you need in your manga work of art. It can be an individual, scene, or any noteworthy component that shapes the essence of your aesthetic vision.
Get a know-how of commonplace manga art traits like strong lines, expressive highlights, and streamlined shapes. Such recognition will direct your approach when changing your photo into a manga piece.
Initiate your preferred software for image manipulation or manga conversion. Establish your workspace by revising canvas measurements and resolutions that agree with your project prerequisites.
Step 2: Introducing Line Art
Bring your selected shot into your editing program. Before proceeding, be sure that the picture is of high resolution for superior detail maintenance during the transformation process.
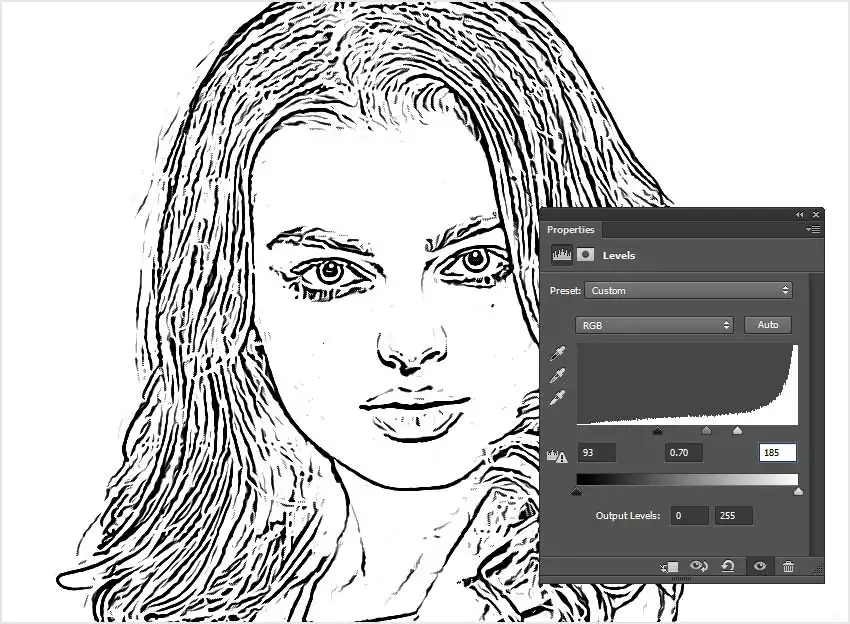
Arrange your workspace by assigning layers within the software. Make a new layer committed to the line art, which can be utilized to trace over the leading segments and forms of the photo.
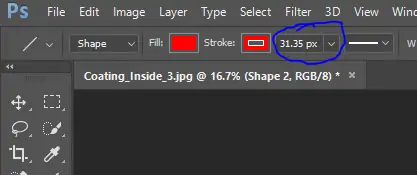
Decide an appropriate drawing tool or brush with a hard edge and movable thickness. You will utilize this instrument to form bold, clean traces that imitate the particular fashion of manga artwork.
Commence tracing over the leading highlights and forms of the photo on the devoted line art layer. Concentrate on attending to the basic shapes and points of interest while simplifying complex textures and minor details.
Alter the thickness of the lines where required on certain components or make depth inside the artwork. Utilize thinner lines for unobtrusive points of interest and stuffier lines for preeminent outlines.
Persistently regulate the line art by altering curves, smoothing lines, and guaranteeing consistency throughout the work of art. Pay concentration to proportions and the prevailing composition to preserve a proportional aesthetic.
Occasionally save your attempts to avoid losing any modifications. Think of saving multiple adaptations of your work of art to track your progress.
Step 3: Modifying The Lines
Assess the line art and recognize zones where details can be simplified without compromising the general composition or core of the initial photograph.
Utilize the software’s tools to smooth out perplexing surfaces and petty details present in the line art. Work on strengthening clarity and meaningfulness within the last manga artwork.
Improve the noticeable quality of key highlights inside the line artwork by recasting line thickness and density.
Recheck that proportions and perspectives are perfectly depicted within the line work. Do setting as required to acquire a cohesive and visually pretty portrayal that adjusts with manga art standards.
Think of demonstrative components like facial expressions, signals, and poses. These viewpoints are vital in passing on feelings and narrating inside manga artwork.
Examine the complete line art for consistency in line quality, fashion, and in general coherence.
Accomplish essential refinements to preserve a harmonious visual speech all through the artwork.
Save your work frequently to protect changes and permit for simple emendation in case required.
Step 4: Screen Tone Settings
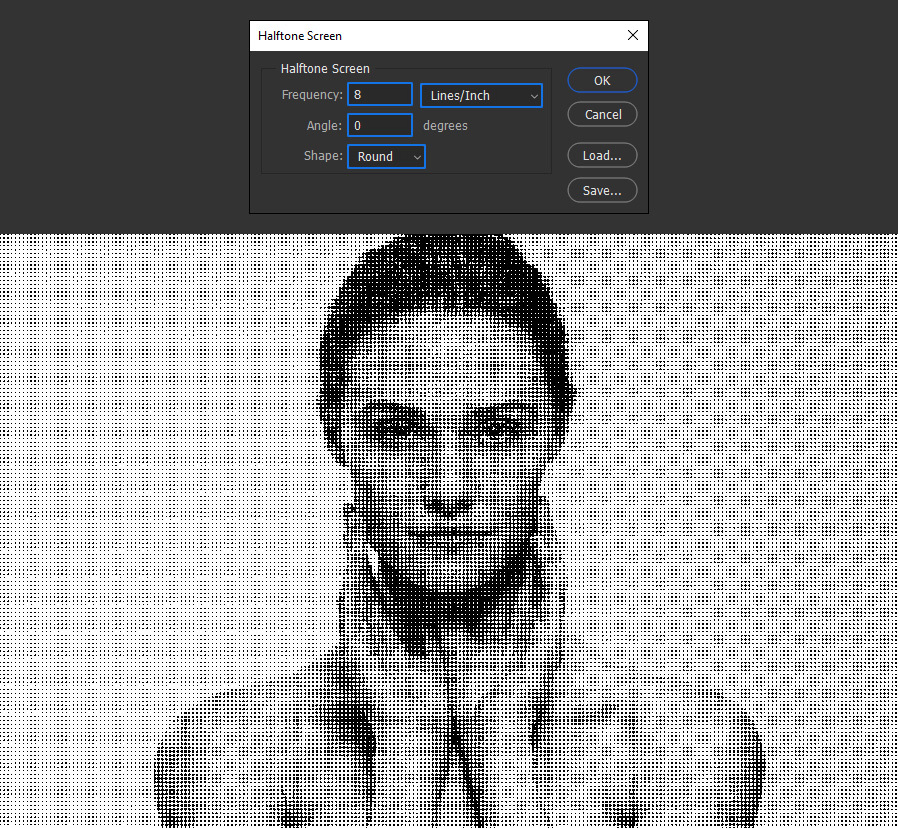
Look into screen tones, which are designs utilized in the manga to make shading and surface effects. These designs range from basic dabs to more complex scenarios.
Utilize the software’s tools to set screen tones to distinctive zones of the manga artwork. Pick the right tones based on the desired shading effect and the aspects of the initial photo.
Adjust the thickness or dividing of the screen tones to control the vigour of shading. Thick patterns make darker shades, while scanty designs deliver lighter shades.
Use screen tones deliberately to include profundity and surface to different components inside the artwork. Utilize lighter tones for highlights and darker tones for shadows to upgrade three-dimensional impacts.
Investigate different screen tone designs to attain the required artistic impact. Blend designs inside the same artwork to form varieties in surface and visual interest.
Polish the application of screen tones by smoothing moves between diverse tones and mixing them consistently with the line art.
Study the artwork in its entirety to confirm that the application of screen tones improves the general composition. Make essential alterations to tone density and placement to attain the specified manga-style aesthetic.
Step 5: Making Color Revisions
Estimate the general temperament and the subject of your manga work determined from the photo. Decide an appropriate colour palette that complies with the narrative or emotional style you want to express.
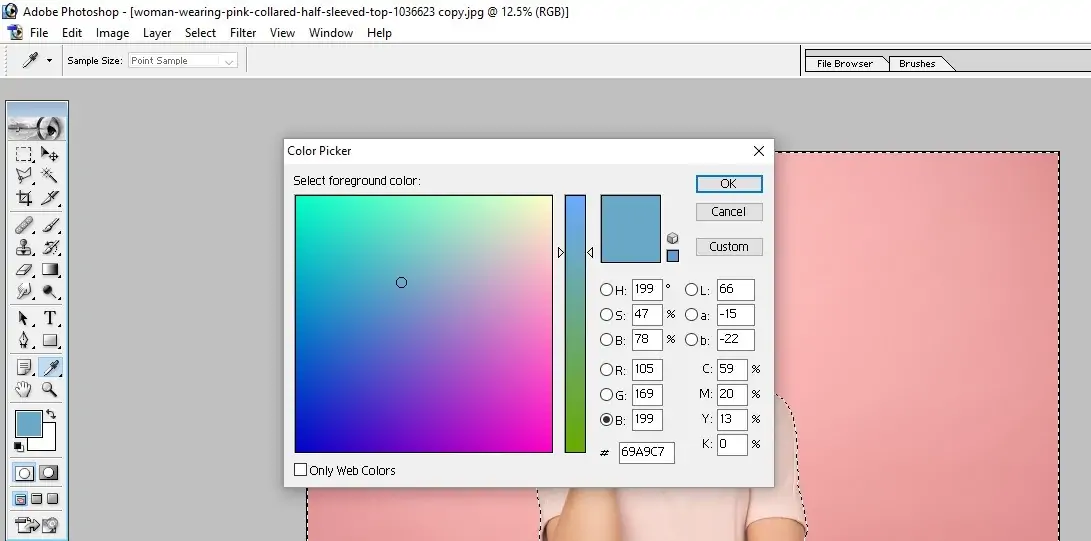
Operate the software’s colour adjustment options, such as hue/saturation, levels, or colour balance, to adjust the colour impression of the artwork. Guarantee these tools are attainable and simple to operate.
Fill base colours to distinctive components of the artwork, beginning with bigger regions before moving on to better points of interest. Select colours that adjust together with your chosen palette and sweeten the visual impact of the manga artwork.
Set the saturation levels of colours to gain a dynamic and expressive look, as found in manga works. Rise saturation for striking, energetic scenes or diminish it for more stifled, climatic effects.
Present highlights and shadows to upgrade the depth and dimensionality of the illustration. Utilize lighter shades for highlights and darker hues for shadows, applying them deliberately to make a feel of light and shape.
Check that colours conform well with each other and add to the overall coherence of the composition. Alternate colour tones and contrasts as required to achieve an adjusted and outwardly satisfying arrangement.
Inspect the coloured work of art as a totality. Complete the last tweaks of colours, contrasts, and shading so that they adjust with the manga-style aesthetic and effectively pass on the aiming temperament or story.
Step 6: The Definitive Review And Export
Decide the narrative stream and composition of your manga illustration. Choose the performance of panels based on the story or visual accentuation you need to communicate.
Utilize your software’s panel creation feature to set up panel borders and divisions inside the composition. Modify panel sizes and shapes to form energetic formattings that direct the viewer’s eye through the story.
Put components of the manga work of art inside each panel, agreeing to their significance and consecutive order. Guarantee clarity and balance in storytelling by organizing panels coherently and successfully.
Make smooth transitions between panels to preserve a consistent flow of action and narration. Utilize strategies such as overlapping components or directional signals to associate panels outwardly.
Play with different board formats and sizes to improve visual welfare and pacing. Join take-ups like splash pages, insets, or diagonal boards to add energetic vitality to the artwork.
Evaluate the comprehensive composition of the manga and save the finished manga piece in an expedient file format.
Conclusion
In closing, popular Japanese manga has a significant impact on a wide range of media. Numerous manga series are released as books, comic books, television programmes, motion pictures, video games, and collectable figures. Manga’s origins can be seen in every facet of Japanese society and business. However, as digital illustrations expand, the manga concept also gets into picture creation and editing, helping artists incorporate unique ideas into their digital artworks. By following the above-mentioned procedures, you can also produce glamorous mangas that enchant viewers with their adorability.


