How To Handle JavaScript Rendering With Puppeteer
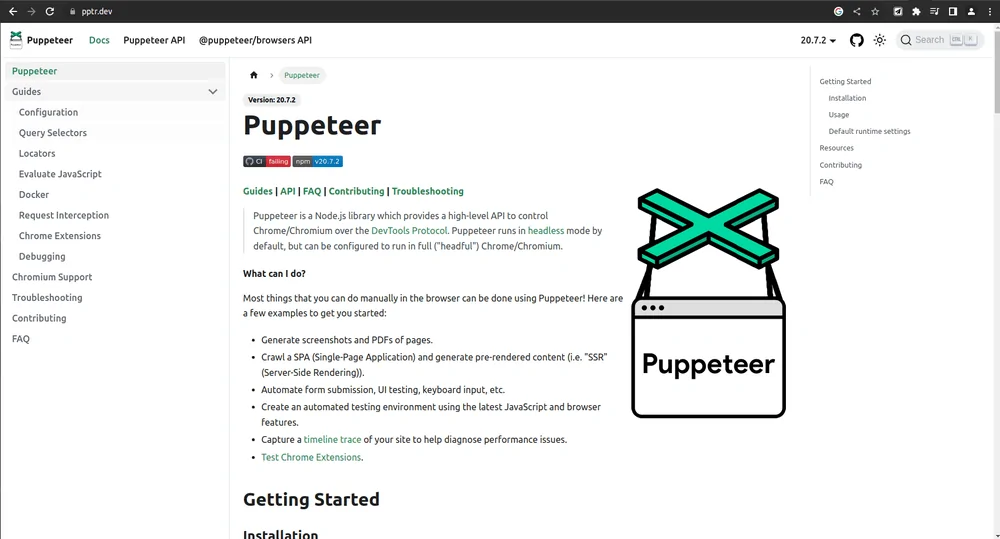
Puppeteer is a JavaScript library that offers a high-level API for controlling Chrome or Firefox using WebDriver BiDi or the DevTools Protocol. By default, Puppeteer runs in headless mode, which displays no user interface. Handling JavaScript rendering with Puppeteer can be an essential aptitude for developers as well as data scientists to interact with advanced dynamic sites. Most websites use JavaScript to validate their content and support additional applications like PDFs, Flash apps, and widgets. It provides features and interaction that improve user experience and significantly simplify surfing the web. However, web scrapers face considerable challenges when attempting to scrape websites with JavaScript-based structures. In this case, the role of Puppeteer becomes meaningful in helping the developers control a headless browser and allow them to render and interact with those dynamic, JavaScript-heavy sites. This tool is preferred for its simplicity and flexible nature which offers efficiency in handling even the most intricate renderings. Puppeteer supports data extraction, automated browser testing and rendering validation; all such attributes make it a perfect choice for different operations, including web scraping, SEO testing and monitoring an application’s performance. The following steps will illustrate the process of handling JavaScript rendering with Puppeteer, helping users deal with complex JavaScript renderings.
Step 1: Installing The Library
The initial step in the process of handling JavaScript rendering with Puppeteer is installing the library. Puppeteer is a Node.js package that gives an API to oversee a headless adaptation of Chrome or Chromium. To start, make sure that Node.js and Node Package Manager (npm) are installed on your system, as Puppeteer relies on these tools.
After that, open a terminal or command prompt in your project directory and operate the below-given command for Puppeteer installation:
npm install puppeteer
That command will download Puppeteer together with a consistent version of Chromium. The installation phase can take a few moments as the browser binary is sizeable. On the off chance that you want to utilize a locally installed form of Chrome/Chromium, you can omit to download the binary by executing the following command:
npm install puppeteer –no-install-chromium
After being done with the installation, Puppeteer can be imported into your project, empowering programmatic browser control. Appropriate installation is basic for consistent interaction with energetic web pages, establishing the stage for JavaScript rendering.
Step 2: Setting Up The Script
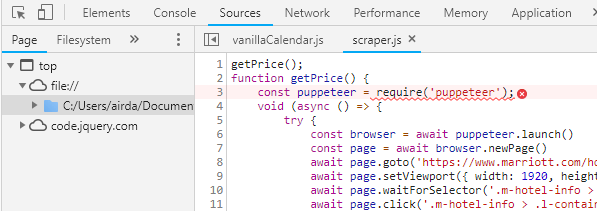
The next step after Puppeteer installation, the following step involves setting up the script to handle the browser and communicate with the target web page. Make a JavaScript file in your project directory, such as render.js. In that file, you need to import Puppeteer and define an asynchronous operation to initiate the browser and perform actions.
Begin with bringing in Puppeteer and establishing a rudimentary structure. Look into the following code:
const puppeteer = require(‘puppeteer’);
(async () => {
const browser = await puppeteer.launch(); // Launch the browser
const page = await browser.newPage(); // Open a new browser tab
console.log(‘Puppeteer is set up successfully!’);
await browser.close(); // Close the browser
})();
The above code will initiate Puppeteer, open a new browser instance, and log a message to affirm setup.
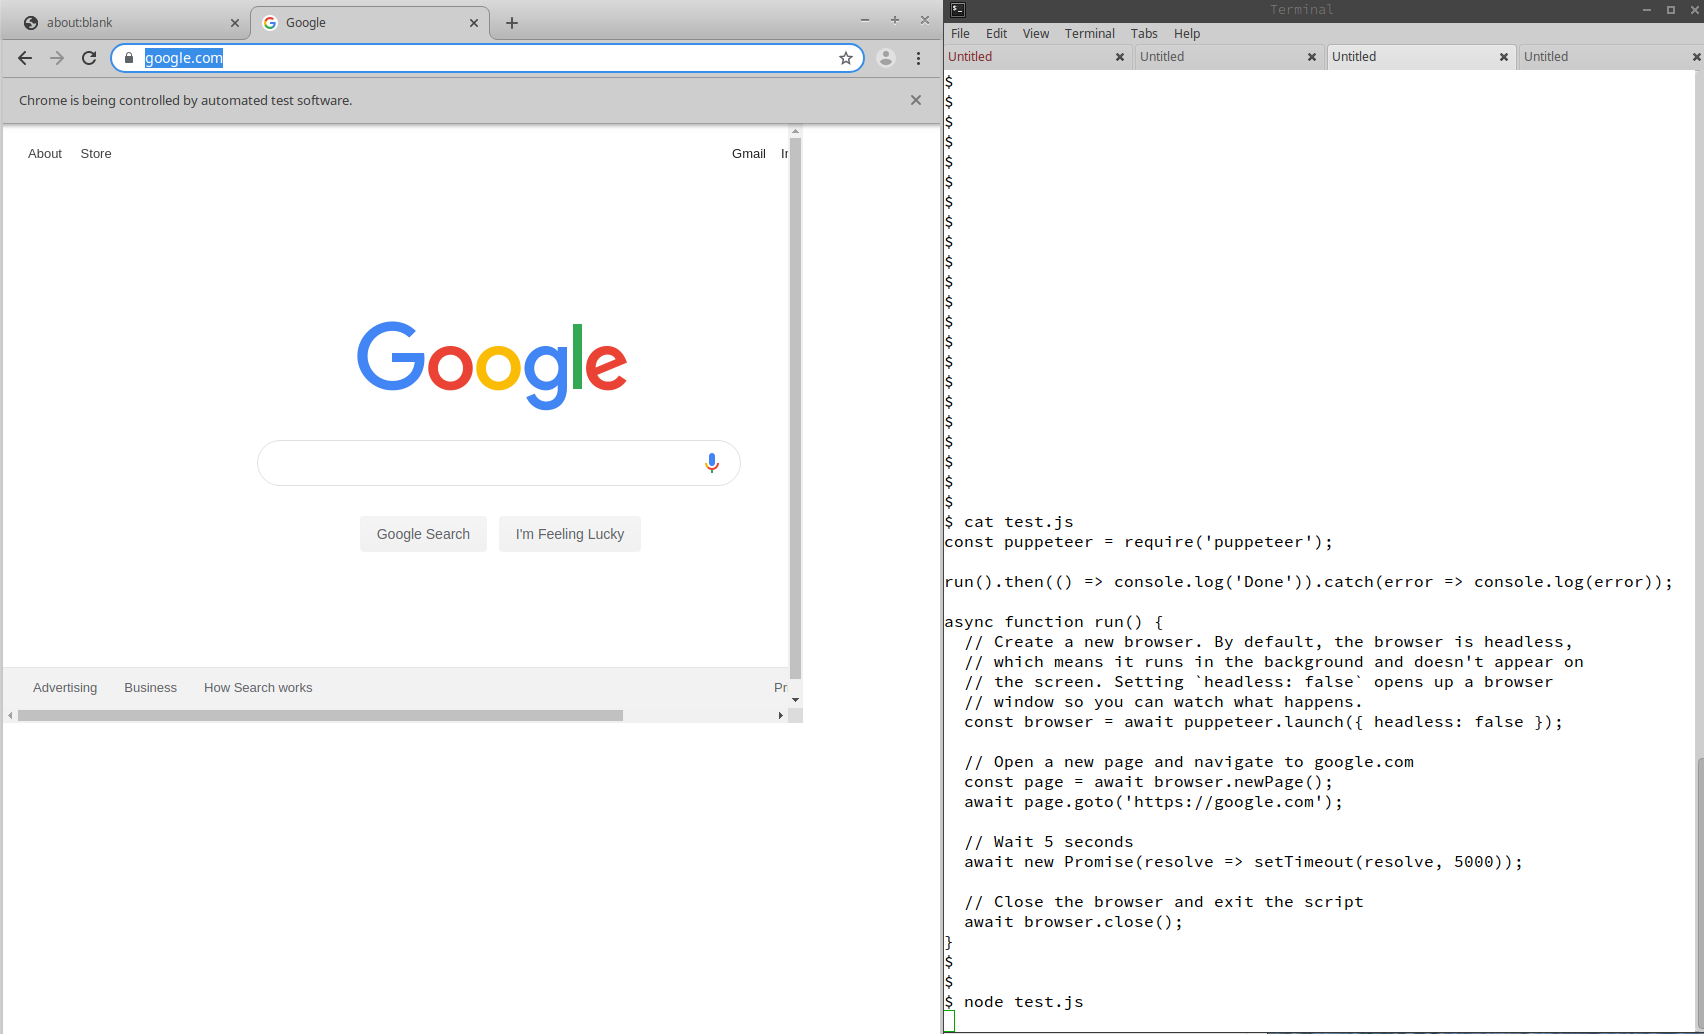
You can customize the puppeteer.launch() strategy with choices including ‘headless: false’ to see the browser interface or set viewport dimensions. That script will shape the establishment for driving JavaScript rendering, permitting interaction with web pages. After the setup is confirmed, continue to include navigation and extraction logic in consequent phases.
Step 3: Launching The Puppeteer-Controlled Browser
After the Puppeteer script is set up, the third step involves launching the Puppeteer-controlled browser. That can be where the automation process commences, as Puppeteer opens a browser instance for loading and interacting with web pages.
The puppeteer.launch() function is utilized to initiate the browser. By default, Puppeteer functions in headless mode, which means the browser runs within the foundation without a visible interface. Yet, it could be customized according to your requirements.
The following is a case of launching the browser with essential options:
const browser = await puppeteer.launch({
headless: false, // Set to false to see the browser UI
args: [‘–start-maximized’], // Optional: Start the browser maximized
defaultViewport: null, // Optional: Use the system’s default viewport size
});
console.log(‘Browser launched successfully!’);
The above code snippet guarantees that the browser opens in a way that serves your necessities. The args parameter can incorporate further commands, such as disabling sandboxing or imitating particular gadgets.
Launching the browser could be a basic step since it lays the groundwork to load the web page, execute JavaScript, and scrap dynamic substance. After the browser is running, you are now ready to continue to the following step which involves navigating to your target site.
Step 4: Proceeding To The Target Web Page
The fourth step is to proceed to the target web page you want to render and interact with. Puppeteer’s page.goto() strategy is utilized for that pursuit. It will open the desired URL and wait for the page to load, with any JavaScript content that should be rendered.
The following is an illustration:
const page = await browser.newPage(); // Open a new tab
await page.goto(‘https://example.com’, {
waitUntil: ‘networkidle0’, // Wait until the network is idle (no ongoing requests)
});
console.log(‘Navigation to the target page is complete!’);
The waitUntil choice will make sure that Puppeteer waits for the page’s resources, like JavaScript and images, to load completely before moving on. Typical values incorporate “load” to wait for the load event, “domcontentloaded” which waits for the DOM content to wrap up loading and the “networkidle0” which waits up till there are no more network associations.
You can also set the headers, and the cookies, or emulate gadgets before getting to imitate a particular user experience.
That step will confirm that Puppeteer can interact with the fully loaded page, planning for JavaScript rendering and content extraction in the subsequent steps.
Step 5: Waiting For JavaScript To Render Dynamic Content
After Puppeteer starts navigating to the target page, it is fundamental to wait for JavaScript to render dynamic content. Numerous advanced websites depend on JavaScript frameworks such as React, Angular, or Vue to occupy the page, and failing to hold up could result in inadequate or missing information. Puppeteer offers methods such as page.waitForSelector() or page.waitForTimeout() to deal with that. The following is a case:
await page.waitForSelector(‘#content’, { visible: true }); // Wait until the element with ID “content” is visible
console.log(‘JavaScript has rendered the dynamic content.’);
In the above code, waitForSelector pauses the script till a distinct HTML element shows up within the DOM, guaranteeing the content is fully loaded.
Options like { visible: true } indicate that the element must be seeable, not just to be within the DOM.
On the other hand, you can utilize a timeout to provide JavaScript with a particular sum of time to perform:
await page.waitForTimeout(5000); // Wait for 5 seconds
console.log(‘Timeout completed, assuming JavaScript rendering is done.’);
Waiting for JavaScript execution makes sure that Puppeteer retrieves all and precise data. That step is basic for handling Single Page Applications (SPAs) or sites with hefty client-side rendering.
Step 6: Extracting The Completely Rendered Content

After waiting for JavaScript execution, the last step is to extract the completely rendered content from the page. Puppeteer offers numerous strategies to retrieve information, including getting the page’s HTML, choosing particular elements, or taking screenshots of the rendered page.
To extract the full-page content, look into the following:
const content = await page.content(); // Retrieves the entire HTML of the rendered page
console.log(content);
This strategy is perfect for capturing the whole structure of the page after rendering, with dynamic content added by JavaScript.
For targeting particular elements and extracting their content, utilize page.$eval() or page.$$eval() for single or different elements, respectively. To extract specific information look into the following case:
const heading = await page.$eval(‘h1’, element => element.textContent); // Get text of the first <h1> tag
console.log(`Heading: ${heading}`);
In case of multiple elements:
const items = await page.$$eval(‘.list-item’, elements => elements.map(el => el.textContent));
console.log(‘List Items:’, items);
To visually affirm JavaScript rendering, you’ll take a screenshot like this:
await page.screenshot({ path: ‘screenshot.png’, fullPage: true });
console.log(‘Screenshot saved as screenshot.png’);
That stage permits you to approve that the information was rendered accurately and gather specific data from the page. After extraction is done, shut the browser to wrap up the process:
await browser.close();
console.log(‘Browser closed. Task complete!’);
After done with the content retrieval, you can then process or store the data for further utilization.
Conclusion
In summary, Puppeteer is a substantial tool for handling JavaScript-based websites in varying web technology environments. From data extraction to UI testing, this Node.js package can assist users with a variety of tasks and offers an intuitive interface for managing a headless Chrome browser. Given that it provides a strong and adaptable web automation solution, developers approvingly favour it. For web browser task automation, Puppeteer offers an easy-to-use API that makes it relatively easy for developers to get going with JavaScript rendering.
