How To Edit Images With Afrocentric Elements
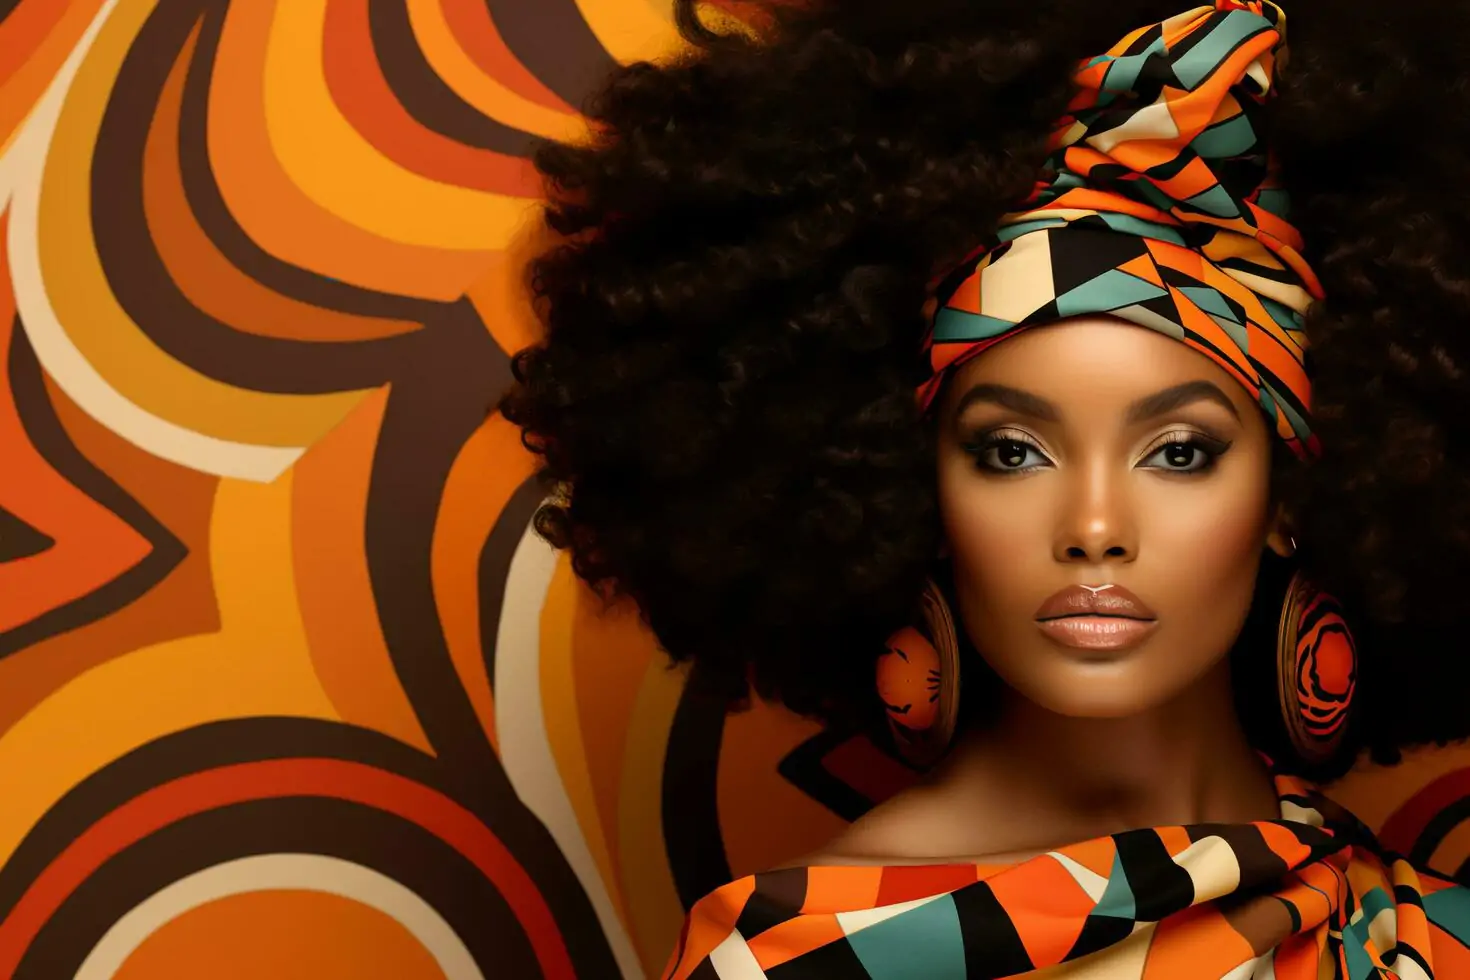
Afrocentric images honor the rich cultural legacy and lifestyles of people of African ancestry. In the form of visual art, the Afrocentric themes pivot on the African history of the community and refusal to accept any form of oppression. Various artists throughout history, including the contemporary era, have been bearing inspiration from traditional African insignia, motifs, and designs, transfusing their work with that cultural verismo and symbolism. The most eminent theme behind Afrocentric pieces is to glorify the natural beauty of African people, their hairstyles, organic skin tones, and their traditional attire. This visual art also questions the prevailing Eurocentric beauty standards and invites the masses to look at the charm and uniqueness of African traits. To create Afrocentric images or modify existing photographs with this approach, you can focus on editing techniques that help in skin tone correction and hair texture enhancement, as well as the inclusion of Afrocentric symbols, motifs, and other cultural references. Following are the steps to edit your images with an infusion of Afrocentric cultural elements.
Step 1: Skin Tone Modification
Open the image you want to modify in a suitable editing application, like Adobe Photoshop or Lightroom.
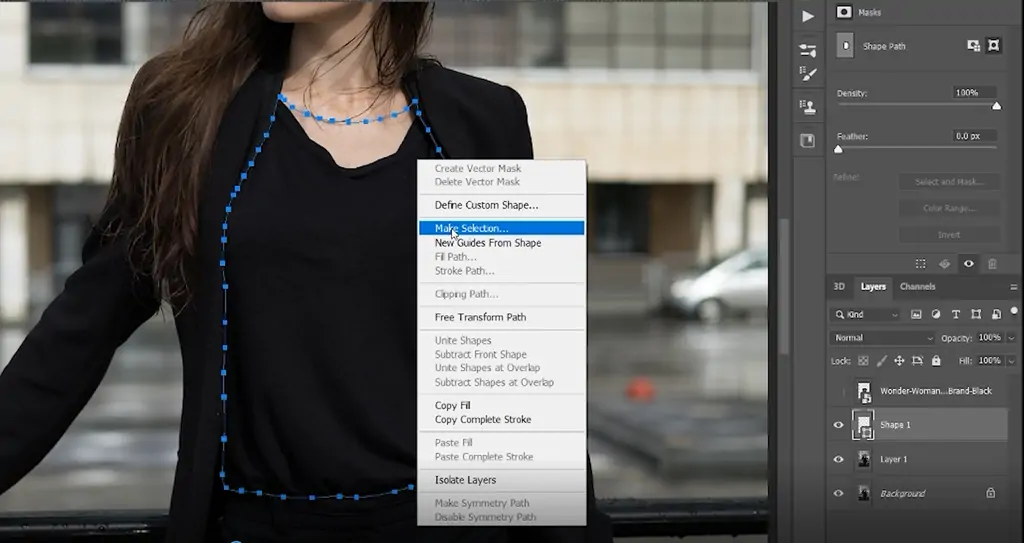
Utilize tools like the Lasso Tool, Quick Selection, or Masking options to accurately select the skin zones you need to enhance.
Continuously work on a new layer to guarantee the initial image remains untouched. That allows for non-destructive editing and simpler alterations later.
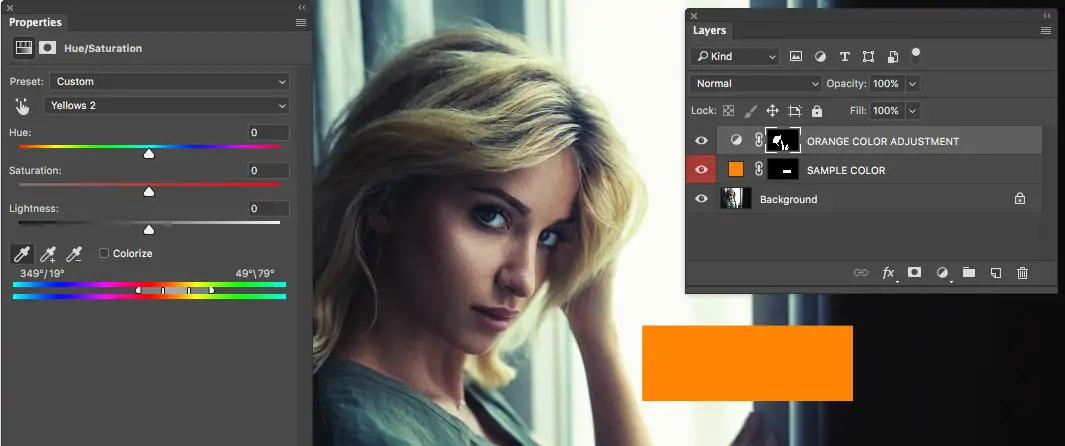
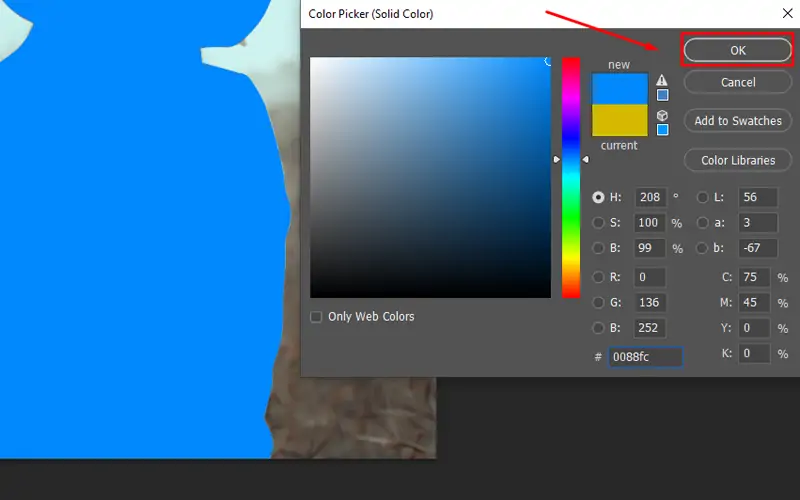
Access tool options include hue/saturation adjustment layer, color balance, or selective color to enhance skin tones. Aim for a realistic and dynamic representation of the skin’s common hues.
Apply feathering to the selection edges or utilize the Brush Tool with a lesser opacity value to blend alterations consistently into the surrounding zones.
Utilize Dodge and Burn strategies to include profundity and dimension, enhancing the natural outlines of the face and body.
Keep comparing your adjustments with the original image, ensuring the improvements are natural and genuine to Afrocentric skin tones.
Save your progress in a format that holds layers for future alterations, and export the ultimate picture within the desired format.
Step 2: Enhancing Hair Textures
Utilize the Quick Selection Tool, Lasso Tool, or Masking features to precisely select the hair. Zoom in to confirm the accuracy.
Copy the selected hair zone onto a new layer. It helps you to work non-destructively and compare changes effectively.
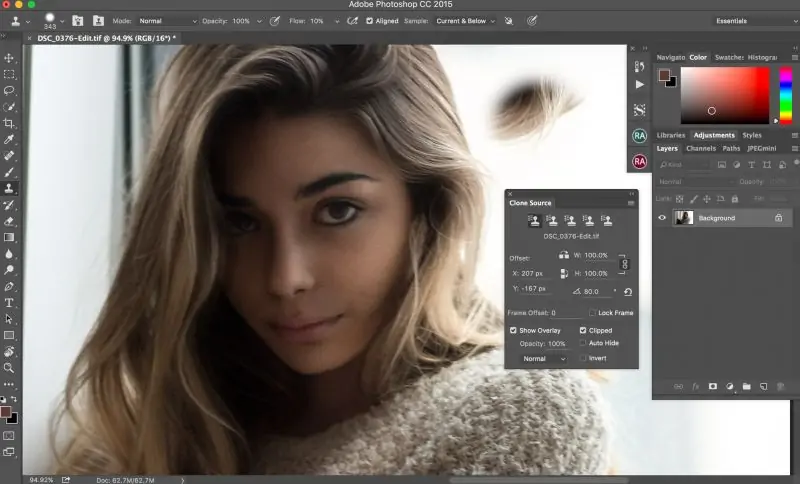
Utilize the Smudge Tool, Clone Stamp Tool, or particular hair texture brushes to upgrade or refine the hair surface. Focus on including or defining curls, coils, or waves to reflect Afrocentric hair textures.
Utilize Adjustment Layers like Hue/Saturation, levels, and curves to refine the hair color and include natural highlights and shadows. It helps in including depth and dimension.
Look into utilizing filters such as the Oil Paint Filter or custom texture overlays to improve the natural appearance of the hair.
Make sure that the edges of the hair blend consistently with the rest of the image. Utilize a soft brush and minimize opacity settings for even transitions.
Persistently recheck and review the adjustments with reference to the initial image.
Step 3: Addition Of Cultural Motifs
Select Afrocentric images or designs that even up with the image’s theme. Incorporate Adinkra images, kente designs, or other conventional African designs.
Discover high-resolution pictures or vector files of the chosen images to guarantee clarity and quality when integrated into your photo.
Import the decided symbols into your photo editing program. You can do it by opening the files directly or dragging them into your working document.
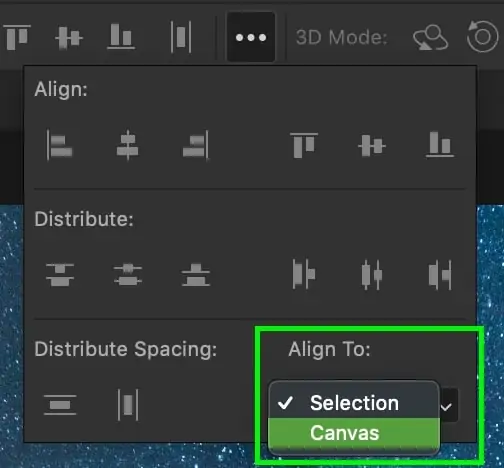
Put the symbols within the desired zones of the image. Utilize the Move Tool to alter their position and guarantee they harmonize with the composition.
Utilize Transform tools to scale, turn, or skew the symbols to fit uniformly inside the image.
Apply blending modes like Multiply, Overlay, or Soft Light and alter opacity to coordinate the images consistently into the photo. Get to layer masks to polish the edges and guarantee they blend well with the basic image.
Utilize Hue/Saturation and Color Balance alterations to tone with the symbols’ colors with the general color scheme of the picture, ensuring correspondence and coherence.
Step 4: Enhancing Attires
Select authentic Afrocentric clothing or embellishments that orient with the image’s cultural setting and theme. Add dashikis, kaftans, gele headwraps, or conventional adornments.
Get high-resolution pictures or vector files of the chosen attire or embellishments to guarantee clarity and detail when fused into the photo.
Open the chosen attire images in your software or drag them into your working document to start the integration process.
Put the attire elements onto the subjects within the image, guaranteeing they blend naturally with the body proportions and postures. Utilize the Transform tools to alter size and orientation as required.
Apply blending modes and alter opacity to primely integrate the attire components with the subjects within the photo. Utilize strategies like masking and erasing to refine edges and guarantee a natural unification.
Utilize Hue/Saturation and Color Balance alterations to coordinate the attire’s colors with the general color scheme of the image, keeping up visual unanimity.
Address the particulars like folds, shadows, and highlights to upgrade the authenticity of the attire integration.
Audit the general impact to guarantee the traditional attire builds up the Afrocentric theme of the photo.
Step 5: Manipulating The Background
Assess the existing background of the image and decide if any modifications are fundamental to improve the Afrocentric theme or progress visual appeal.
Select Afrocentric background components such as landscapes, cultural landmarks, or structural highlights that relate to the image’s theme and narration.
Discover high-resolution images of the chosen background components or utilize stock photo resources to guarantee clarity and detail.
Open the chosen background pictures in your program and position them behind the main subjects of the photo. Utilize layering and masking procedures to merge the background consistently with the foreground.
Utilize Transform options to scale, turn, or skew the foundation components to fit the composition and viewpoint of the initial picture. Pay consideration to light and shadows for practical integration.
Utilize delicate brushes and layer veils to refine the edges of the foundation components and guarantee they mix easily with the frontal area subjects.
Apply color alterations and review the foundation components to coordinate the general color plot and temperament of the picture. Guarantee consistency and concordance with the closer view.
Weigh up the overall composition and integration of the background components to guarantee they enhance the Afrocentric theme of the image.
Step 6: Employing Color Grading

Assess the existing colors within the image and decide the required mood or climate to communicate through color grading. Consider Afrocentric color plans that inspire warmth, energy, or cultural abundance.
Utilize the White Balance tool or Color Temperature adjustments to rectify any color casts and ensure precise representation of colors within the composition.
Utilize Adjustment Layers such as Color Lookup, Gradient Map, or Photo Filter to apply color filters that escalate the Afrocentric theme. Try different blending modes and opacities to get the specified effect.
Get to the Hue/Saturation adjustment layer to alter the hues of particular colors within the image specifically. Improve or adjust colors to reflect the craved aesthetic while keeping up natural-looking tones.
Utilize Curves or Levels settings to adjust contrast and tonal range within the image. Improve highlights, shadows, and midtones to include depth and dimension.
Make separate adjustment layers for highlights, shadows, and midtones to have more control over color grading effects. Utilize masking to specifically apply alterations to particular regions of the image.
Continuously evaluate the color grading adjustments against the initial image to confirm they encourage the Afrocentric theme while holding visual coherence and realism.
Step 7: Adjusting Lighting Effects

Evaluate the existing lighting in the composition, considering variables such as direction, intensity, and color temperature. Look into zones that require enhancement or adjustment.
Employ exposure or brightness/contrast alterations to adjust the overall presentation of the image globally. Guarantee proper exposure levels to avoid overexposure or underexposure in key regions.
Use Curves or Level adjustments to specifically improve highlights and shadows. Increment contrast and include profundity to the picture by uplifting highlights and deepening shadows where vital.
Operate dodging and burning techniques to individually lighten or darken particular ranges of the picture. Utilize a delicate brush of low opacity to gradually expand the specified effect, focusing on improving the dimensionality and important details of the subject.
Utilize Color Balance or Photo Filter adjustments to address any unwanted color casts present within the image. Neutralize or boost up colors to get a more adjusted and natural-looking appearance.
Add light flares, rays, or glows to enhance the overall climate and temperament of the image. Utilize blending modes and opacity adjustments to coordinate these effects consistently with the existing lighting.
Continuously audit the lighting adjustments against the initial picture to get a balanced and natural appearance. Make any essential refinements to realize the desired outcome.
Save your concluded edited image in a high-quality format, protecting all layers and alterations for future reference or further edits. Export the photo in a suitable file format for sharing or printing.
Conclusion
In summary, when included in digital art or image enhancement, Afrocentricism themes create powerful imagery to voice the historically marginalized communities. Afrocentric images reveal uniquely vibrant colors and expressive patterns used as background or within the foreground zones. The resultant images after Afrocentric editing give off an impression that exceeds conventional boundaries of beauty standards and communicates a shared human experience. Eventually, Afrocentric compositions confirm African societies’ versatility and magnificence, which had been oppressed for a long time. They greet viewers to engross in the historical legacy and the progression toward individual freedom and dominion.
