How To Do Anisotropic Filtering Of Images In Photoshop
Anisotropic filtering is a well-acknowledged technique in image editing and graphic design that optimizes texture mapping efficacy, thus giving your graphics a more realistic and improved look. This technique plays the role of a texture booster by clarifying the blurriness of textures by sampling them from various angles based on the viewer’s perception. Thus, the textured images or designs, after going through anisotropic filtering, create a realistic 3D feel, enhancing their atmosphere and visual charisma. The texture considerations from viewing directions can reduce the texture aberrations, attaining wonderfully sharp and crisp dimensions. Unlike traditional filters, where the same filter is applied to the whole design, in this approach, multiple filtering stages render 3D-like effects that influence various areas, including image editing, graphic design, video games, virtual reality, and computer-aided design (CAD). In this blog article, we will go through the steps or techniques that can be employed for anisotropic filtering to boost the images or graphics. We will use Adobe Photoshop as our essential tool for a more extensive process.
Step 1: Image Selection and Groundwork
Before entering into Photoshop’s primary process of anisotropic filtering, set up your image thoroughly.
Get started by accessing Adobe Photoshop and importing the image you would like to modify through anisotropic filtering. Ensure the compatibility of your image format, which can be JPEG or PNG, both of which are the most usable formats.
Evaluate your image for any defects like noise, distortions, or unwanted objects that you may want to eliminate before implementing anisotropic filtering.
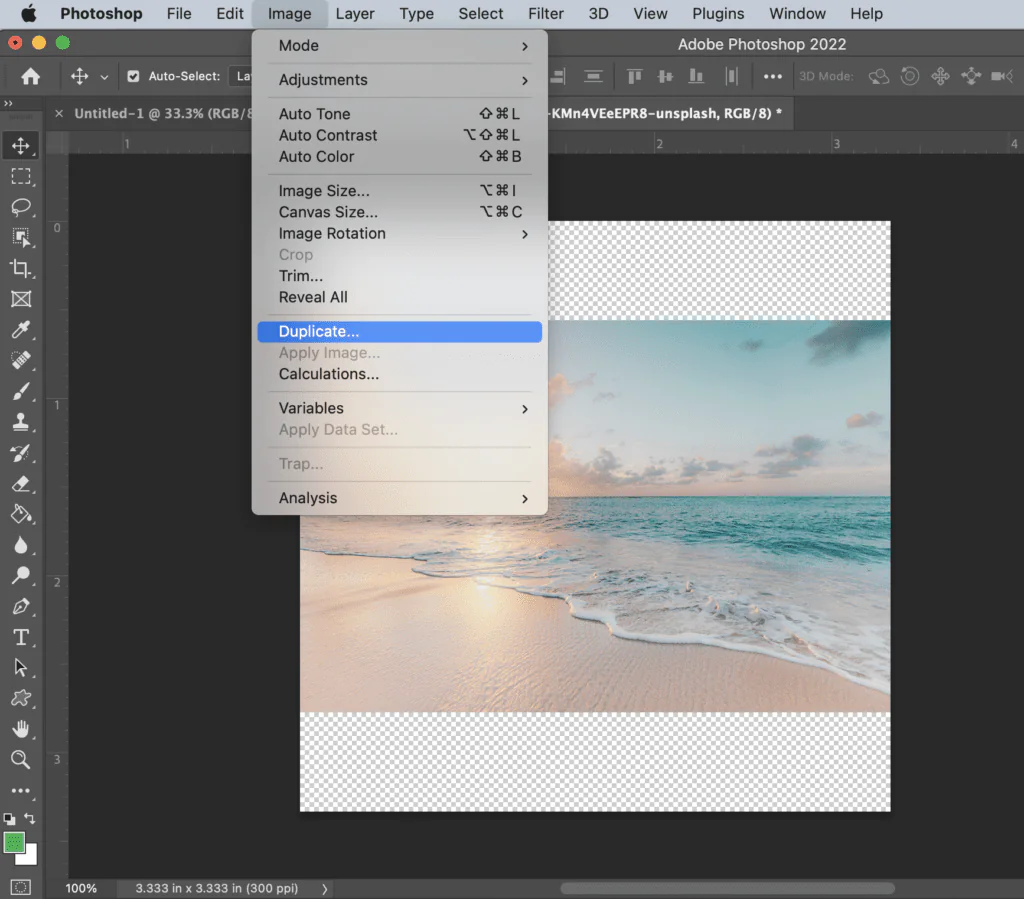
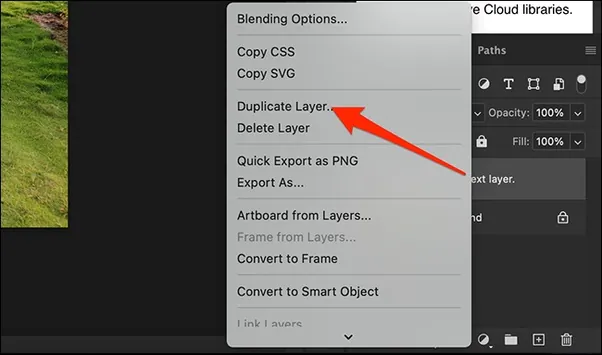
Create a duplicate or a new layer of your image to work on and safeguard the original image while executing modifications and applying filters. For image duplication, hover over your image layer and click “Duplicate Layer” or select the “New Layer” option.
Check if your image is correctly sized for your use; if not, navigate to Photoshop’s “Image Size” option to tweak the dimensions and resolution accordingly.
Note that to get the ideal results of anisotropic filtering, you must prefer to work with high-resolution images.
Step 2: Establishing the Filter Menu Preferences
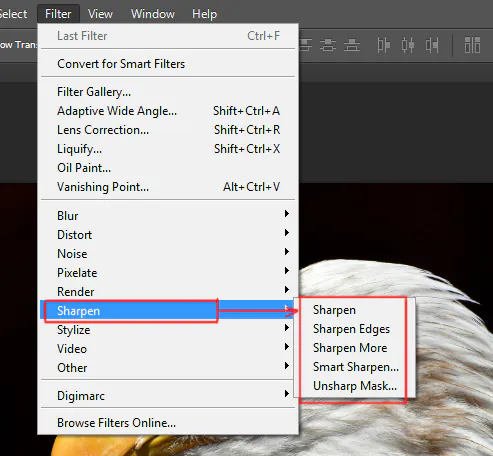
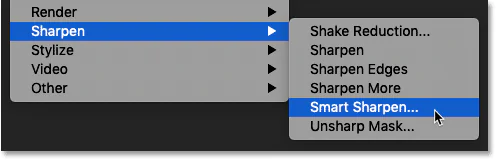
Take a peek at the top menu area in Photoshop and move on to the option entitled “Filter.” Click on it to explore the numerous filters and effects offered by Photoshop.
After selecting the “Filter” menu, you will see a drop-down menu of filter types and options for each. These types include features like Blur, Sharpen, Render, and more.
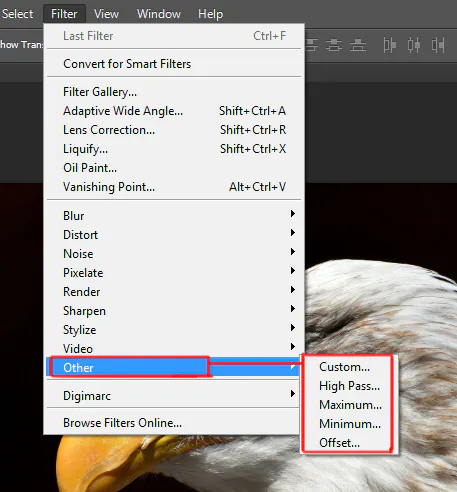
Browse across the categories to identify the option that perfectly fits your anisotropic filtering needs. Commonly, the possibilities within the “Sharpen” or “Other” section are suitable for this purpose.
When deciding on the appropriate category, you’ll see “Anisotropic Filtering” or a similar option. Tap on it to reveal the filter dialogue.
You’ll get several parameters and choices in that dialog that you can customize to manage the anisotropic filtering outcomes. Here, you can also fine-tune the levels of filtering and adapt them to your photo.
Step 3: Locating the Correct Layer
Before you move on to working with layers, you should recheck the image settings you made in Step 1 while making your image appear in your Photoshop workspace.
Explore the Layers panel to examine the list of all the layers within your image. Focus on selecting the layer that includes the aspects to which you want to add anisotropic filtering. If you have a single image layer, you need to assign it to start working.
Opt for the specific layer where you want to apply anisotropic filtering for extra-complex work with multiple layers. Double-check that you’ve appropriately organized your layers to prevent improperly affecting any irrelevant elements.
If you’re uncertain about which layer to use, duplicate any layer you find suitable to filter by simply tapping on it and pressing “Duplicate Layer.”
After deciding and selecting the appropriate layer, move on to the subsequent phases: managing the filter settings and applying the anisotropic filter to strengthen your selected layer.
Step 4: Adapting Anisotropic Filter Specifications
Reassure that you have the right layer at your disposal in Photoshop, as pointed out in the previous step.
Next, direct yourself towards the anisotropic filter dialog box you explored in Step 2 within the “Filter” menu, generally in the “Sharpen” or “Other” subsections.
You will approach various specifications and settings regarding anisotropic filtering. In these configurations, you can adjust the magnitude and direction of the filter.
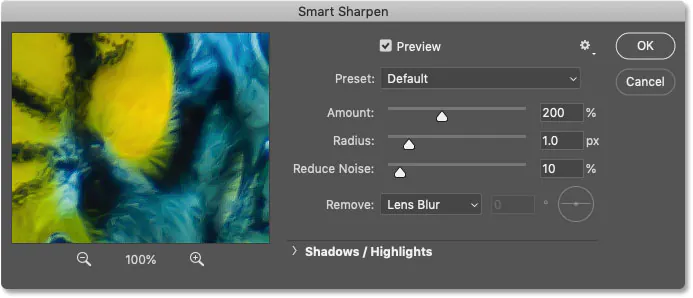
The significant parameters are as follows:
Degree: This parameter will influence the magnitude to which the filter boons specific directions. Steer it to figure out the intensity of emphasis on different angles within your image.
Filter Size: It helps in determining the size of the filter kernel, taking hold of the range of the filter’s influence on adjacent texels. Lesser measures provide detailed improvement, yet larger sizes have an extensive impact.
Other Settings: It depends on your Photoshop version and the particular filter you’re working on about which auxiliary settings you find to polish the filter’s impact further.
Play with these settings while previewing the changes using the real-time feature. That’s how you envision the outcomes of the filter upon your image.
Be considerate to maintain a balance between image enhancements and oversharpening. Also, remember that the effectiveness of these parameters may fluctuate depending on the traits of your original photograph, so keep striving until you get the desired results.
Step 5: Conclusive Analysis and Improvements
Scrutinize your composition through the real-time preview feature in the filter dialog box of Photoshop. Carefully evaluate the effects of anisotropic filters on your image in the preview window.
Be attentive to the image’s minute details, textures, and margins. Think about enhancing image clarity and sharpness and eliminating any defects produced by filters.
While analyzing the changes, you can make further adjustments to the filter settings based on your observations—Fine-tune parameters like the degree of anisotropy and filter size to achieve the desired level of enhancement.
Consider zooming in and out into the preview window to observe the results of the filter at different magnifications.
If you still find any distortive elements during the preview, you can repeat the previous steps and reorganize your image setup, layer selection, or filter settings to perfect your work.
In your attempt to fix the imperfections, don’t overprocess your image; it may cause you to lose the naturalism of your image, resulting in an artificial appearance.
Step 6: Readying the Image For Presentation
Take a final glance at your image infused with anisotropic filtering in Photoshop regarding aspects like details, colors, and the overall visual standard.
Select retouching tools like a clone stamp or healing brush to fix spots or upgrade certain areas.
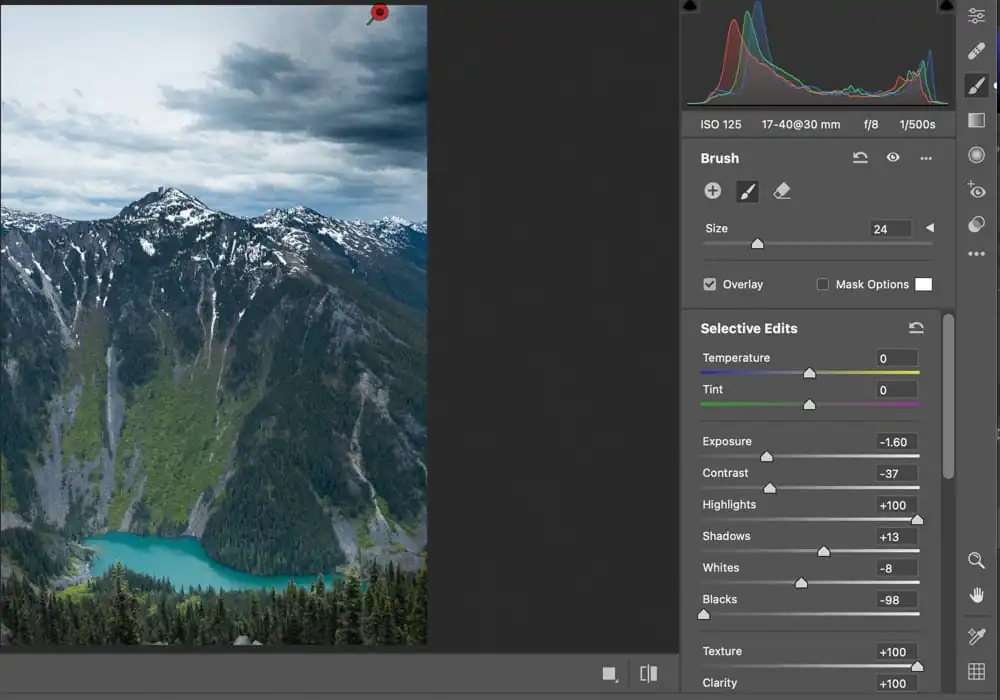
Use Levels and Corves to check out the settings, such as color correction, contrast, brightness, and other components.
Try different filters, effects, or creative tweaks to produce an ideal visual impact.
Visualize the original image in your thoughts to confirm that your edits are in agreement with your initial concept about anisotropic filtering.
To support the integrity and natural aspect of your image, keep a balance between modifications and image organics.
After confirming modifications and eliminating the flaws, you can save your final image in an optimal title and format, and it’s all geared up for presentation and sharing.
Conclusion
In closing, anisotropic filtering is a helping hand in improving the appearance of textures in various digital areas. It surpasses the surface-level aspects of images while looking deep into resolving issues like blurriness, distortions, or unclarity of images. By adjusting the texture filters in accordance with the viewer’s perspective it upgrades realism and natural attributes and highlights 3D aspects of the graphics. It can transform plain and mundane shots into high-quality, high-clarity visuals. And as to the actual 3D models or scenes, it works miraculously for their texture rendering and improvement.
