How To Create Pinstripe Art
Pinstripe art is a pattern that includes defined and clear parallel lines that coalesce together to form intricate structures. Pinstripe art is used for various purposes, including in the fashion industry, in automobile design, and in graphic artworks and illustrations. The focus on line clarity and precision is a telltale sign of pinstripe patterns, which makes alluring and elaborate compositions. Pinstripe was famous even before the arrival of digital graphics. Initially, hand-drawn pinstripe art illustrations endured among intricacy and precision lovers of art. Hand-drawn pinstripe art persists in today’s worlds of physical art and hand-made illustrations for its distinctive hallmark of fine lines and sophistication. In digital art, the pinstripe approach is used to create symmetry within backgrounds, borders, or frames and in typography effects, as well. This blog will proceed with the mention and practical application of essential tools and digital techniques that can create defined patterns which catch the instant appeal of the onlookers.
Step 1: Document Settings
In this beginning step, you have to customize your workspace to your project’s specifications so that you may have a solid foundation for your pinstripe art.
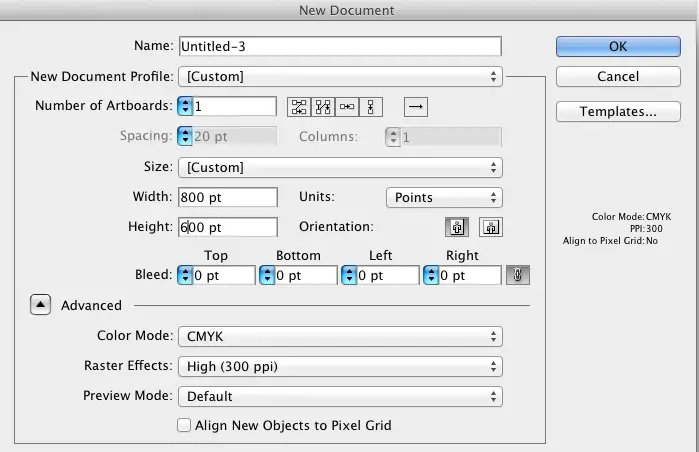
Initiate the Adobe Illustrator application on your PC and head to File > New or utilize the key shortcut Ctrl+N. As a result, the new document dialog box will be opened.
Specify the size of your document based on your project needs. For instance, utilize standard measurements like 1920×1080 pixels for digital plans or 8.5×11 inches for print purposes.
If you are opting for print, set the resolution to 300 DPI. Likewise, for the web, 72 DPI is adequate.
Select RGB mode for digital ventures and CMYK mode for print ones.
Establish a bleed area if your plan will be printed and mandate trimming.
Affirm your settings by clicking the ‘Create’ option to spread your new document in Illustrator.
Step 2: Sketching Base Lines
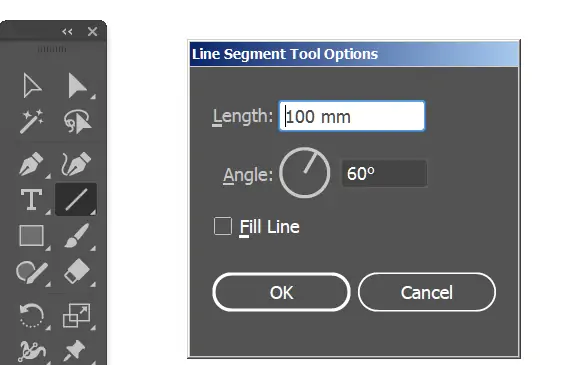
Press on the Line Segment Tool from the toolbar or select the backslash key of your keyboard.
Next, tap and drag it over the canvas to make a straight line. Press Shift and keep dragging to make sure that the line is flawlessly horizontal or vertical.
After the line is chosen, proceed to the Properties panel. Revise the stroke weight to specify the thickness of your pinstripe. Standard values include from 1pt to 5pt, but you can rectify as required.
Choose the specified colour for your pinstripe from the colour panel. You can go for solid colours or gradients for a more intricate formation.
To form numerous parallel lines, choose your original line, press Alt, and drag to duplicate. Accommodate the duplicates closely or at the specified dividing.
Activate Smart Guides with View > Smart Guides to aid alignment and distribute the lines equitably.
Choose all lines, and utilize the Align panel via Window > Align to guarantee even dispersing and arrangement over your document.
Step 3: Specifying The Line Spaces
![]()
Tap and drag to choose all the lines you’ve drawn. Check that all lines are chosen for steady spacing adjustments.
Proceed to Window > Align to access the Align panel, which gives devices for distributing and aligning things.
Within the Align panel, find the Distribute Spacing choices. Select either Vertical Distribute Space or Horizontal Distribute Space according to the orientation of your lines.
Add a particular value for the spacing between lines, or utilize the Distribute Spacing options to space them equally. It guarantees that the distance between each line is constant.
If the exact spacing is your preference, utilize the Selection Tool to drag lines one by one into position or utilize the arrow keys for nuanced alterations.
After the spacing is proportional, bunch the lines to keep the arrangement organized.
Confirm that the spacing is uniform across all lines and make any final changes if necessary.
Step 4: Lines Grouping And Transformation
Utilize the Selection Tool to tap and drag a selection box around all the lines, or use Shift and tap on each line to choose them separately.
After all lines are chosen, bunch them by reaching Object > Group or using keys Ctrl+G. Lines grouping ensures that the lines are ministered as a single unit for easier control.
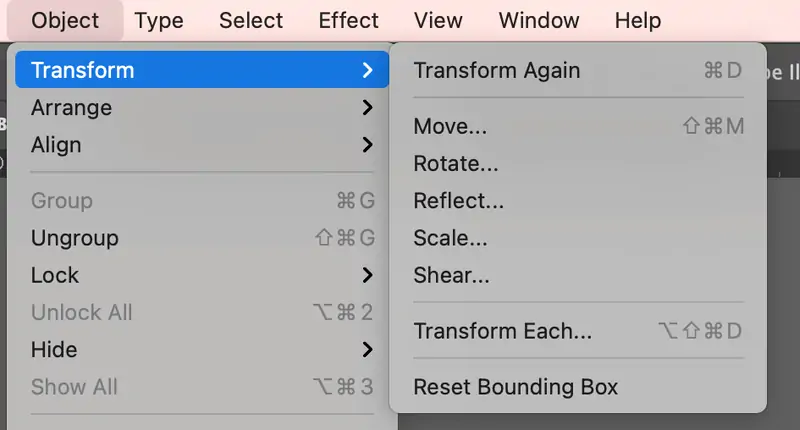
Move to Window > Transform to get to the Transform panel, which gives apparatuses for scaling, rotating, and moving assembled objects.
Modify the size of the pinstripe design by utilizing the Scale tool within the Transform panel. Add a percentage or drag the handles to resize while keeping up proportions.
If required, use the Rotate tool within the Transform panel to point your pinstripe design. Enter the required angle or drag the handles to turn.
Utilize the Move tool within the Transform panel to readjust the assembled lines inside your document. Add particular X and Y values or drag to position.
Make sure that the transformation looks accurate, and make any vital alterations to the size, rotation, or position of your pinstripe design.
Step 5: Filling Colours
Tap on the grouped lines utilizing the Selection Tool to apply colour changes to the whole pinstripe design.
Move to Window > Color or utilize the Color Picker device to get to the colour alternatives.
Within the Color panel, tap on the Stroke colour box to take it to the foreground. Determine the colour you need for your pinstripes. You can select from preset colours, make a custom colour utilizing the colour sliders, or input particular colour values.
To acquire a more energetic appearance, apply a gradient rather than a solid colour. Within the Gradient panel, via Window > Gradient, choose or make a gradient and use it for the stroke.
Check that the stroke weight is set according to your plan. You can set the thickness to correspond to the visual effect you need.
Use Zoom in to see how the colour looks on your pinstripes. Execute any essential polishes to the colour or gradient to attain the specified development.
Step 6: Aligning The Lines
![]()
Tap on the grouped pinstripe design utilizing the Selection Tool (V) to schedule for duplication.
Press Alt and pull the chosen group to make a duplicate. Release the mouse button to put the duplicate within the craved area.
Operate the Align panel with Window > Align so that the duplicated groups are adjusted accurately. Select choices like Align Left or Align Center to place them evenly.
To distance the duplicated designs equitably, select all the duplicates and utilize the Distribute Spacing alternatives within the Align panel. Input a specific spacing value or utilize the distribute buttons.
As required, manually alter the arrangement of duplicates to suit your design. Utilize the Selection Tool to pull them into the specified position.
In the event that the duplicates shape a design that ought to be moved together, gather them by selecting all and taping on Ctrl+G.
Scan the arrangement of the pinstripes to ensure consistency and make any concluding changes to spacing or alignment.
Step 7: Fine-Tuning The Artwork
Recheck your layout for any irregularities or blunders within the pinstripe patterns. Make sure that all lines are accurately divided and adjusted.
Utilize the Selection Tool to form any last-minute adjustments to the design, like repositioning lines or tweaking colours.
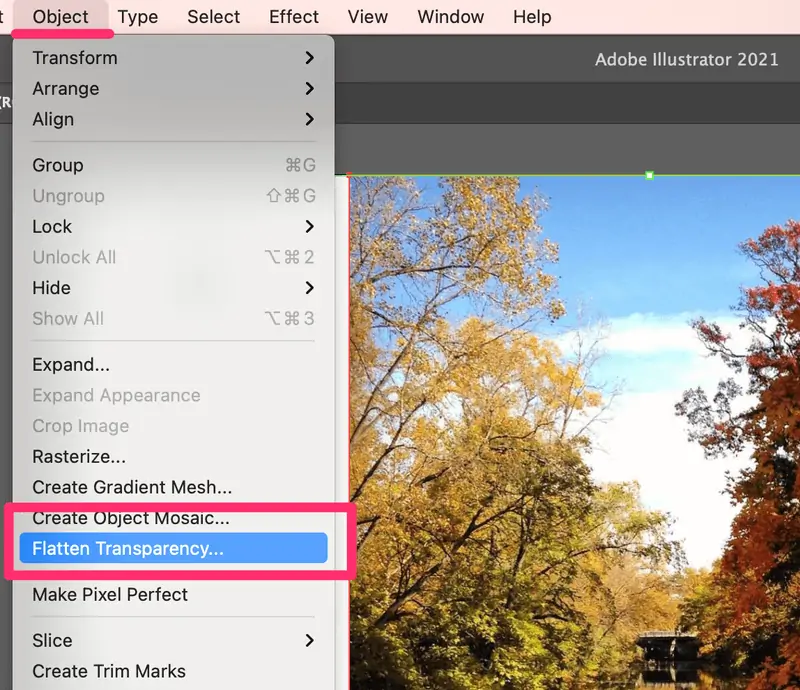
If your plan incorporates numerous layers, flatten the artwork to facilitate the file. Navigate to Object > Flatten Transparency as needed.
Save your work in Adobe Illustrator’s native format for future alters, heading to File > Save As and selecting the .ai format.
To use your pinstripe art outside of Illustrator, export it within a suitable format. This can be done via File > Export > Export As, then selecting formats such as PNG for web purposes or PDF for printing.
Within the Export dialog box, alter settings like resolution and colour profile to coordinate your needs. For example, utilize 72 DPI for the web and 300 DPI for print.
Affirm the export settings and save the file. Make backups to dodge losing your work.
Conclusion
In a nutshell, the pinstriping approach first began to adorn objects of nobility and to show that something was significant or expensive. Later on, the idea of customizing items also emerged, especially in the automobile field. Today, pinstripe art is perceived as a glamorous and easygoing style that heralds accuracy and classiness through the utilization of fine, parallel lines. The uses of pinstripe lines in graphics, designs, and fashion customization emphasize its expansive attraction and lasting popularity. The prudent craftwork enclosed in pinstripe art payoffs to fascinate and motivate artists and designers correspondingly.
