How To Create Optical Illusions In Your Images
Introducing optical illusions in your images leads to enchanting distortions that make people believe in their concrete existence despite their surreal specifications. Such images also represent the acceptance and enthusiasm of the human mind for complexity and absurdity. The role of optical illusions is multidimensional, from enhancing visual wonder to questioning rationality and cognitive abilities. By creating such effects in your photographs, you can add imaginary stories and far-fetched ideas that stimulate unknown and known fantasies in onlookers. Even the artists themselves cannot help but sink deeper into alluring visual deceptions. Image modifications with optical illusions require specific knowledge of digital tools and approaches. You should also be fluent while adopting these aspects. The following blog can guide you in choosing the proper techniques, and it presents a comprehensive step-by-step process to create optical illusions in your images and make them a center of attention for everyone facing them.
Step 1: Image Nomination
Determine the type of optical illusion you are inspired by. If you want to evoke a motion illusion, consider an image with specific elements that are ideal for animation. In contrast, look for pictures with distinct lines and curves for geometric illusion.
Your chosen image should have high resolution and quality, making the manipulation process more detailed yet smooth.
Look upon the constituents in your chosen image and their connection to the optical illusion you are going to create. A meaningful image should contain features that can handily be modified to make the intended appearance.
Determine the proximity of your optical illusion ideas to reality. Should they be realistic, aesthetic, or weird? These assessments clarify your manipulation approach.
Step 2: Specifying Your Optic Illusion
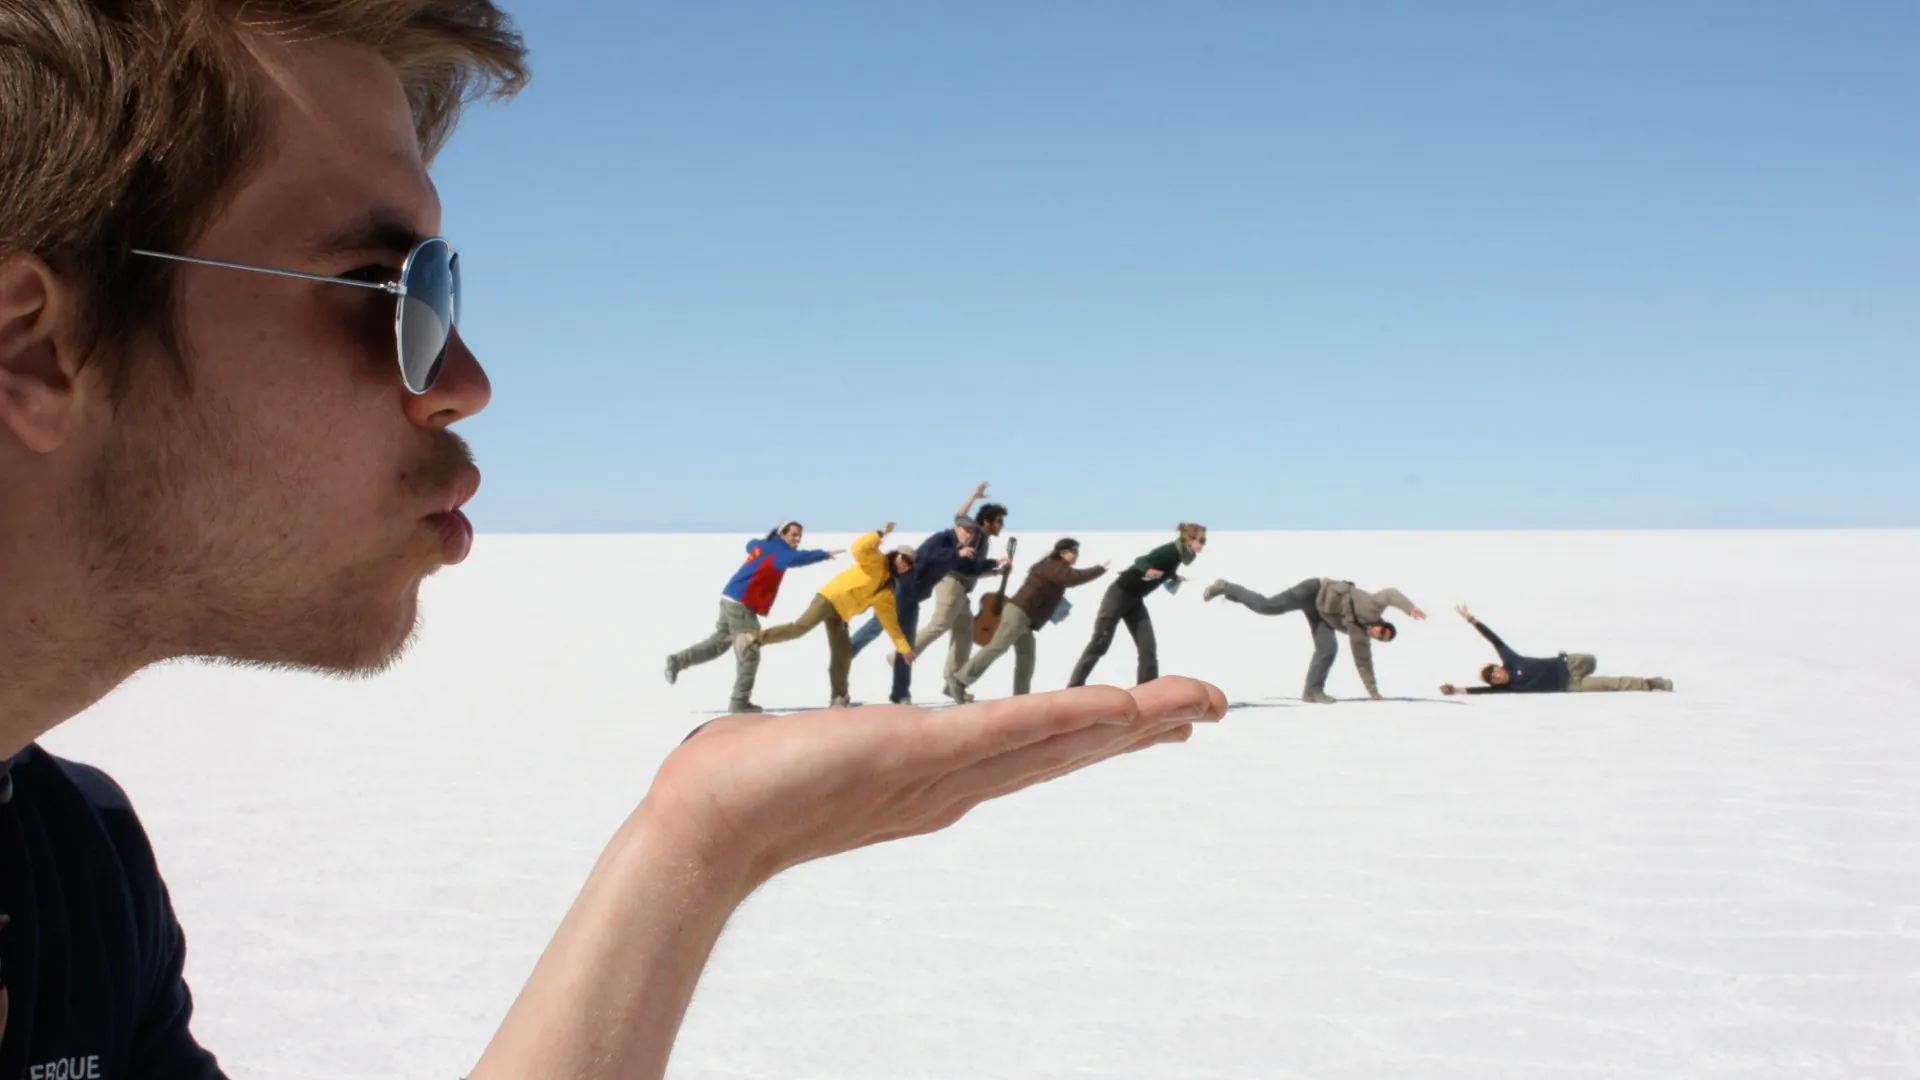
![]()
Specify the type of optical illusion you want to work with. Is it going to be a geometric illusion that twists the shapes and sizes of objects in your chosen image? Or a color illusion that stimulates color perception? Or what about a motion illusion that prompts the illusion of movement? Determining and deciding the kind of illusion directs your editing process.
Highlight the regions or objects which will be the target of your illusional effects. If you’re looking forward to working on a geometric illusion, observe the lines, angles, or patterns that can be modified. Specify the colors or places where the visual distraction will occur in a color illusion.
Create a workable strategy for carrying out the illusion. Count the procedure for altering the selected pieces to get the desired result. Visualize the effects of adjustments to the image.
If your illusion has a story or message, consider how it will be communicated visually through the manipulation. That can include adding aspects corresponding to the idea you wish to express.
Step 3: Applying Manipulation Strategies
Select your image editing software according to your requirements. Adobe Photoshop, GIMP, and CorelDRAW are all robust choices, each with detailed features and handy for image manipulation.
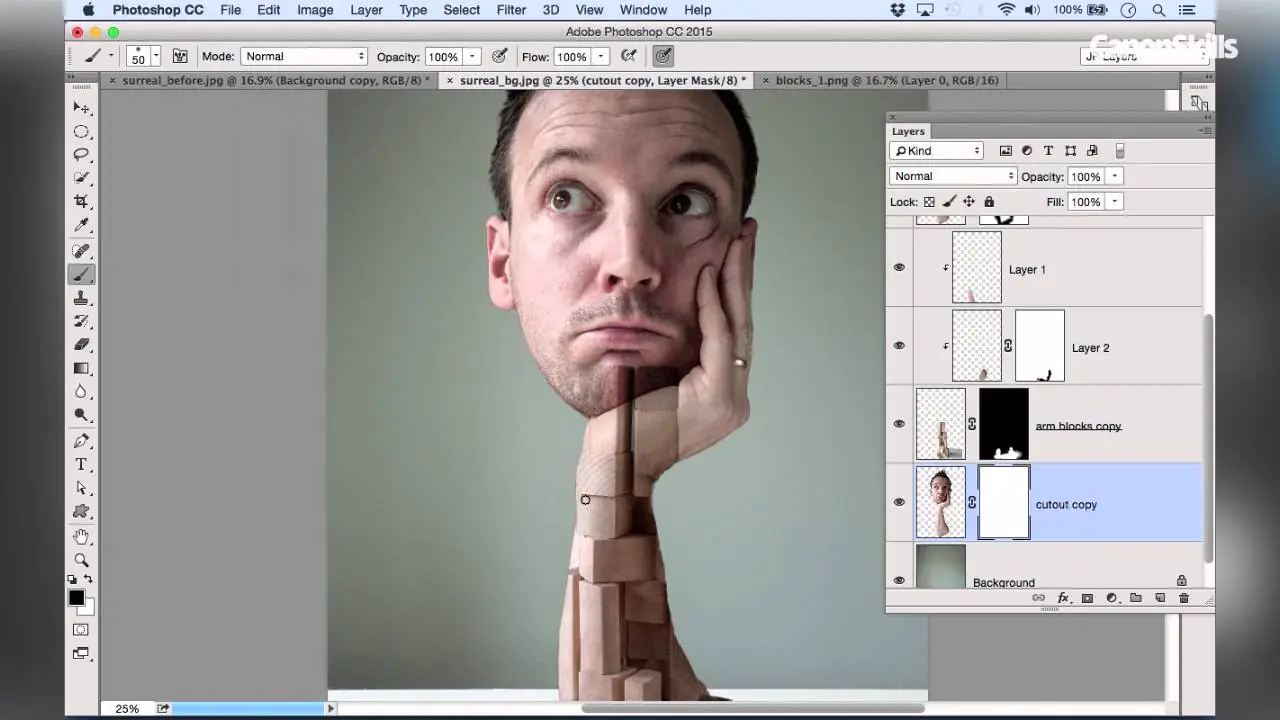
Use layering techniques in your editing software. Layers let you work independently on different portions of the image, making it feasible to change particular components without impacting the overall composition.
Select and mask the areas or elements you want to customize. This technique can isolate and adjust certain illusion sections, granting you complete control.
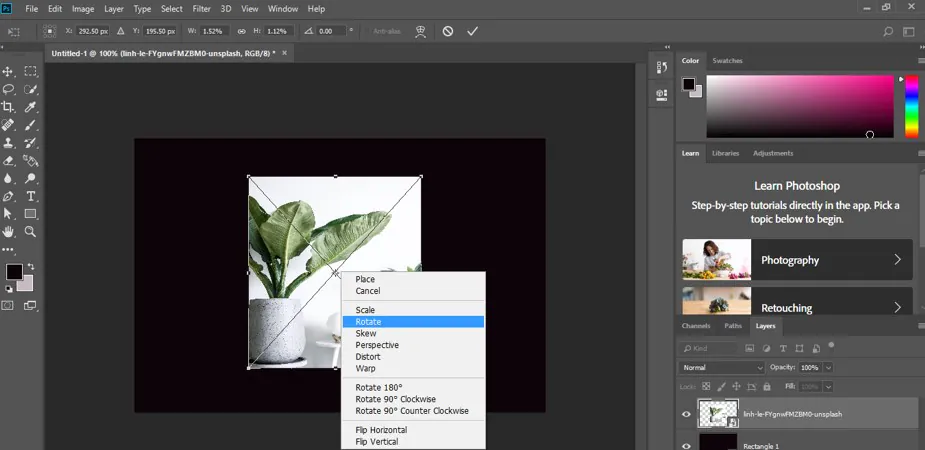
Use transformation techniques like scaling, rotation, and skewing for twisting and reshaping items. These essential tools are vital for creating geometric and perspective illusions.
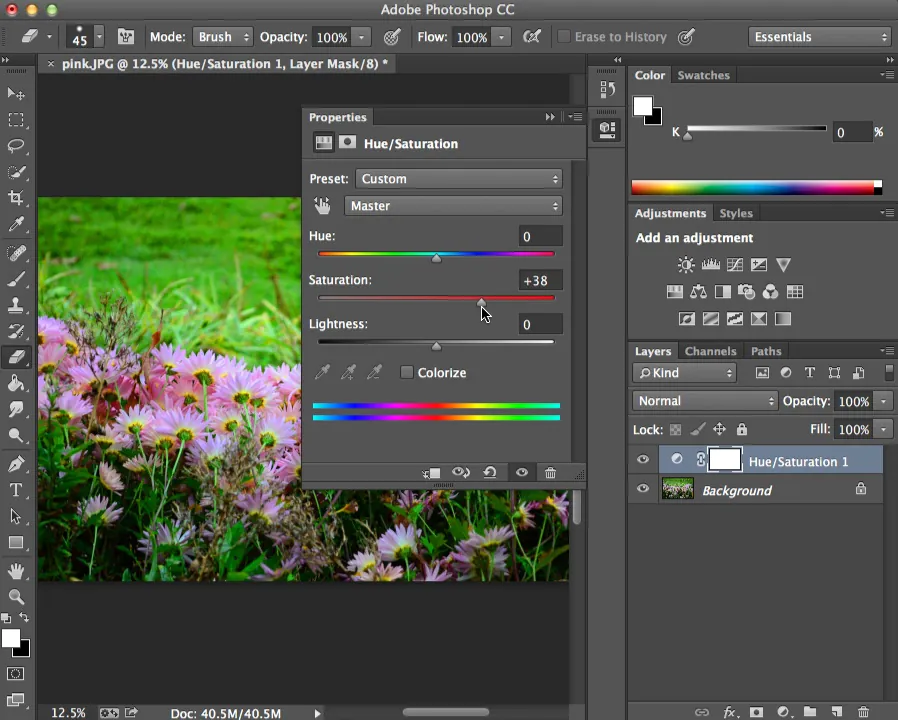
For varying colors, saturation, and contrast, use color adjustment tools. It can be very effective for creating color-based optical illusions.
If you’re creating a motion illusion, play with animation techniques in software such as Adobe After Effects. This feature lets you generate movement and dynamic effects.
Step 4: Developing Details and Accuracy
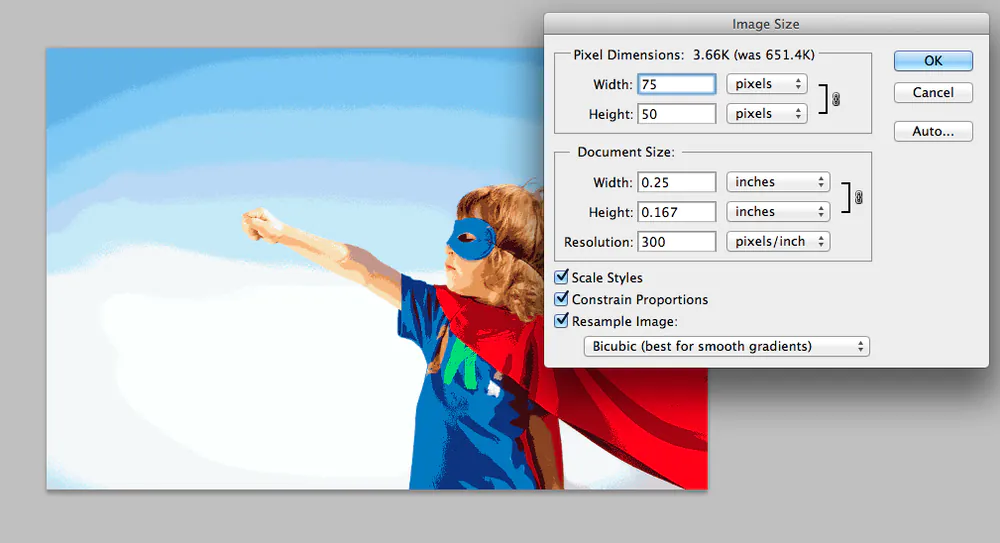
Zoom in on your image within the editing workspace to operate on a smaller scale and clearly see and manipulate even the most minor pieces.
Make pixel-level changes as needed for optimal accuracy. This accuracy level is excellent for creating complicated geometric or pattern-based illusions.
Be considerate of alignment and symmetry. Detailed adjustments to secure the perfect alignment of elements can significantly improve the effectiveness of the illusion.
Keep up the consistency in your actions. If you’ve applied a specific transformation or color adjustment to an element, make sure it is harmoniously reproduced throughout the image to create a coherent illusion.
Instead of overdoing it, aim for evenness. Your illusion is to be believable and retain some realism or consistency.
Keep assessing your image from various angles and perspectives to confirm that the illusion is effective from all angles.
Seek feedback from others for improvement, as they may notice issues that you have overlooked.
Save level-by-level versions of your work as a safeguard to protect your progress and to go back in time if necessary.
Step 5: Final Examination and Refinement
View your edited image precisely from different angles and distances. This assessing technique evaluates how the illusion appears to the naked eye and how your audience may perceive it.
Share your composition with trusted friends or artists. Their observations and feedback can give you new insights and help you identify areas for development.
Make the requisite variations to fine-tune the illusion upon testing and receiving multiple feedbacks. That would include fine-tuning alignment, scale, color, or any other area that requires practical improvement.
Perform a comparison by comparing your changed image to the original version. This way, you can evaluate your illusion’s effectiveness and make realistic choices about its influence.
Revising and improving an optical illusion is an ongoing process. Repeat the trial-and-error and refining processes until you score the appropriate visual fascination and engagement level.
The illusion should be consistent across devices and screen sizes. Consistency is essential for providing a consistent experience for your audience.
Be persistent in balancing the illusion’s power and the image’s authenticity while polishing. An overly overdone illusion may lose its innate relationship to the original photograph.
Step 6: Flaunting Your Optical Illusion
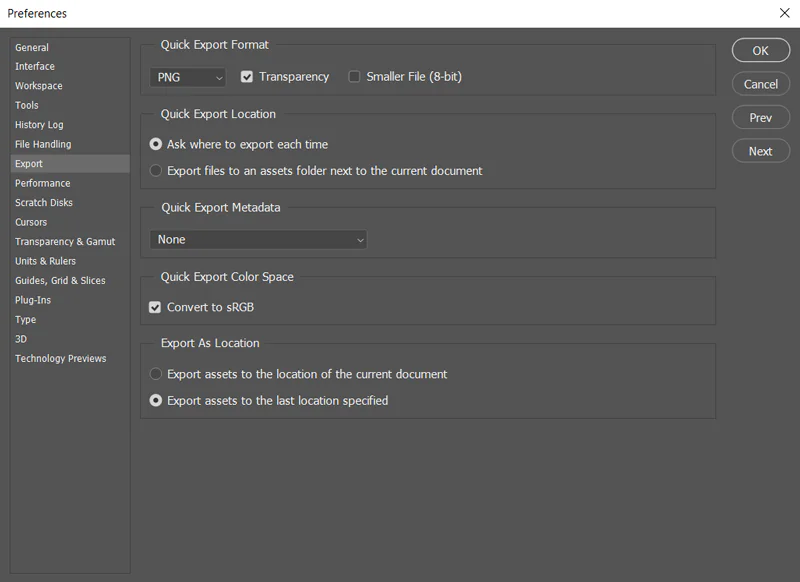
Choose the most accessible display format for your optical illusion. Each project has a specific format, such as for static images, use JEPG or PNG, and for an animated image GIF. The format is essential to express the impact of the deception.
Think about the structure of your final presentation. Choose the best framing and arrangement to highlight the illusion’s significant aspects while maintaining clarity and focus.
Consider essential display specifications such as lighting and viewing situation when sharing your illusion. Verify that these settings improve the visibility and effectiveness of your illusioned image.
Expand storytelling components into your presentation if your illusion has a storyline or message. You can include supporting texts, captions, or explanations to boost the viewer’s comprehension.
Use social media, personal websites, or art-sharing communities to share your optical illusion.
Respond to your audience’s comments, questions, and feedback to communicate with them. That generates a sense of community and encourages people to contribute their thoughts.
Share behind-the-scenes looks at your work, such as the initial image, intermediary phases, and ultimate optical illusion. This documentation can help fellow artists by providing practical insights.
If necessary, secure your work with watermarking or copyright measures. When sharing your optical illusion, make sure to provide the correct acknowledgment.
Conclusion
Optical illusions in image manipulation create a magnetizing dimension that takes onlookers to a new world of fantasies and imagination. The surreal and mystic components are integrated so that your images can distort the influence of rationality and realism, making people believe wholeheartedly whatever they see. This visual equivocation aspect of the image questions viewers’ perceptions and encourages them to grasp the mystery of the unexpected. This layer of trickery and depth in your work makes it a charismatic experience. Optical illusions remind us of the unrestrained creative dares that can be achieved through hands-on manipulation, arousing curiosity and electrifying us to explore more.
