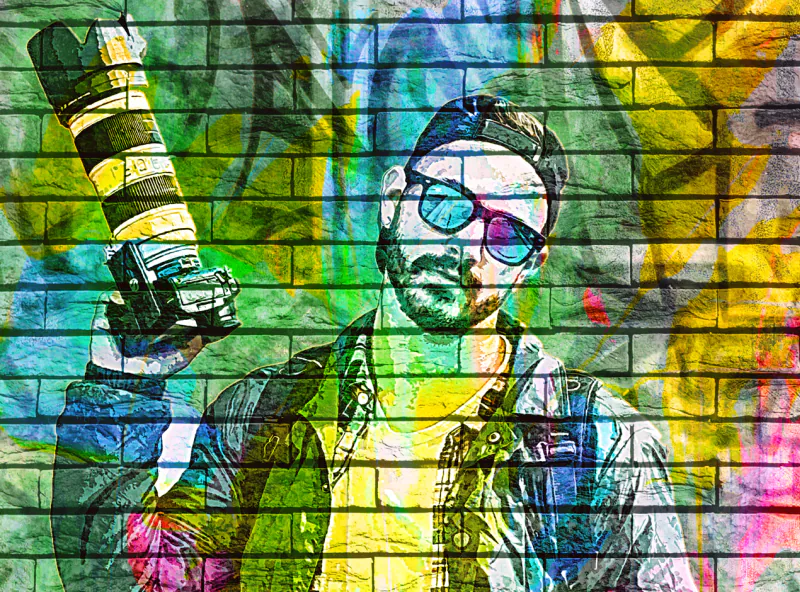
How To Create Graffiti-Style Pictures
Graffiti-style pictures or street art are unique visuals with ingeniously blended elements of urban culture. These images typically evade public places, like random street walls and buildings painted using stencils, markers, and spray paint. Bold and vibrant shades and designs are the inherent features of graffiti art that are highly distinguishable from conventional paintworks, inspiring a feeling of spontaneity, a pivotal aspect of urban life. These compositions aim for different things, like conveying universal messages, personal expression, or social exposition. Nonetheless, with the advent of digital tools, graffiti style is not only confined to physical artwork. You can create graffiti art pictures using software apps like Adobe Photoshop, Illustrator, Procreate, and many others, using various features and adjustments to your ordinary images. This digital strategy excludes the need for physical resources such as paint, markers, and ample space, resulting in a substantial impact with minimal equipment.
Step 1: Contextualize your core idea
You must conceptualize your theme before moving towards practical procedures for creating graffiti-style pictures. The limpidity and uniqueness of your notion are essential to making your graffiti-style image stick out.
Brainstorm concepts and sentiments you want to depict in your artwork. Inquire about the novella you want to tell or the impact you intend to create.
Browse for inspiration from other graffiti artists, urban culture, or similar art styles. That will nobly develop your notion and unmask your distinct perspective on your digital graffiti painting.
Step 2: Select your source material for the groundwork
Choose an image or base material that suits your idea. Figure out if you’ll be using a photograph or a digital illustration. The initial material you use should match your concept and become a robust canvas for your graffiti-style modification.
Reassure that your opted image is of satisfactory quality and resolution to match the level of detail and size you have in perception for your composition.
Remember that the source material is the canvas where you apply graffiti-style elements. Clearly envision the linkage between your chosen material and your graffiti style.
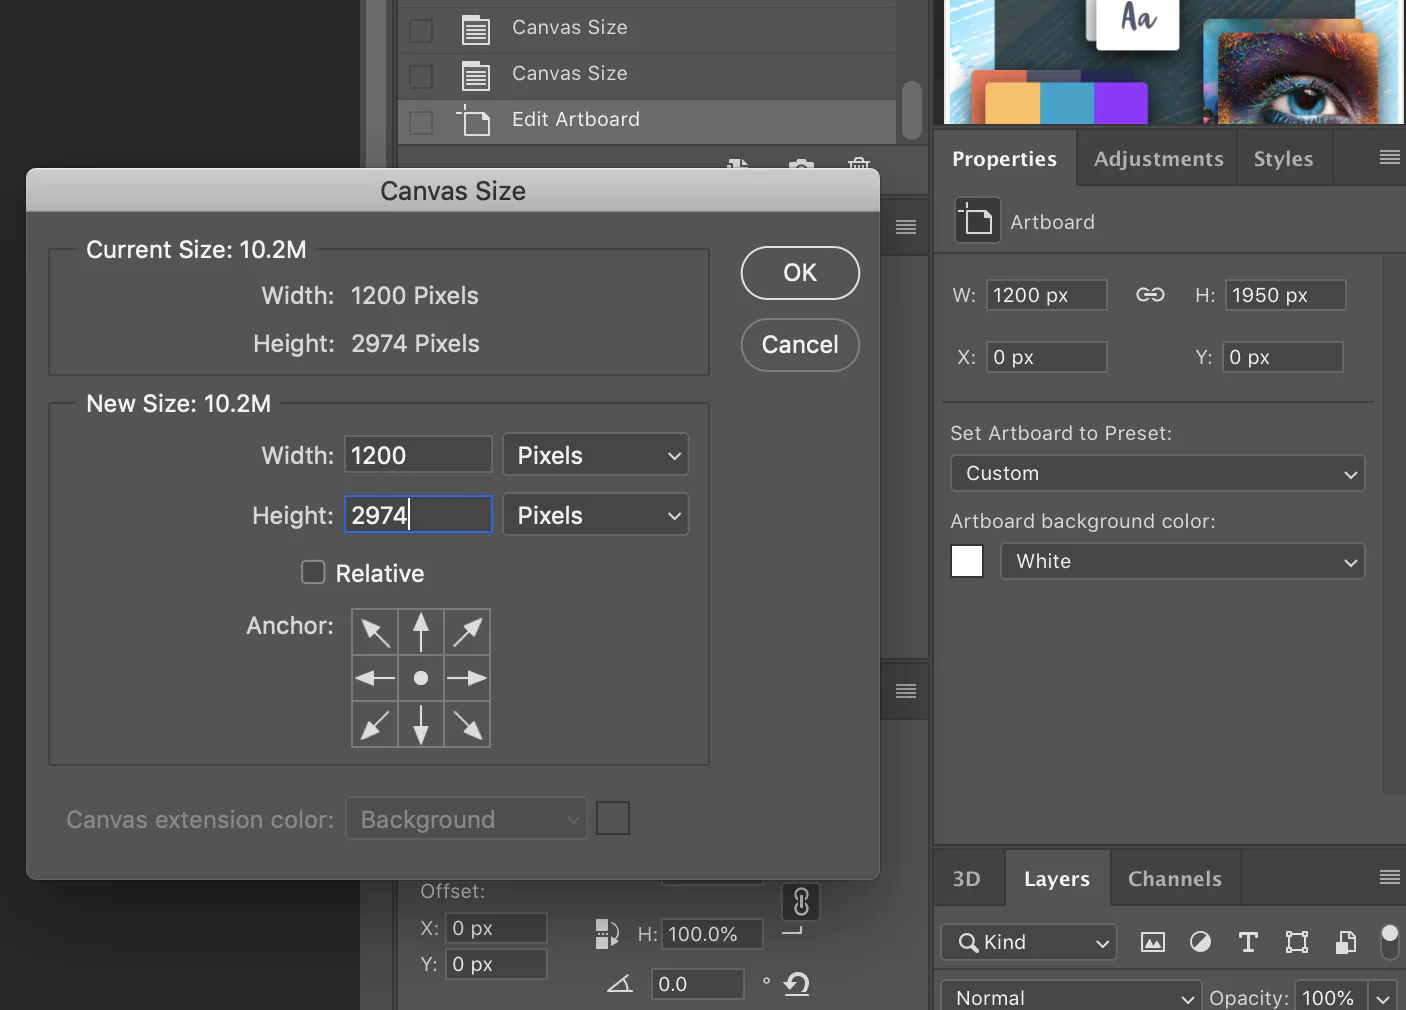
Step 3: Set up your digital canvas
Import your chosen photo into any of the above-specified digital applications. For best outputs, use a high-resolution version of your source material.
Resize and adjust the canvas to accommodate your graffiti-style design. Adjust dimensions following your composition requirements.
Also, modify the background settings of your image accordingly. That includes adjusting colors and adjoining textures. Or you can wholly create a new backdrop that complements your graffiti art.
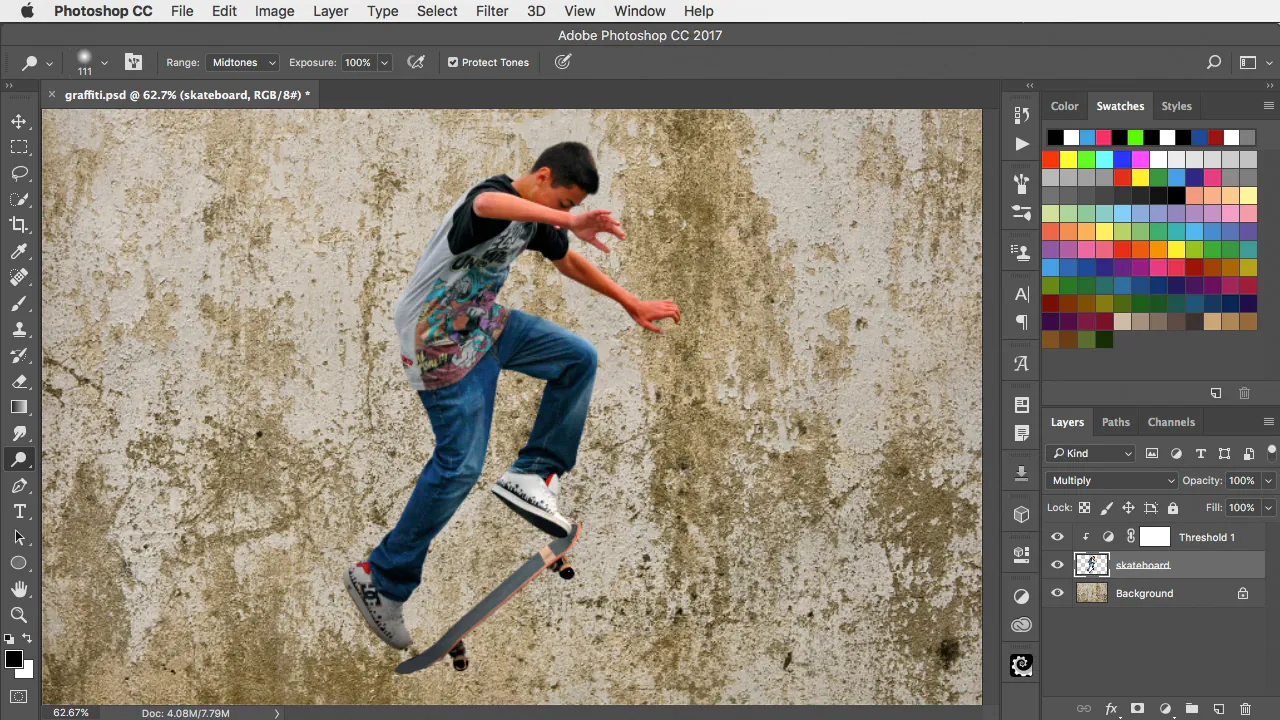
Use layers to separate your source image from the graffiti art elements to be added soon. It is for working non-destructively and making adjustments more easily.
Before going for significant manipulations, save a backup copy of that original image to revert to the original if needed.
Step 4: Sketch and outline your design
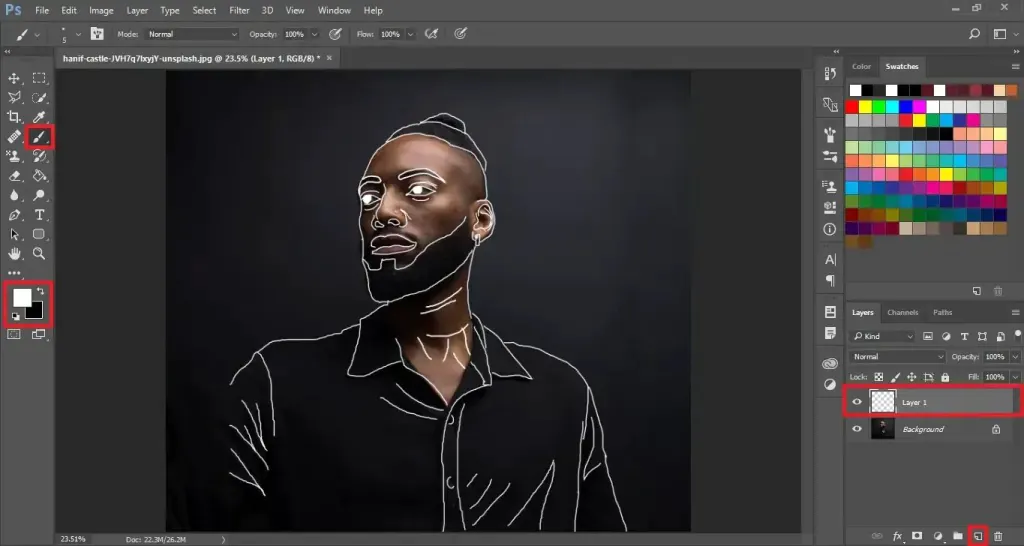
Memorizing your initial ideas about graffiti-style pictures, you can now add them as letters, characters, or abstracts through sketching.
Use digital drawing tools, including pen, pencil, smudge, brushes, and many others, for accurately outlining different elements. You can use a graphic tablet for absolute refinement.
Continue the signature mark layering phase to prevent destroying the original image in case of some mishap during the editing process.
Apply various graffiti characters and letters to bring innovation to your image.
As you sketch, be keen on proportions and composition. Customize your design until you are pleased with its correspondence to the underlying content and successfully represent your intent.
After completing your graffiti sketch and having a satisfactory overall composition, you can move on to the next step, adding color.
Step 5: Fill in the bold colors in your sketch
Choose the primary color as the foundation of your graffiti composition. The choice of color palette varies according to the picture’s mood. For example, to depict excitement, you can use bold colors like red or yellow; likewise, to convey serenity and peace, you can go for light and nude colors like blue, green, or white.
Create individual layers for different elements of your graffiti design, such as letters, characters, and backgrounds.
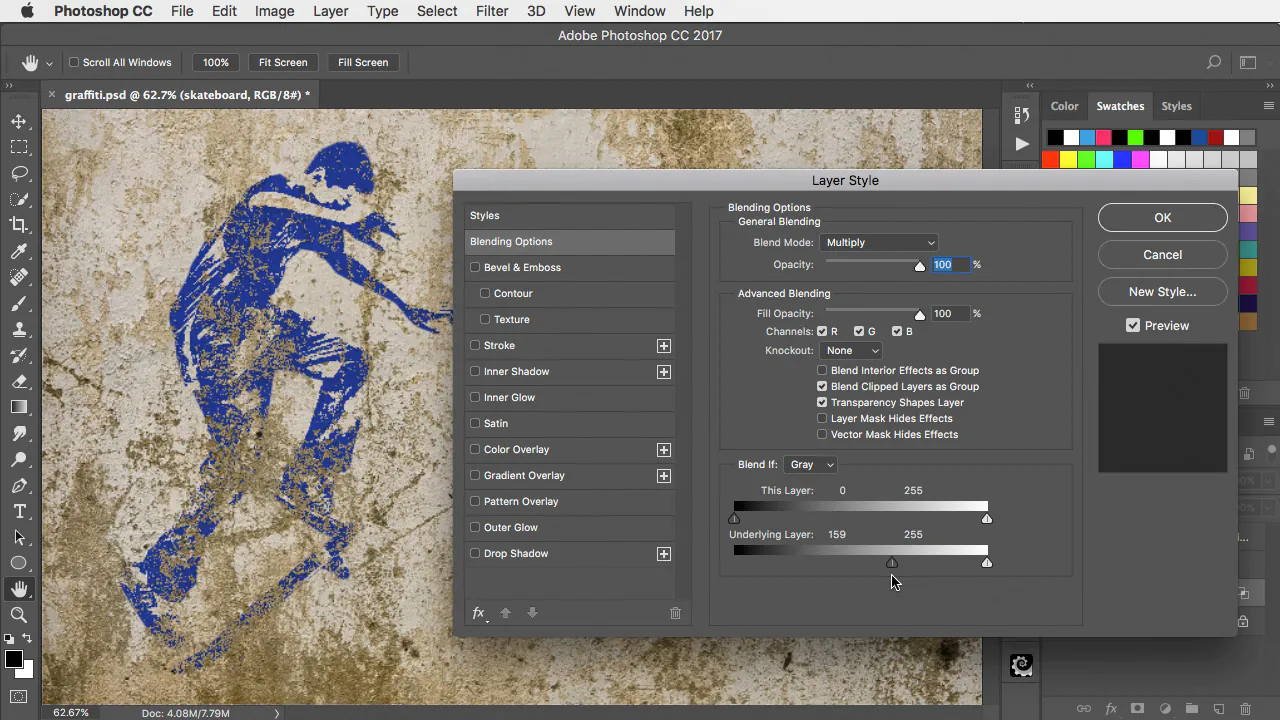
Include shading and highlights to add profoundness to your graffiti-style image. Choose darker colors for shadows and brighter shades for highlights. Use blending modes and opacity tweaks.
To add vigor to your image, work with color-blending combos to generate transitions and gradients. Color overlay layers or gradient maps can be good for a perfect change.
Finally, consider your color selections as you proceed. Graffiti art flaunts more using solid and unusual color choices, so experiment with multiple alternatives.
Step 6: Refine textures and other particulars
Take a zoomed-in look at your graffiti art piece to closely observe the details.
Add texture overlays of real-world surfaces to different areas of your image. You can find such realistic textures or can also create your own.
Choose appropriate brushes with appropriate opacity and size settings to draw lines and surfaces or produce some special effects.
Add highlights and shadows according to the interaction of light. For shadows, use darker shades and lighter ones for highlights.
Tune your color choices by adjusting brightness, contrast, and saturation to create a perfect blend of new and old elements.
To generate distinctive effects, use layer styles and blending modes. Overlay layers, color dodge, and multiply modes can all be applicable. Assure that the details and textures you use match your graffiti artwork’s overall style and concept.
Cohesion is essential for a polished outcome, so step away from your busyness regularly to assess your overall development.
Step 7: Add lettering and typography effects
Select fonts for your graffiti-style image, depending on the nature of your composition’s concept. For a rural setting, light and mild tones and bold colors, on the other hand, complement urban designs. You can find graffiti art fonts online or create your custom lettering.
Make distinct layers for your text components to work on letters individually, making it easier to alter and fine-tune.
Practice with different colors for your text, focusing on their response to the backdrop and other components of your graffiti artwork.
Use text, pen, and shape tools to make and alter letters. These tools bring accuracy and control.
Use drop shadows, bevels, gradients, and outlines to add dimension to your letters. You can set the effects to suit your graffiti style.
Assimilate the text into your graffiti design smoothly. Take note of how the language flows and fits into the general composition.
Lastly, if your image has numerous text components, create a hierarchy. Use font size, weight, and location to draw the viewer’s attention to critical messages.
Step 8: Add dynamics of character and imagery
Choose characters, symbols, or imagery corresponding to your graffiti’s central notion.
Import the selected character or imagery in high quality and resolution into your software.
Generate separate layers for characters or imagery to promote manipulation and adjustments without affecting the rest of the photograph.
Determine your graffiti design’s ideal placement and scale, experimenting with different positions for the best composition.
Ensure the harmony of the character’s colors or imagery with the overall color plot by setting saturation, brightness, and contrast for acute collaboration.
Set blending modes and transparency adjustments for a proper character or imagery integration into the composition.
Insert shadows and highlights to create a three-dimensional appearance and ensure interaction with the lighting of the graffiti.
If your graffiti features text, check if the character or picture interacts with it effectively to strengthen the message or story, considering overlaps, alignment, and innovative ways.
Step 9: Clean up and give the final touches
To take your graffiti to its highest potential, you should follow these finalizing steps:
Close in on your picture to study details, edges, and places that need refinement.
To get a clean finish, use digital erasers and brushes again to eliminate stray markings, smudges, or blemishes.
Recheck your color selections and make any modifications needed to maintain uniformity.
Review the text elements to warrant their clarity, intelligibility, and visual appeal. For best comprehension, adjust fonts, sizes, and effects.
Affirm that every element adheres to the overarching style and message, fostering cohesiveness.
Test the appropriateness of the backdrop and make any required tweaks to colors, textures, or layer organization for a consistent aesthetic.
After making final color changes regarding saturation, contrast, and brightness, export your graffiti-style picture in the appropriate format and save a high-resolution version for sharing, printing, or online display.
Conclusion
At long last, graffiti-style pictures are the personal expression that synchronizes public aspirations. An artist, through the display of graffiti art, shares the bright kaleidoscope of emotions, sentiments, and tales enlaced within the urban scene or even rural settings. Though orthodox graffiti street walls have been beckoning people since their pop-up, digital tools also play their part in creating flawless graffiti-style art that saves time and covers the unavailability of physical resources. Using the graffiti art technique described in this blog tutorial, you can turn your ordinary photographs into startling graffiti-style pictures.
