How To Create Ephemeral Art
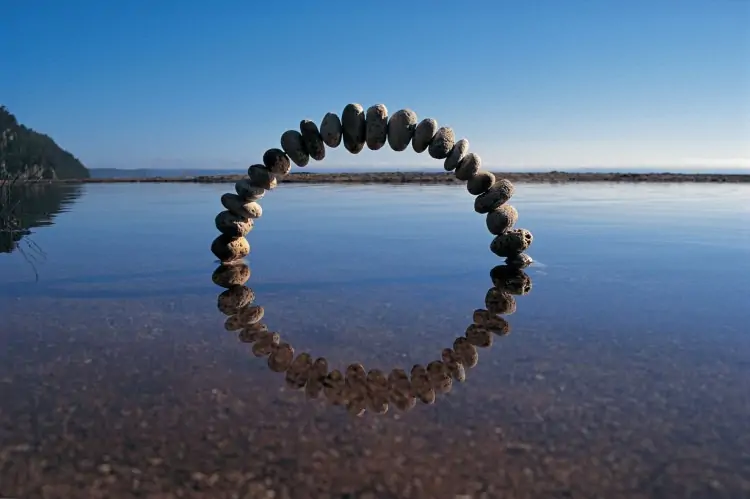
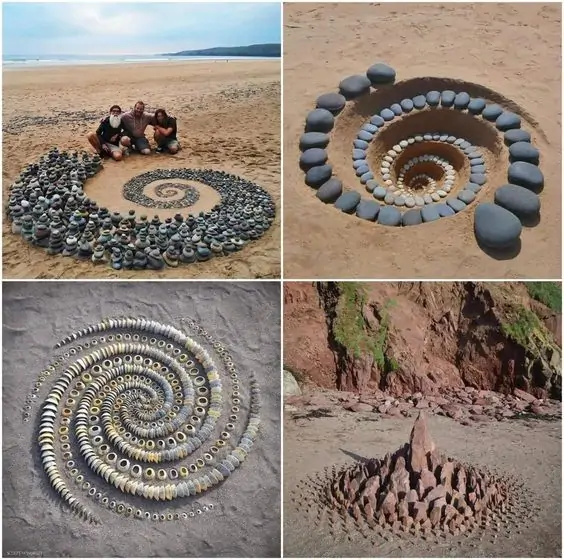
Ephemeral art denotes an unusual kind of visual manifestation that is momentary and fleeting, delivering the urge that it will not last. The common instances of this art form are urban street art like graffiti, performance art, installations, ice sculptures, and sand art, all constructed from natural resources. The temporary characteristics of ephemeral art focus on the experience and the process of production instead of emphasizing the durability of the artwork itself. It often conflicts with conventional art ideas, which concentrate on preserving art as a legacy for coming generations. For image creation or editing, ephemeral art offers a role by presenting techniques and approaches that illustrate transience and shift. To create this art, you can integrate features that refer to the fleeting qualities of ephemeral art. You can use digital graffiti elements or images and overlays that suggest changeability or artistic filters and effects that assemble the illusion of weakening or changeover. This blog will go through the essential techniques and tools that can add a spirited temporary layer to your visuals, expanding the story and summoning a sense of ephemeral elegance.
Step 1: Creating Initial Themes
Decide the central subject or message you need to communicate through your image. Consider how ephemeral components can improve this subject by including a sense of fleetingness or alteration.
Consider diverse shapes of ephemeral art, such as spray painting, sand art, ice figures, and execution art. Get into the methods and aesthetics included in these art shapes to draw motivation for your image editing project.
Imagine how the ultimate image will look with ephemeral components. Look into how these components will associated with the existing parts of the picture and the overall composition.
Gather visual references of ephemeral art that comply with your vision. Consider photographs, sketches, or digital artworks that help clarify your thoughts.
Arrange the steps needed to attain the specified effect. This incorporates choosing the tools and software you may utilize, as well as the particular methods to apply ephemeral art components.
Characterize clear destinations for what you need to attain with the vaporous art effects in your image. This will direct your editing process and guarantee you remain centered on your creative objectives.
Step 2: Ephemeral Components Selection
Choose which sorts of ephemeral art you need to consolidate, such as street art, chalk drawings, ice figures, or sand mandalas. Choose shapes that most complement your image and theme.
Decide the particular highlights of the chosen ephemeral art shapes that you just need to highlight. This may incorporate surfaces, colors, shapes, or designs that are characteristic of those art shapes.
Consider where these ephemeral components will be put inside your photo. Assume how their position can improve the composition and coordinate the viewer’s consideration.
Select colors and textures that reflect the ephemeral art fashion you’re imitating. Guarantee they harmonize with the existing colors and surfaces in your image to form a cohesive look.
Gather digital assets such as brushes, overlays, and surfaces that imitate the chosen ephemeral art components. These can be found online or made manually.
Play with diverse ephemeral components on a draft form of your image. Alter as fundamental to confirm they coordinate well with the general composition.
Create a methodology for blending the ephemeral elements into your picture. Consider how you’ll utilize blending modes, opacity, and layering to attain a consistent integration.
Step 3: Using Blending Options
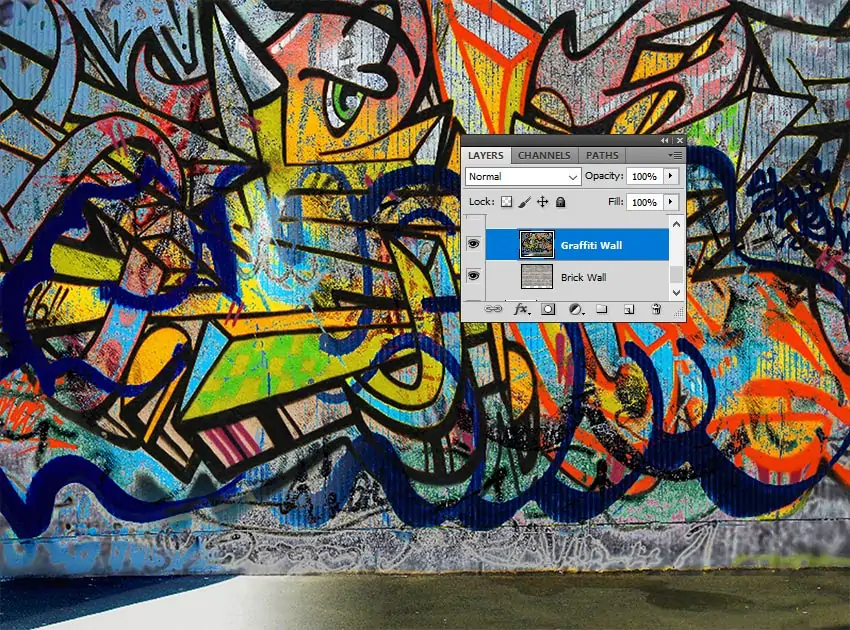
Launch your image editing application and make isolated layers for each vaporous component you arrange to include. It lets you do non-destructive editing and simple adjustments.
Title and organize your layers efficiently to keep track of the distinctive components and their positions. That helps keep up clarity and workflow proficiency.
Put your chosen transient art components on their individual layers. Utilize features such as the brush tool, shape tool, or imported design to apply these components to your image.
Try with layer properties like opacity, blending modes, and fill to coordinate the vaporous components consistently into the image. This will make the required impact of transparency or fractional visibility.
Add layer masks to control the visibility of the ephemeral components. Utilize the brush tool on the mask to uncover or cover up parts of the layer, permitting exact integration with the foundation image.
Utilize soft brushes and gradient masks to blend the edges of the ephemeral components, guaranteeing they look naturally coordinated and not harshly cut out.
Step 4: Temporary Effects Integration
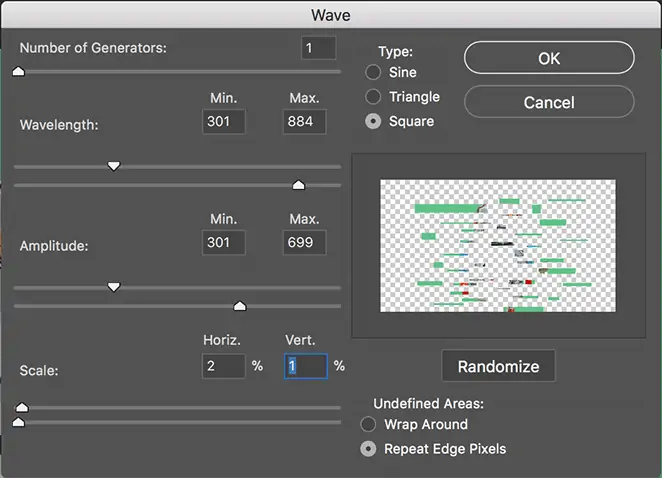
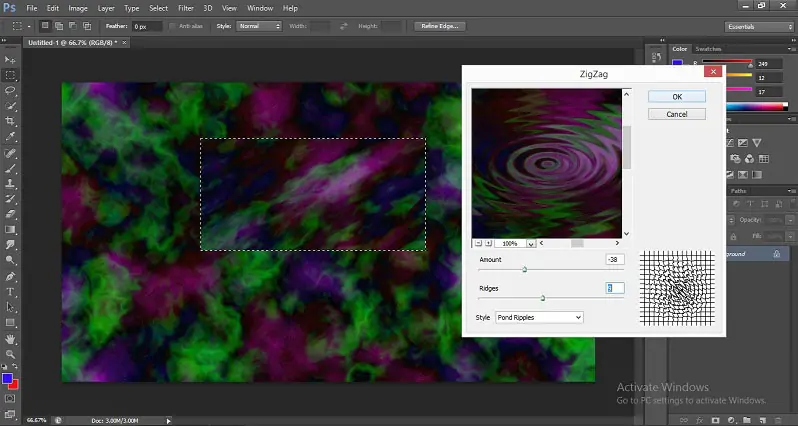
Select the sorts of temporary effects that will improve the ephemeral nature of your Photoshop, like motion blur, fading, or glitch effects.
Include motion blur to components that you just need to see in motion or transitory. Alter the heading and intensity to make the specified sense of development.
Utilize gradient masks and opacity alterations to make blurring effects. That makes parts of the image look like they are continuously vanishing, improving the ephemeral feel.
Add digital glitch effects to reenact the appearance of digital decay or impedances. This will add a present-day, transient aesthetic to your picture.
Apply different filters that imitate the look of ephemeral materials, like watercolor, chalk, or sand. Alter filter settings to blend consistently along with your image.
Regulate the color balance and lighting to guarantee the temporary impacts look natural within the general composition. Utilize features such as hue/saturation, curves, and levels.
Persistently preview the image to observe how the temporary effects associated with the base photo. Make refinements to guarantee the impacts improve the ephemeral quality without overpowering the image.
Step 5: Coloring And Lighting

Survey the current state of your image, centering on how the ephemeral components and temporary impacts associated with the initial content. Distinguish zones needing alterations.
Alter the opacity of the vaporous components to guarantee they blend consistently with the base image. This allows for a balanced appearance where the components improve without overwhelming.
Utilize color alteration tools like hue/saturation, color balance, and specific color to guarantee the ephemeral components harmonize with the general color plot of your image.
Test with distinctive blending modes for each layer containing ephemeral components. Modes like overlay, multiply, or screen can create different impacts that integrate components more organically.
Alter the lighting effects to highlight or minimize the ephemeral components. Tools like dodge and burn can be utilized to include unobtrusive light and shadow alterations.
Selective sharpening or blurring of parts of the ephemeral components is used to make depth and focus. This could make certain regions stand out while others recede.
Persistently iterate on these adjustments, seeing the image regularly to guarantee that each alter enhances the transient quality.
Step 6: Spontaneous Ideas Integration
Permit yourself to explore flighty thoughts and strategies without strict adherence to predefined rules. This cultivates suddenness and empowers creative approaches.
Try novel tools, filters, and effects to find one-of-a-kind ways to consolidate ephemeral qualities into your image. Do not be anxious to drive boundaries and take risks.
Combine distinctive ephemeral art shapes and impacts in startling ways to make interesting visual juxtapositions. This includes the profundity and complexity of your work.
Grasp coincidental revelations and unexpected results during the editing process. In some cases, the most compelling results emerge from unconstrained experimentation.
Emphasize your thoughts multiple times, refining and advancing your approach with each cycle. This iterative phase allows you to slowly refine your vision and accomplish the required outcome.
Share your ongoing work with others and request feedback from peers or mentors. Their viewpoints can give new experiences and motivate new commands for your inventive exploration.
Step 7: Final Reviews And Edits
Perform a careful audit of the whole composition, paying consideration to subtle elements, composition, and general cohesion. Distinguish regions that require additional refinement.
Alter the arrangement and size of ephemeral components to guarantee they boost the composition and focal points of the image. Look for balance and visual concordance.
Alleviate any moves between ephemeral components and the base photo. Use blending techniques and masking to make consistent integration.
Guarantee consistency in style, color, and surface throughout the image. Make essential alterations to preserve a cohesive visual story.
Closely observe the textures and details inside the ephemeral components. Upgrade or mellow them as required to bring up the specified visual effect.
Polish up the settings of temporary impacts such as motion blur, fading, or glitch impacts. Ensure they uplift the ephemeral quality without overwhelming the image.
Perform a last quality check to catch any blunders or irregularities. Zoom in to examine the picture at full resolution and make any last-minute alterations.
Save your last photograph within the appropriate file format and resolution. Look into making multiple versions for diverse purposes, such as print or web display.
Conclusion
To conclude, ephemeral art illuminates images with an infusion of urgency and transiency. It stimulates both the artist and viewers to adore the magnificence of the temporary and the fleeting personality of life and art. The material used for physical, ephemeral artworks also includes objects having a brief lifespan and form-holding capacity, like ice, snow, or sand, or more frequently with materials that naturally break down or change, like in land art. By its very nature, ephemeral art is contemporary and modern. Although it may cover themes of many artistic movements and forms, street and graffiti art are more prevalent in most of its digital versions.
