How To Create An Art Beat Composition
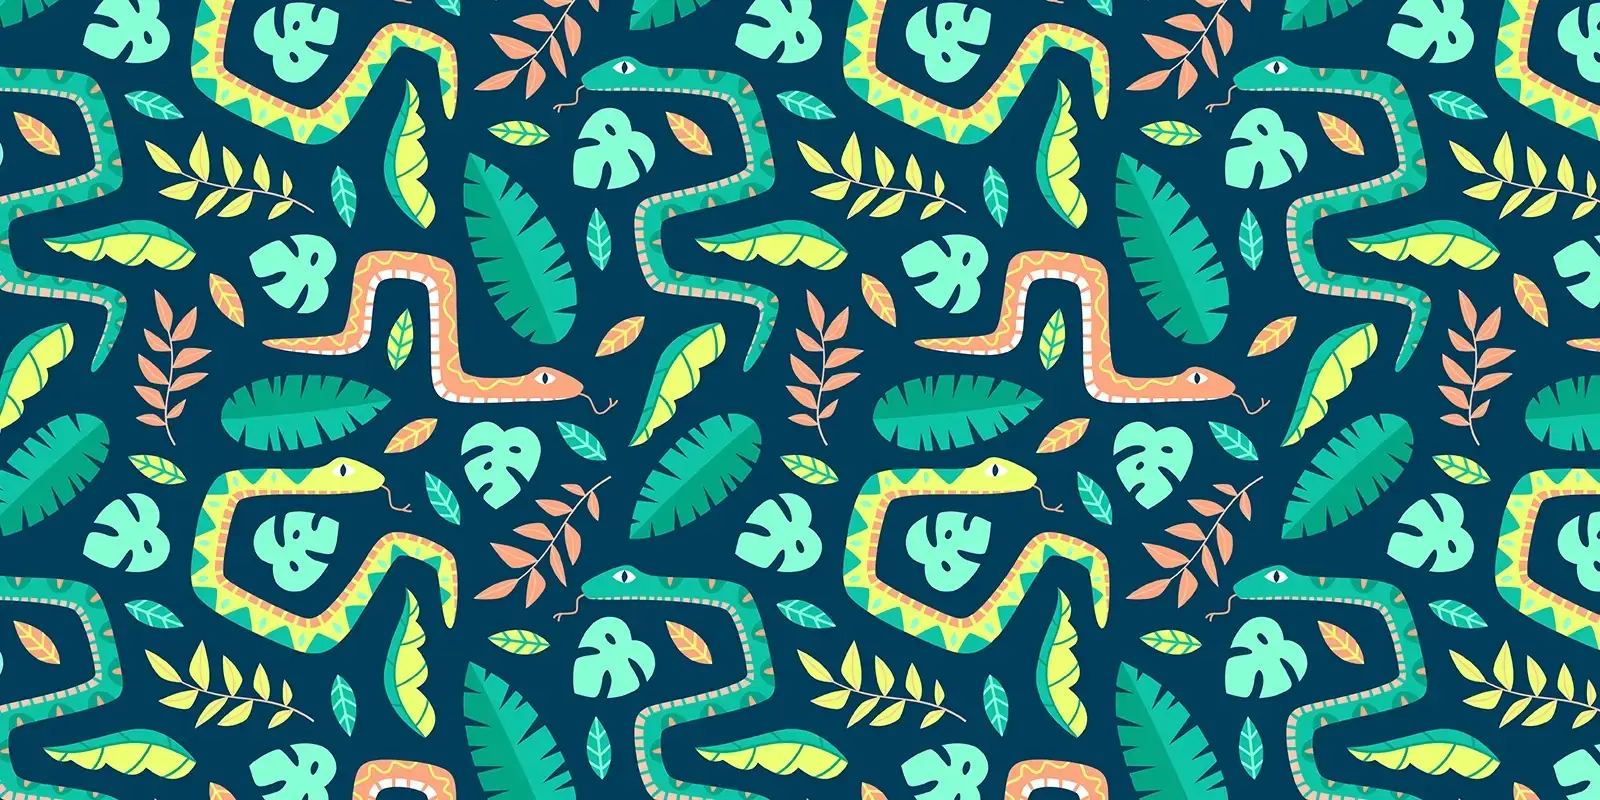
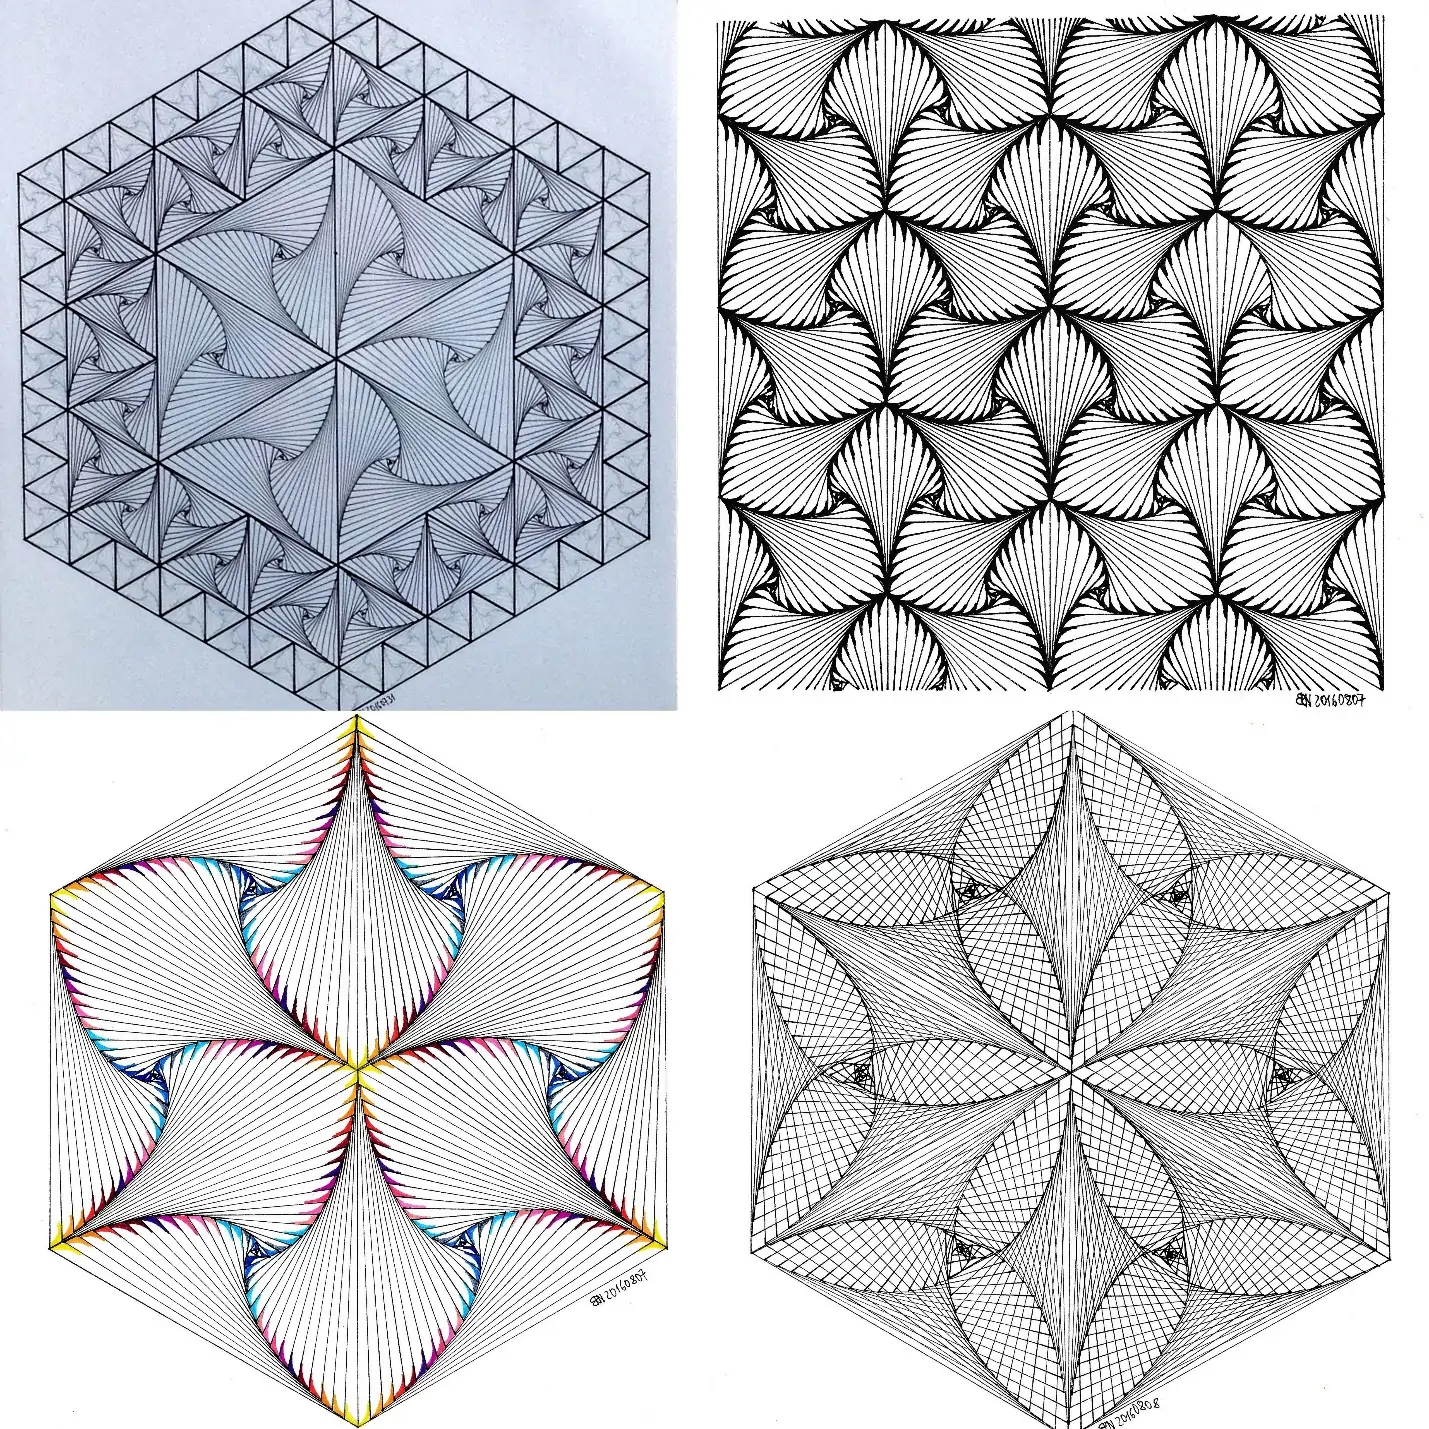
The Art Beat concept relates to the recreation of rhythm or flow of visual elements within an image. The approach ranges from using specific colors, shapes, and lines to adding unique textures in a way that guides the viewer’s eye and brings forth special feelings or reactions. Art beat artworks are utterly harmonious compositions that attract the viewer, just like the beat in music occupies a listener. You can create art beat composition using different art techniques, including repetition, contrast, balance, and ratio, and convey a symmetrical and zestful visual encounter. When creating art beat compositions, you need to focus on creating a rhythmic and fascinating visual flow using repeating patterns or figures, giving a sense of constancy. To accelerate the dynamism, you can further work on color, lighting effects, or texture, which assist in creating visual inducement and vitality. These techniques and their way of implementation are explained in the following blog, which you can practically employ to create your own art beat pieces.
Step 1: Sketching Your Ideas
Start by brainstorming and carefully drawing your thoughts on paper. Focus on visualizing the overall composition and how components will associated to form rhythm and stream.
Discover diverse concepts and compositions that even fit your aesthetic vision. Consider factors like shapes, lines, and designs that will pass on the specified temperament or message.
Make a rough storyboard or format to outline the arrangement of key components inside your artwork. That helps build up a structure and flow before plunging it into a detailed plan.
Assemble inspiration from different sources, like artworks, photos, and nature. Observe how artists utilize composition and color to get energetic visual rhythms.
If sketching digitally, utilize Adobe Illustrator’s drawing tools to draw and refine your beginning thoughts. Play with distinctive compositions and arrangements to discover the most exciting design.
Look for feedback from peers to get insights and refine your concept further. Consolidate valuable feedback to reinforce your composition and guarantee clarity in passing on your aesthetic intent.
Step 2: Setting Up The Document Parameters
After you’ve finalized your concept and outlines, it’s time to set up your workspace in Adobe Illustrator to bring your thoughts to life.
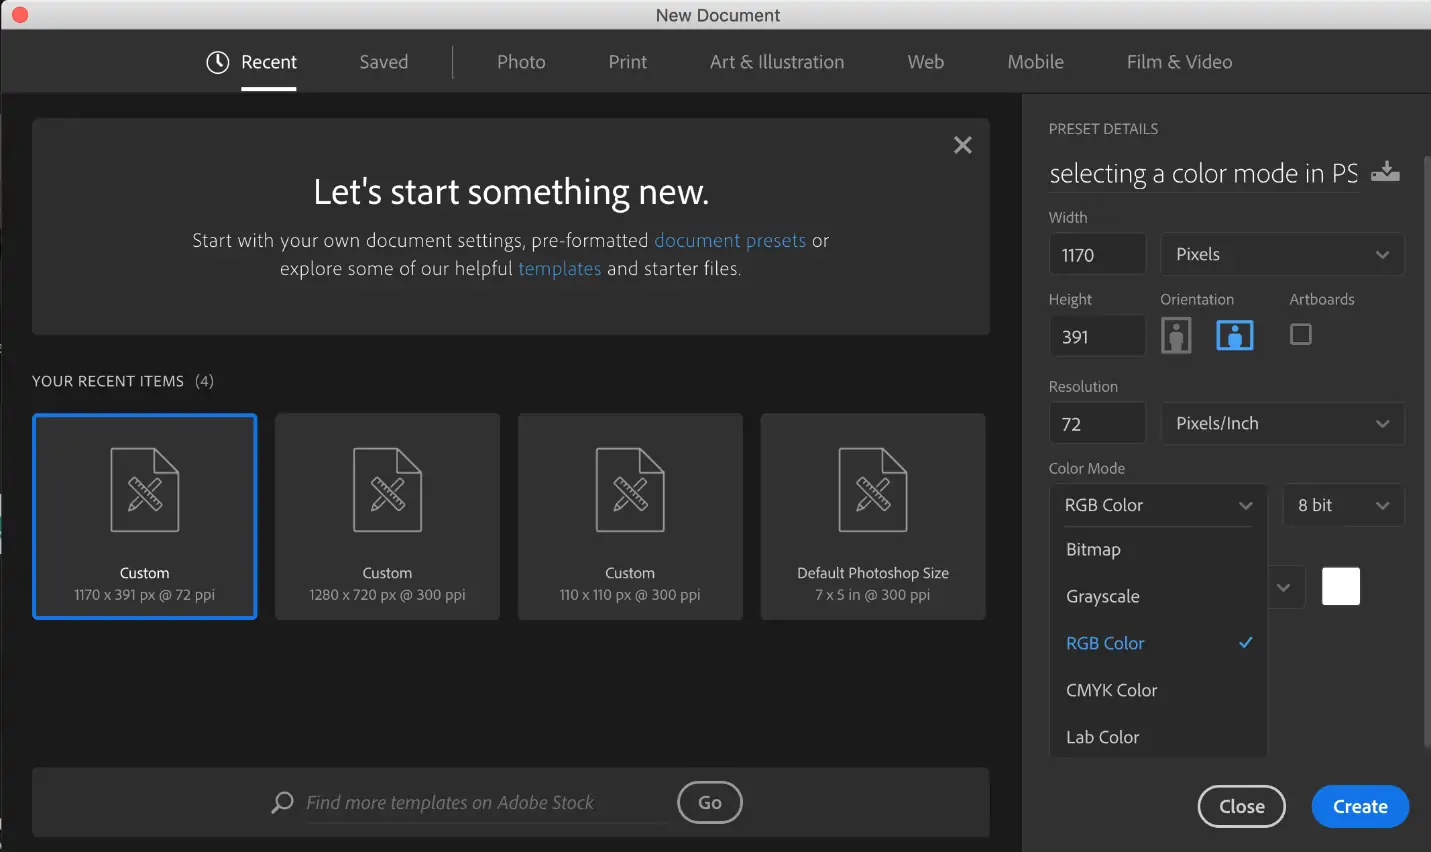
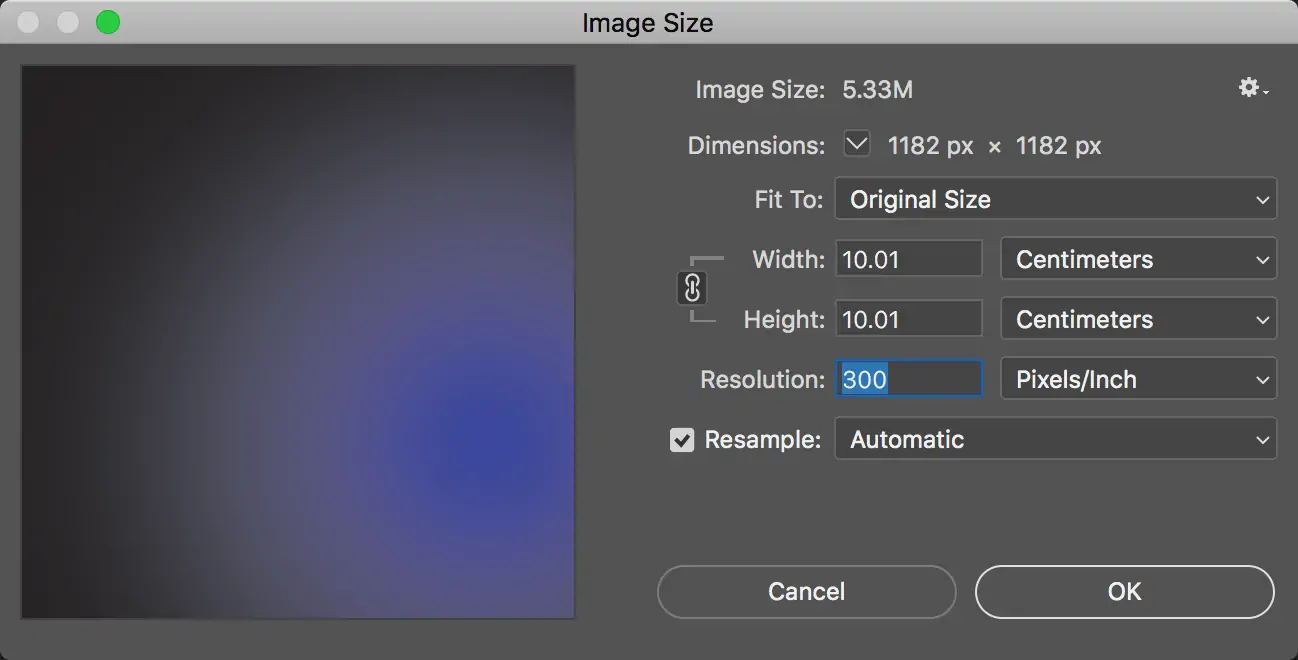
Open Adobe Illustrator and make a new document. Select appropriate dimensions and orientation based on your final yields, such as print or digital exhibitions.
Choose the color mode, like RGB for digital/web or CMYK for print, as per your project requirements. Adjust the resolution to ensure high-quality results.
Set your artboard settings to fit your design needs. You’ll alter the size, number of artboards, and arrangement to suit distinctive components of your composition.
Utilize Illustrator’s grid and guide highlights to set up a system for your artwork. It facilitates you adjusting and organizing components accurately within the canvas.
Save your document with a graphic title and put it in a location where you’ll easily get to it. Regularly save your progress to dodge losing work.
Regulate Illustrator preferences, including units of measurement, rulers, and snapping choices to streamline your workflow and improve accuracy.
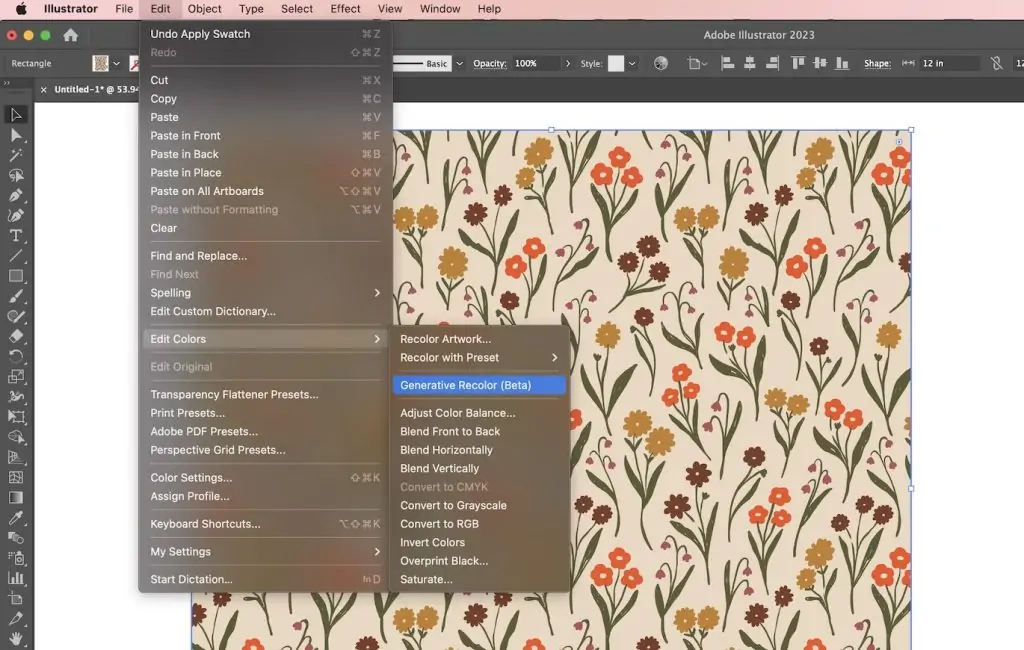
Step 3: Organizing The Colors
Pick the right color palette is pivotal for setting the temperament and improving the visual effect of your artwork.
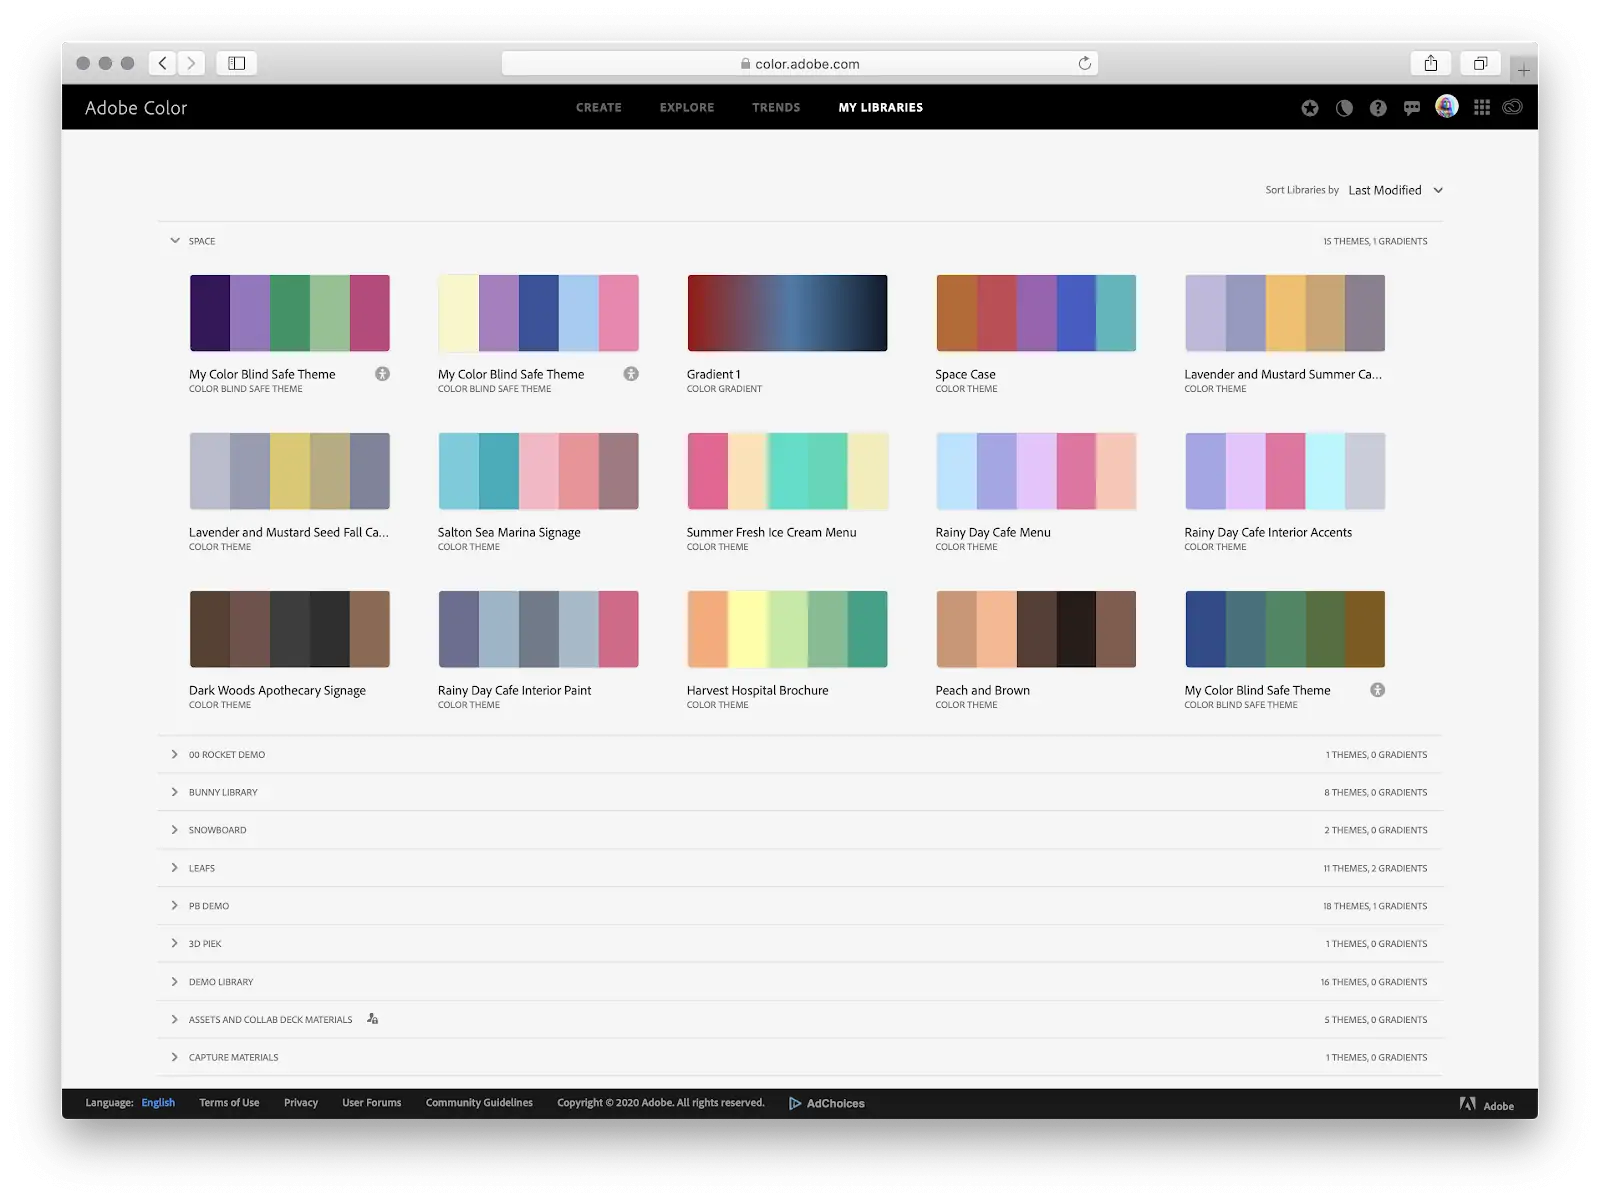
Choose colors that tone well together and adjust with the feelings or themes you need to communicate. Utilize tools like Adobe Color Themes to make or discover color schemes.
Access Illustrator’s Swatches panel to make and organize your chosen colors into swatches. This helps you preserve consistency throughout your design process.
Alter hue, saturation, brightness, and opacity to refine your colors. Experiment with gradients and blends to include profundity and dimension in your artwork.
Guarantee there’s enough contrast between components to make your artwork visually engaging and easy to see. Utilize complementary or contrasting colors deliberately to draw attention to focal points.
Save your color palette as a swatch library for future projects. Add colors to your artwork utilizing the Eyedropper feature or by directly selecting swatches from the Swatches panel.
Try different color combos and varieties to discover the most effective palette for your composition. Ask for feedback to ensure your colors echo along with your intended viewers.
Step 4: Creating Primary Forms

Start building your artwork by setting up foundational components and designs that put up to its beat and visual appeal.
Utilize Illustrator’s shape tools to make essential shapes that will serve as building pieces for your composition. Try varying shapes and sizes to attain adjustment and variety.
Investigate design creation tools in Illustrator to produce repetitive themes or surfaces. Utilize the Pattern Options panel to define the arrangement, scale, and dividing of your designs.
Execute Pathfinder operations to combine, intersect, or avoid shapes to form more complex shapes. Utilize Align tools to get a precise array and alignment of components inside your composition.
Apply custom brushes to include surface or embellishing components to your shapes and designs, and tailor the brushes to fit your creative vision.
Set up your work of art into layers to preserve clarity and encourage altering. Group related components together and organize them progressively to oversee complexity and streamline your workflow.
Step 5: Enhancing Visual Depth

Elevate your artwork by consolidating textures and subtle elements that improve its visual profundity and material quality.
Utilize Illustrator’s texture instruments, such as the Texture panel and Live Trace, or bring in raster images to apply surface overlays to your artwork. Test with opacity and blending modes to reach the wanted effects.
Make smooth moves and depth utilizing gradients and mesh devices. Apply gradients to shapes or utilize the Gradient Mesh option to include mild shading and authenticity to your objects.
Add to your plan possibilities by filling shapes with perplexing patterns. Utilize pre-made designs from the Swatches panel or make custom patterns utilizing Illustrator’s Pattern Creation feature.
Apply aesthetic brushes to recreate brush strokes or make custom strokes to lay out and decorate your shapes.
Try with opacity levels and blending modes to make overlays and transparency impacts that include depth and complexity to your piece.
Attend to slight particulars, including highlights, shadows, and fine textures, to touch up the authenticity and visual appeal of your art.
Step 6: The Final Touch Ups
Touch up your work of art by fine-tuning components and ensuring coherence in your composition.
Evaluate the overall composition of your work of art. Confirm that components are in proportion and organized to guide the viewer’s eye smoothly over the piece.
Establish color choices to preserve harmony and bring out the specified temperament. Utilize Illustrator’s Color Adjustment tools to alter hue, saturation, brightness, and contrast as required.
Use Zoom to review and refine intricate details like surfaces, patterns, and strokes, ensuring perfection.
Coalesce typography consistently if your artwork incorporates text. Choose textual styles that complement the general aesthetic and ensure coherence and sequencing.
Simplify and organize layers to facilitate easy editing and management. Blend or gather layers consistently to preserve a clear structure.
Step 7: Export And Share
Make your artwork ready for its expected use by completing concluding adjustments and saving it in a suitable format.
Audit your composition one last time to guarantee all details are perfect and components are cohesive. Look into any irregularities or errors that will degrade the overall quality.
Select the suitable file format based on your expected use. Alternatives incorporate JPEG or PNG for digital display, PDF for printing, or SVG for scalable vector illustrations.
Designate the resolution of your artwork that agrees with the ultimate output requirements. Higher resolutions are regularly required for printing, while lower ones are conformed for digital purposes.
Insert the proper color profile, pivoting on whether your artwork is intended for digital or print media. This way, you have precise color generation.
Save your Illustrator file (.ai) to protect editable layers and vector information for future modifications. Likewise, save a duplicate within the chosen format for distribution or sharing.
Conclusion
Last but not least, art beat compositions possess a cordial balance in both symmetrical or asymmetrical setups that equips viewers with stability or anticipation. The element of activity is proposed through lines or shapes, giving a sense of movement, whereas unanimity emerges from a satisfying combination of components that work well together, creating a proportional impression. Inclusively, these properties frame a visual beat that exalts the image’s overall ambiance, making it rousing and aesthetically pleasurable. To produce tempo, you can do creative experiments like repeating a color, a shape, or even the space between two shapes, resulting in the utmost rhythmic compositions.
