How To Create A Viking Art Effect
The unusually elaborate material culture of the Northerners is typified by Viking art. The Vikings enjoyed ornate embellishments, and they adorned almost every one of the objects they used, including jewellery, weaponry, runestones, ship woodwork, and even daily objects. They adored many interlacing lines and elaborate, abstract animal motifs. The artists at that time featured wolves, birds, horses, snakes, and other mythical creatures in their artwork. They revised the designs as the Viking Age went on, and a number of unique but related art forms emerged. Every style has a name derived from the region of an embellished item. Back in our times, this ancient art style, like various other persistently prevailing ones, is adored by modern artists and art lovers. In addition, with the development of digital art tools and techniques, this classic art style has become more adaptable. Artists, designers, and image editors employ Viking’s antique themes in their compositions to build narratives that hold an eternal appeal. The following steps of this blog will focus on the process of adding a Viking art effect into images using digital approaches deftly.
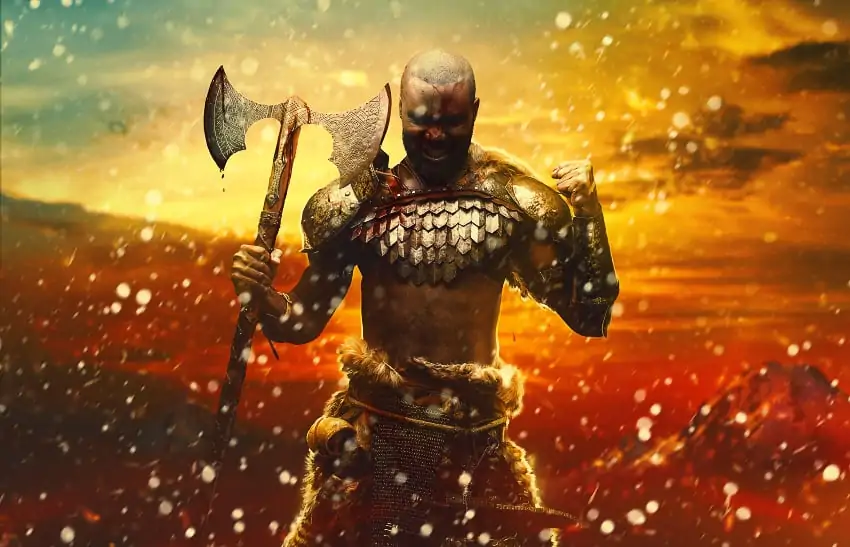
Step 1: Choosing A Base Photo
Choose a photograph that corresponds to the Viking aesthetic, like a warrior, Norse ship, or Scandinavian scene. Choosing a high-resolution image is basic to hold details when including Viking components.
Choose from historical styles such as Oseberg knotwork, Urnes flowing plans, or runic engravings. The preferred style ought to conform with the subject and improve the historical impression.
Decide where to set Viking art, like armour, weapons, backgrounds, or tattoos. Make sure that the composition stays visually proportional.
Adjust brightness, contrast, and saturation to make a rough, historical appearance. Viking art sets agreeably with earthy tones, profound shadows, and aged surfaces.
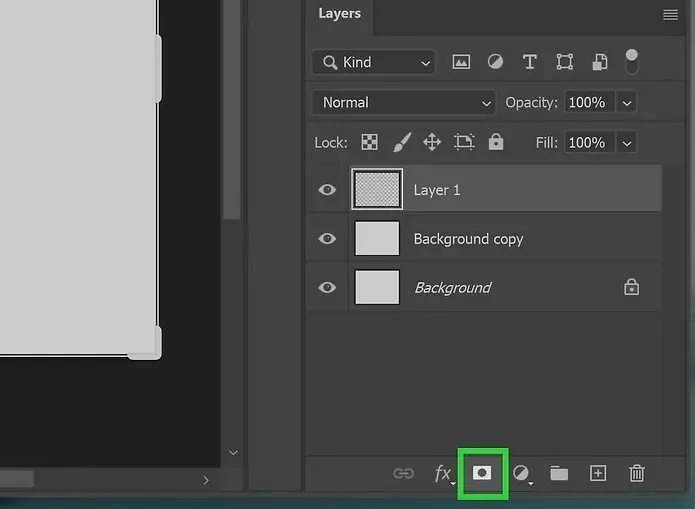
Make a duplicate of the initial picture to keep a backup. Consider cropping or resizing as required so that Viking components accommodate inside the frame.
Step 2: Searching Viking Symbols
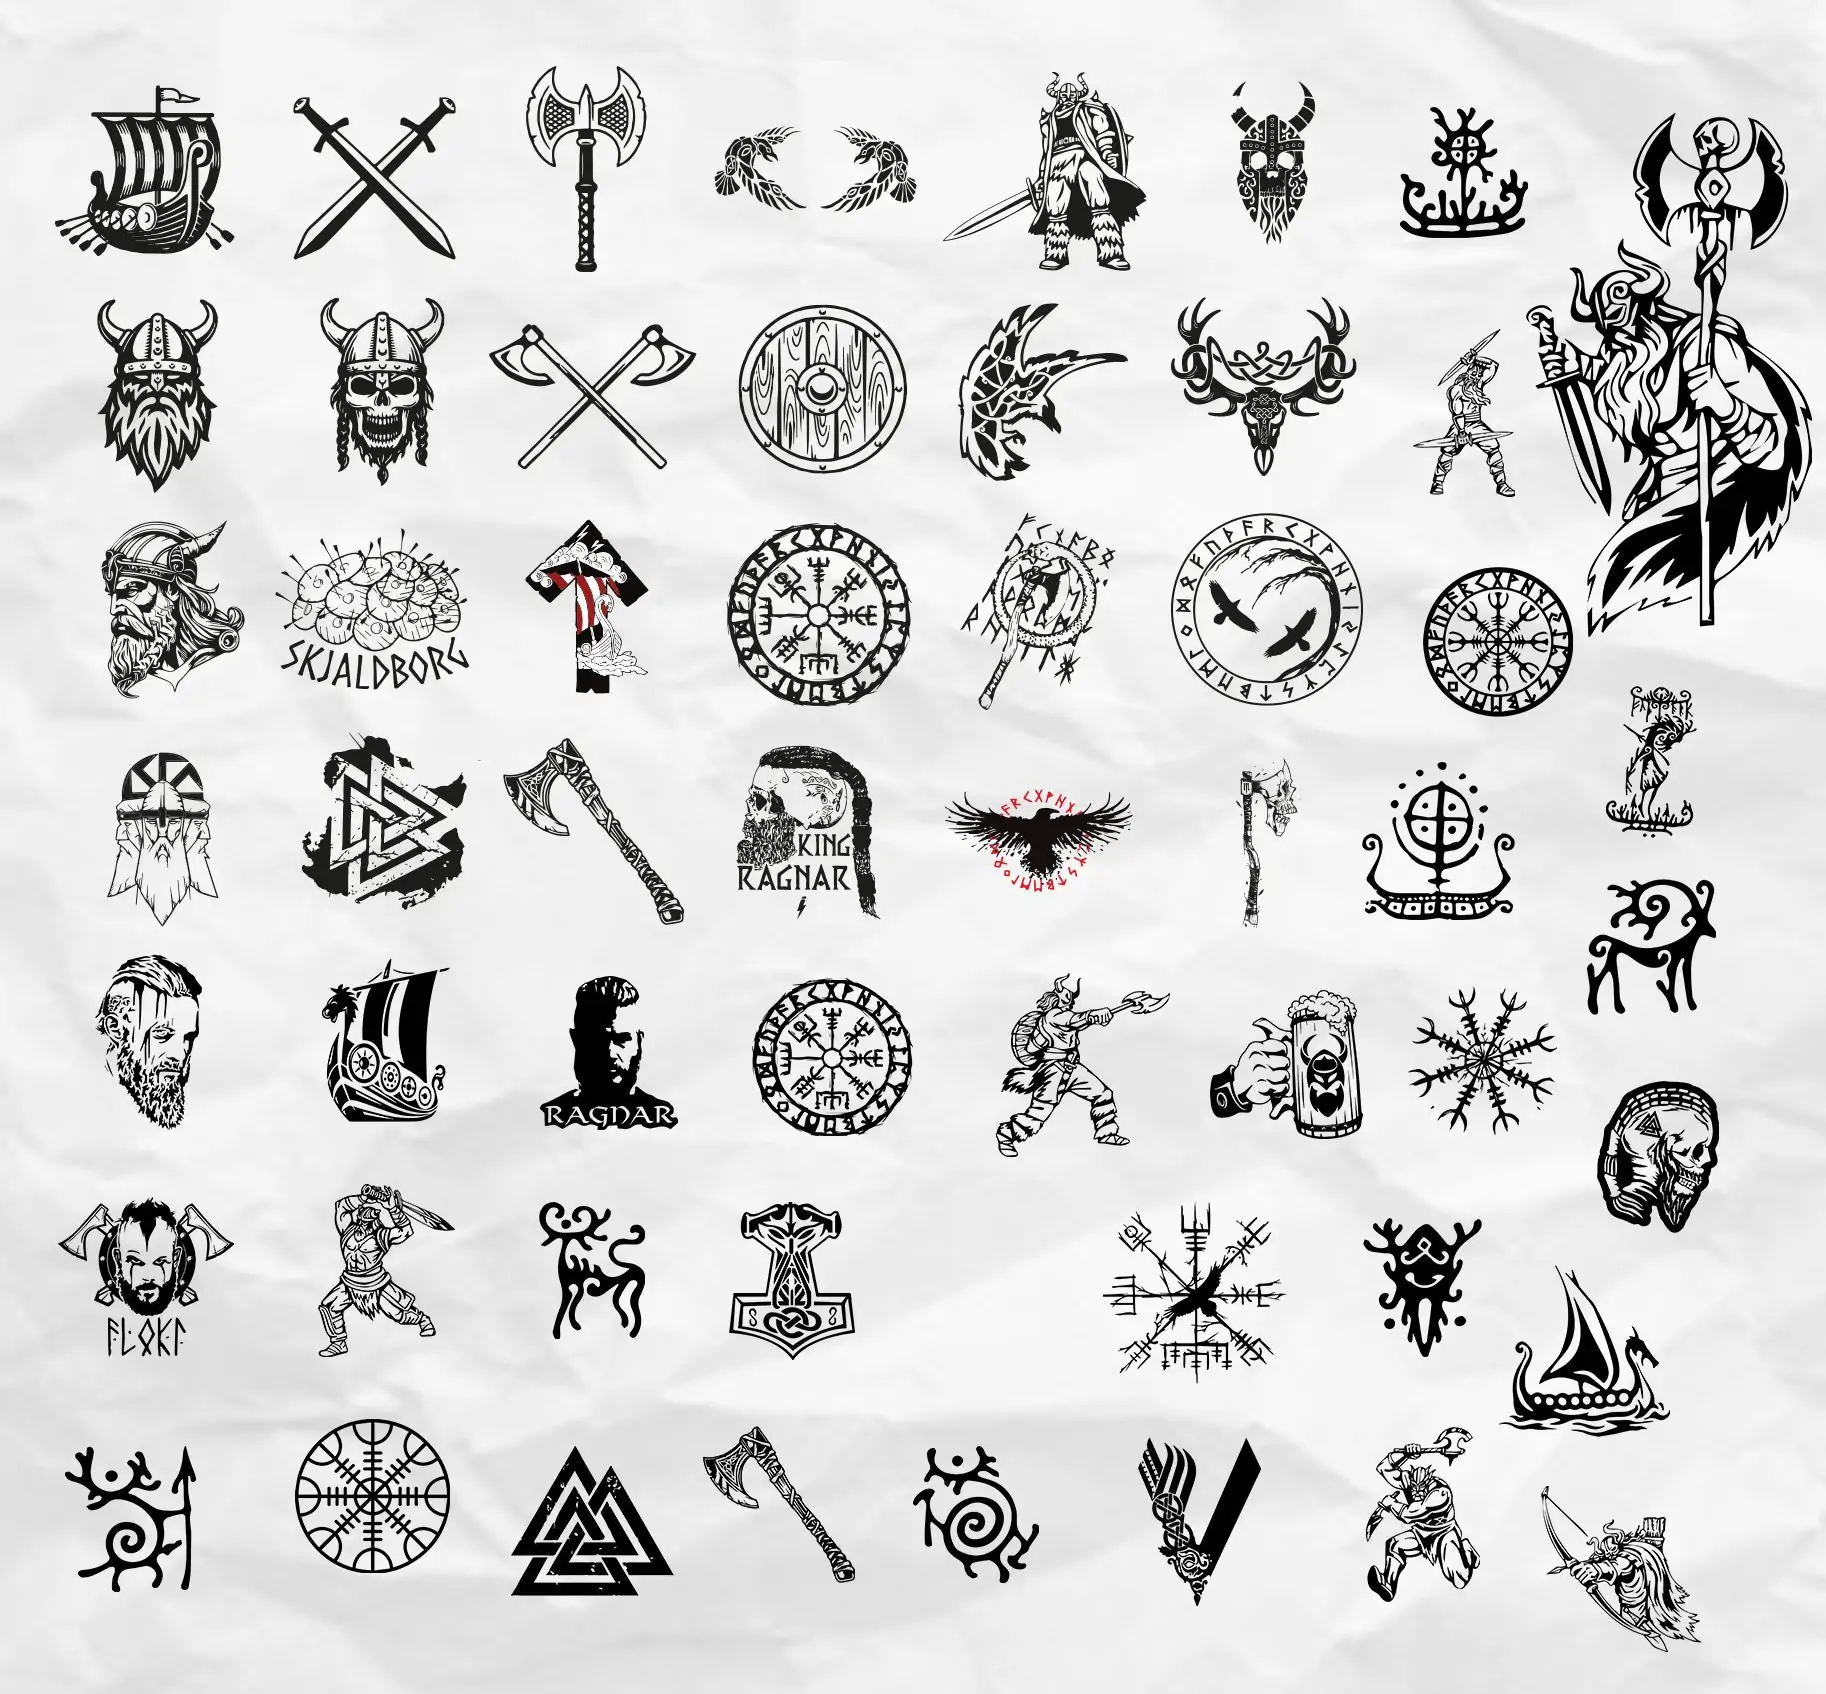
Discover high-quality Viking designs, images, and engravings. Search for Norse knotwork, mythical animals, or runic engravings from historical references, vector libraries, or museum chronicles.
Utilize PNG or SVG files for digital overlays to attain transparency and versatility. If you opt for textures such as engravings or carvings, JPEG or TIFF formats with high resolution perform best.
Make sure that the Viking art adjusts with the lighting, perspective, and subject of the photograph. To get a realistic effect, you must prefer engraved metal, wood carvings, or painted plans that integrate organically with the surroundings.
Look into resizing, rotating, or adjusting Viking designs in Photoshop or Illustrator to conform the picture consistently. Tend up pointless points of interest and upgrade sharpness as required.
Change over photographs to grayscale or sepia for engravings. If you are working with symbols, alter contrast and opacity to incorporate them naturally before applying them to the central picture.
Step 3: Utilizing Viking Inspired Textures
Select a texture that goes with the Viking theme, like engraved metal, carved wood, aged stone, or weathered parchment. It will help integrate Viking components naturally into the photograph.
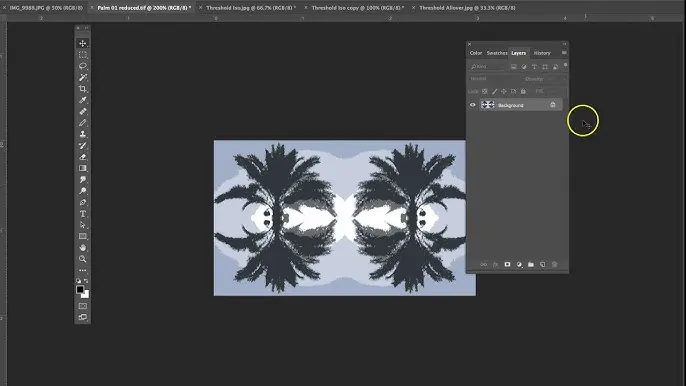
Import the texture into Photoshop or any other editing tool and put it over the picture. Alter its size and position to coordinate the surface where the Viking art will show up.
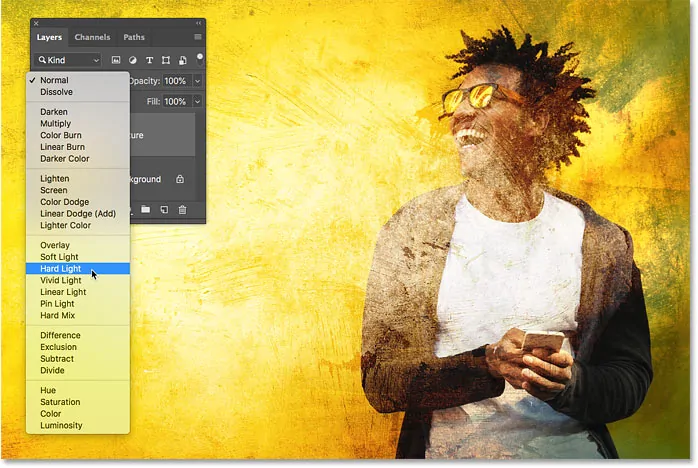
Alter the layer blend mode to Overlay, Multiply, Soft Light, or Hard Light to blend the surface with the photograph. Alter the opacity to guarantee it improves the Viking components without overwhelming them.
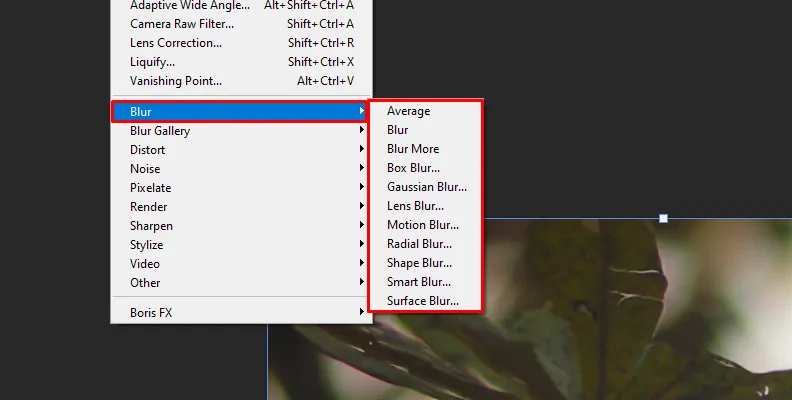
Utilize Gaussian Blur for subtle profundity or High Pass Filter to sharpen subtle details. Lay layer masks to delete undesirable ranges and make the texture show up naturally embedded.
Upgrade the realism by including shadows for depth and highlights for engraved or embossed effects. Utilize the Dodge and Burn tools to form a persuading Viking-style surface.
Step 4: Adjusting Symbols And Opacity
Put the Viking symbols, patterns, or engravings onto the image. Organize them carefully to guarantee that they improve the subject without overpowering the composition. Adjust them with natural surfaces such as armour, weapons, walls, or foundations for realism.
Alter the layer blending mode to Multiply, Overlay, Soft Light, or Hard Light, depending on the effect you need. It will help the Viking components blend naturally with the base shot while keeping up texture and depth.
Decrease the opacity of the Viking components to integrate them consistently with the picture. Usually, the value of 30 to 70% goes well, depending on the material you apply them on.
Add a layer mask and utilize a soft brush to eradicate undesirable ranges, making a gradual blur where fundamental. It will make the work of art show up naturally embedded instead of artificially set.
Moreover, you need to resize or distort the Viking components to coordinate the perspective of the picture. Utilize the Warp or Perspective Transform tools to be sure that they follow the contours of surfaces such as curved shields, fabric, or stone walls.
Step 5: Enhancing Depth And Naturalism
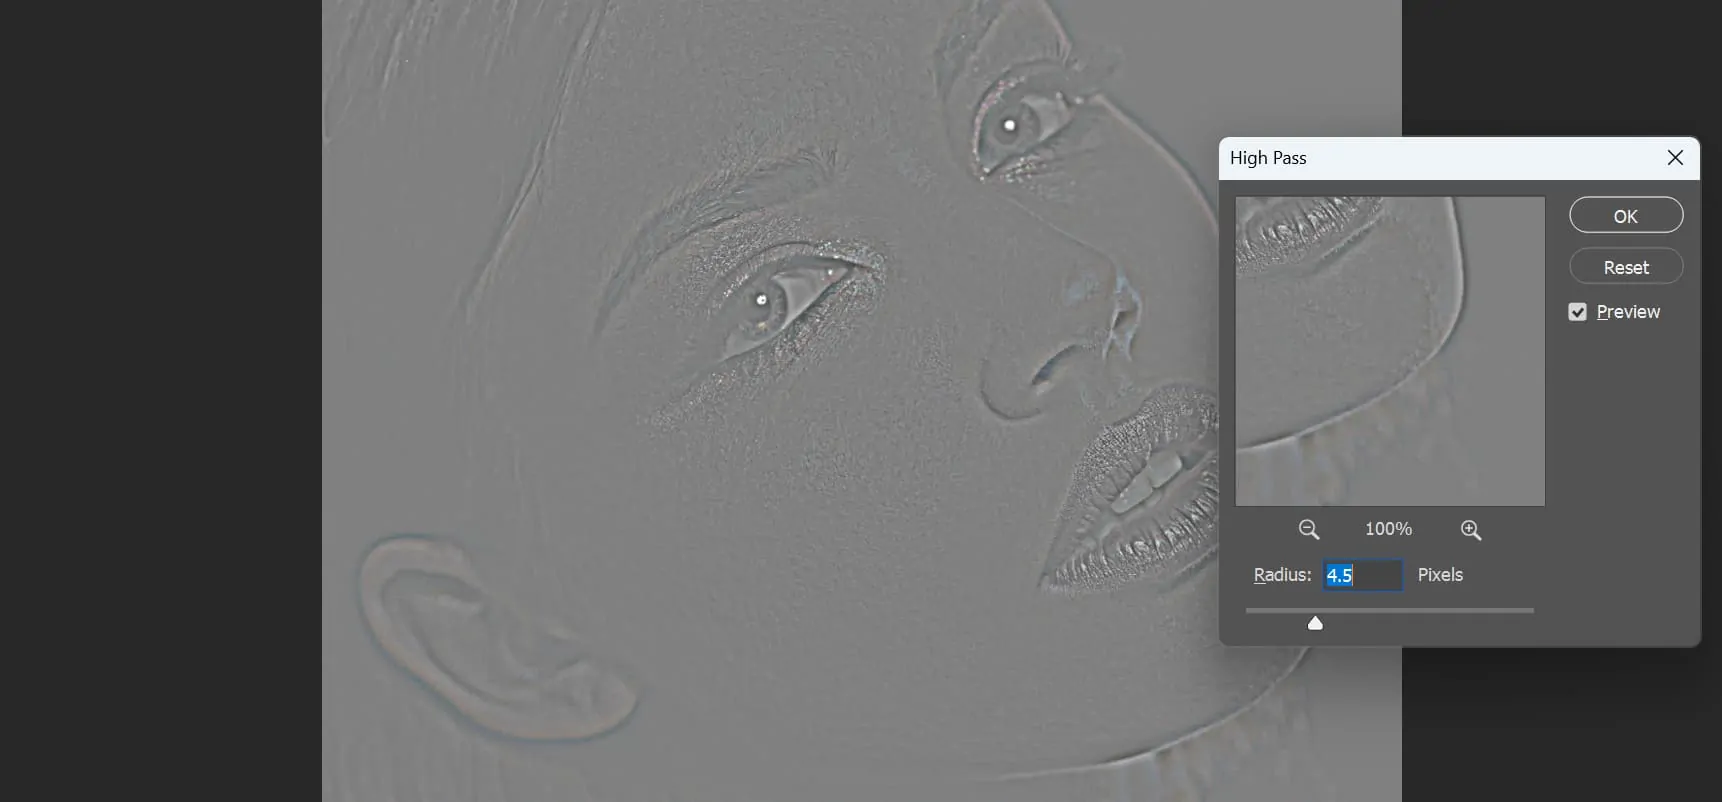
Add sharpness adjustments to improve complicated details within the Viking components. Utilize a High Pass Filter or Unsharp Mask to form engravings, runes, and patterns that stand out while preserving them naturally.
Include shadows to develop depth where the Viking designs associated with textures, including armour or stone. Utilize the Burn Tool for darkening and the Dodge Tool for highlights to recreate light striking onto raised or carved ranges.
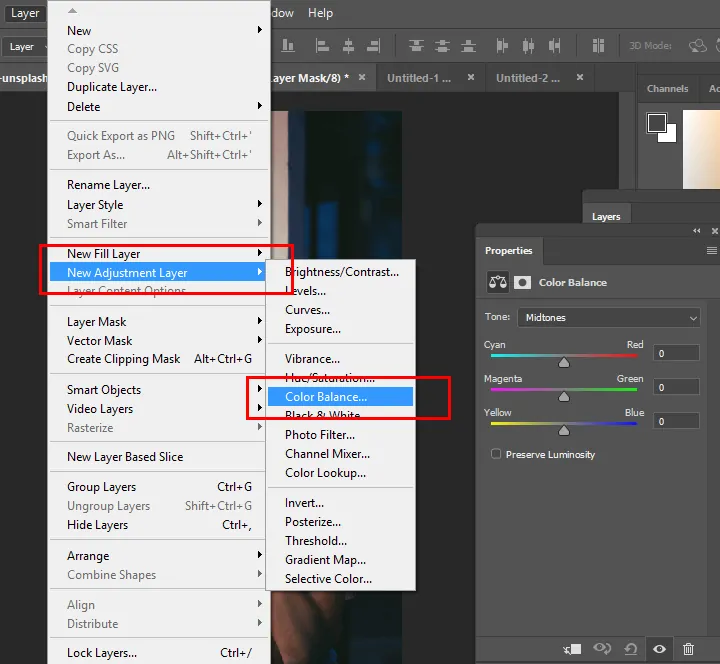
Alter in general tones to correspond to the Viking theme. Utilize colour balance, selective colour, or gradient maps to make a weathered, historical impression. The desaturation phase can make engravings show up more authentic, while warm tones improve a fiery Norse formation.
To achieve a dramatic effect, present components like fog, mist, or subtle grain to improve the setting. It performs well in battle settings or supernatural Viking scenes. Blur foundations barely focus on the main subject.
Survey all components for harmony and authenticity. Flatten the picture or keep layers for forthcoming adjustments. Export using high resolution so that the quality is protected. For digital works of art, look into saving a PSD file to permit later alters.
Step 6: Including Viking Art Symbols

Select Norse symbols that improve the photo’s narration aspect. Choices incorporate Thor’s hammer, Viking compass, helm of awe, and Elder Futhark runes. Confirm that they accommodate the image’s subject, whether for strength, assurance, or enchantment.
Put runes or symbols on suitable regions, including armour, weapons, shields, stone walls, or tattoos on the skin. Set them naturally to pursue the contours of the object they are connected to.
Utilize bevel and emboss effects, inner shadows, or displacement maps to create symbols that look carved, engraved, or painted onto the surface. For shining rune effects, add an outer glow with a delicate opacity to make a supernatural Viking atmosphere.

Alter opacity and blending modes to make the runes integrate naturally with the surface. Utilize layer masks and erasers with low opacity and fade edges, avoiding a pasted-on appearance.
Include weathering effects such as cracks, fading, or scratches utilizing surface brushes to make symbols show up ancient and authentic. Modify lighting and shadows so that they interact realistically with the setting, meeting the Viking adaptation.
Step 7: Finalizing The Artwork
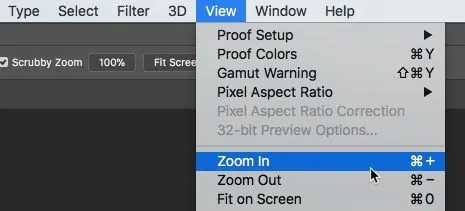
Utilize the Zoom in option and review every detail to to confirm that all Viking components incorporate naturally. Search for misaligned textures, harsh edges, or unreasonable placements and adjust them utilizing soft brushes, layer masks, or the smudge option.
Utilize curves, colour balance, or Look-Up Tables to harmonize the photo’s tones. Revise contrast and saturation to coordinate the historical Viking aesthetic, like darker tones for a battle panorama, earthy tones for a rural feel, or cooler hues for a supernatural climate.
Include subtle depth-of-field effects by minutely blurring the background while keeping the primary subject sharp. This strategy improves realism and directs consideration to the Viking components. Utilize vignetting to make a cinematic, immersive effect.
Keep different versions of the ultimate picture in high resolution, such as JPEG, PNG, or TIFF, for quality preservation. If required for digital utilization, export a web-optimized adaptation to preserve clarity without intemperate file size.
Consider keeping a PSD file for easy future alters. Make a separate flattened form for sharing or printing. Be sure that the ultimate Viking-inspired composition is refined, authentic, and outwardly striking before publishing or presenting it.
Conclusion
In summary, artists have continued to be inspired by Viking art throughout history. A large portion of Viking art was made from the everyday riches of common men and women, like the reflection of life carved in wood and bone or crafted in metal. Rather than the lavish legacy of the ultra-wealthy, it is seen as the heritage of the commoner. Viking art gives us a peek at a ravishing worldview, which holds a strange yet alluring magnificence. Likewise, its addition to everyday images imbues similar peculiar elements and themes into the final compositions, making them no less than genuine Viking art pieces.
