How To Create A Storyboard
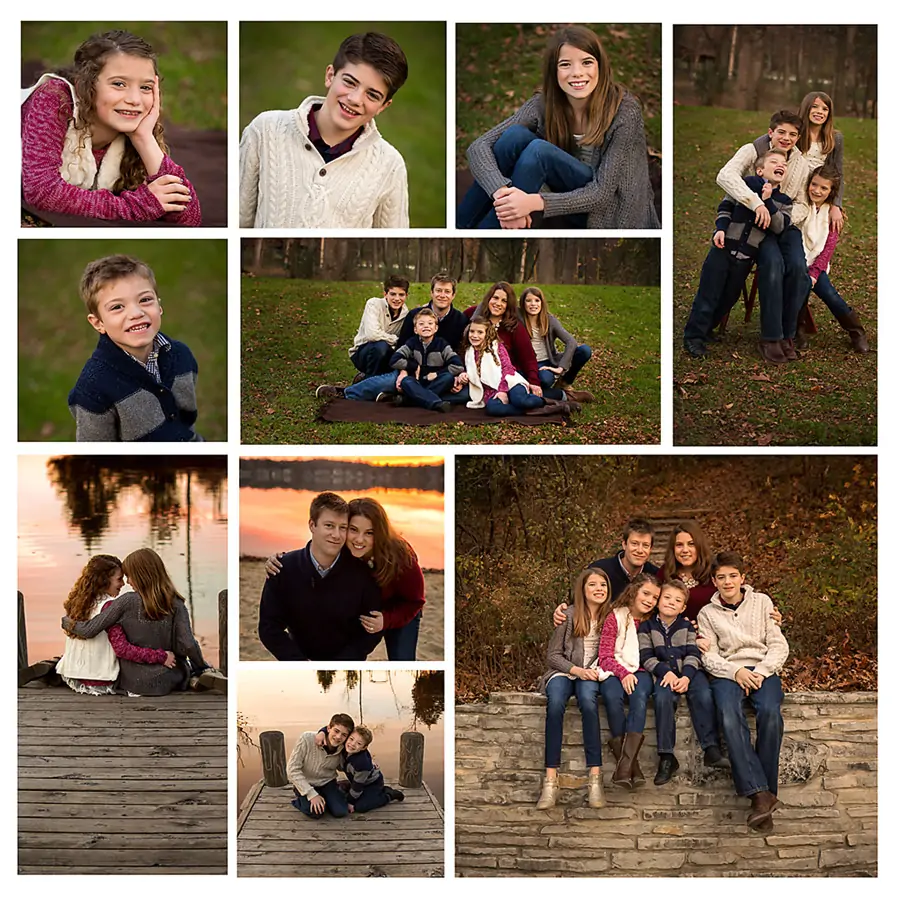
There are lots of small factors and parameters to monitor during a photo shoot. From one photo to the next, variations may be seen in the lighting, camera framing, clothing, and poses. The photography storyboard is one of the best tools to make sure every shot has the elements you want. Using storyboards for photography helps you outline and envision your photos before the actual shoot day. When you’re looking to take a number of pictures or videos that need to visually tell a story and blend together, you utilize storyboarding. It also includes details about the setting, the action that is occurring, and the description of the scene. A video storyboard is a visual depiction of the shot-by-shot flow of your video. It consists of several squares with images or graphics that correspond to each shot. Notations on the events depicted in the images are also included. On the other hand, an image storyboard is a graphic depiction of a still or motion picture shoot. A photoshoot is broken down into separate panels by storyboards, shot by shot. In a storyboard, every panel provides both textual and visual characterizations for particular shot specifics. This blog will proceed with the steps to employ when creating a storyboard for an intriguing visual depiction of your set of images.
Step 1: Storyboard Document Setup
Within the foremost step, you need to create a new Photoshop document scheduled to start drawing and arranging your storyboard frames.
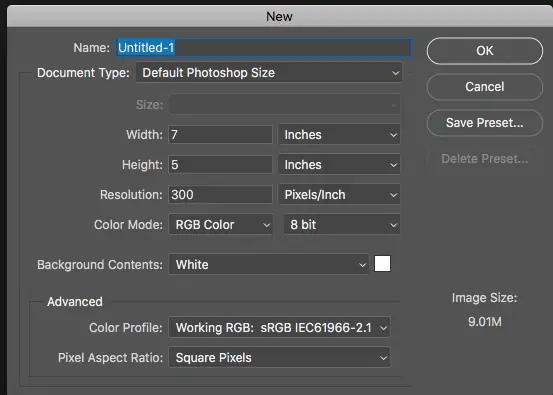
Initiate the Adobe Photoshop application on your PC, then go to File and New to form a new document.
Mention the dimensions for your storyboard. For instance, you can go for the standard screen proportion, which is 920×1080 pixels or choose custom dimensions that fit your project requirements.
Select a resolution fitting for your expected usage, like 300 pixels per inch (PPI) for print or 72 ppi for web/digital operations.
Assign RGB colour mode if you are making a storyboard for digital use or CMYK for print, depending on your final yield prerequisites.
Select a white or neutral foundation colour for clarity, or tailor it to match your storyboard’s refinement.
Grant your document a graphic title and select an area to save it on your PC.
This starting setup guarantees you’ve got the accurate canvas size, resolution, and colour settings custom-made to your project’s needs.
Step 2: Creating Frames
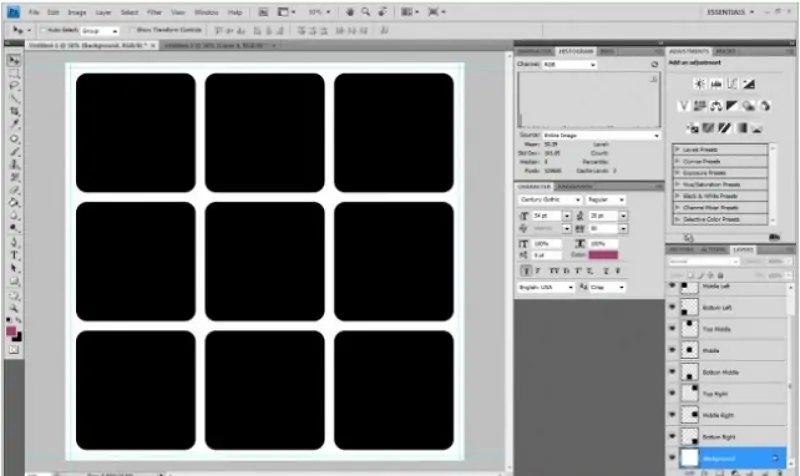
Pick the Brush tool from the toolbar on the left corner of the Photoshop window.
Alter the brush dimensions and hardness utilizing the alternatives present at the top toolbar to conform to your drawing needs.
Move to Layer > New > Layer to form a new layer so you can begin with the storyboard outline.
Start outlining a rough thumbnail of your initial outline on the new layer. Concentrate on capturing the fundamental composition and components of the scene.
Commence with straightforward shapes and lines to lay out the primary objects and characters within the outline.
Guarantee the proportions and perspective inside the outline are coherent and pass on your aiming visual story.
Occasionally save your work to dodge losing advancement. Utilize the File and Save options to save your Photoshop document with a new adaptation number or title to track revisions.
Step 3: Layer Management
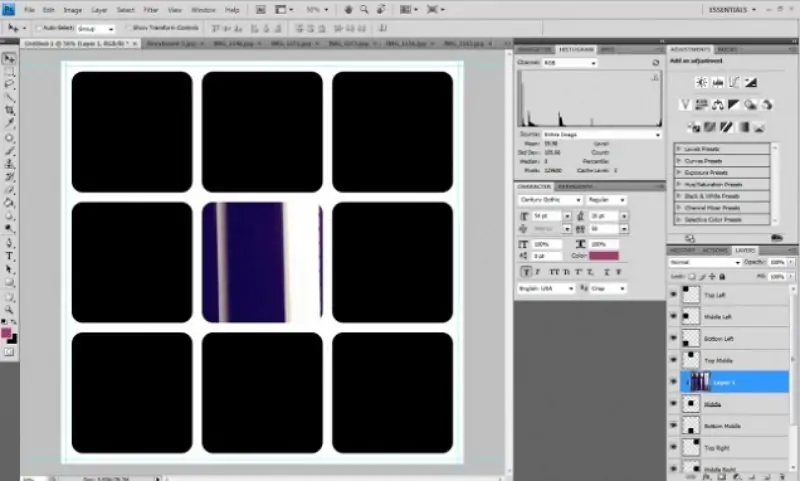
Utilize Layer > New > Layer buttons or use the keys Ctrl + Shift + N to make new layers for each consequent framing in your storyboard.
Title each new layer expressively, such as Frame 2, Frame 3, etc., to keep track of your storyboard arrangement.
Swap between layers and redo the sketching process per frame. Keep up the stability of style and detail level over all frames.
Attend to the composition of each frame, guaranteeing it comes up beneficially to the general narrating flow.
Minimize the opacity of earlier frames’ layers briefly as required to catch how the current frameworks in the arrangement.
Think of making separate layers for annotations or notes regarding camera angles, lighting, or particular details you need to integrate.
Group associated layers together by specifying them and squeezing Ctrl+ G keys. That keeps your workspace clean and makes it more effortless to oversee and alter your storyboard.
Step 4: Including Details
See a zoomed-in view of each frame to polish up the sketch particulars utilizing the Brush feature or a digital pen. Include more exact traces and shapes to define the composition.
Start including essential components like characters, objects, and background highlights in each frame. Concentrate on catching basic visual components that pass on the story.
Preserve stable perspective and proportions inside each frame to bring visual unity and authenticity.
Bring in the reference pictures into Photoshop as required to direct the points of interest and exactness of your sketches, particularly for intricate settings or particular visual references.
Include comments or notes specifically on the sketch layers to show camera angles, lighting impacts, character developments, or any other particular details pivotal to each outline.
Organize and improve components inside each frame to tune composition and visual narrating. Utilizing Photoshop’s transform tools, such as Free Transform, to resize, turn, or flip components is vital.
Save your advancements routinely by utilizing File and Save or Ctrl+S to protect your work and keep hold of modifications throughout the refinement process.
Step 5: Directing Frame Sequence
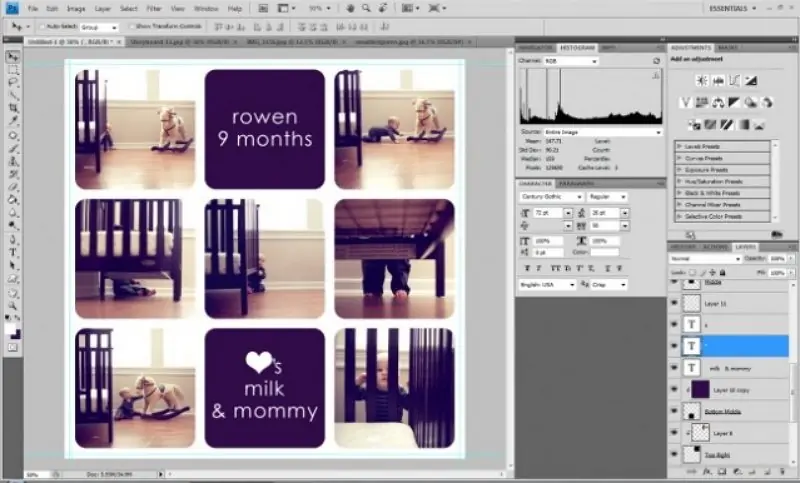
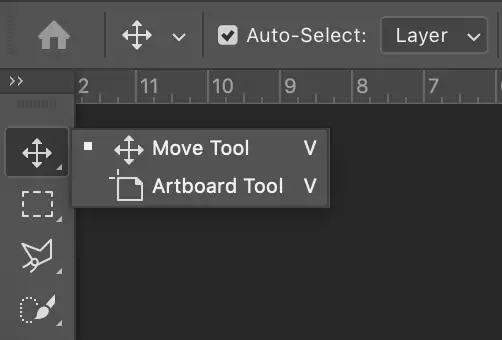
Start arranging your storyboard frames within the liked arrangement. Utilize the Move tool (V) to carry and place each frame layer inside your Photoshop document.
Make sure that the grouping of frames viably communicates the story or visual idea you expected to express. Organize frames to make a coherent headway that reveals a coherent story.
Look into the shifts between frames. Confirm that the visual stream from one frame to the following is even and discernible, directing viewers through the narrative inherently.
Adjust individual frame sizes as required to accommodate the visual composition and highlight critical moments inside the storyboard configuration.
Assess the general composition of your storyboard structure. Point for a proportion between different sorts of shots, like close-ups and wide shots, to preserve visual scheme and clarity.
Audit and refine annotations or notes included in each frame. Guarantee they are clear and brief, giving basic direction for accomplishing each shot amid the photography stage.
Repeat the configuration and composition of frames and set subtle elements and moves to improve the narrating effect of your storyboard.
Step 6: Regulating The Layout
Thoroughly observe the composition of each frame inside your storyboard. Guarantee that each frame is visually pleasing and successfully adds to the story stream.
Use the zoom-in function to see individual frames and fine-tune components such as character appeal, backdrop components, and general visual harmony. Utilize Photoshop’s instruments, such as the Brush tool and Eraser feature, for exact alterations.
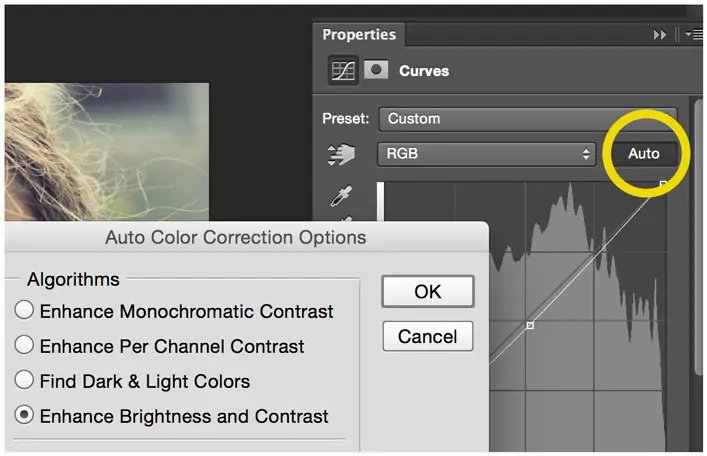
Improve the lighting effects within each frame to set up the required mood and climate. Test with adjustments layers, including Levels, Curves, or Color Balance, to attain the correct tone.
Authenticate the annotations and notes inside each frame so that they precisely pass on vital details like camera angles, character actions, or particular scene prerequisites.
Keep up consistency in style, colour palette, and widespread aesthetic over all frames. This step helps in creating a bound-together visual account that resounds with viewers.
Save different adaptations of your storyboard document to preserve changes and return in case fundamental. Click on File, then Save As to form new forms while protecting previous cycles.
Step 7: Conducting Final Adjustments
Audit the prevalent composition and stream of your storyboard. Guarantee that each frame presents symmetrically to the story progression and visual narrating.
Upgrade any remaining details inside each frame, focusing on improving clarity, visual effect, and account consistency. Utilize Photoshop’s tools for exact alterations.
Recheck all annotations and notes to guarantee they are clear, brief, and precisely pass on essential details for each frame.
Add any last adjustments to lighting, colour grading, or special effects to improve the overall disposition and environment of your storyboard.
Run a careful audit for any mistakes, irregularities, or ignored components inside your storyboard. Oversee and adjust any issues to guarantee exactness and professionalism.
Finally, preserve your final storyboard file. Make backups or save duplicates in different formats for prospective reference or sharing.
If you are displaying your storyboard, look into assembling it into a cohesive presentation format or export each frame as a picture for clarity and availability.
Conclusion:
To sum up, a storyboard functions as the route map for a photographic or video shoot. It guarantees that viewers of various backgrounds are aware of the intended effect. Storyboards can be an invaluable tool to help you clarify your vision, especially if you’re looking to sequence your shots within an influential order. Instead of working on a single image, you can use a group of photographs that accommodate each other harmoniously and narratively. Even a single image can quickly convey a lot of information, so putting together a collection of pictures with components will support your idea with more detail and expressiveness.


