How To Create A Stippling Art Effect
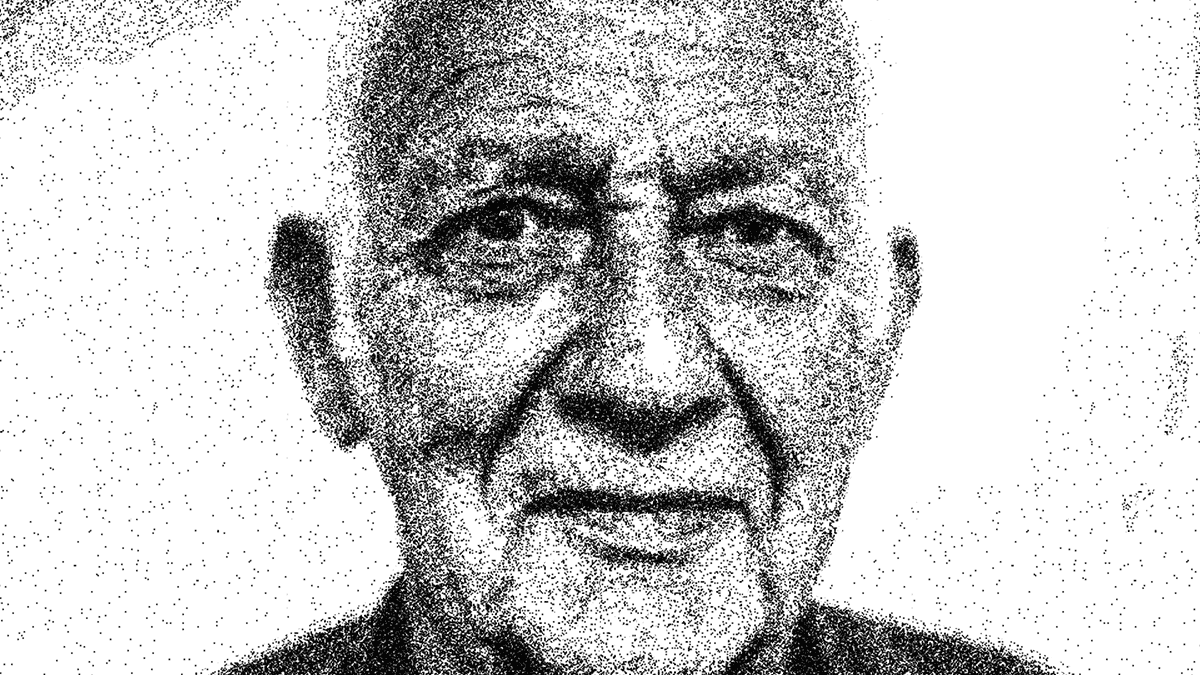
The undercover scheme behind the creation of a stippling artwork is about practicing patience and precision. It is a kind of visual illustration that uses numerous tiny dots to lay out an image. The dots are carefully positioned, differing in size, density, and spacing, resulting in intricate patterns and angles. The origins of stippling art are in the art and culture of the Medieval era and Renaissance art in the form of engravings and religious illustrations. Nonetheless, the most dominant era of this art was the 19th century, when stippling gained the most acclaim as an art form and inspiration. The stripling artworks are a bit formidable to create because of the necessity of one’s acute attention and a lot of time using tools like pens, brushes, or even needles. Digital tools, on the other hand, can minimize the duration and efforts of the artist by providing convenient strategies to create stunning stapling compositions that can stimulate the mind to explore the mysteries behind the dot work.
Step 1: Importing Image Into The Software
Start by loading the Adobe Photoshop software on your computer. You’ll regularly discover it in your applications folder or by looking for it in your computer’s search bar.
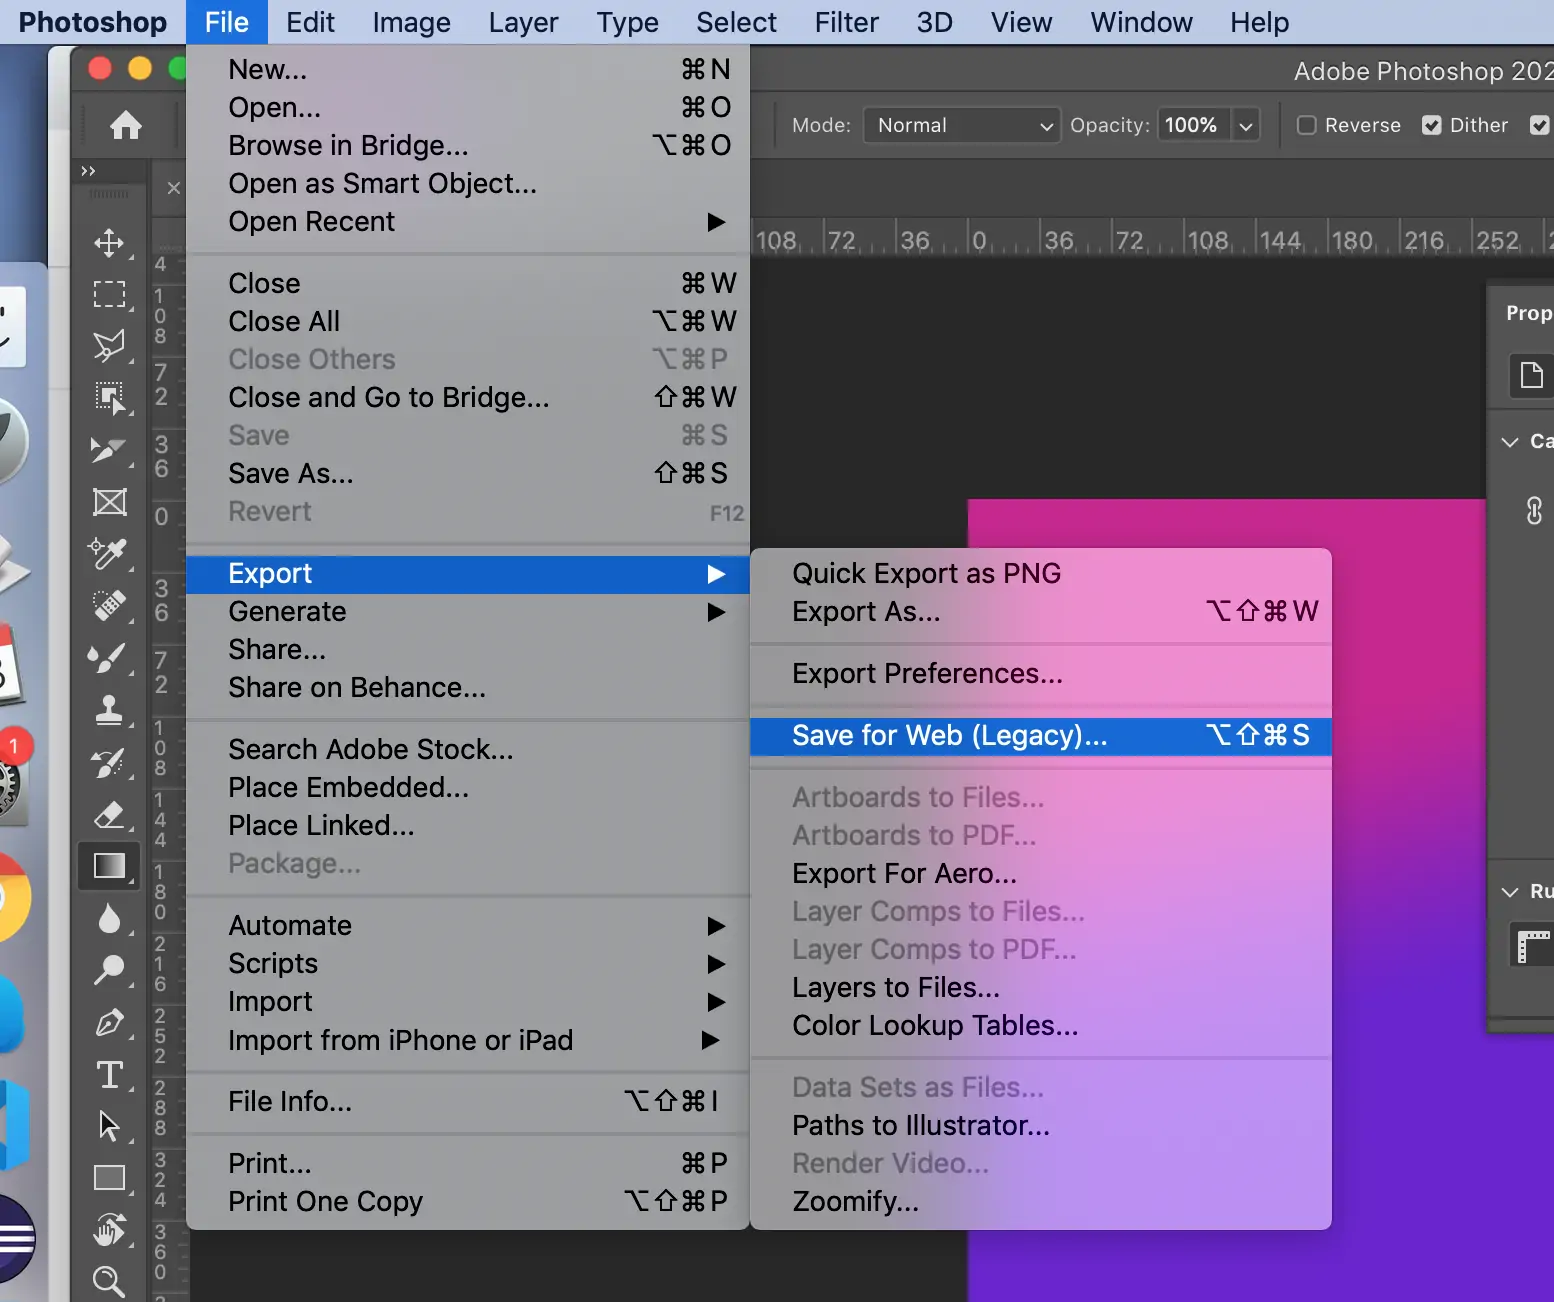
After Photoshop is open, explore the “File” menu at the top left corner of the screen. Tap on “File” to uncover a dropdown menu.
Within the “File” menu, select “Open.” This will cause a record browser window to appear on your screen.
Utilize the file browser window to explore where the image you need to alter is saved. Click on the picture file to choose it.
Next to selecting the image file, find and click the “Open” button within the file browser window. This activity will open the chosen picture in Photoshop.
If you prefer keyboard shortcuts, you can rapidly open an image in Photoshop by tabbing “Ctrl + O” on Windows or “Command + O” on Mac.
After you’ve opened the image file, it will appear within the Photoshop workspace and be ready for altering. You can then proceed to the next step, including stippling effects.
Step 2: Duplicating The Image
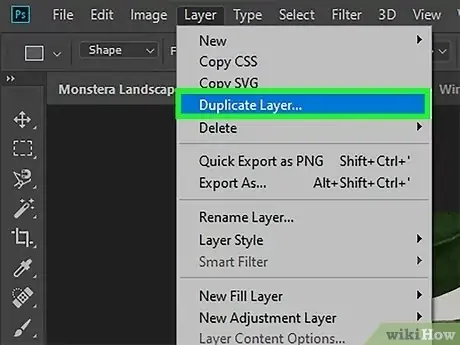
Find and tap on the “Layer” menu within the menu bar. This activity will uncover a dropdown menu of layer-related options.
Inside the “Layer” menu, hover your cursor over the “New” option. That will open a secondary menu with extra layer-related activities.
From the “New” submenu, tap on the “Layer” option. That will cause a new layer discourse box to appear on your screen.
Within the new layer dialog box, you can set different properties for the new layer. You’ll select a title for the layer, indicate its blending mode and opacity, and decide its initial contents.
After you’ve set the required properties for the new layer, tap the “OK” button to confirm your settings. That will create a new layer within the Layers board.
After clicking “Ok,” you’ll notice that a new layer shows up within the Layers board, situated over the already chosen layer. This new layer is currently prepared for you to include stippling impacts.
Step 3: Setting The Brush Tool Parameters
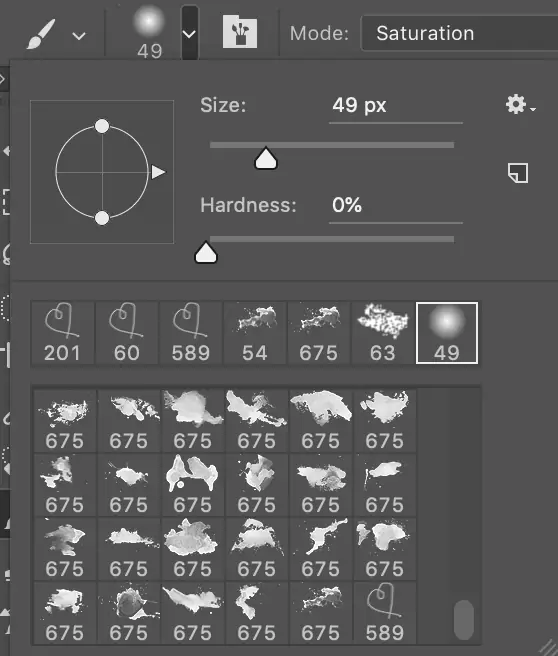
Get to the Brush Tool symbol, at which point you can alter the brush size according to your inclination. You can do this by tabbing on the brush size dropdown menu at the top of the screen or utilizing the bracket keys “[” and “]” on your keyboard to diminish or increment the size.
You can adjust the brush’s hardness by altering the hardness slider in the options bar at the top of the screen. A lower hardness produces gentler edges, whereas a better hardness creates sharper edges.
Adjust the opacity of the brush by altering the opacity slider within the choices bar. A lower opacity makes more transparent brush strokes, whereas a better opacity makes more opaque brush strokes.
Pick the color you want for your stippling dots by clicking on the closer view color swatch at the bottom of the toolbar. That opens the Color Picker, where you can select your desired color.
After you’ve balanced the brush size, hardness, and opacity and chosen the closer view color, your Brush Tool is prepared to apply stippling dots.
Step 4: Adjusting The Foreground Shade
Prior to applying stippling dots, guarantee that the required closer view color is chosen. Tab on the frontal area, and use the color swatch at the base of the toolbar to pick a color from the Color Picker.
Decide the opacity of the brush by altering the opacity slider within the choices bar at the top of the screen. A lesser opacity will make more transparent stippling dabs, whereas the next opacity will create more opaque dots.
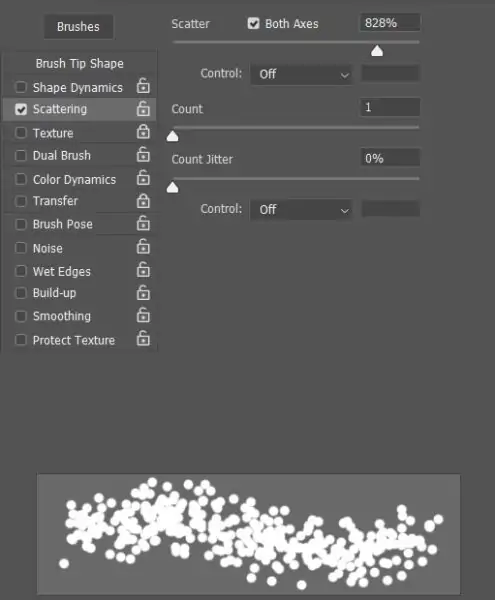
Test with the brush settings, such as shape elements, scattering, and surface, to attain shifted stippling effects. These settings can be balanced within the Brush Settings panel, which can be found in the Window menu.
Before applying stippling dots to the image, test the brush on the canvas to guarantee that the size, opacity, and settings are reasonable for the specified impact. You’ll be able to do this by painting a couple of dots on the new layer.
Make advance adjustments to the brush settings based on the test results. Hone the brush size, opacity, and other parameters to achieve the required stippling impact.
Step 5: Spreading The Dot Work

Start applying stippling dots to the picture on the new layer. Press or tap on the canvas to put individual dots, changing the pressure or stroke to alter dot size and density.
To get a realistic stippling effect, change the size, spacing, and thickness of the dots over diverse picture regions. Utilize lighter pressure for mini specks and heavier pressure for bigger dots, mirroring the natural variety found in conventional stippling strategies.
Steadily build up the stippling surface by layering dots over each other, particularly in zones that require shading or profundity. Test with different dot arrangements and densities to make inconspicuous moves and slopes.
Address the points of interest, such as highlights, shadows, and contours, altering the arrangement and thickness of stippling dots accordingly.
evaluate the in general appearance of the stippled picture and make refinements as required. Include or remove dots, adjust their situation, or shift their size to attain the specified result.
Step 6: Polishing The Layout
After applying stippling dots to the image, take a minute to assess the general impact. Consider components such as texture, shading, and contrast to decide if any alterations are required.
Evaluate the composition of the stippled image, viewing tone, focal points, and general visual effect.
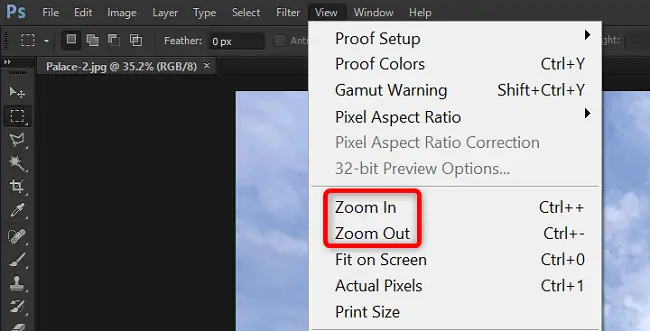
Zoom in on particular image ranges to examine the stippling dots up close. Search for irregularities, uneven dispersing, or zones that will benefit from extra dotting to enhance detail and clarity.
Distinguish any zones of the picture that require further consideration or refinement. Smooth out moves between light and shadow, refine contours, or include extra surface to certain regions.
Use the Brush feature or other altering devices in Photoshop to make essential alterations to address ranges of concern. Include or expel stippling dots, alter their size or density, and refine their arrangement as required to improve the overall appearance of the photograph.
Keep a sense of proportion and conformity, and do not overwork certain areas or present irregularities that degrade the overall composition.
Step 7: Exporting The Final Work
Once you’re delighted with the composition’s stippling outcome and all-around appearance, it’s time to wrap up your work.
Examine the whole stippled image for any remaining issues or regions requiring further refinement.
Recheck that the stippling dots are consistent in size, spacing, and density throughout the composition. Make any fundamental adjustments to preserve consistency.
Affirm that the composition of the stippled image is visually engaging and viably communicates your aiming message or narrative.
Before continuing, save your stippled image to protect your progress. Utilize the “Save As” option to save a duplicate in your preferred file format.
If you desire, consider including additional impacts or enhancements to enhance the stippled image further. You can work on adjusting levels, adding filters, or applying surface overlays.
Send out or share your last piece according to your preferences. You can save it as a high-resolution photo file for printing or share it digitally on social media venues or online portfolios.
Conclusion:
In closing, in contrast to other art approaches, stippling art possesses a distinct artistic quality. A stippling piece may seem like a typical painting or image from a distance, yet a closer view entirely changes the viewer’s perception, making him appreciative of stunning dot work. Additionally, this art approach enables artists to manipulate shadows and highlights with precision and intention. By gradually adding each dot, the artist can adjust the intensity of darkness or lightness in their shades. Whether you are sketching your own illustration or editing existing photographs, the results are always unique and inviting.
