How To Create A Soft Focus Effect
Soft focus is a common photography technique that can help create a magical, spellbinding effect. Photographers often use mesmerizing soft focus to elevate the photographs to literary splendour while providing them with a new perspective. It transports viewers to the dreamlike realm, where imagination and reality coexist. This approach creates a hazy composition where a delicate blur and halo surround the subjects. Various methods and materials, mostly specially made soft-focus lenses, are utilized to take soft-focus photos. Each technique adds a lucid, ethereal character to the image. Moreover, besides employing the soft focus photographic setup, various image editing tools and techniques also help the photographers and editors to add a serene fantasy atmosphere to their images. Advanced post-processing alternatives are an influential and effortless route to achieving professional-level soft-focus images. The following steps will involve significant image editing tools and approaches to add a soft focus effect to the images captured in everyday settings.
Step 1: Image Duplication
Import the chosen photograph in Photoshop or any reliable editing program that supports layer-based altering. This primary step is significant in making sure that any changes made will not exploit the initial picture, permitting non-destructive editing.
Get the Layers panel, which is generally found on the right side of the workspace. If you don’t find it, you will need to enable it by proceeding to Window and clicking Layers within the menu. The use of layers helps handle the effect without forever modifying the picture.
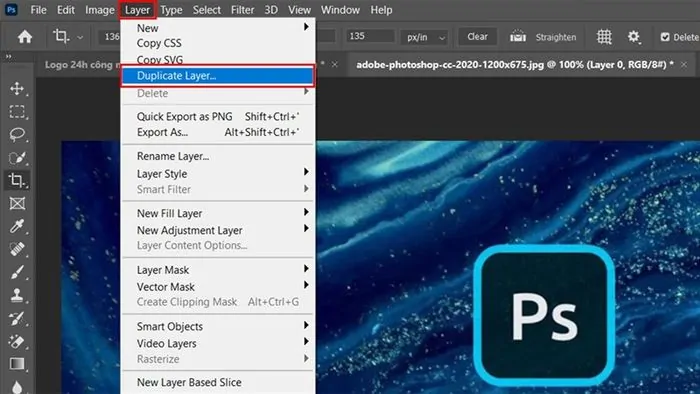
Choose the initial photo layer and make a duplicate of it. The most effortless way to do it is by using the key shortcut Ctrl + J or right-clicking the layer and selecting the Duplicate Layer option. It will make an exact duplicate on top of the background layer.
Give the copied layer a suitable title like Soft Focus to keep an organized workflow. Appropriate naming is valuable for projects involving multiple layers to avoid perplexity.
Make sure that the initial layer stays untouched. By keeping the base photograph intact, you can ensure an easy workflow and facilitate comparisons of the soft focus effect with the original in the end.
Step 2: Blur Effect Creation
Activate the Soft Focus or duplicated layer to start spreading the blur effect onto it. By activating the correct layer, you can surely avoid unintended alterations to the original picture.
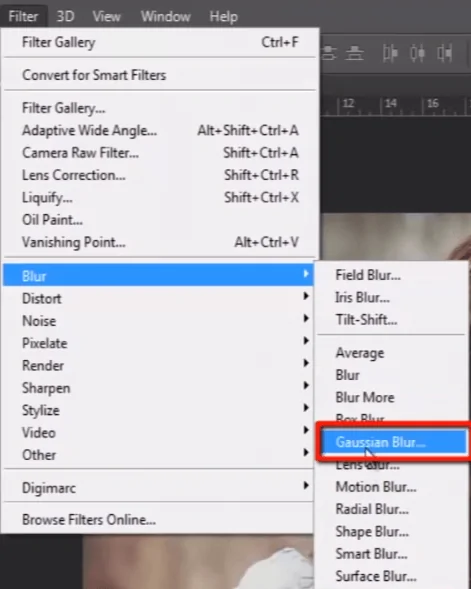
Go to the Filter menu at the top of the screen, then click on Blur > Gaussian Blur from the dropdown choices. Utilizing the Gaussian Blur filter will result in a smooth, diffused impact that upgrades the soft focus look.
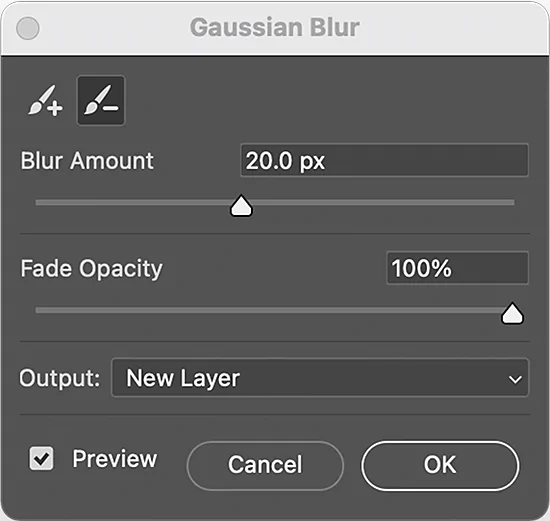
When activating the Blur, you will see a settings window with a Radius slider. Alter the Radius value to handle the intensity of the blur. A lower radius value, like 2 to 5 pixels, makes a subtle softness, whereas a higher radius, like 10 or more, produces a more powerful blur effect. Play with different values to discover the most reasonable result for your picture.
After you are satisfied with the blur effect, you will tap Ok to finalize. It will right away smooth fine details while keeping the primary subject recognizable.
Make sure that the blur is not too drastic, as extreme blurring can make the picture fake. You can alter the impact afterwards as required.
Step 3: Opacity Adjustments
Choose the Soft Focus layer in the Layers panel to polish the strength of the effect. It will let the soft focus impact blend innately with the initial image instead of emerging too strong or counterfeit.
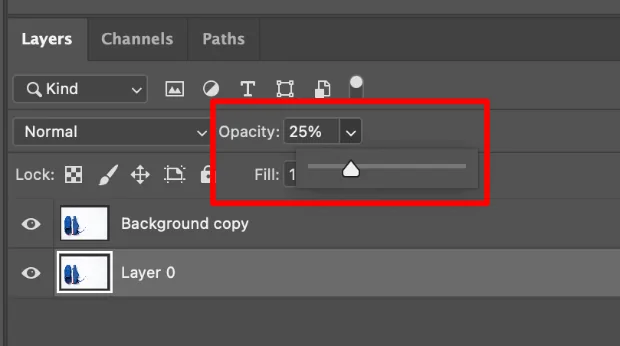
Find the Opacity setting in the Layers panel, usually situated at the top of the panel. The opacity adjustment will determine the visibility level of the blurred layer above the original photo.
Press on the Opacity value and drag the slider to alter the transparency of the blurred layer. Bringing down the opacity allows more details from the initial picture to show through, making a proportional soft focus effect.
Try with diverse opacity levels, generally between 30 to 70 per cent, depending on the subtlety or strength you need in effect. More elevated values hold more blur, while more down values hold more sharpness.
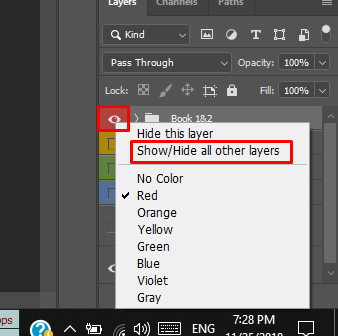
Review the image preview and compare the effect by flipping the layer visibility on and off. It will help in ensuring that the soft focus upgrades the picture without losing critical details. Modify further if fundamental for a natural appearance.
Step 4: Layer Mask Application
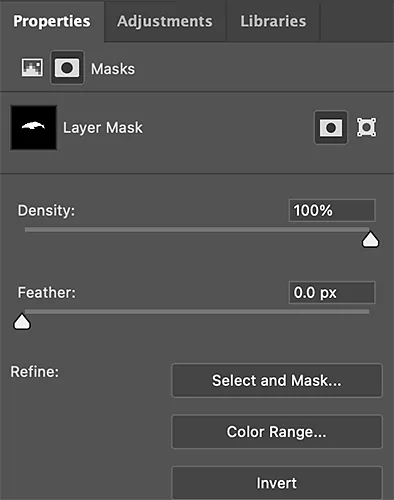
Choose the Soft Focus layer to add a layer mask, regulating where the soft focus effect shows up. It will confirm that critical details, including eyes, text (if any), or key objects, stay sharp while the rest of the photograph remains delicate.
Press the Layer Mask symbol at the bottom of the Layers panel. It includes a white mask thumbnail next to the layer, indicating that the whole blur effect is now visible.
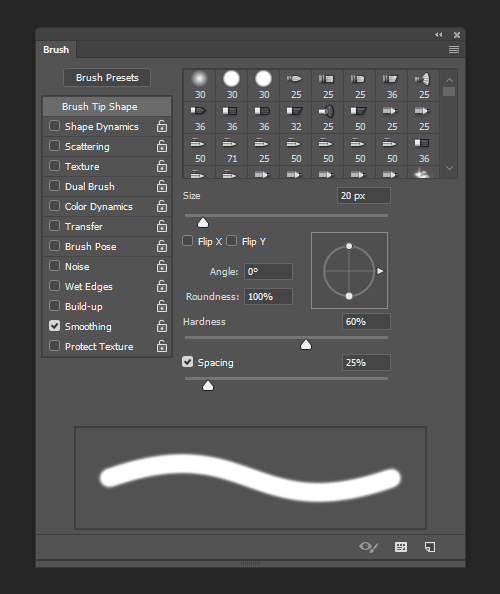
Select the Brush Tool from the toolbar and set the foreground colour to dark. Black covers up the effect, while white uncovers it. A delicate, round brush having 30 to 50% opacity will work best for smooth integration.
Delicately paint over zones that need to remain sharp, like facial features in portraits or essential objects of product photography. Utilize varying strokes for gradual alterations, polishing the effect to blend innately.
As required, swap the brush colour to white to reestablish the blur effect in certain regions. That non-destructive strategy permits adaptability, facilitating the refinement of the soft focus look without influencing the initial picture.
Step 5: Glow Effect Addition
Activate the Soft Focus layer to upgrade the dreamy, glowing impression. Including a subtle shine helps strengthen the delicate focus effect, making highlights more pronounced and giving the picture a more polished appearance.
Make a duplicate of the Soft Focus layer by taping Ctrl + J to get an additional layer that will be utilized to increase the glow effect without influencing the prior adjustments.
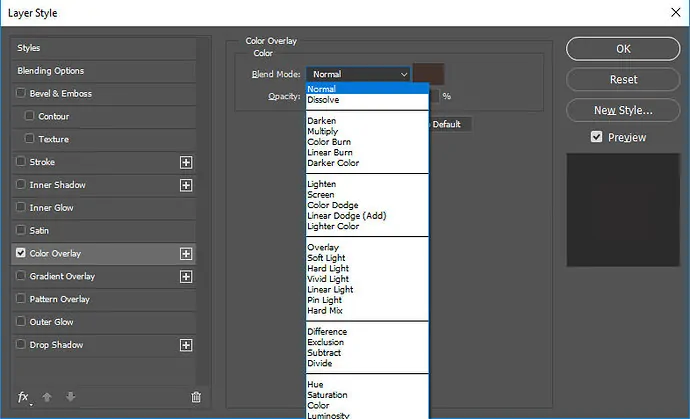
Modify the Blending Mode of the duplicated layer to Screen within the Layers panel. The Screen mode brightens lighter zones, upgrading the glow yet keeping darker elements soft. In case the effect looks too solid, decrease the layer’s opacity to readjust it.
Add a subtle Gaussian Obscure again to the duplicated layer by planning to Filter and then Blur and Gaussian Blur. Alter the radius to ease the glow without losing much detail.
Refine the effect by altering the Opacity of the glow layer until it integrates naturally with the picture. At the end of this step, you have a soft centre effect that shows up more refined and outwardly engaging.
Step 6: Brightness And Contrast Enhancement
Choose the Soft Focus layer to fine-tune the photo’s depth and clarity. Revising contrast and highlights helps adjust the soft effect while keeping up vital details, preventing the picture from looking too flat.
Proceed to Image, click Adjustments, select Brightness/Contrast, and drag the Contrast slider slightly to the right side. Expanding contrast helps define edges and restore some lost depth while keeping the softness intact.
Unlock the Levels adjustment by going to Image, clicking Adjustments, and then Levels. Drive the highlights slider toward the centre to upgrade bright regions. This step will confirm that the soft glow effect stays obvious without overwhelming the photograph.
As required, alter the Midtones to tune the overall brightness and ensure a harmonious soft focus effect. Do not make the photograph overly harsh by keeping changes indistinct.
Scan the photograph by toggling the visibility of the adjustment layers. If the contrast looks too strong, decrease the effect by bringing down the opacity of the adjustment layers or making finer alterations. This step guarantees a nicely balanced soft focus impact.
Step 7: The Final Tweaks
Audit the composition thoroughly to guarantee the soft focus effect looks natural and upgrades the subject without over-the-top blur. Make any final moves to adjust sharpness and softness for an outwardly pleasant result.
If any zones show up too blurred, utilize the Layer Mask on the Soft Focus layer and delicately paint with a black brush to reveal more details. Alter the Opacity of the blurred layer as needed for superior blending.
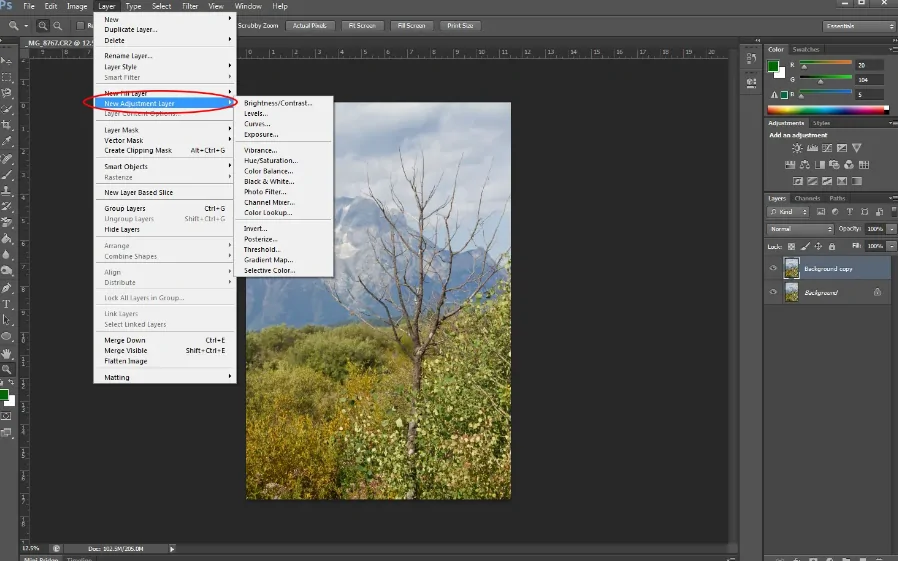
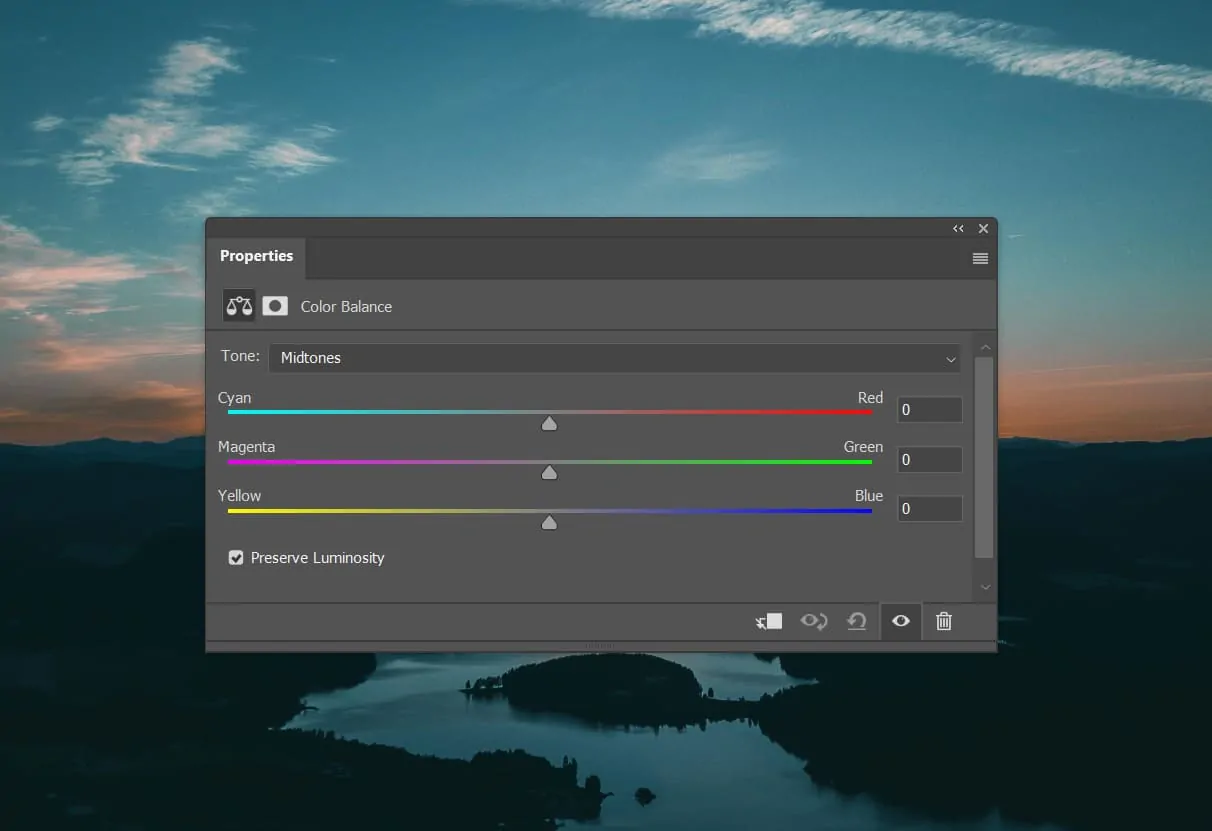
Tune the colour and tone using a Color Balance or Curves adjustment layer. It will keep up a natural look, in which the soft focus conforms with the overall lighting and temperament of the picture.
Use the Zoom tool to review key details, including facial highlights, text, or central points. Do little refinements by utilizing the Eraser Tool or additional masking to keep vital ranges sharp while keeping up the fantastic effect.
After you are satisfied, save the ultimate photograph in JPEG or PNG format. Also, if you want to keep an editable adaptation, you can save it in a PSD or TIFF to aid in future adjustments.
Conclusion
In summary, initially, the soft focus was thought to be a lens flaw or technological problem. The viewers’ reaction and the unusual and comforting results, however, caused some manufacturers to start making lenses with this specific flaw instead of fixing it. A soft focus effect provides an ambience of mystery that is perfect for giving landscapes or portraits an ethereal quality. By blurring some of the features, this smoother image enhancement technique produces images that seem to have an otherworldly glow. The resulting photos provide viewers with a surreal, dreamy experience without the need for expensive equipment.


