How To Create A Rhapsody Effect
The rhapsody effect includes a feeling of wild emotions, vividness, and free expression, just like found in the earliest Rhapsody music. Including this aesthetic effect in images evokes a fiery beauty and profound resonance that takes viewers to merge with it. Manipulating different compositional strategies, color choices, and themes, these images penetrate into all-inclusive human experiences addressing pleasure, melancholy, awe, or surprise. Whether you are portraying the buoyancy of a vigorous cityscape at twilight or the quiet brooding of a lonely figure against a stark landscape, rhapsody images excite viewers to interact with the essence of the human state. Rhapsody images vibe off activity and tempo, with its specific features that take the viewer’s focus and direct them through the visual tale. Creating rhapsody requires the use of vibrant colors, which are a must-have for exhibiting vitality and energy within a scene. This blog will go through the digital techniques that can let you create an intense, Rhapsodic atmosphere in your muted photographs.
Step 1: Color Balance Settings
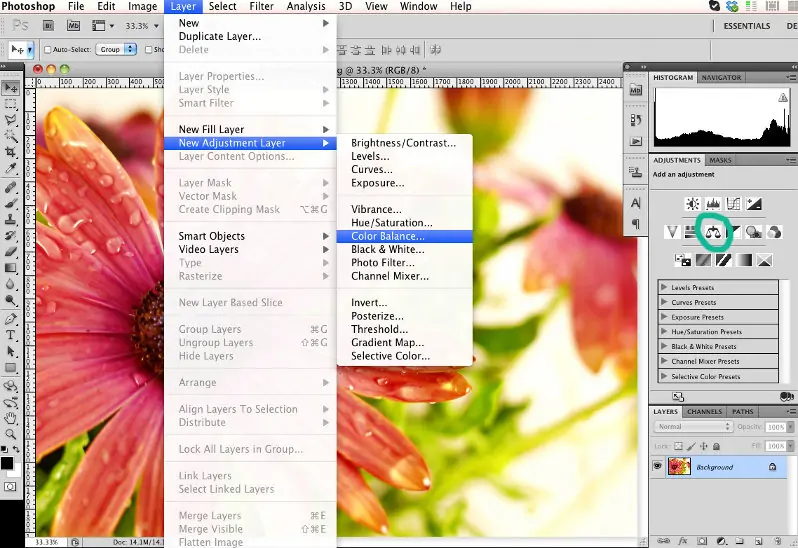
Utilize color balance adjustments to regulate the general color temperature of your photo. Alter the sliders for highlights, midtones, and shadows to attain the specified warmth or coolness.
Expand the dynamic quality and saturation of colors to form them pop and include visual interest. Be careful not to exaggerate it, as excessively saturated colors can look unnatural.
Regulate the contrast of your photo to guarantee a harmonious distribution of tones. Enhance contrast to include profundity and definition in your picture, but dodge clipping highlights or shadows.
Utilize the tone curve tool to tune the brightness and contrast of particular tonal ranges in your photo. Try with gentle S-curves to include lavishness and profundity in your colors.
Apply color-evaluating filters or presets to rapidly accomplish a particular temperament or climate. Try with diverse presets and adjust their settings to coordinate your creative vision.
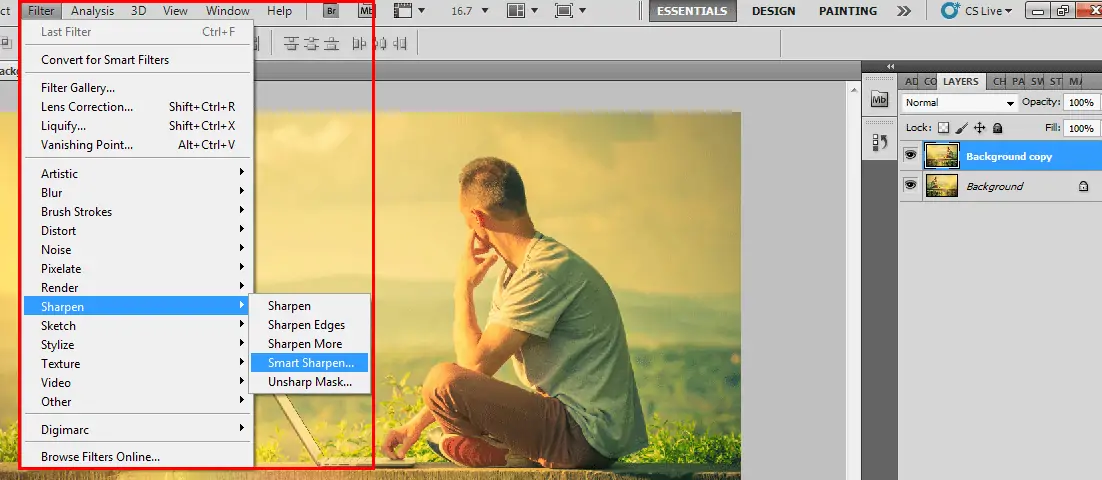
Step 2: Highlights And Shadows Adjustments
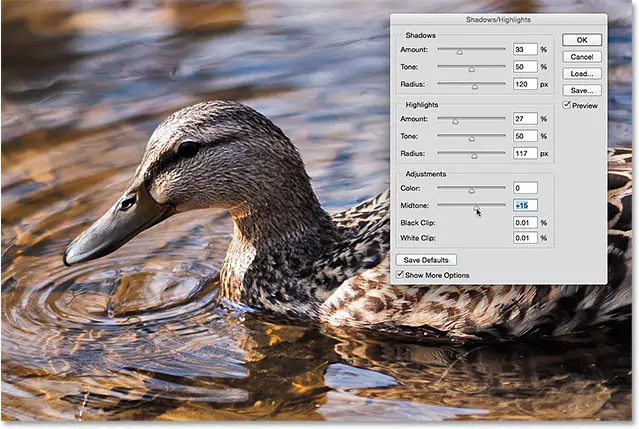
Polish up the highlights and shadows in your photo to attain a balanced conveyance of light and dull regions. Keep away from overexposing highlights or smashing shadows, pointing for detail maintenance.
Increment the overall contrast of your photo to include profundity and dimension. Alter the contrast slider or use curve alterations to attain the required level of contrast while protecting detail in both highlights and shadows.
Utilize dodge and burn strategies to specifically lighten or darken particular regions of your photo. This permits you to focal points, improve texture, and make sense of profundity inside the composition.
Utilize HDR (High Dynamic Range) procedures to extend the dynamic range of your photo, capturing a more extensive range of tones from shadows to highlights. Blend numerous exposures or utilize HDR software to attain adjusted exposure all through the image.
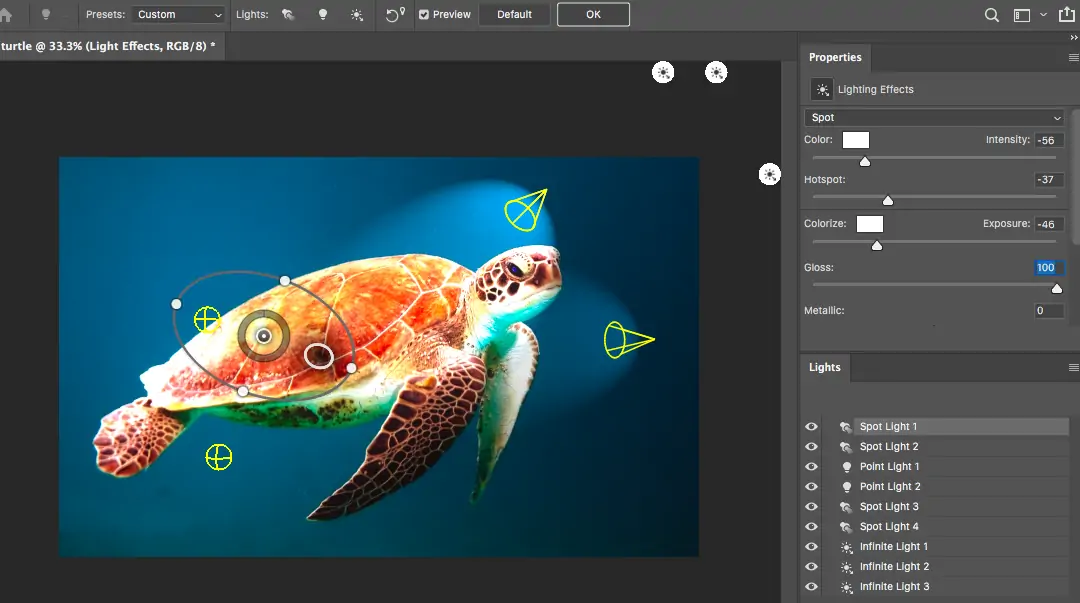
Play with creative lighting effects such as lens flares, light leaks, or artificial light sources to include visual lure and dramatization to your photo. Utilize these impacts sparingly and elegantly to upgrade the general composition.
Step 3: Applying Compositional Techniques
![]()
Join leading lines into your composition to direct the viewer’s eye through the photo. Utilize components such as streets, walls, or natural forms to make energetic lines that draw attention to the central point.
Include the run the run-the-show of thirds to put key components off-center and make a more visually engaging composition. Separate the frame into a lattice of nine rise-to areas and position critical components along the intersecting lines or at their crossing points.
Utilize framing components such as passages, doorways, or foliage to frame the most subject and include profundity in your composition. This strategy draws the viewer’s attention to the subject while providing context and visual interest.
Attain balance and symmetry in your composition to make a sense of agreement and steadiness. Arrange components within the frame in a way that feels visually satisfying and avoids diversions or clutter.
Grasp negative space to make a sense of openness and breathing room in your composition. Leave regions of the frame empty to permit the viewer’s eye to linger and concentrate on the most important subject.
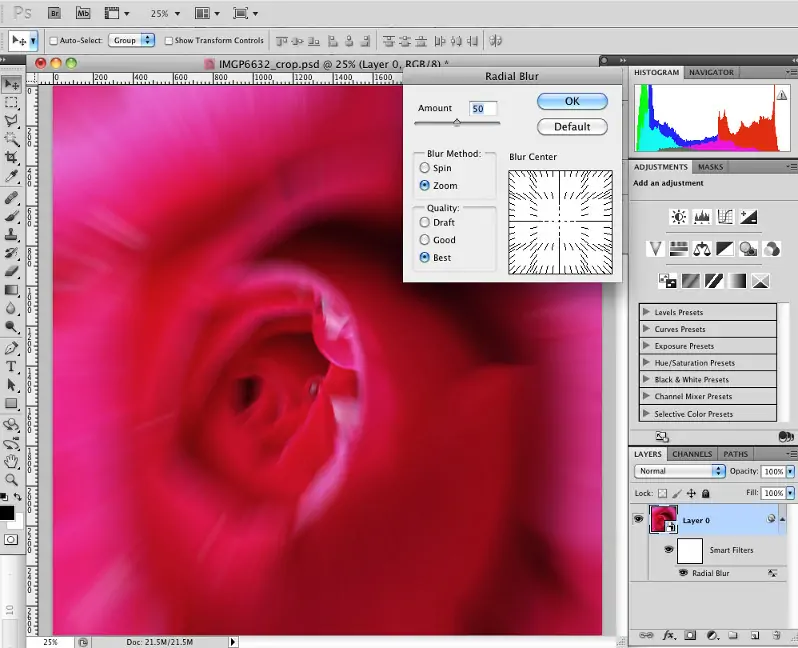
Step 4: Using Blurring Effects
Use a motion blur filter to mimic the development of particular ranges of your photo. Alter the angle and distance settings to form a sense of direction and speed, upgrading the energetic feel of the photograph.
Utilize Gaussian blur to mellow parts of your image, making a depth-of-field effect that draws consideration to the most important subject. This strategy can include a marvelous ethereal quality to your photo.
Integrate radial blur around focal points to recommend rotational development or zoom effects. That can give the impression of spinning or quickening, including energy and vitality to the image.
Utilize directional blur the way of development in your photo. By blurring components along a particular course, you’ll be able to make a sense of stream and progression.
Add blur effects with layer masks to apply them specifically. It can blur background components while keeping the subject sharp, improving the sense of movement and profundity.
Experiment with opacity values of blurred layers to attain a harmonious and natural look. Also, tools like feathering and smoothing should be utilized to maintain a strategic distance from harsh lines and a cohesive appearance.
Step 5: Texture And Detail Addition
Utilize sharpening tools to improve the fine, subtle elements in your photo. Add sharpening specifically to regions where you need to highlight surfaces, such as the subject’s highlights or complicated designs.
Enhance clarity to improve midtone contrast, making surfaces more articulated. This alteration can bring out the subtle elements in textures, foliage, and other finished surfaces.
Include a high-pass filter to form a sharpening impact that emphasizes edges and fine subtle elements. Merge this layer with overlay or soft light modes to improve texture without influencing general contrast.
Consolidate texture overlays to include profundity and complexity in your photo. Select overlays that complement the existing textures in your picture.
Utilize detail extraction strategies to bring out details that are covered up in both the highlights and shadows. Tools like Nik Collection’s Detail Extractor can help uncover subtle surfaces without oversaturating the image.
Intentionally include noise or grain to recreate the texture and provide your photo with a more natural, film-like quality.
Put on detail enhancement, specifically utilizing layer masks to sharpen and bring out surfaces in particular zones.
Utilize frequency separation to freely alter the texture and color layers of your photo. This strategy allows for exact control over texture upgrades without influencing color and tone.
Step 6: Emotional Effects Enhancement
Decide the passionate tone you need your photo to communicate. Whether it’s delight, despair, energy, or tranquility, having a clear, passionate heading will direct your altering choices.
Utilize color grading to bring out particular feelings. Warm tones regularly pass on consolation and joy, while cool tones can inspire calmness or pity. Adjust tones to coordinate the required temperament.
Center on capturing or upgrading the expressions and body dialect of subjects. Veritable feelings, such as a smile, tear, or mindful look, altogether affect the enthusiastic content of the photo.
Utilize lighting to improve the passionate atmosphere. Soft, diffused light can make a delicate, serene temperament, whereas stark, high-contrast lighting can include show and intensity.
Incorporate components within the background or frontal area that bolster the passionate story. Props, environment, and other points of interest can include profundity to the enthusiastic story.
Apply inconspicuous effects, such as vignettes, to draw the center to the subject and upgrade the enthusiastic effect. Be careful to utilize these impacts to complement, not dominate, the emotional substance.
Step 7: Making Final Alterations

Audit your photo for any final alterations. Check for consistency in color grading, contrast, and sharpness to guarantee a cohesive appearance.
Alter the crop and alignment for a better composition. Guarantee the framing improves the subject and follows compositional rules just like the rule of thirds.
Utilize tools to expel any diverting components or flaws. Clean up the foundation and smooth out any undesirable spots or flaws.
Add wrapping up impacts such as subtle vignettes to bring attention to the subject. Make sure these effects complement the general aesthetic without being overwhelming.
Confirm that your photo is at the proper resolution for its intended use, whether for web, print, or other formats.
Select the correct export settings to preserve quality. Alter file format and compression settings based on the photo’s final application.
Assume how you may display your photo. If sharing online, select stages that support high-quality images. For prints, select paper and printing options that accelerate your photo’s quality.
Conclusion
Overall, creating the Rhapsody effect in images is a way of acknowledging the unconfined feeling, development, and expression. Experimenting with different energetic compositions, bold colors, expressive lighting, narrative mystery, and inventive choices, these shots fascinate the masses and merge their soul, welcoming a world of disclosure and ponder. Whether depicting the transitory magnificence of nature, the busy urban life, or the calm minutes of contemplation, the Rhapsody effect is always a ravishing addition. Eventually, you can raise your photos above usual representation and inspire profound enthusiastic reactions in the beholders.
