
How To Create A Photo Flip Effect
A photo flip is an astonishing effect that presents a horizontal or vertical mirrored display of an image, creating inventive symmetry. It is a canvas for futuristic and symbolic compositions that can visually narrate inspiring views. The photo flip effect brings visual satisfaction connected to innovation arising from different aesthetic variations for the same subject, giving you options for choosing the most visually appealing version for your project. Apart from creative expressionism, you can also identify preexisting flaws regarding symmetry in your photos and address the imbalances. The unexpected spirit of a photo flip can stimulate the curiosity of the viewers, like in social media posts, project presentations, or marketing items; it can enhance user participation and association. To get the maximum benefits of this ingeniously unique visual impression, you can go through the comprehensive step-by-step guidelines in this article. These guidelines can be a helping hand in improving your editing skills, giving your images sci-fi characteristics and engaging more and more onlookers to appreciate the beauty of futuristic graphic approaches like photo flips.
Step 1: Image Selection
Select a high-resolution image with exemplary clarity and sharpness. High-quality images make the final result of the photo flip effect more impressive and detailed.
Check out the composition of the image. Choose an image with a clear subject, a balanced presentation of elements, and ample space for the flip effect. Well-composed photos always turn out to be more visually appealing results.
The image should be relevant for the flip effect you have in mind. For instance, select a photo with gripping textures, patterns, or reflections if you like a dramatic mirrored appearance.
In case your plan involves utilizing the flipped image for commercial or public purposes, confirm that you have the necessary rights and permissions, specifically if the original image is not your own.
Reflect on the emotional impression and message you are conveying with the flipped image. Different photos are specific to various emotions, so consider the tie-up of an image and your creative vision.
Step 2: Opening the Software
Open your choice of image editing software, such as Adobe Photoshop, GIMP, or any other editing program of your preference.
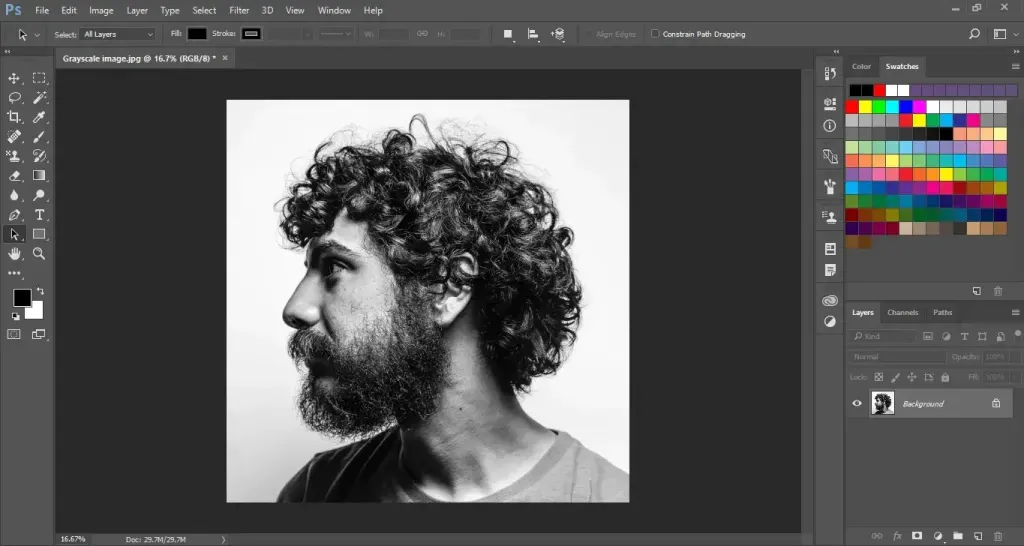
Navigate to the software’s menu options to import your picked image. Head to the image file’s location on your computer and click on it to open it.
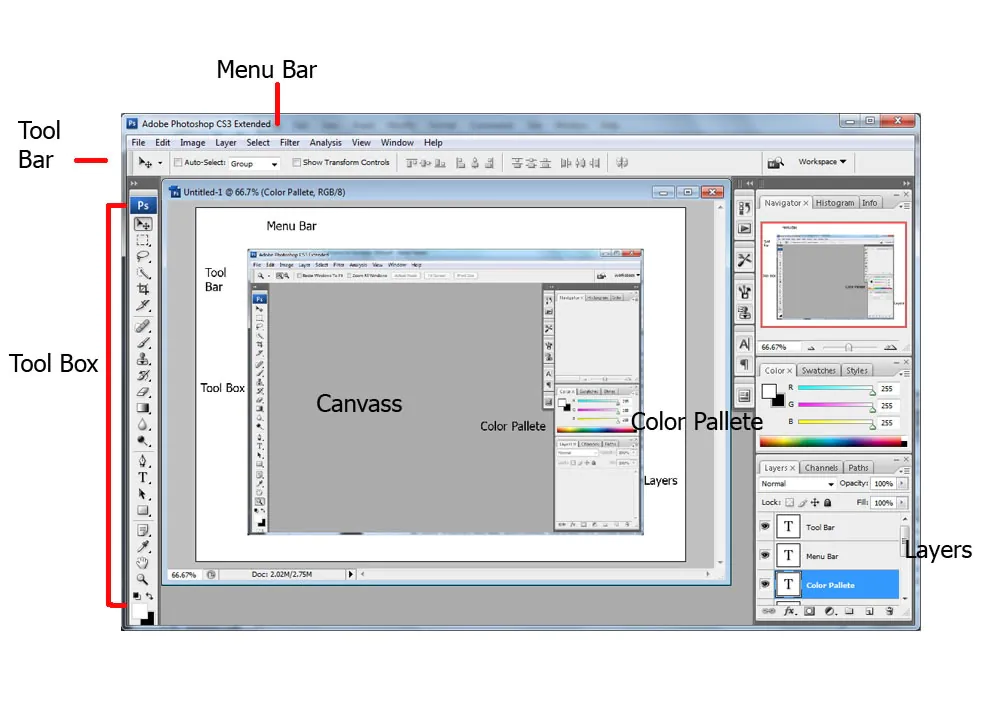
Acquaint yourself with the software’s user interface and other options. Hit on essential tools and panels, including layers, tools, and the main canvas. Being fully aware of the software layout will assist you in handling it efficiently.
Save a duplicate of your original photo before you do any edits. So, you always have an unaltered version as a reference, which keeps your image safe from permanent changes.
Step 3: Image Layer Duplication
Situate the original image layer in the layers panel and select it. That layer is commonly labelled as the background or the image’s file name.
Right-click on the original layer, then click the “Duplicate Layer” option. You can also see this option in the “Layer” menu. It develops an exact copy of your original image, which is going to be your canvas for the flip effect.
Retitle the duplicated layer for coherence. You can label it something like “Flipped Image” or “Mirror Effect Layer” to differentiate it from the original layer.
Hide the original layer’s visibility by clicking the eye icon beside it to work solely on the duplicated layer while securing the original image for referencing.
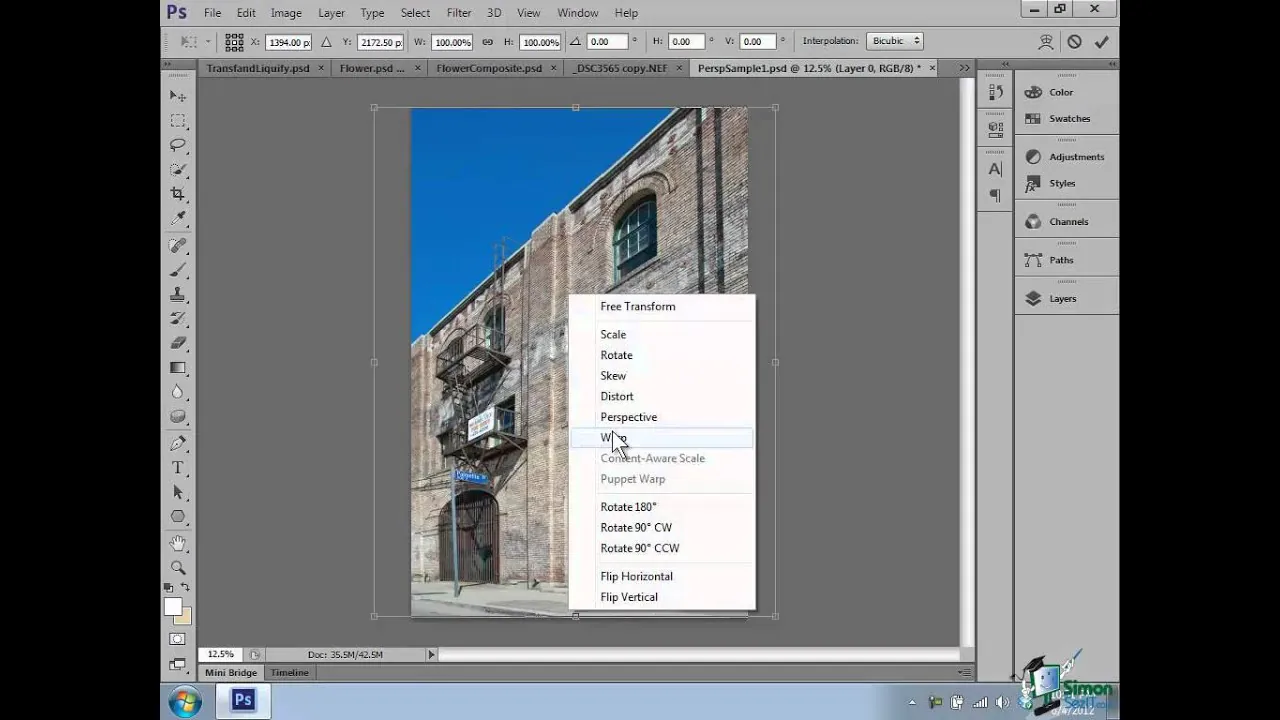
Step 4: Flipping the Duplicate
Select the duplicated image layer in the layers panel by clicking on it so it gets activated.
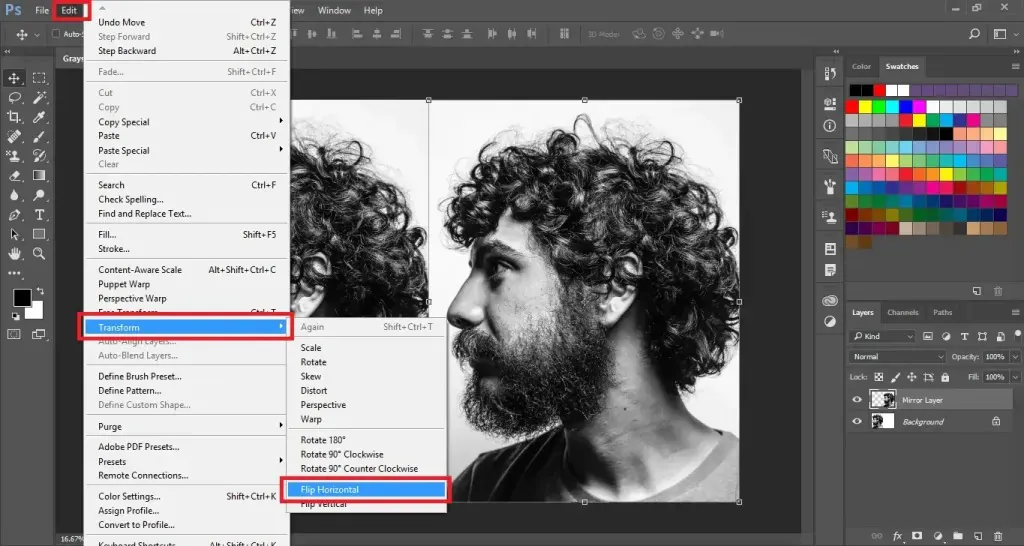
Access the flip command commonly found in the “Edit” or “Transform” menu. Select “Flip Horizontal” or “Flip Vertical.” A horizontal flip mirrors the image from left to right, while a vertical flip flips from top to bottom.
After selecting the appropriate flip command, your editing app will instantly apply the effect to your image, producing a mirrored or inverted display.
Consider adjusting the position of the flipped layer. Select the move or transform tools to fix the alignment with the original image.
Audit the flipped image for a while to confirm that the desired results and looks are visually catchy.
Step 5: Regulating Opacity
Select the flipped image to regulate its opacity adjustments.
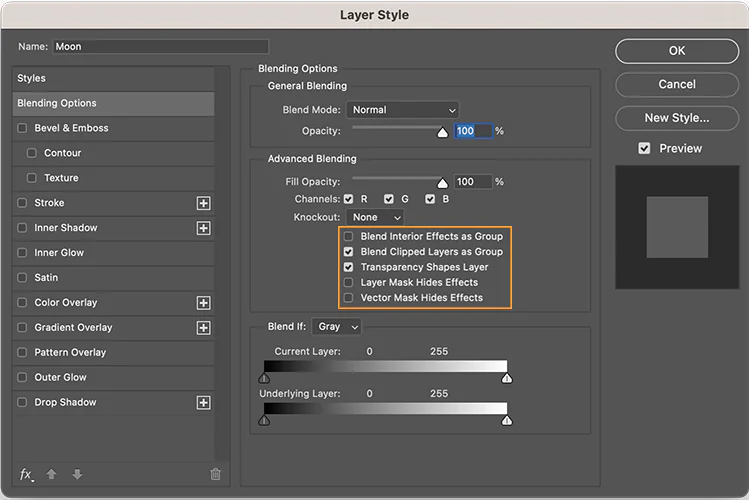
To try different blending options, navigate to the drop-down menu of the layer panel. Play with different modes to see their effect on the interaction between the flipped layer and the original image. Pick standard modes like Overlay, Screen, and Multiply for instant blending.
The layer opacity settings also let you fine-tune the intensity of the flip effect. Lowering the opacity can create a more subtle, transparent look, while escalating the opacity makes the effect more sharp.
Keep examining the visual result while tweaking the blending modes and opacity. That lets you maintain a proportional balance between the original and flipped layers.
After you are delighted with your photo flip effect, save your edited image.
Step 6: Adjusting Position and Alignment
Click on the duplicate layer so it will be selected for further edits.
Use the move or transform tools to position the flipped layer as desired. Drag it to any location on the canvas.
Check the alignment and balance as compared to the original image.
You can also scale or rotate the flipped layer to create surreal and novel compositions.
Employ layer masks to control the visibility of specific areas on the flipped layer; paint areas of the layer that you want to reveal or cover.
Give your composition a final glance to scrutinize the visual effects. Make sure the flipped layer consistently blends with the original image.
Once you have finalized your image, save it or carry on with further touches.
Step 7: The Final Analysis and Tweaks
Take a close-up of your image to see any deformities, pixelation, or regions that require further reformation.
Ensure the symmetry of elements in your photo flip effect is aligned with the original photograph.
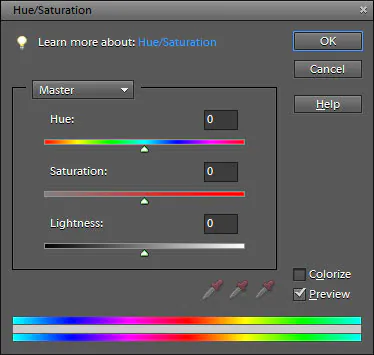
Determine the colour symphony and lighting effects. Tune colour saturation, brightness, or contrast to get a cohesive and refined view.
You can also incorporate some additional effects, filters, or text overlays to boost the overall integrity of the image.
Preserve your final edited image in a high-resolution format that is suitable for multiple uses.
Store a backup of your layered file before merging layers to ease up any further changes if they are made later.
Finally, share your creative shot with the world through social media sites or other online art-related platforms.
Conclusion
The unreal yet symmetrical display of images with a photo flip effect is representative of futuristic editing techniques. Most of the surreal filters or effects illustrate a distortive or more dreamlike atmosphere, so it becomes a bit difficult to stir viewers’ beliefs. On the other hand, the photo flip gives a realistic vibe because of its angular setting, prompting people to think realistically about something unreal yet well-proportioned. Moreover, with the progressive explorations happening in the modern world, people are no longer merely interested in dreamy and imaginary visuals. Instead, they look for something new and novel, like the photo flip effect.
