
How To Create A Nightmare Effect
It is the most common notion among human beings that they don’t appreciate reciting or sharing unpleasant things because of bitter memories associated with them. Nightmare is also one of such assertions, which often people are hesitant and scared to talk about. However, the variation and novelty of ideas are also a part of human personality, and they relish the uncommon happenings. Following a similar approach, creativity enthusiasts perceive mortal affairs like nightmares as a form of unique artistic expression. The nightmare effect frequently elicits surreal or tense visual impressions in art and photography. Different editing techniques, including lighting manipulation, contrast settings, color balance, and tonal range manipulation, are practiced to transform common images into enchanted ghostly scenes. These strategies are applied using photo editing software like Adobe Photoshop, Adobe Lightroom, GIMP, and many more. Each application features different tools and components suitable for innovative visual impressions like the nightmare effect. The steps to create a nightmare effect in an image are as follows.
Step 1: Primary Image Choice
Begin by selecting a picture that acts as an appropriate canvas for the nightmare effect. Seek photos with components that can be effectively controlled to inspire fear, unease, or tension. That might incorporate dim, atmospheric scenes, ghostly scenes, or portraits with earnest facial expressions.
Think of the picture’s visual components and the general temperament you need to communicate. Photos with solid contrasts, energetic lighting, or thrilling textures can be particularly compelling for creating a mesmerizing nightmare effect.
Confirm the potential for control and enhancement during editing and opt for pictures with adequate detail and resolution to permit precise alterations and inventive experimentation.
The chosen picture should complement your aesthetic vision and the ultimate artwork’s intended message or theme. A carefully chosen shot will be a strong foundation for the consequent editing steps to achieve the required nightmarish climate.
Step 2: Lighting And Contrast Adjustments
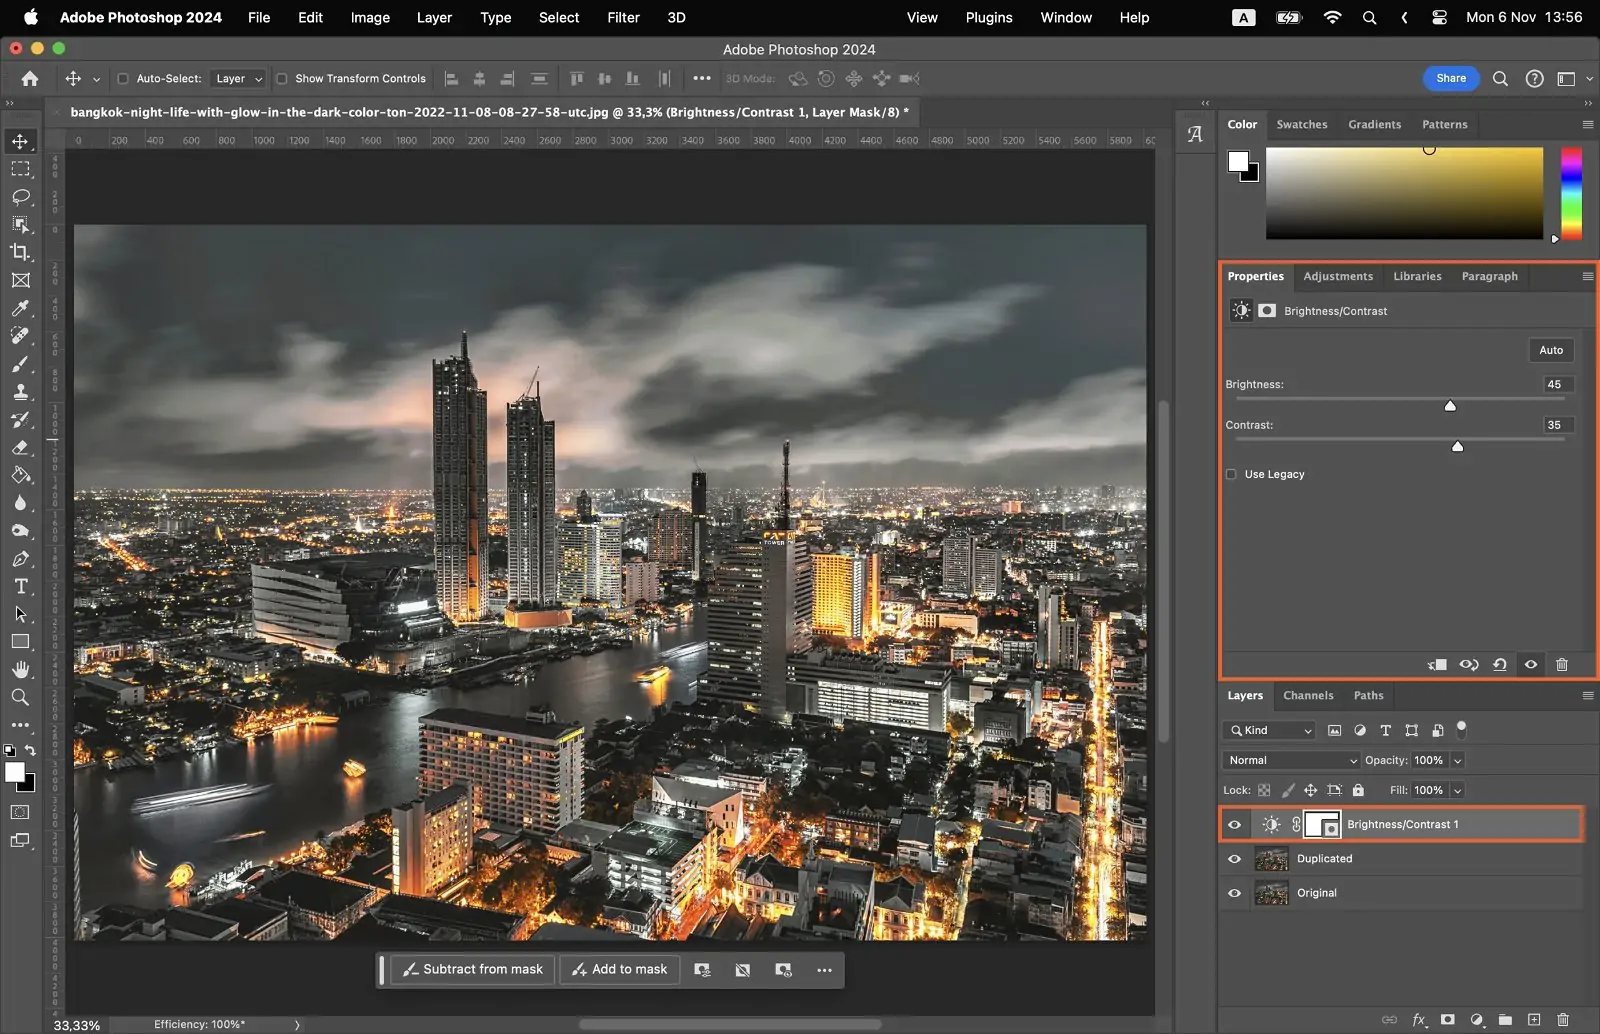
Assess the lighting within the image and distinguish regions that can be enhanced or controlled to make a more sensational impact. Survey the dispersion of light and shadow and the overall temperament conveyed by the existing lighting.
Go for options like levels, curves, or exposure adjustments to adjust the lighting and contrast within the photo. Obscure shadows to extend depth and intensity and brighten highlights to include central focuses or accentuation.
Test with distinctive tonal adjustments to attain the specified climate. For example, expanding contrast can make a sense of tension or anticipation, whereas decreasing contrast can inspire a more stifled or secretive temperament.
Check out the proportion between light and shadow, guaranteeing that the adjustments improve the picture’s across-the-board composition and visual effect without overpowering or distracting the subject matter.
Ceaselessly assess the effects of your adjustments on the picture, making unpretentious refinements as required to attain the specified level of lighting and contrast for the nightmare impact.
Step 3: Color And Tone Settings
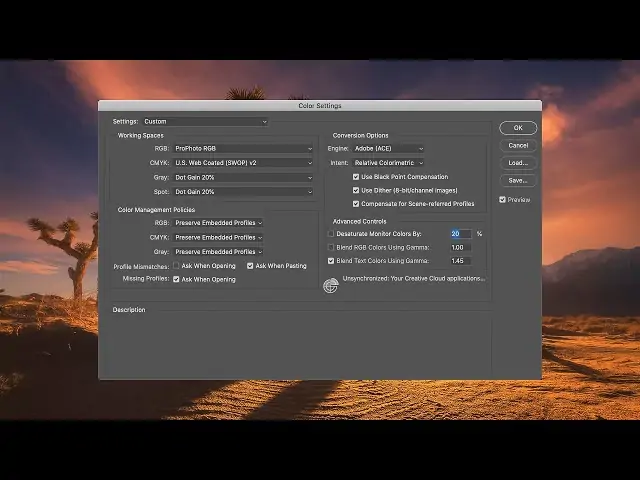
Start by evaluating the picture’s existing color palette and considering how it contributes to the comprehensive temperament and environment. Recognize colors that require adjustment to better comply with the required nightmare effect.
Try color alterations such as hue, saturation, and color adjustment to control the tones and tints within the picture. Consider desaturating the picture to make a more quiet or monochromatic appearance or presenting unnatural or surreal colors to inspire a sense of unease or otherworldliness.
Pay consideration to the relationship between distinctive colors within the picture and how they are associated. Alterations to one color can influence the recognition of others, so make incremental changes and watch their effect on the general composition.
Ponder on utilizing color grading procedures to apply steady color effects over the picture, such as including a discreet tint or color cast to improve the mood or climate.
Persistently assess the effects of your color adjustments on the picture, confirming that they add to the specified nightmare effect without overpowering or diverting from the subject matter.
Step 4: Introducing Distortions
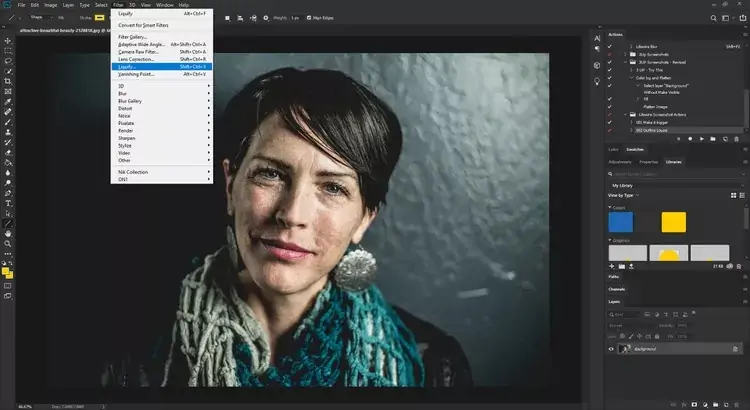
Begin by distinguishing particular components inside the image that can be controlled to form a sense of unease or confusion. It may incorporate faces, objects, or foundation components that can be warped or distorted.
Utilize distortion apparatuses such as liquify or warp to specifically alter these elements’ shape, size, or proportions. Play with subtle alterations to form a mild sense of distortion or more extraordinary modifications for a surreal effect.
Observe the general composition and harmony of the image when applying distortion effects, guaranteeing that they complement instead of degrade from the intended disposition or climate.
Prospect different distortion techniques, like stretching, bending, or twisting components inside the image, and examine how these distortions are associated with other details within the scene.
Keep assessing the impacts of your distortions on the image thoroughly, making adjustments as required to preserve coherence and upgrade the overall nightmare effect.
Step 5: Textures And Overlays Addition
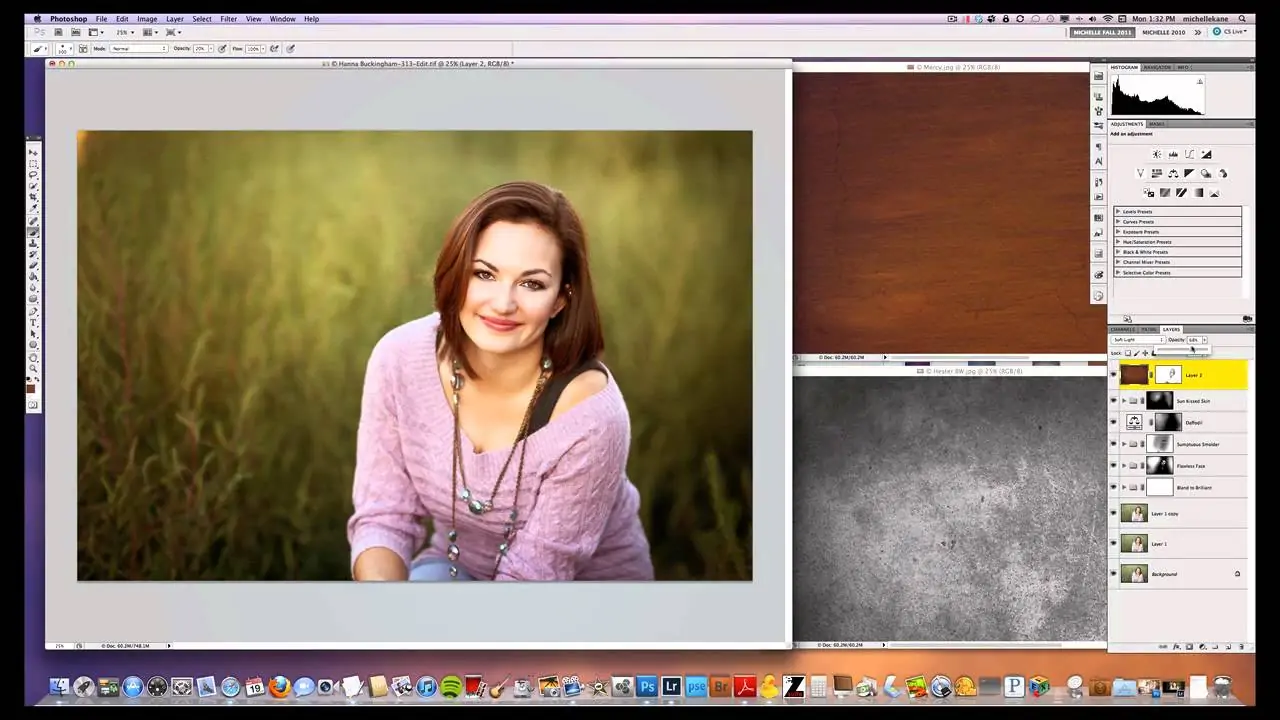
Choose suitable textures or overlays that match the desired nightmare look. You can incorporate grunge textures, scratches, or clamor patterns that add profundity and complexity to the image.
Try blending modes and opacity settings to consistently coordinate the surfaces or overlays in the picture. Overlay modes like overlay, multiply, or soft light can help blend the textures with the basic image while protecting subtle elements.
Consider the situation and dispersion of textures inside the picture, focusing on zones that can enhance the temperament or atmosphere. Abstain from overfilling the image with textures, which may clutter the composition and diminish the overall effect.
Set textures’ scale, rotation, and orientation as required to attain the specified visual effect. Try distinctive settings to discover the correct balance between subtlety and impact.
Assess the influences of your texture augmentations on the picture and move on to the next step.
Step 6: Symbolic Components Inclusion
Conceptualize symbolic or thematic components commonly related to nightmares, such as twisted shapes, ghostly figures, or strange scenes.
Choose or make these components by utilizing editing options or consolidating stock pictures and designs into your composition.
Integrate the symbolic components into the picture to improve the general nightmarish environment. Check their situation, scale, and interaction with other components within the scene.
Test with blending modes and opacity settings to consistently merge the symbolic components with the fundamental image. That can help make a cohesive visual account that strengthens the bad dream effect.
Attend to the imagery and thematic significance of the components you incorporate, confirming they contribute seriously to the general story or temperament of the image.
Observe the effects of your augmentations on the image, keep fine-tuning the composition, and enhance the overall effect to your satisfaction.
Step 7: Final Modifications And Export
Check the whole image to distinguish any ranges requiring extra refinement or alteration.
Tune minute particulars, including sharpness, clarity, and contrast, to improve the photo’s across-the-board visual development.
Attend to composition and balance, ensuring that all components agree to communicate the specified nightmare effect.
Include more atmospheric components like fog, mist, or shadows to boost the image’s disposition and environment.
Try using distinctive filters or effects to include a final layer of elegance and cohesion in the overall arrangement.
Persistently assess the picture and make any necessary adjustments to guarantee that it effectively communicates the desired nightmare appearance to the viewer.
After you are satisfied with the ultimate result, save your work and consider sharing it with others to accumulate input and viewpoints on the effectiveness of the nightmare effect you’ve made.
Conclusion
In conclusion, using the nightmare concept, you can willfully distort or modify an image and generate a bizarre or icky visual impression that can stimulate viewers. This effect is pervasive in graphic design, photography, and digital art to frame feelings like bewilderment, anxiety, or apprehension. Adding symbolic or thematic aspects that are frequently connected to dreams, such as twisted shapes, menacing characters, or bizarre landscapes, enhances the overall gloomy atmosphere. Ultimately, you can construct a fantastic nightmare atmosphere that makes the spectator feel dreadful, uneasy, or uncomfortable. The ominous qualities of nightmares inspire the images, thus paving the way for exhibiting enormous other sensations in visual art.
