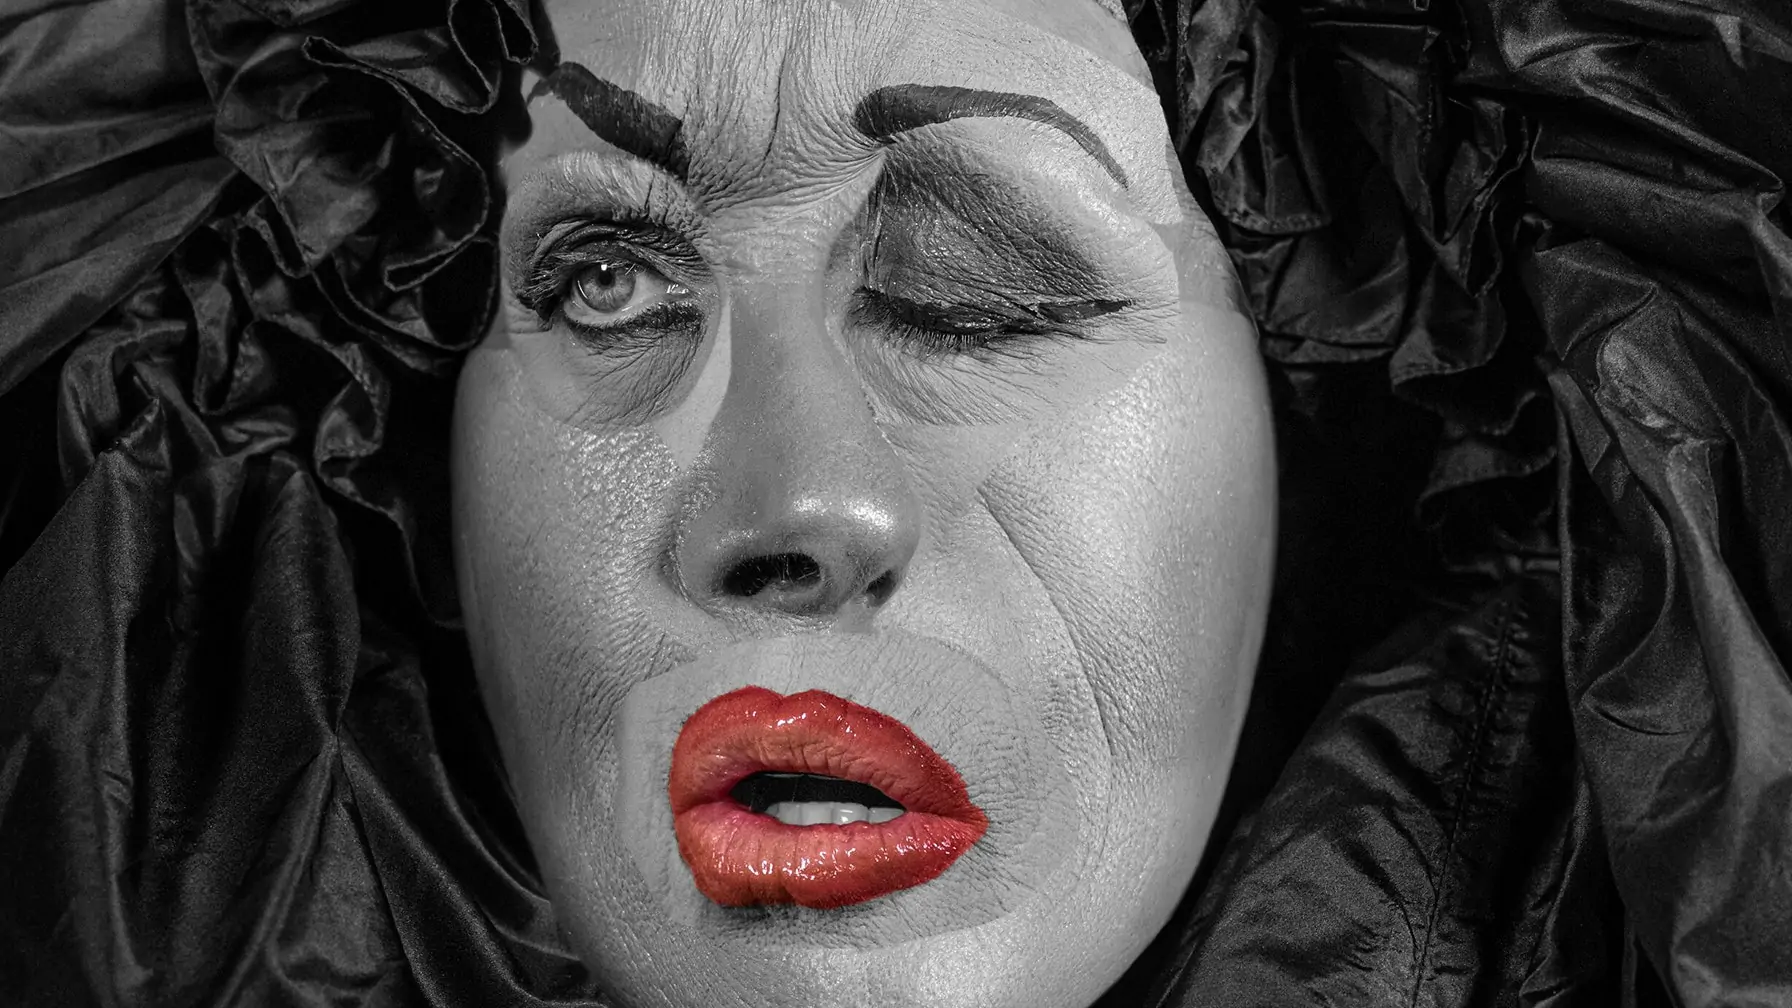
How To Create A Grotesque Art Effect
Grotesque art is distinguished by improbable or fantastic human and animal forms that are continually intertwined with foliage or other such figures, potentially distorting the natural world into absurdity, ugliness, or ridicule. The lines separating imagination from reality are blurred in grotesque art, producing a phenomenal visual experience. This art style has a deeper influence on image creation and manipulation, where it inspires the artists with unusually creative strategies to recreate the visual content. Grotesque ideas included in image editing can produce surreal, distorted, and exaggerated effects that go beyond the conventional concepts that emphasize the beauty element in art. Various digital editing tools and techniques are employed by artists and editors to create digital Grotesque artworks that can be compared to the original Grotesque pieces. The most known options include creating distortions with liquify or warp tools, often accessible via software such as Adobe Photoshop. Other alternatives include texture enhancements, blending layers or elements, and color manipulations, all of which contribute to creating cohesive yet unorthodox grotesque images. Moreover, saturation, contrast, and hues are revised during editing.
Step 1: Image Import
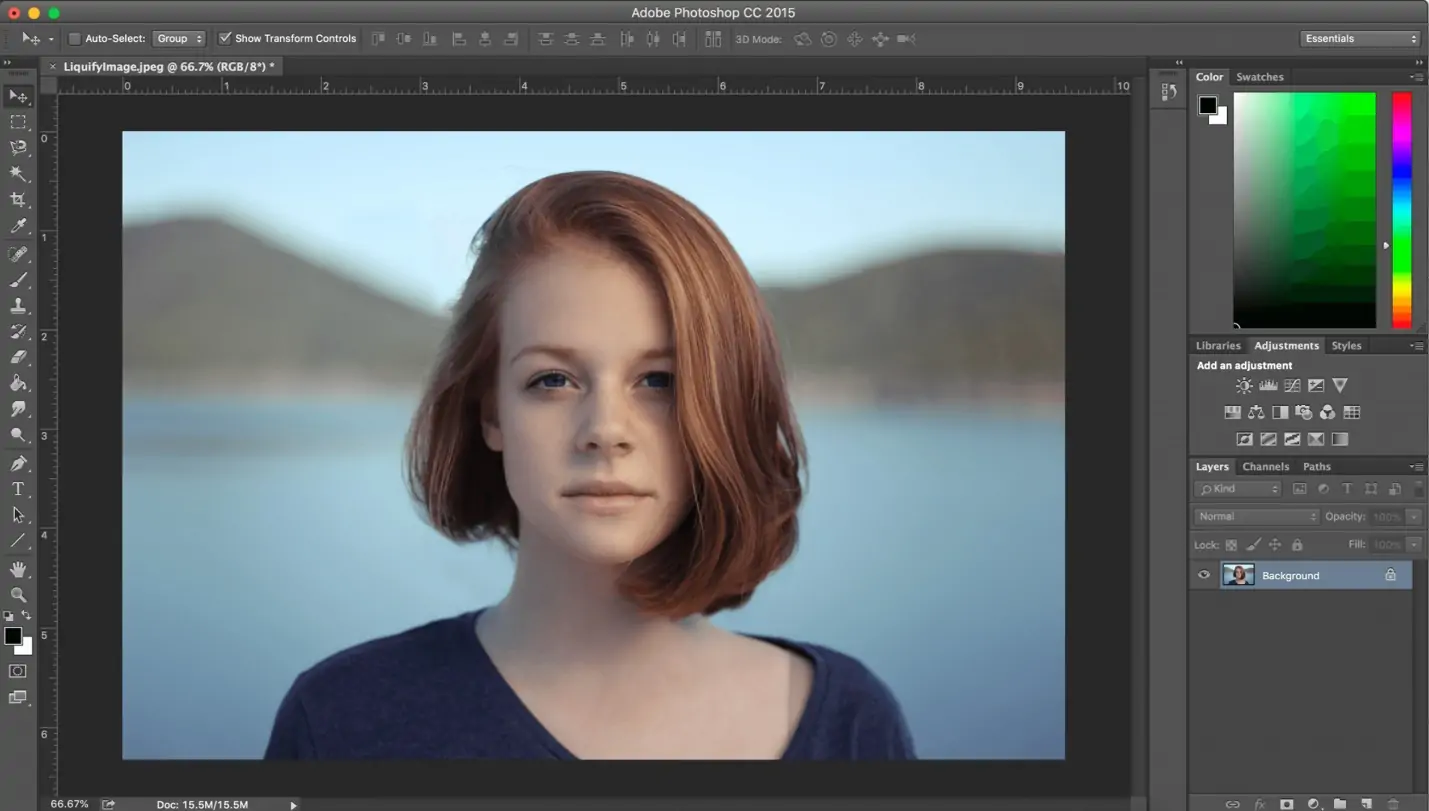
Install Adobe Photoshop applications on your PC and open the program. Next to the Photoshop is open, go to the top menu bar and tap on File.
From the dropdown menu, press on Open. This will make a new dialog box pop up.
Within the dialog box, browse through your computer’s directories to find the photo file you need to alter. You can explore through folders by clicking on them or utilizing the sidebar to quickly get to common locations like desktops, documents, or downloads.
Once you’ve found the picture you want, press on it to highlight it.
With the picture file chosen, press the Open option within the dialog box. That will import your photo into Photoshop and show it as the essential canvas.
Affirm that the picture has loaded accurately by looking at the Layers panel, often on the right side of the screen. You may see your picture named as the “Background” layer.
Step 2: Image Duplication
Find the Layers panel, usually situated on the right side of the Photoshop interface. If you do not see it, go to the beat menu and select Window > Layers to ensure it’s obvious.
Within the Layers panel, distinguish the background layer, which is regularly named “Background” by default. Tap once on this layer to highlight it.
Right-click on the chosen background layer to uncover a relevant menu. From this menu, select the option labeled “Duplicate Layer.”
A dialog box will emerge, prompting you to title the duplicated layer. You’ll either rename it or take off the default title, which is unchanged.
Tap the “Ok” or “Duplicate” button within the dialog box to affirm the duplication process. This activity makes an identical copy of the background layer over the first.
Confirm that the duplicated layer presently shows up over the initial background layer within the Layers board. Both layers ought to have the same content.
With the duplicated layer chosen, you’re presently ready to execute alters without modifying the initial picture, enabling non-destructive editing procedures.
Step 3: Creating Distortions
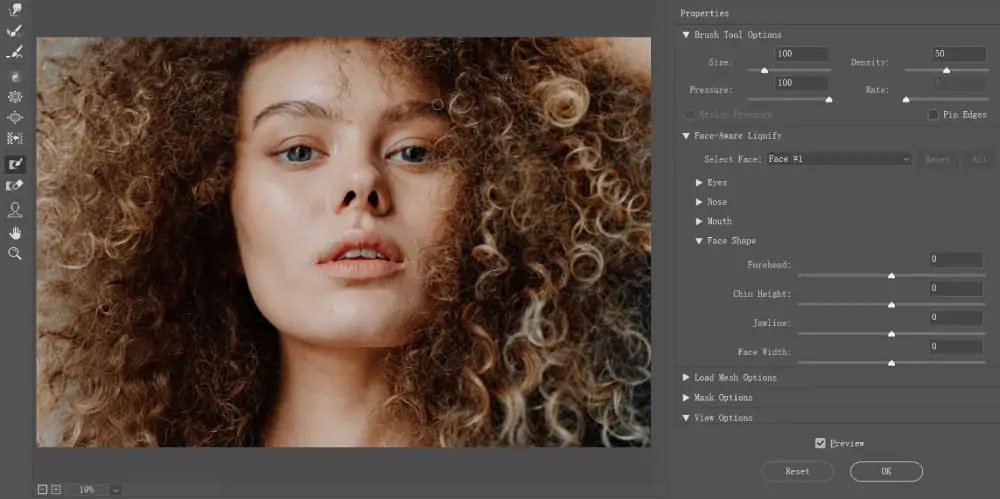
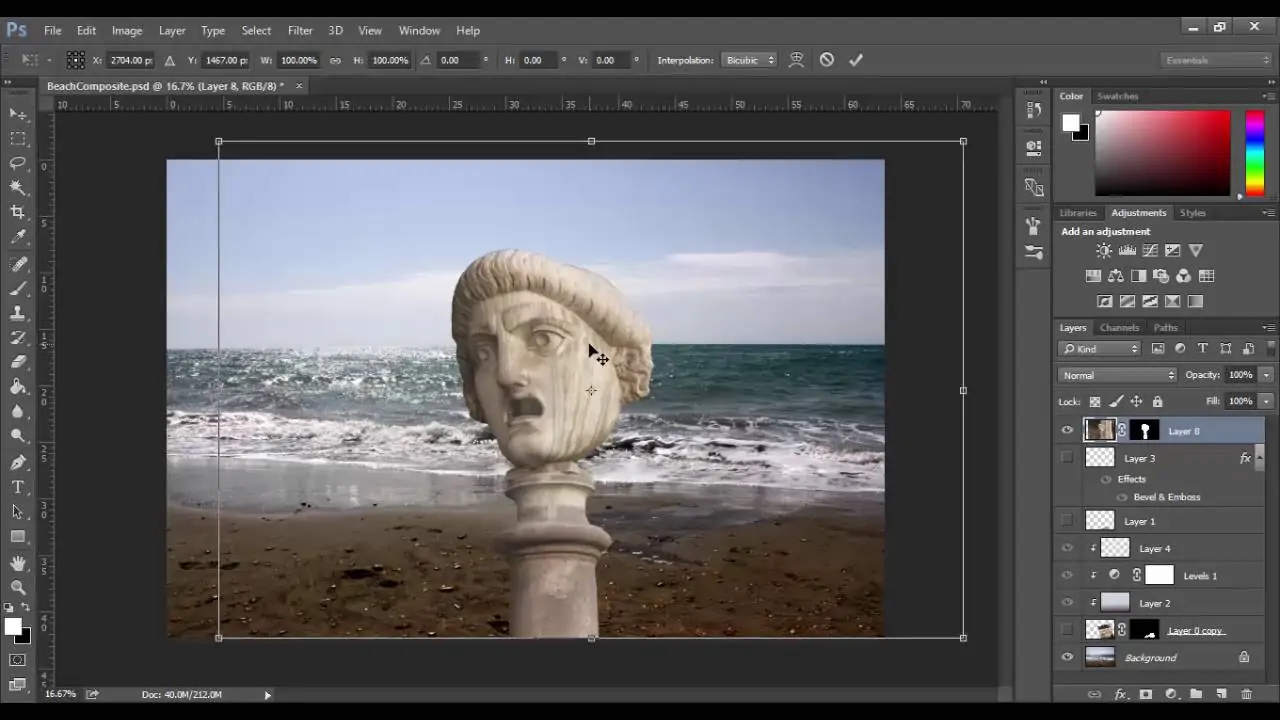
Move to the top menu and select Filter. From the dropdown menu, select Liquify.
Ahead of applying any distortions, acquaint yourself with the Liquify discourse box. Here, you’ll amend brush size, pressure, density, and more to customize your altering experience.
Within the Liquify dialog box, select a fitting brush size for the specified level of detail and accuracy. You’ll adjust the brush size by utilizing the slider or by writing a particular value.
With the brush chosen, tap and drag over zones of the image that you just need to distort. Try varying brush strokes and pressure levels to attain the specified impact. Using the Liquify tool, you can push, pull, warp, and twirl pixels in real time.
Utilize the different tools and options within the Liquify dialog box to handle your distortions more. You can also undo brush strokes, alter brush settings on the fly, and zoom in for exact edits.
Once you are happy with the distortions effect, click the “Ok” button to finalize the transformations and exit the Liquify workspace. Photoshop will, at that point, render the altered image with the applied distortions.
Step 4: Layering And Blending
Make new layers on top of your photo by clicking the “New Layer” symbol at the foot of the Layers panel.
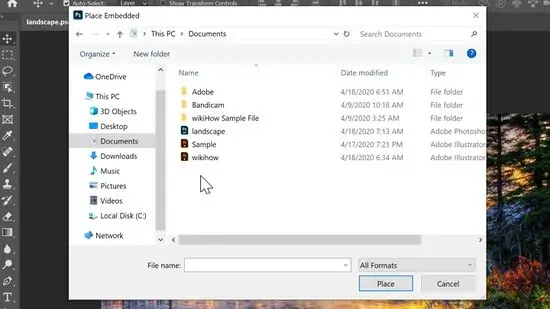
Import or create further components such as textures, designs, or other pictures that you need to blend together with your primary image. Utilize File > Place Embedded to bring external files into the workspace.
Organize the newly included layers within the Layers panel to control their stacking sequence. Layers at the top of the panel show up over those below them.
Choose a layer and head to the blending mode dropdown menu in the Layers panel. Play with various blending modes such as Overlay, Multiply, or Screen to attain different combining effects between layers.
Include layer masks to specifically uncover or cover up parts of a layer. Select the layer and tap the “Add Layer Mask” symbol present at the bottom of the Layers panel. Utilize black and white brushes to paint on the mask to hide or unveil ranges of the layer.
Utilize opacity and fill sliders within the Layers panel to alter the general transparency of layers. Hone blending effects by revamping opacity values until you accomplish the required result.
Flip layer visibility on and off or modify blending mode and opacity settings to see diverse blending impacts. Make essential alterations until you’re fulfilled.
Step 5: Enhancing Complexity
Use selection tools like the Lasso Tool or the Pen Tool to confine particular elements from other pictures or parts of your current image that you just need to consolidate into your composite.
Once chosen, duplicate the wanted components by pressing Ctrl + C and glue them onto your fundamental canvas utilizing Ctrl + V.
After pasting, utilize Free Transform Ctrl + T to resize, turn, or skew the pasted components to fit consistently into your composition. Hold down the Shift key while dragging to sustain proportions.
Alter the layer blending modes and opacity to coordinate the pasted components with the main image. Try different blending modes to get the required effect.
Operate layer masks or eraser tools to elaborate the edges of the pasted components, guaranteeing they blend innately with the backdrop and encompass details.
Construct a sense of depth by setting components deliberately within the foreground, middle ground, or foundation. Alter their size, position, and opacity in like manner.
Step 6: Color And Light Balancing
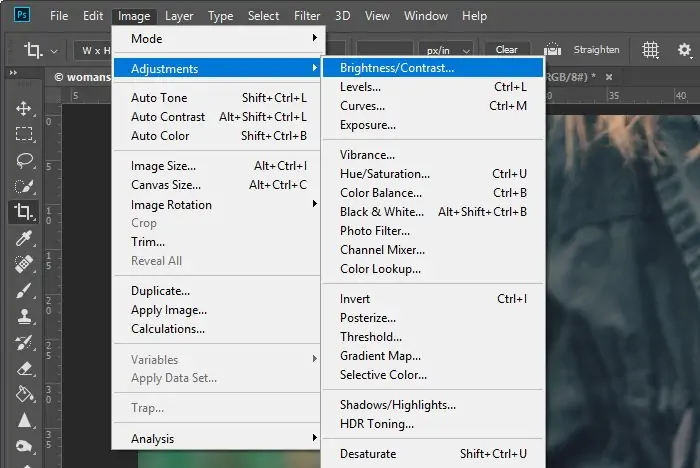
Utilize different color adjustment tools in Photoshop to adjust the general color tone and temperament of your image. Get to these features through Image > Adjustments.
Alter the hue, saturation, and lightness of particular colors in your picture utilizing the Hue/Saturation adjustment layer. Test with differing settings to attain desired color impacts.
Edit the brightness, contrast, and tonal range of your image with the Curves and Levels adjustment layers. Utilize the curves to alter highlights, shadows, and midtones for exact control over lighting.
Utilize the Color Balance alteration layer to move the balance between the essential colors like red, green, and blue in your image. This permits you to make inconspicuous or emotional color shifts to improve the general temperament.
Aim at particular color ranges and alter their hue, saturation, and brightness freely with the Selective Color adjustment layer. This gives fine-grained control over each color channel individually.
Put in Gradient Maps to map colors to tonal values in your image. Experiment with distinctive gradient presets or make custom gradients to attain interesting color impacts.
Fuse adjustment layers together by tweaking their opacity and blending modes to help accomplish a cohesive overall appearance.
Step 7: Texture Application And Finalization
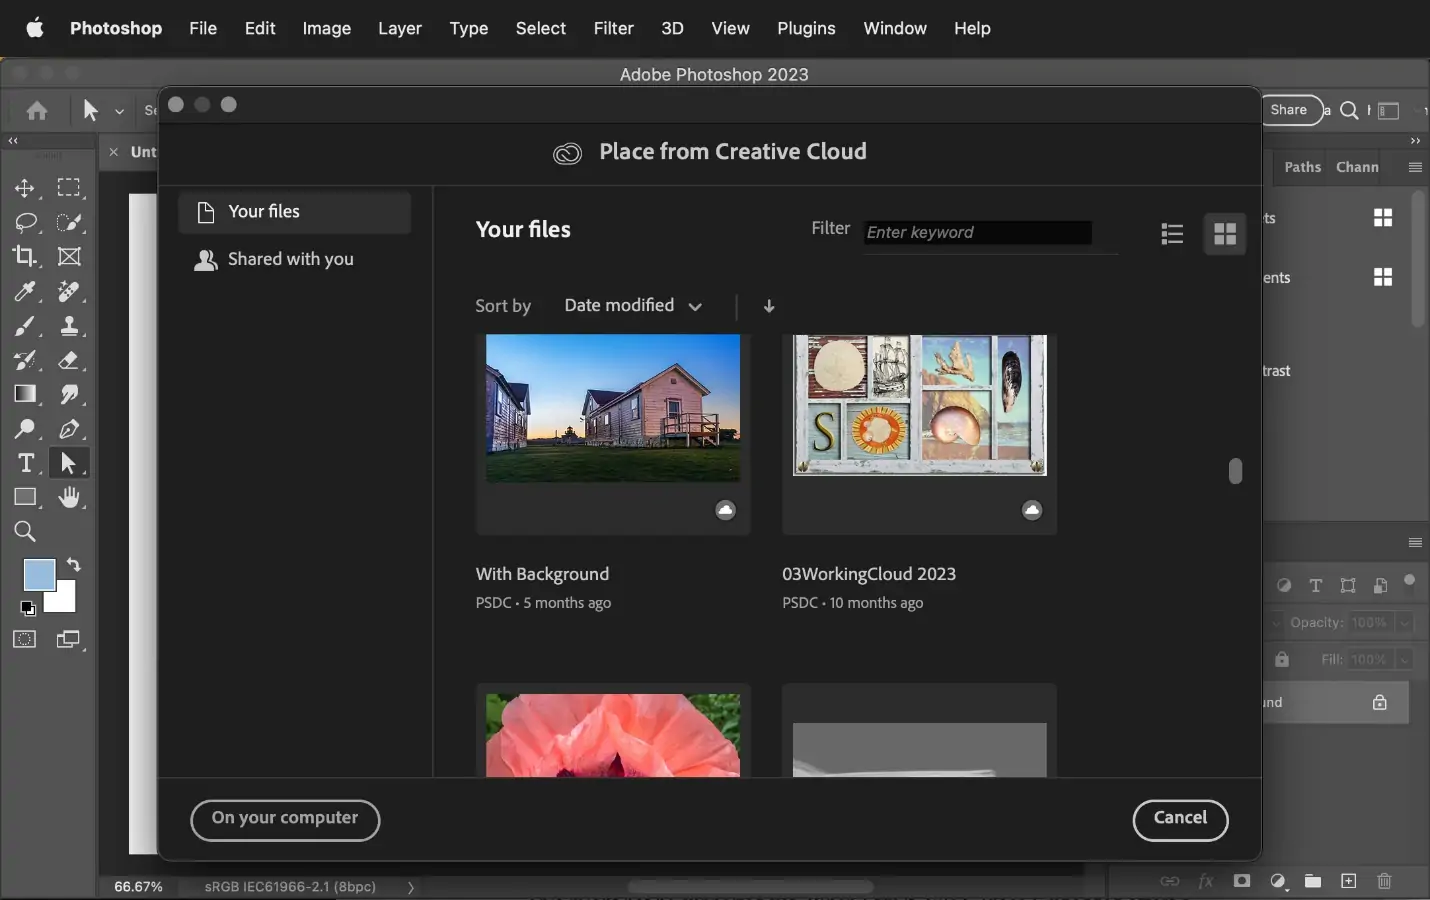
Import surfaces or make your own utilizing brushes, photos, or scanned materials. Utilize File > Place Embedded to bring external surface files onto your workspace.
Make new layers over your primary image layer and put the imported textures onto these layers. Adjust the placement and scale of the textures as required to cover the required regions.
Try blending modes like Overlay, Soft Light, or Multiply to mix the surfaces smoothly with the basic image. Alter the layer opacity to control the intensity of the texture effect.
Utilize layer masks or eraser tools to selectively reveal or cover up parts of the surface layer. This permits you to mix textures easily into particular ranges of your picture while keeping up transparency somewhere else.
Apply surfaces deliberately to different components inside your composition to include profundity and dimension. Consider how textures interact with light and shadow to form realistic surface impacts.
Utilize brushes and painting techniques to add extra details, highlights, and shadows to your picture. Work on ranges of interest to improve the overall visual mark and story of your composition.
Persistently preview your picture and make alterations as required to confirm that the textures and points of interest conform to the widespread composition. Regulate blending, positioning, and intensity until you execute the specified aesthetic impact.
Commit any final alterations to color, contrast, and sharpness. Consider including a vignette or inconspicuous gradient to direct the viewer’s eye and improve the temperament of the piece.
Once you have achieved the ultimate result, save your work in a high-resolution format like JPEG or PNG for sharing and printing.
Conclusion
In essence, though, in aesthetic terms, the grotesque goes against classical rules of visual art, art lovers still cherish it because of its unique attributes like disruption and unimaginable creativity. Taking advantage of the precision and intricacy of alterations made possible by modern picture editing tools, one can surpass the common art aesthetics and create an art piece that has never been seen before. Grotesque art brings forth powerful and thought-provoking imageries that, when bound to images, result in bizarre and fantastical visual developments. The resultant images also offer the viewer a feeling of mysteriousness and hideousness, thus forming unforgettable narratives and contexts.
