How To Create A Gouache Painting Effect
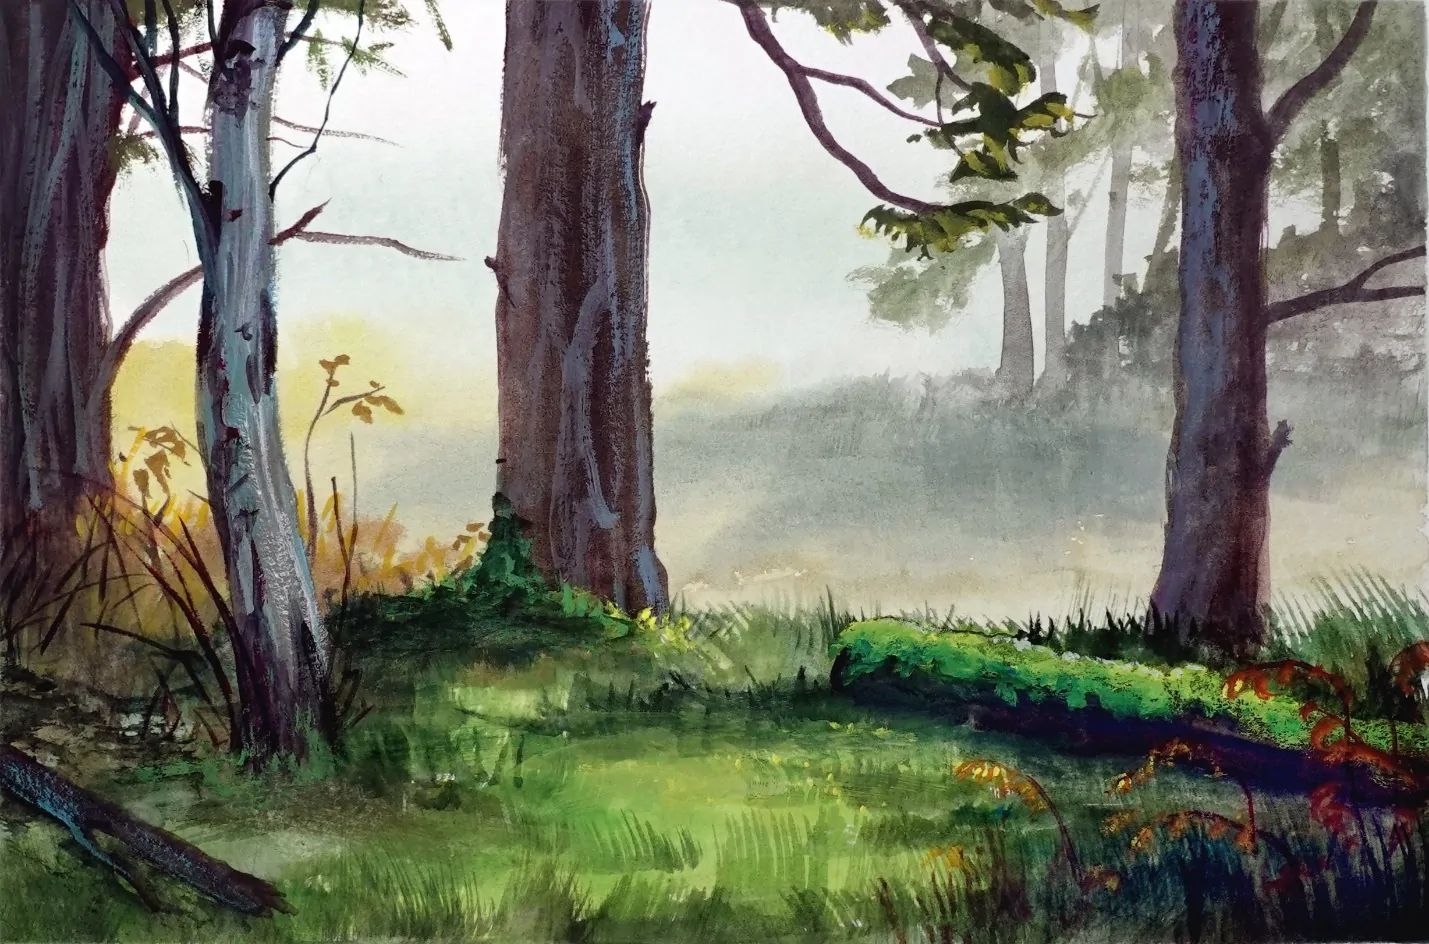
Gouache painting refers to a traditional kind of art, which is a combination of acrylic and water color techniques. Pigments are ground into a powder in classic gouache, although not as finely as in watercolor. The larger pigment particles are larger than those found in watercolor paint; they are still extremely fine to human sight. The gouache paint has a higher pigment density than watercolor paint. In contrast to acrylics, gouache is not permanent once it dries. To ensure that the pigment is firmly adhered to the paper fibers, a potent natural adhesive is applied. But since gouache dissolves in water, its surface can be rewetted and manipulated. The mesmerizing effects achieved within traditional gouache artworks are also motivating for digital artists and image editors who are employing this art approach to enhance their compositions. Different image editing tools and features, including filter application, brushwork, texture effects, layering, opacity adjustments and many more, are employed to get a gouache painting effect into digital images. This blog deals with the way these tools, with some others, can be utilized to create a gouache painting effect in images.
Step 1: Base Image Preparation
Load your photograph within the editing program of your choice, considering options like Adobe Photoshop, Krita, or Procreate. That image is gonna serve as the base for the gouache impact.
Make sure that the image’s resolution is high enough to enable detailed work. Preferably, specify the resolution to 300 DPI if you plan to print the ultimate artwork. A better resolution guarantees clarity and adequate texture inclusion.
If required, resize the picture to correspond to the required yield dimensions. Keeping the proportions right will keep up the photograph quality.
Make a copy of your base layer. It gives you adaptability and permits you to keep the initial picture unharmed as a backup if you need to undo changes.
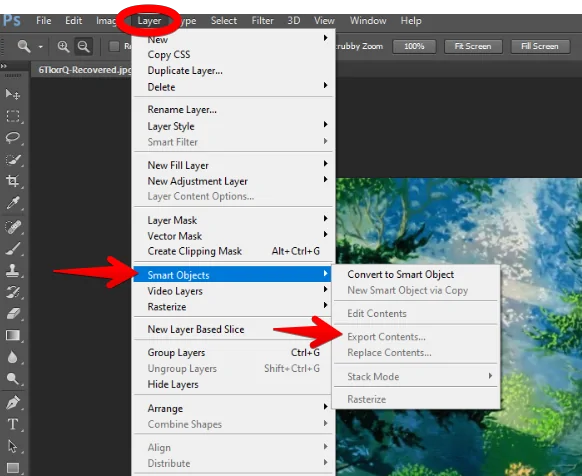
If using Photoshop, right-click the photo layer to choose the option Convert to Smart Object. That lets you apply filters and impacts non-destructively, making it simpler to change settings afterward without harming the picture quality.
Step 2: Colours Simplification
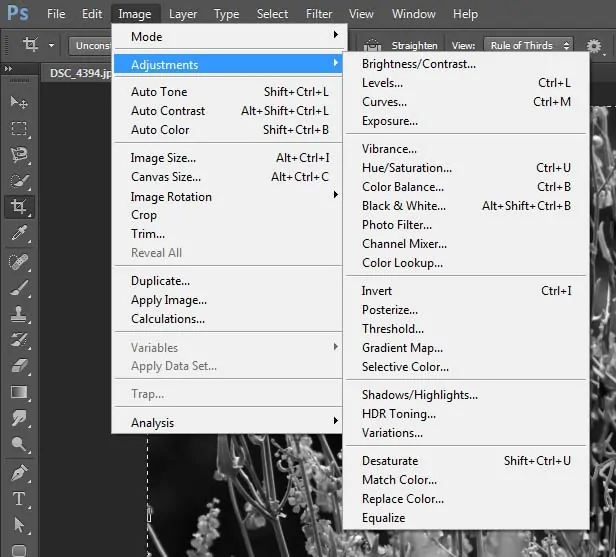
After changing over the picture layer into a smart object, head to the Picture menu, then select Adjustments and click on Posterize. A Posterize filter can decrease the number of colors within the picture, presenting it at a more stylized level. Establish the color levels to about 4-6, according to the level of detail you need to keep.
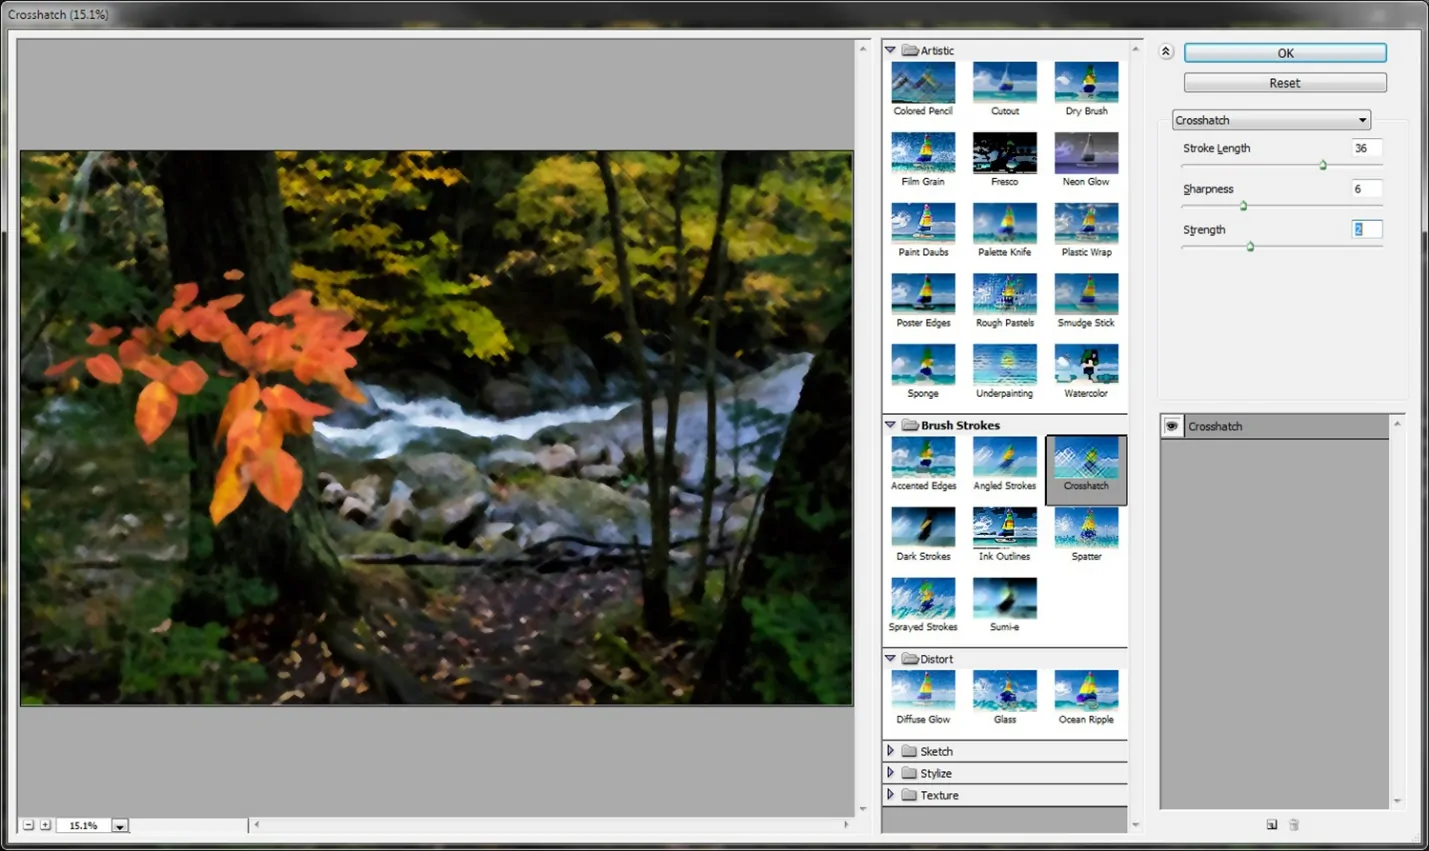
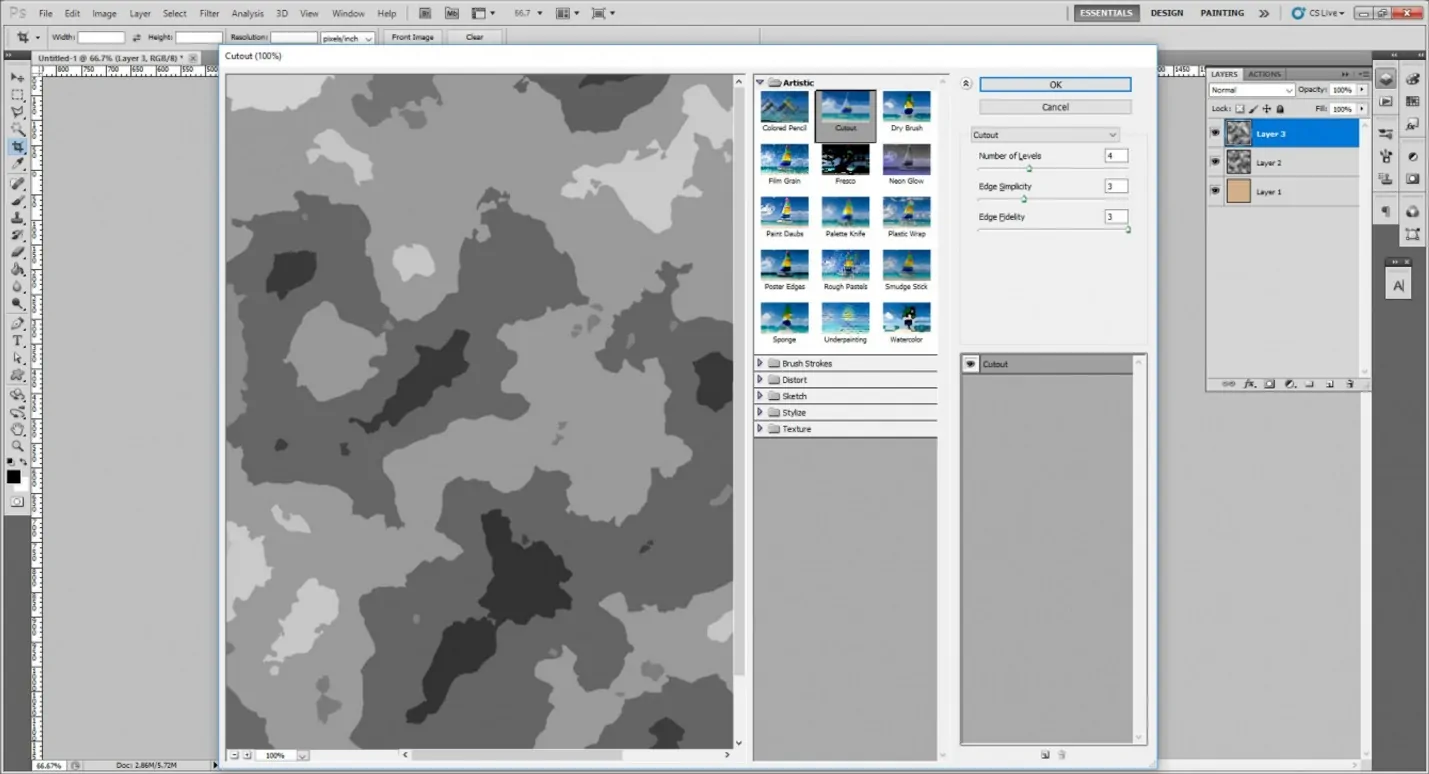
For a more graphic or painterly impact, utilize the Cutout filter. Go to Filter > Filter Gallery and choose Cutout. Modify the settings to diminish the detail and keep fundamental shapes intact.
Utilize Threshold to improve the contrast between light and dark ranges. This step is valuable if you need to over-exaggerate the streamlined, flat color look commonplace of gouache.
Review the result and alter settings until the image has streamlined color blocks corresponding gouache painting’s characteristic flatness.
Step 3: Using Gouache Brush
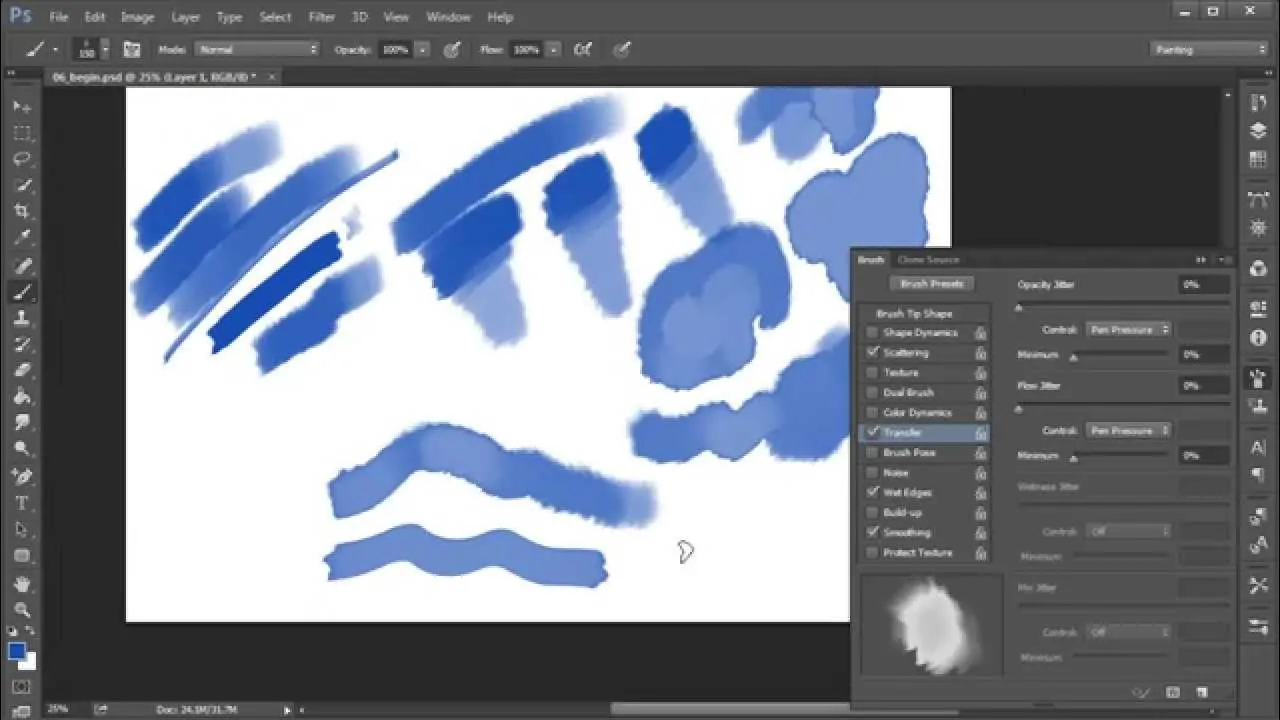
Select a gouache-style brush from your software’s brush library or download custom gouache brushes. Applications like Adobe Photoshop, Procreate, or Krita include these. Otherwise, you can install them from online sources.
Include a new layer above your picture to paint on without influencing the initial layer. That keeps your work adaptable and non-destructive, permitting for simpler shifts or adjustments.
Choose colors from your picture that conform to its natural palette or make a unique aesthetic variety. Start by applying expansive blocks of color in key ranges. Gouache art usually features bold, level colors, so it emphasizes concrete strokes instead of gradients.
Utilize thick, strong strokes to imitate the opaqueness of gouache paint. Gouache features a characteristic flat, matte appearnce, so avoid making the brush strokes as well translucent.
Paint in layers, beginning with broad base colors and gradually adding smaller points of interest. Focus on color regions instead of realistic blending to preserve the gouache-like surface and fashion.
Step 4: Blending Colors
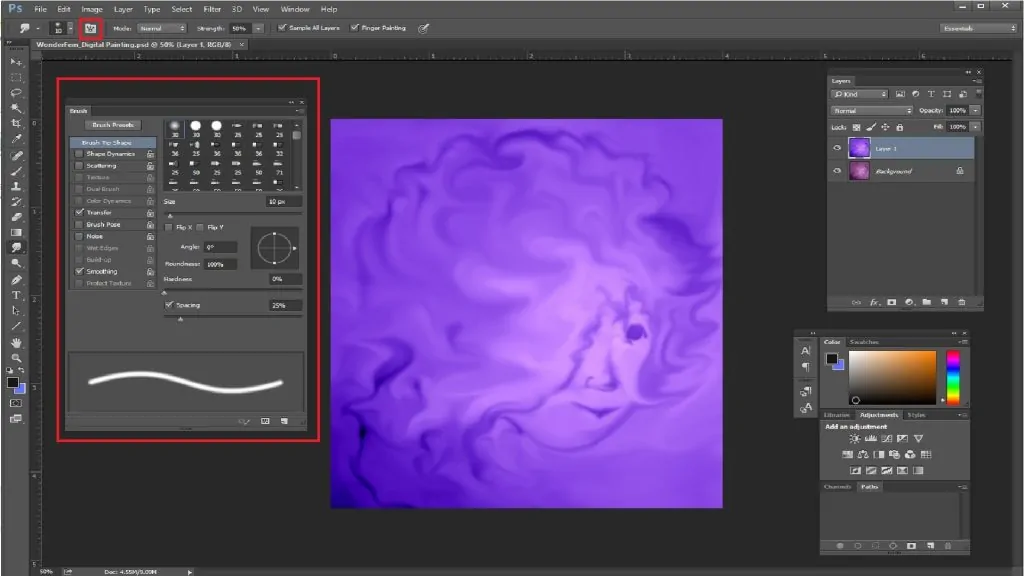
Select the Smudge tool from your software’s toolbar. This tool helps you to integrate and soften the shifts between colors and brushstrokes, mirroring the smooth blends typically seen in gouache painting.
Put the brush strength to a lower rate (around 20-40%) to get smooth mixing without excessively distorting the picture. Utilize a delicate or textured brush to preserve the painterly impression.
Focus on ranges where two colors meet and utilize the Smudge apparatus to delicately blend the edges. It makes smoother transitions while still protecting the flat; matte feels seen as gouache.
When blending, guarantee that the initial brush strokes are still somewhat obvious to hold the characteristic texture of gouache. Over-blending can make the picture appear too polished, losing the genuine painted feel.
Get back to the gouache brush to reapply the color or surface in ranges where mixing may have softened particulars too much. Keep altering until you accomplish a balance between smoothness and surface.
Step 5: Layers Addition
Include additional layers over your base colors to begin polishing the subtle elements. It permits you to construct profundity without modifying the beginning flat color regions, giving you the adaptability to alter or remove personal components later.
Begin by including medium-sized details, like shadows and highlights, on a new layer. Steadily move to smaller, complex components. It mirrors how you’d approach a conventional gouache painting, building up profundity and detail layer by layer.
Choose a smaller, more exact gouache brush to include better strokes and details. Emphasize areas like the edges of objects, facial highlights, or other detailed perspectives of the image.
Utilize lighter and darker tones to make contrast and emphasize shapes. In any case, avoid making the shading excessively realistic or blended, as gouache works of art frequently have more stylized, flat lighting, where highlights and shadows are distinguishable but not intensely blended.
Guarantee that your included details do not disrupt the matte, opaque surface commonplace of gouache. Make colors striking and opaque instead of delicate and gradient-like.
Alter the opacity and blend modes of your layers to direct how the new subtle elements are associated with the base colors, getting a uniform gouache impact.
Step 6: Using Textures
Find or construct a paper texture image that corresponds to the surface you need your gouache painting to imitate. It could be a ragged watercolor paper or any finished surface that includes realness.
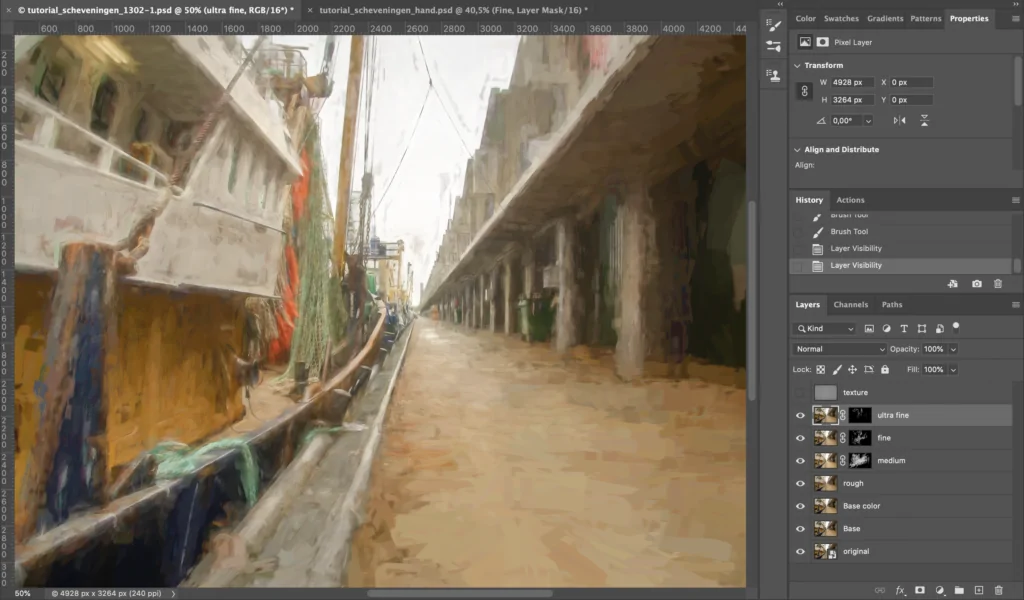
Load the paper texture picture in your editing software. Haul it into your project as a new layer over your painted picture.
Utilize the transform tool to re-size the texture layer to cover the whole picture. Arrange it to adjust properly with the basic artwork.
Alter the blending mode of the surface layer to Overlay, Soft Light, or Multiply, according to the specified effect. It will let the surface interact with the colors underneath while including a subtle graininess.
Diminish the opacity of the surface layer to manage how much of the surface appears through. You need it to improve the picture without overpowering the gouache effect.
In case essential, include a layer mask to the texture layer. Utilize a delicate brush to paint with black on the mask to specifically cover up parts of the surface where it may not be required, confirming that the gouache impact remains conspicuous in key zones.
Step 7: The Final Tweaks
Use the Zoom tool to audit the whole composition. Evaluate the balance of colors, subtle elements, and surfaces to make sure that the composition feels symmetrical and balanced.
Utilize the Brightness/Contrast adjustment layer to tune the general light and dark regions. That helps to improve the energy and profundity of the colors, making the gouache impact pop.
Apply a Hue/Saturation adjustment layer to adjust the color intensity. Increase saturation somewhat to make the colors more vivid, which is normal for gouache paintings, but avoid over-saturation, which can make it look artificial.
To bring attention to the center of the image, consider including a subtle vignette impact. Make a new layer and utilize a soft brush with a dark color around the edges, then decrease the layer’s opacity to attain a delicate transition.
Get back to your brush tool and include any conclusive touches, like small highlights or emphasized colors, to improve particular zones. It includes character and guarantees the painting looks hand-crafted.
Preserve the final work in multiple formats like PSD for future editing and JPEG or PNG to share or print.
At long last, export the image and audit it on different gadgets or print it to see how the gouache affects deciphers outside the software.
Conclusion
In summary, the inclusion of a gouache painting effect into your photos can transform them into incredible art pieces that own a rich matte appearance. The emphasis on flatness of color and opaqueness makes your images look like time-honored artworks, which are handcrafted, evoking a tangible sense. The digital tools, including brushes and textures, are creating arresting artworks equivalent to the conventional ones. They help in both ways: either you want to start from scratch, relying wholly on your creative potential, or you want to edit your existing images with a traditional approach. The steps highlighted in this blog can be your guide to turning your images into endearing art effects like that of a gouache painting.


