
How To Automate Data Entry Into Google Sheets Using Zapier
Data entry automation into Google Sheets with Zapier is an effective approach for firms as well as individuals. It is time-saving, less error-prone, and provides a streamlined workflow. Zapier, as a no-coding platform, provides users with customizable workflows, also called Zaps, which aid in transferring data between different applications even without needing specific programming aptitudes. This automation process is advantageous in various tasks, including transferring forms’ data, emails and even social media insights straight into Google Sheets. It allows for precise and speedy data entry without needing any kind of manual exertion. Zapier has a user-friendly interface, unlike the intricate automation tools traditionally used, which often demand technical proficiency. From gathering survey responses to handling customer interactions, this platform enables users to smoothly set up triggers and actions according to their project needs. Just after configuring Zaps, Zapier monitors the data sources, and in real-time, it transfers the pertinent data onto Google Sheets. This blog will proceed with the step-by-step process of automating data entry into Google Sheets using Zapier.
Step 1: Setting Up Your Zapier Account
To start the process of data entry automation into Google Sheets, you first ought to set up your Zapier account.
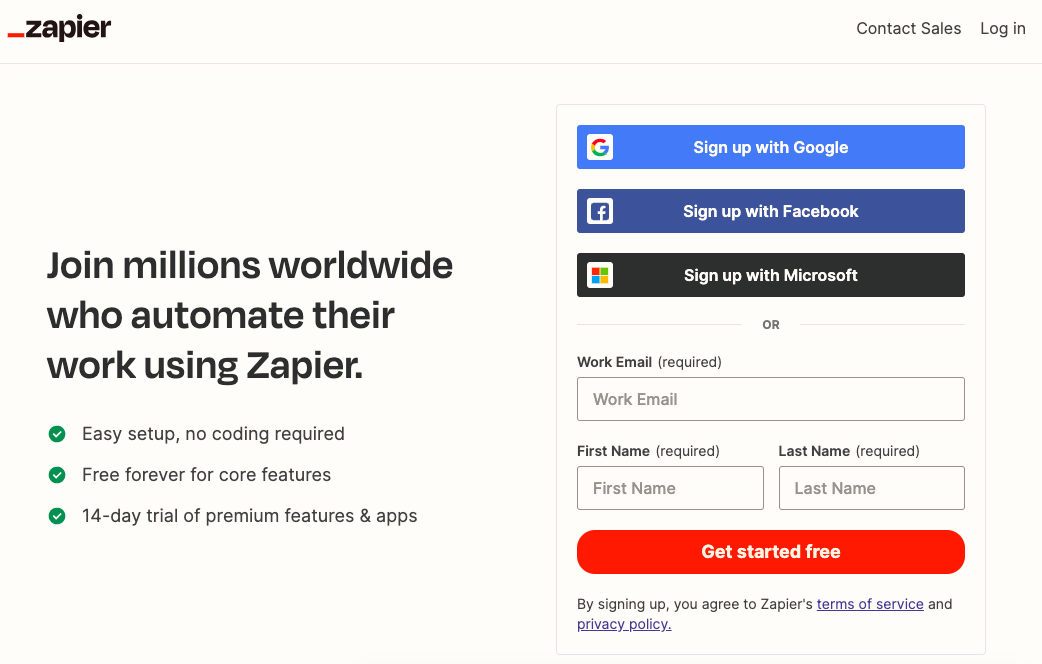
In case you are new to Zapier, you should visit Zapier’s site and press the Sign-up option over there.
You’ll be able to sign up utilizing a mail address or, for quicker get to, utilize alternatives including Google, Microsoft, or Apple accounts.
The registration process is simple and takes quite a few minutes.
After you have finished the sign-up process, Zapier will direct you through a brief onboarding flow to assist you in acquainting yourself with the platform.
In case you already have an account, you can instantly log in with your registered credentials.
On logging in, you will be directed to your Zapier dashboard, where you’ll see, create, and manage Zaps or automated workflows.
Take a moment to explore the interface—key highlights incorporate the navigation menu for apps and the search bar for finding automation layouts.
This initial step makes sure you have access to the tools essential to form powerful automation without needing coding mastery.
Step 2: Creating A New Automation Workflow

Once you are done logging into Zapier, head to your dashboard to begin making a new automation workflow, also named Zap.
Find the Create Zap option, which is typically found within the top-left corner of the dashboard, and click it to initiate.
A Zap is made of two fundamental components: a Trigger and an Action. In this step, you need to first define the Trigger, which commences the automation process.
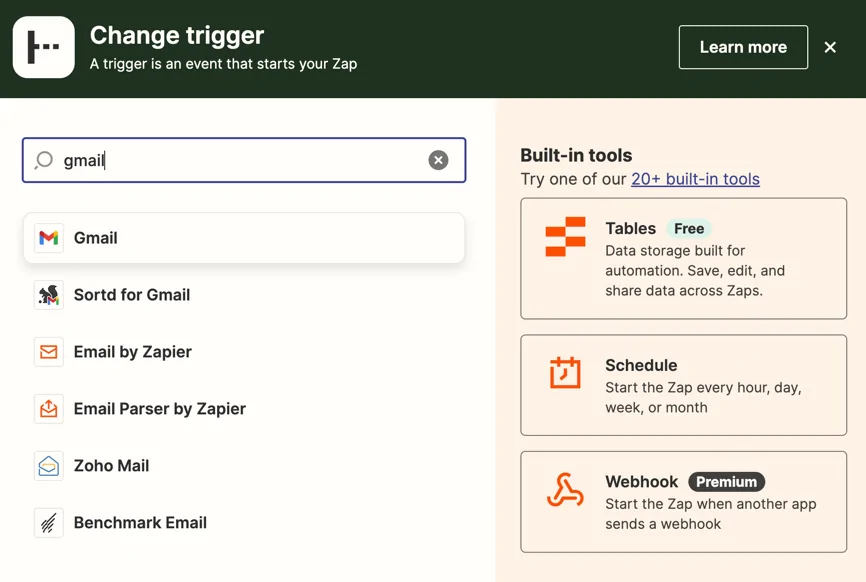
Browse or look for an app that can serve as the Trigger source, such as Google Forms, mail, or another application where the beginning data entry occurs.
Pick the app and then indicate the Trigger event, like New Form Response, New Email, or any activity that refers to your use case.
Log in to the chosen app via Zapier in case this is your first time connecting it, allowing the essential permissions for Zapier to access the information.
Test the Trigger to confirm that Zapier can identify approaching data. An effective test affirms the connection and guarantees that you can proceed to the following step without any trouble.
Step 3: Configuring The Particulars Of The Trigger Event
After the Trigger app is selected and connected within the earlier step, you will have to configure the particulars of the Trigger event.
Begin by selecting the particular event that will operate as the trigger. For instance, in case you are utilizing Google Forms, prefer a choice such as the New Response in Spreadsheet.
Indicate any additional parameters demanded by the app to filter the information. For example, you may choose a particular form or folder including the data source.
Zapier might prompt you to get a sample of recent information from the app. Observe the on-screen instructions to recover this information to confirm that the configuration is accurate.
Conscientiously survey the sample data delivered by Zapier. Confirm that the incoming fields and values correspond to your anticipations for the automation.
If alterations are required, fine-tune the Trigger settings, like editing filters or limiting the scope of the data input.
Conduct a last test to affirm that Zapier identifies the data accurately. If successful, you can proceed assuredly to define the Action.
Step 4: Choosing The Action App
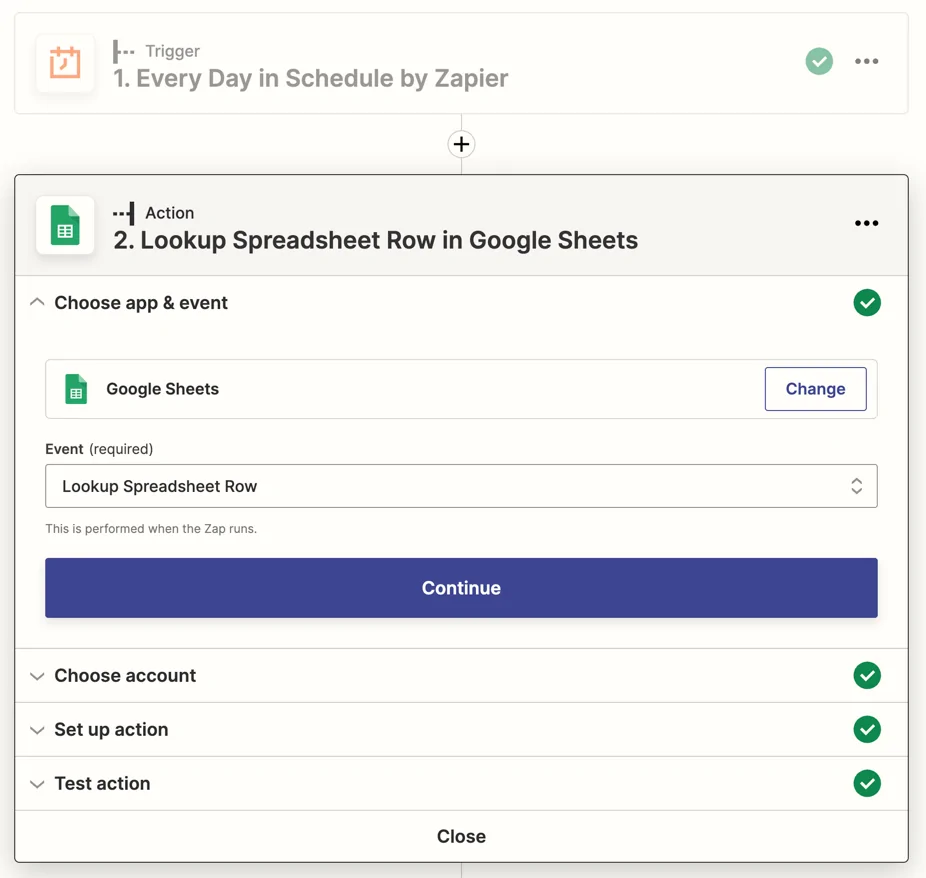
Within the Zap editor, after you have effectively configured the Trigger, continue to choose the Action app.
Seek for Google Sheets within the Action app search bar and choose it from the list of accessible apps.
Indicate the Action event that Zapier will serve in Google Sheets. For data entry, click on the Create Spreadsheet Row option.
As a result Zapier will prompt you to link your Google account if you have not done that before. Log in and allow Zapier the essential authorizations to access your Google Sheets.
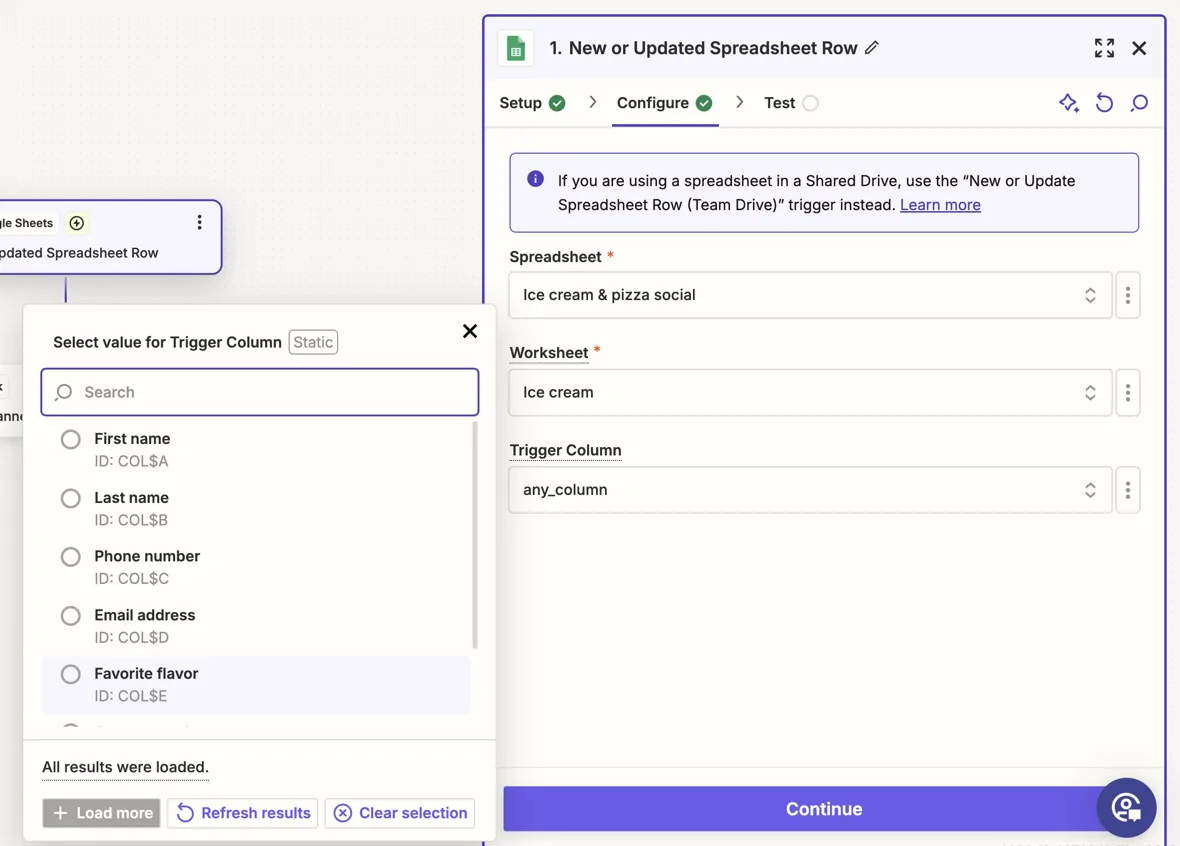
After you are connected, select the specific spreadsheet where the data ought to be added.
Choose the worksheet or tab inside the spreadsheet where Zapier will settle the information.
Zapier will show a list of columns from the worksheet. Correspond each column with the related data fields given by the Trigger app.
Test the Action to confirm that the data streams accurately into the selected Google Sheet. Review the spreadsheet for a new row holding the sample data.
Step 5: Setting Up Action In Google Sheets
After you have selected the spreadsheet and worksheet, you will now define how the data will populate in Google Sheets.
Outline the data fields from the Trigger app to the corresponding columns in your chosen sheet. For instance, on the off chance that the Trigger app offers Name, Email, and Date, connect each field to the suitable column.
Utilize the field-mapping interface to guarantee precision, picking the correct data field for each column. Zapier will show previews of accessible fields to make mapping simpler.
As essential, configure additional settings, like default values or conditional filters, to polish how data can be inserted into the sheet.
You can also apply transformations or calculations if the data needs nominal adjustments before entry.
Zapier permits testing of the setup at this phase. Tap on the Test Action option to send sample data from the Trigger app to the Google Sheet.
Confirm that a new row shows up in your spreadsheet and that all fields have been populated precisely before continuing.
Step 6: Testing Your Zap
After configuring the action in Google Sheets, you will now move on to test your Zap to be sure that everything is working smoothly.
Tap the Test & Continue option to execute a live test. Zapier will transmit sample data from your Trigger app to the assigned Google Sheet, filling within the mapped fields.
Scan your Google Sheet to ensure that the data is accurately included in the suitable rows and columns. Confirm that everything looks as anticipated.
On the off chance that the test is successful and data is streaming precisely, you are all set to activate your Zap.
After being satisfied with the setup, turn on the Zap by taping on the Turn on Zap option.
Your Zap will presently run automatically per the configured Trigger, making sure that data is entered into Google Sheets as soon as the Trigger event ensues.
Further, You can oversee, edit, or deactivate the Zap anytime from your Zapier dashboard.
Conclusion
In summary, manually entering data into Google Sheets can be a mess, especially if you’re updating each sheet with data from other apps. To ensure that nothing gets mislaid, you need to attach Google Sheets to an automated workflow. Zapier is a compelling tool for workflow automation, integrating with thousands of apps to create safe, automated workflows for business-critical tasks across an organization. Zapier can quickly share the crucial data with stakeholders and monitor changes in the Google Sheets. Using Zapier alongside Google Sheets, organizations can automate all of their Google Sheets operations to save time and prevent errors.
